It's been a little while so I figured it's time for an update on this thread.
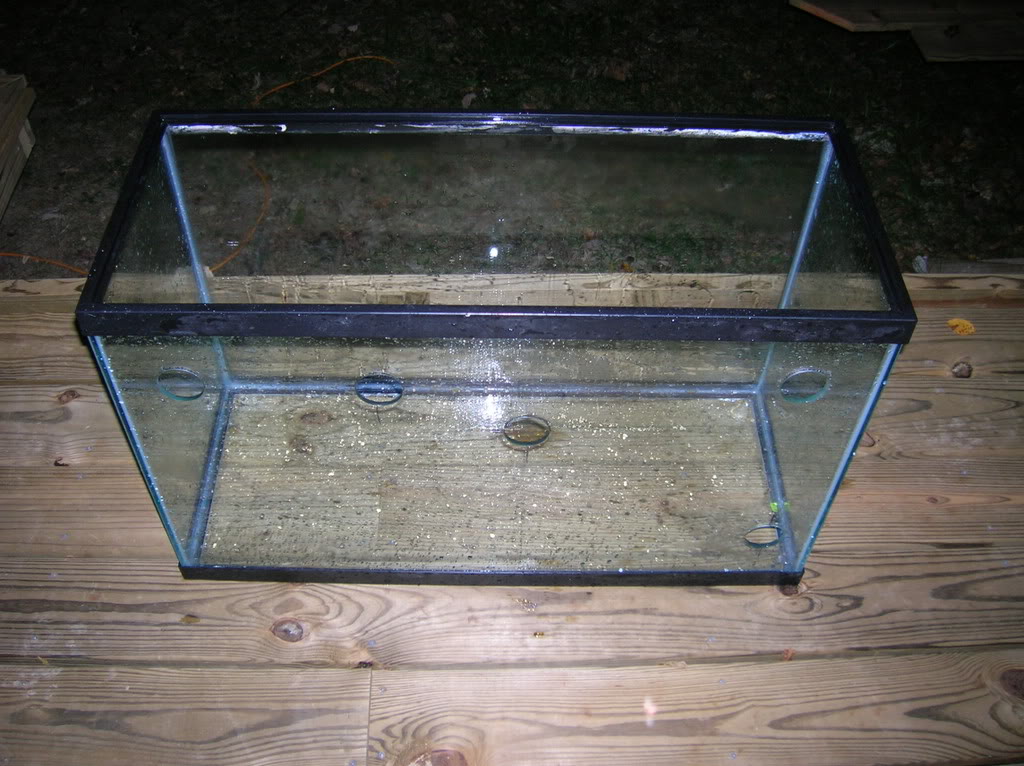
After a week or so of curing the rocks in the garbage can, I decided it was time to get the tank itself in shape to put water in it
")
I got the idea I wanted a closed loop with a SCWD but didn't want to have lines/hoses seen over the top of the tank. This required drilling more holes in the tank. This puts the total up to 5. I have to admit that I was worried about too many holes about the time I was drilling the last one, but all seems good now that the water is in it.
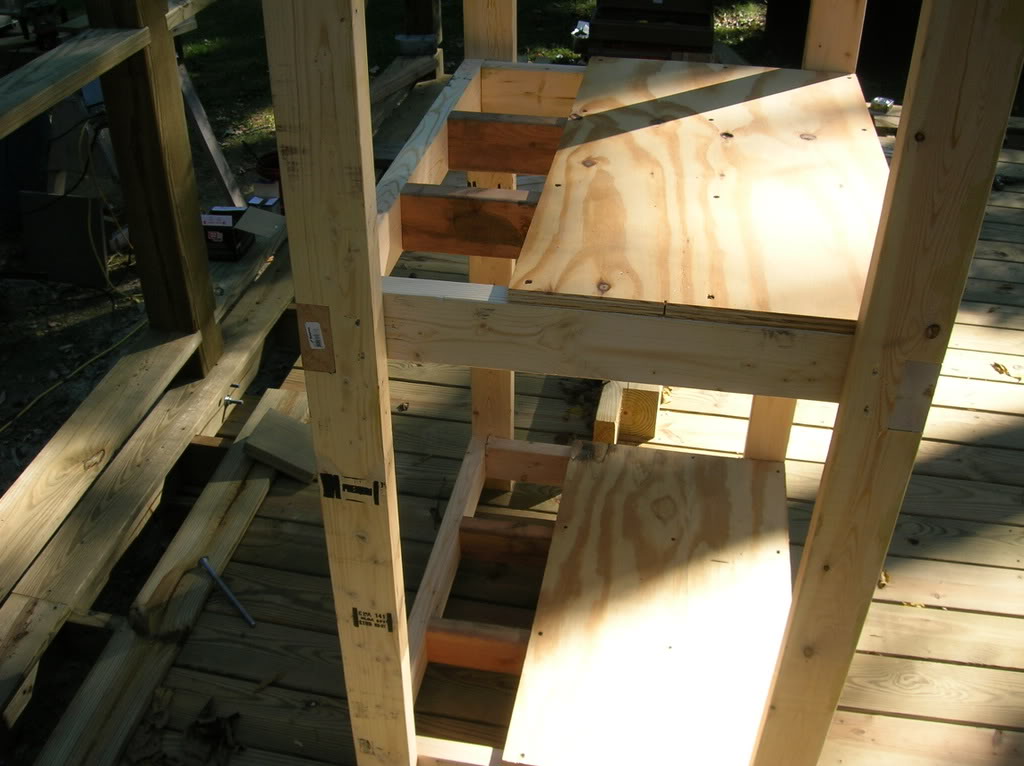
A stand of some sort was in order too. Remember that this is more of a research/learning tank and will be in the basement so the stand needed to be more one of function than one of looks.
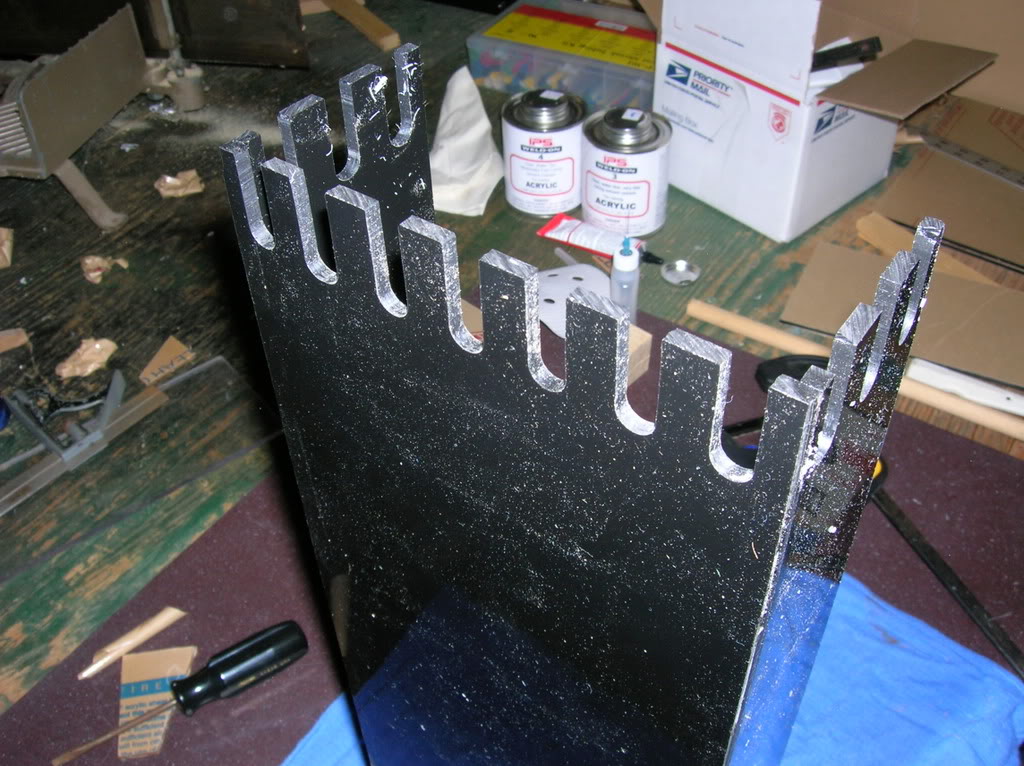
melevsreef.com got me sold on the idea that I can build things out of acrylic so I had to give it a try. This is my version of an overflow for inside the tank.
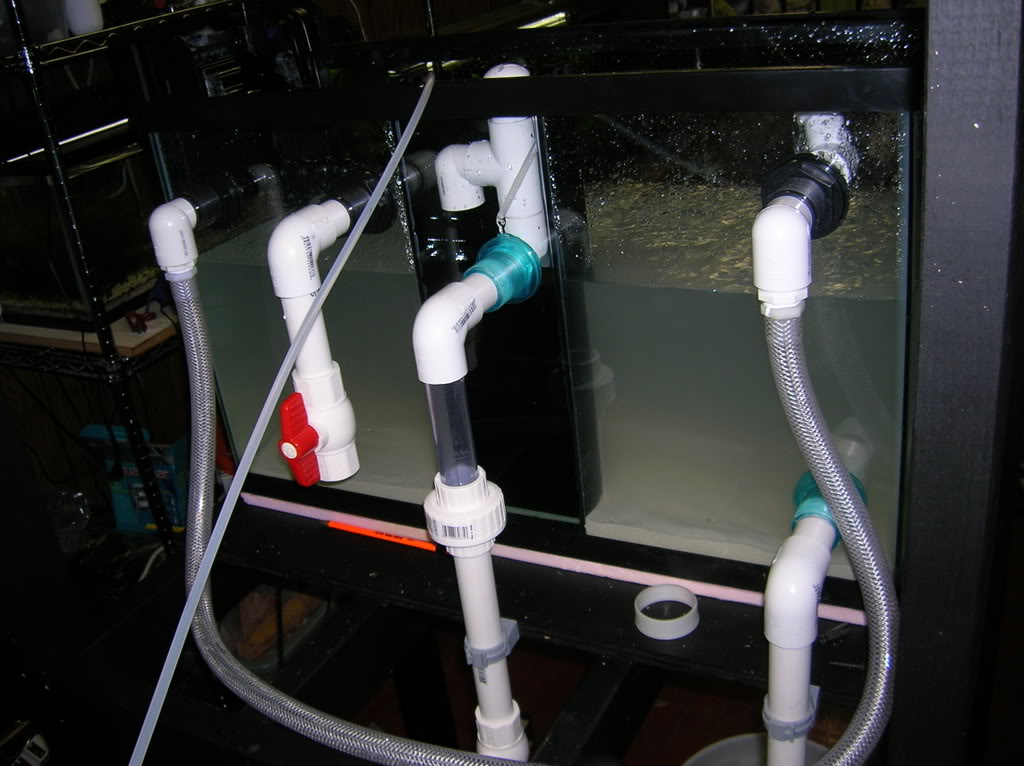
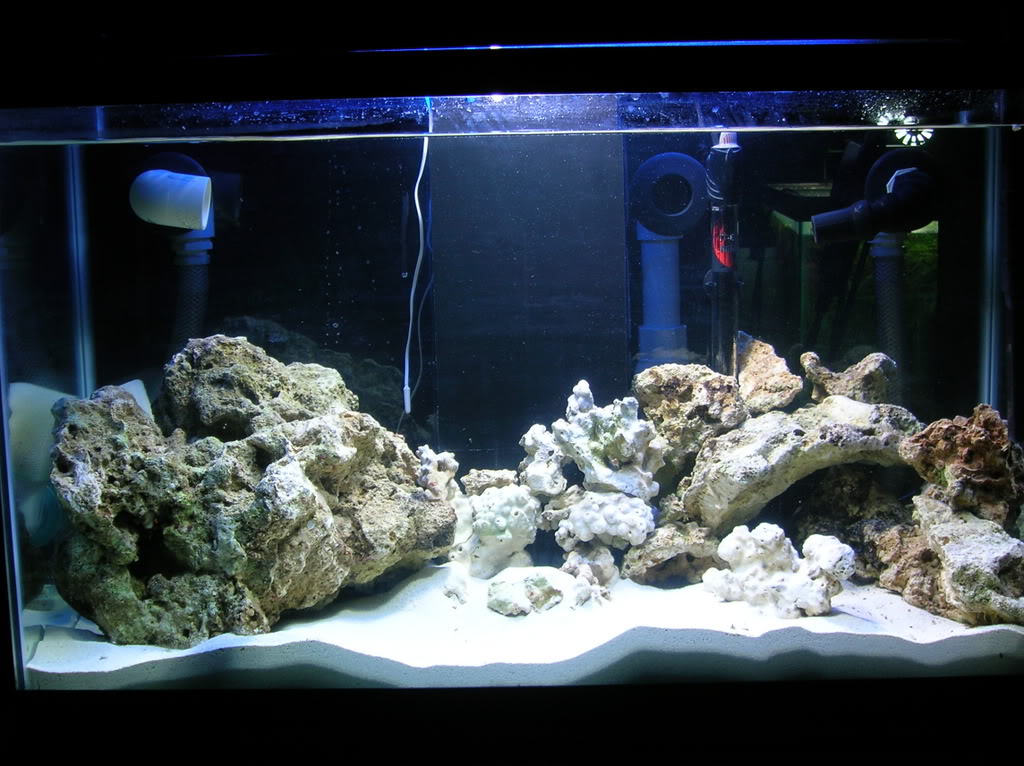
Here is a shot of the plumbing mostly installed and you can see the overflow in place through the back of the tank. The two ports in the upper corners are the discharge lines from the SCWD. The lower right is the suction for the pump that feeds the SCWD. The two in the center will be the "stand pipe" and the return from the sump that has not been built yet.
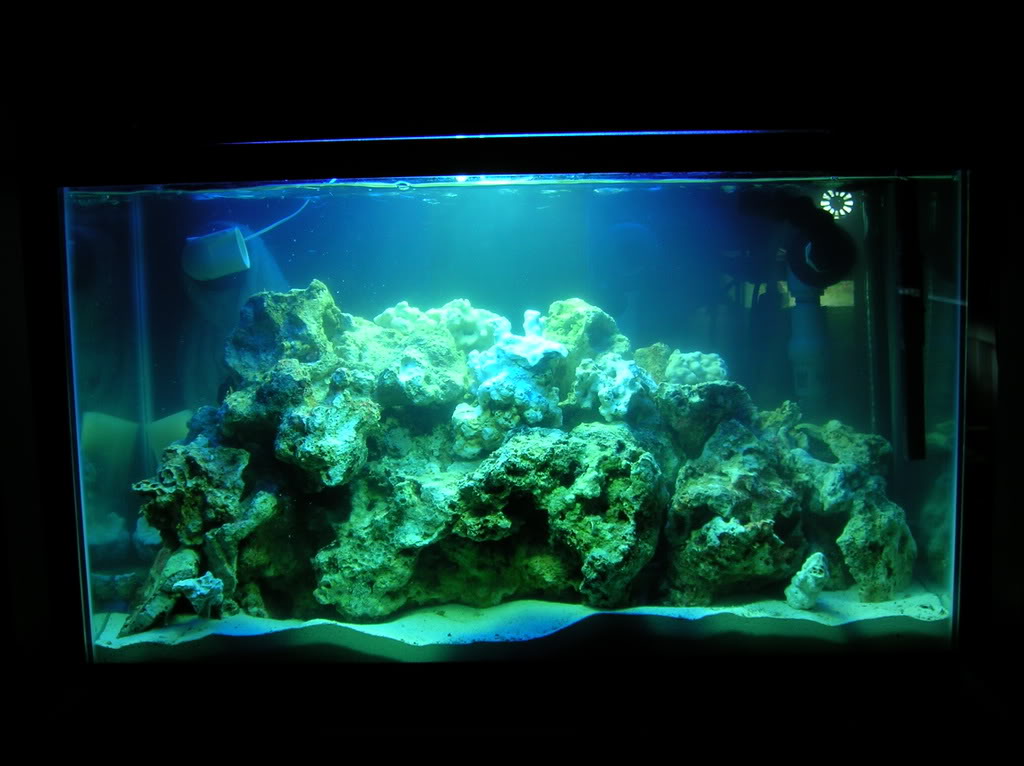
I added the rocks and put the light over the top of the tank. I thought the 30 lbs of lalo rock from F&S would look like more than it does. It looks like another 30 lbs will do just fine. There is a handful of MarcoRocks rubble in the middle there too. I really like the look of their stuff, if you are looking for base rock you might check them out on the web.
That's it for now. The new load of LR should be here on Thursday so it will need to be cured for a little while then added to the tank to finish. I was surprised at how fast the cycle completed with the first load so I won't make the same mistake and wait so long before putting it in the tank so late.
I'll post more as it happens.
Thanks for looking.