Tank's 125G Build Thread with Pics

The friendliest place on the web for anyone with an interest in aquariums or fish keeping!
If you have answers, please help by responding to the unanswered posts.

Tank2379

Aquarium Advice Addict
Joined
Jul 16, 2008
Messages
2,890
Location
Chicago,IL
Well gang, It's been along time since I have been around I pop in and out from time to time but not to involved as before. I guess starting this build threa should put me back in the right direction. Without AA I would not be the reefer I am today. (y)

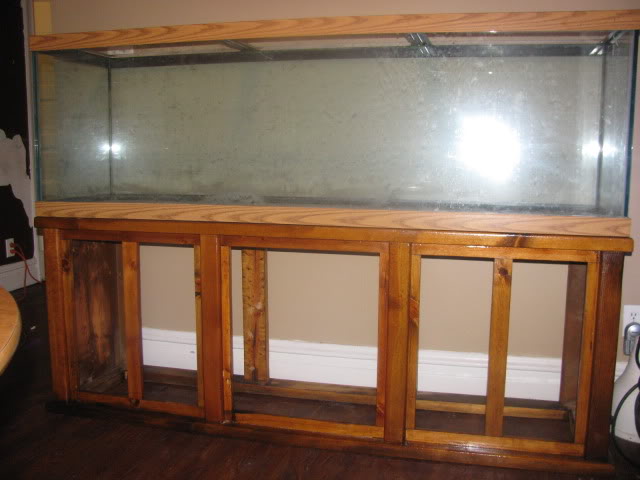
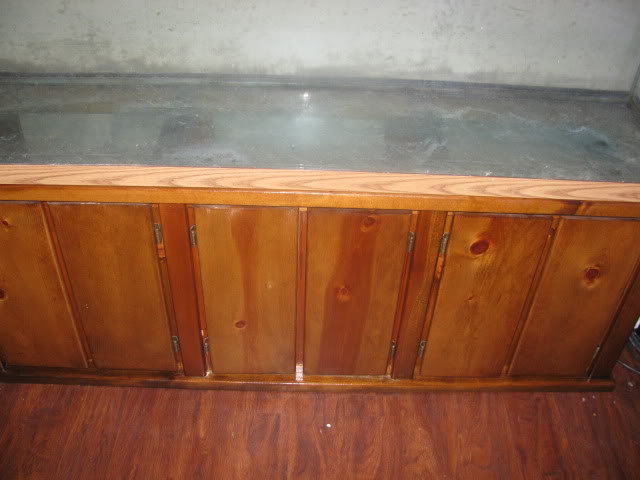
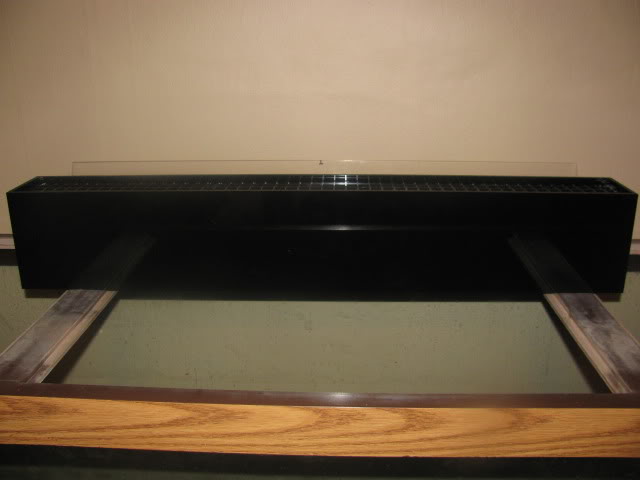
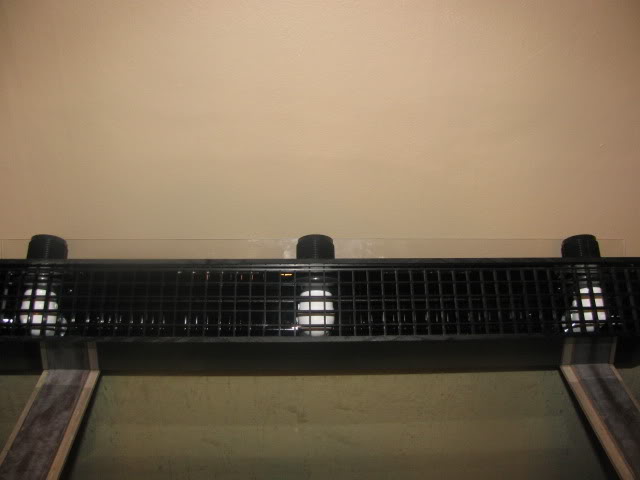
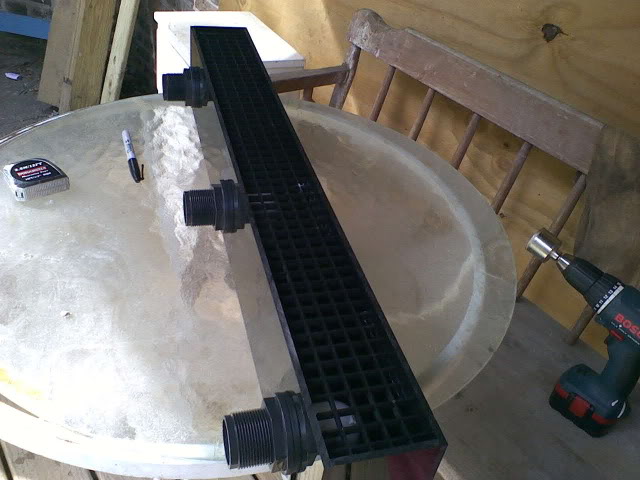
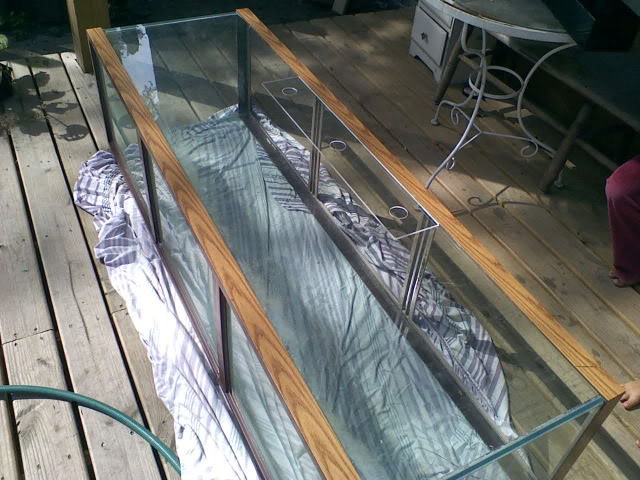
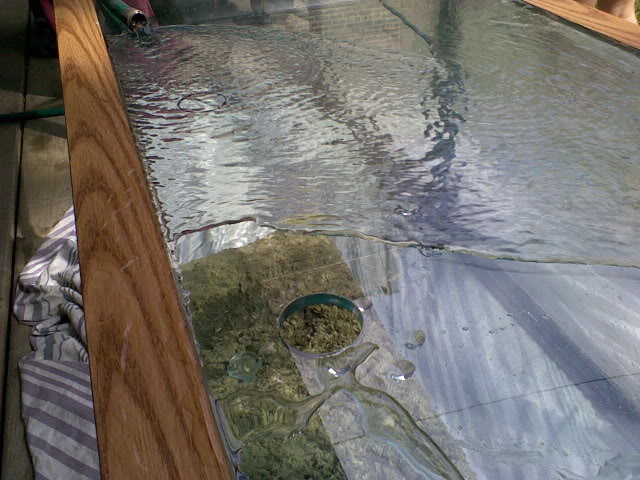
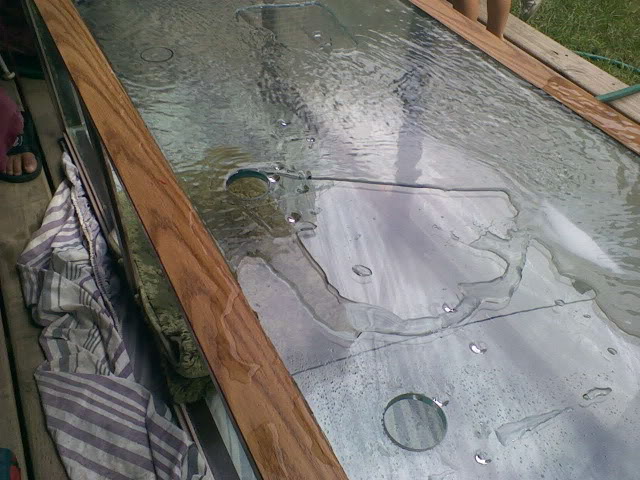
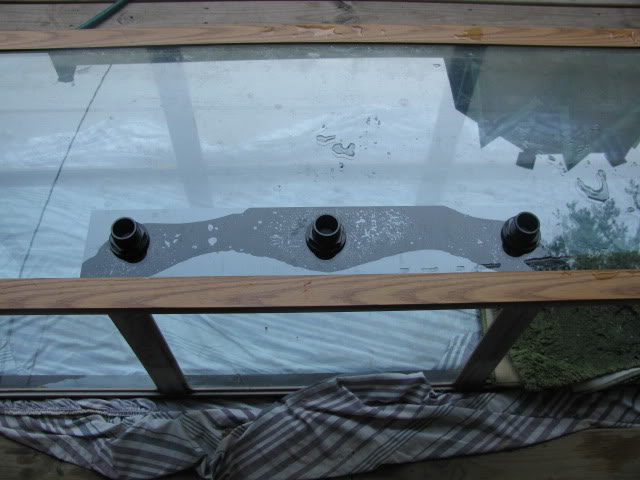
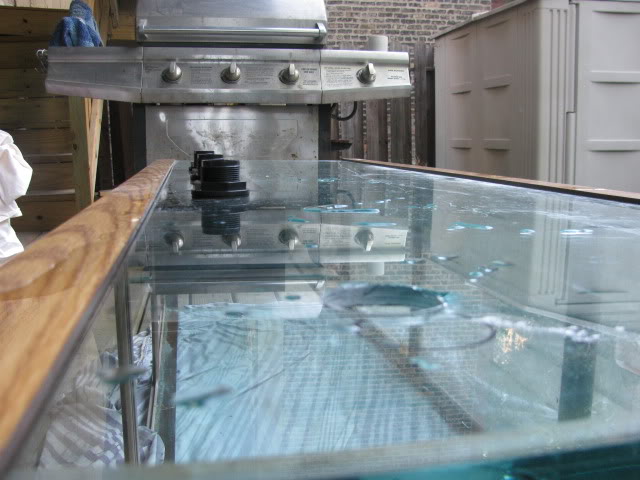
I thought I share my build thread as I go along. First I want to thank a Local reefer for his generousity on the Tank he posted on another forum for a Free Tank- I drove 1hr 45mins to Rockford, IL to pick it up. I gotta say it was well worth the trip. It's 125G 72"x18x24". Here are a few pictures to get thing rollin along. I am going to get a custom build sump for underneath the tank for my sump this is a must have.:snipersmile:

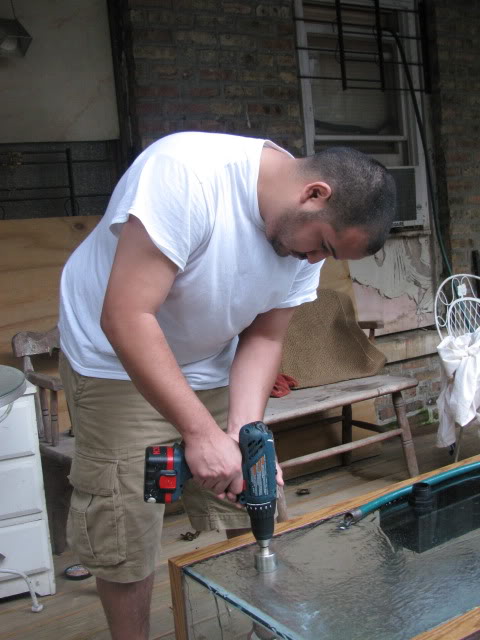
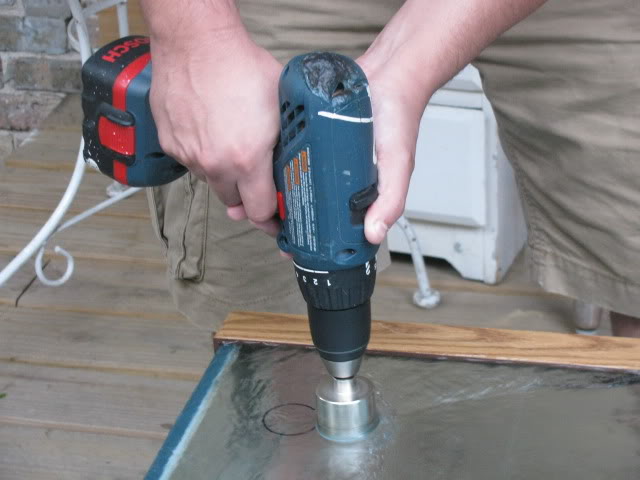
First day home. It was heavy but not to bad.
img_1155990_0_6971ec0a935b2e3841324d686d14bd67.jpg

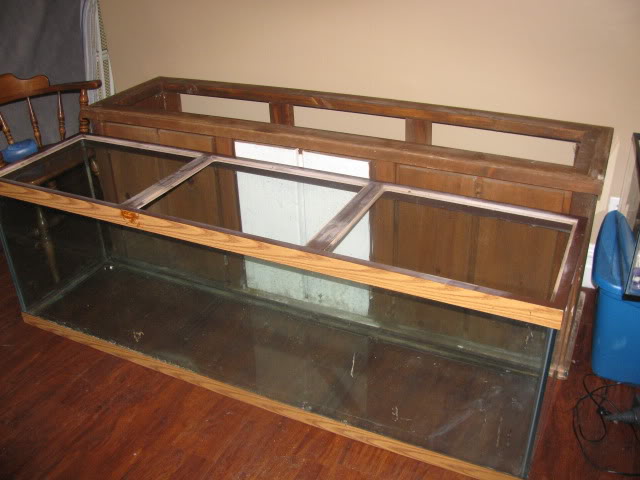
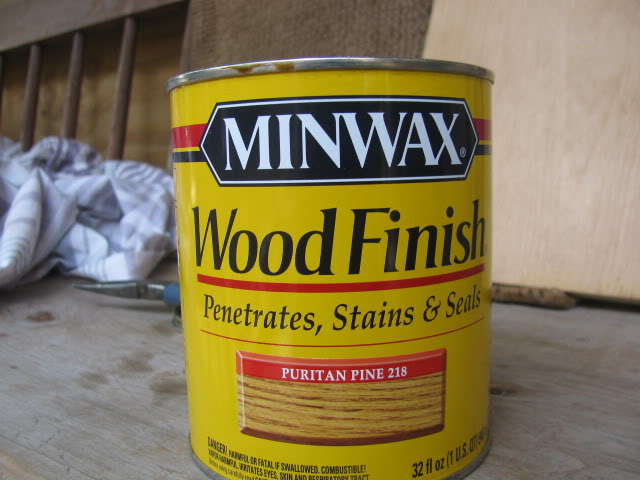
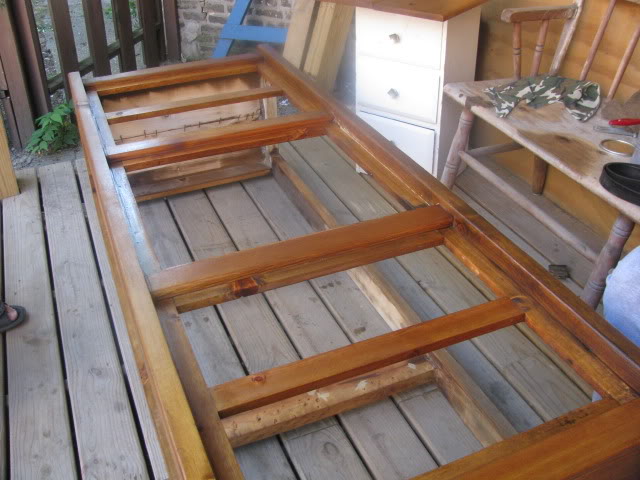
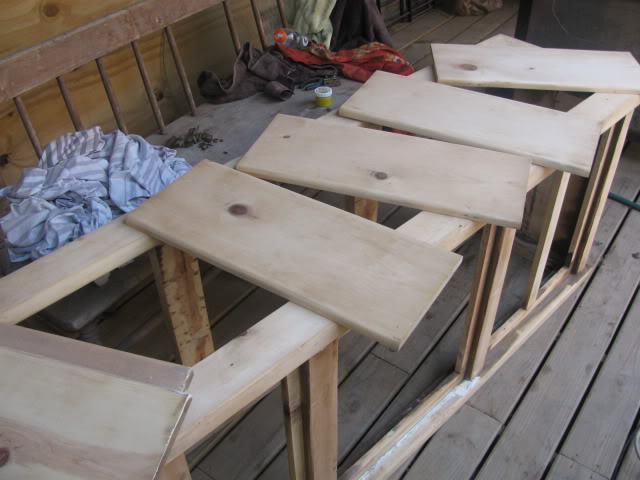
SO the stand needed a little work so I decided to fix it up a bit.
img_1155990_1_618a2e0ce3391d5a71d16a574d75c26f.jpg

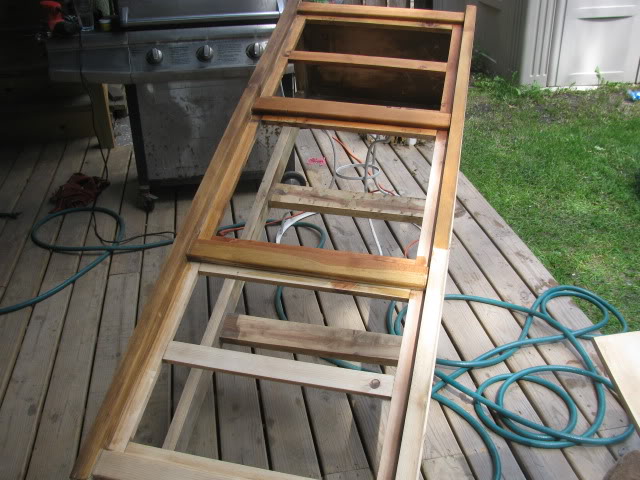
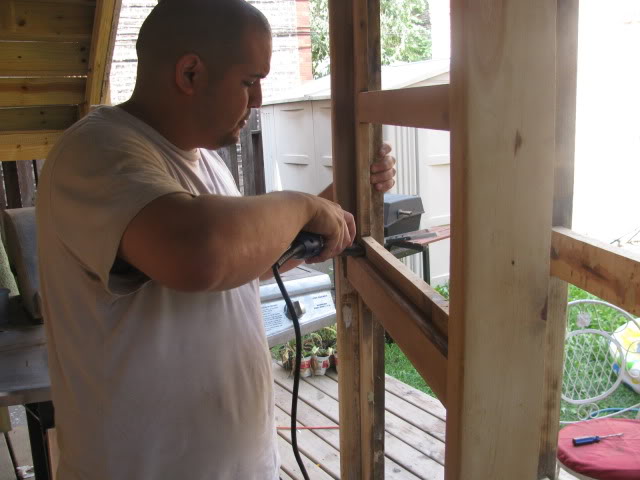
Pretty much sand the hole thing down
img_1155990_2_9a412fd58dfeeb9c5ea86fb3e5581e6d.jpg

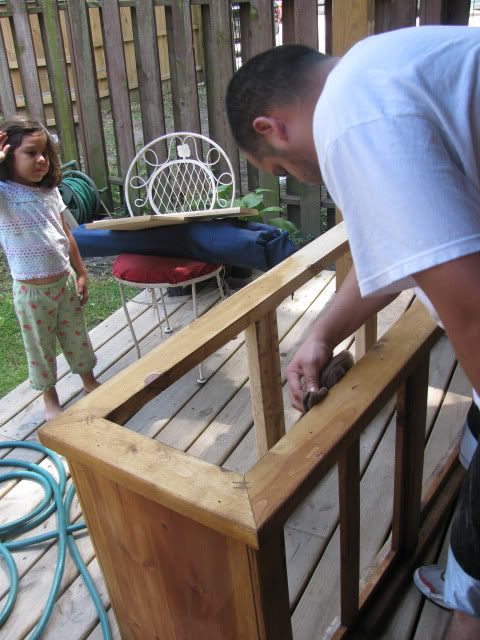
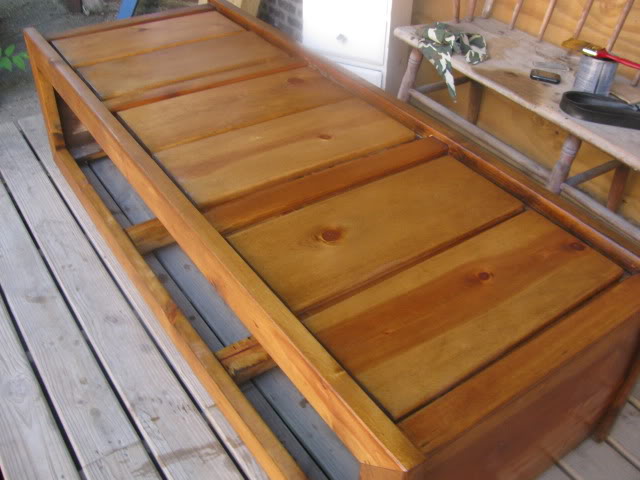
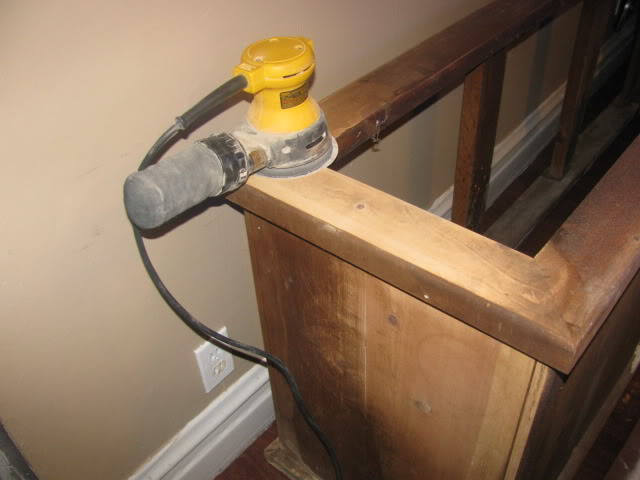
Some detail sanding that i had to do.
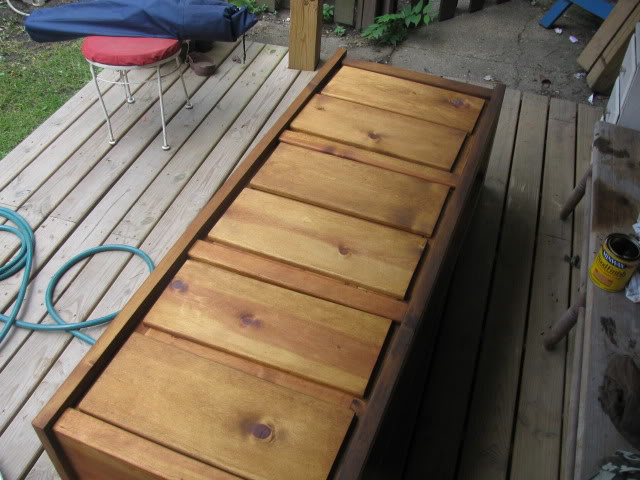
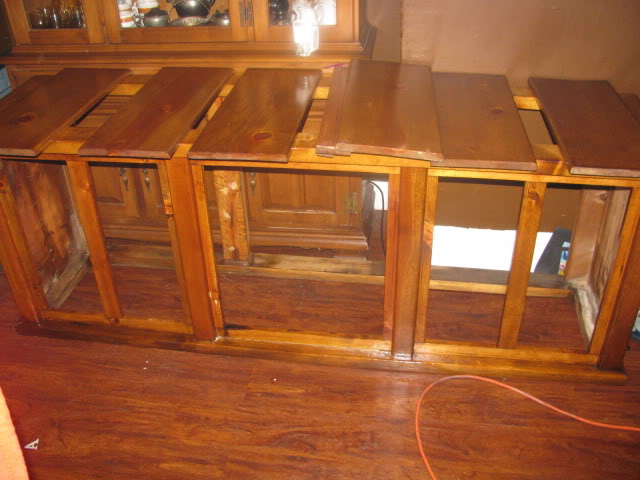
img_1155990_3_1fbf9d74a7d247176f77b73bb59fbc45.jpg

more to come
 
Well once I was done with the sanding I starting the Stain- I when with a light stain to try and match up with the trim of the tank.

Minwax is awesome... :)
img_1155999_0_ea7f09141cacca6987b9010923dc4284.jpg

Let the Stain begin
img_1155999_1_74bf4fd3ee159908ae3dd78787ca3b9b.jpg

Making sure I got the edges
img_1155999_2_8198c1745abe226e8df0afa81997d15b.jpg

Staining done
img_1155999_3_f1a1ce7c06027e0a6cd03aab4c6d6b08.jpg

Let the glossing begin
img_1155999_4_33d91d8a083d011858402bb1ebf6270a.jpg
 
Almost finished
img_1156000_0_d8c421b219c32d3dee4b063893dc50f6.jpg

Top view
img_1156000_1_b81f6d9bd5a969b6e01c1a998ef6e934.jpg

Let it dry for about 24hrs
img_1156000_2_6315292b3c53cfde30722826aa498cab.jpg

Tanks got a New stand again... :)
img_1156000_3_7b364d70ca7f58623c4f7469070906a6.jpg

..........
 
New brackets on the doors
img_1156001_0_a00cf904846e91f83164b362e15e7ac8.jpg

Well while I was sanding, staining, glossing. I called up another local reefer that can do some sweet custom designing with overflow boxes. He is also going to do a custom sump for me in the near future. Here is the Overflow box he design for me. it's 30"x4"x5". Black Arcylic
img_1156001_1_14cefeca40127869be754361c9175f32.jpg

Top view
img_1156001_2_f9cdc023d643fc974699a0dc9fac8af4.jpg

Side view
img_1156001_3_9f4125cedb02f90fc73bc33e8b793f83.jpg

So excited that same weekend I wanted to drill it and start the install. So here it is again Overflow box with 45mm Drill bit... :)
img_1156001_4_ea8091122ea26272d8b4f06445e9fa8e.jpg

...........
 
Let the drilling begin. I started the prep the good thing about this overflow is that he makes a good template for you to start the drilling with.
img_1156006_0_27f410bd23f178c4376c626b73974d19.jpg

I was outside so I didn't really need any plumbers putty- just ran a water hose over the area(s) I was going to drill. So here is my first cut. The cut was pretty smooth.
img_1156006_1_f765a4799fcbfebf3f44776c2cb05150.jpg

Second cut
img_1156006_2_c647346315d45bd00c04c648baf2cd74.jpg

Here is the installed overflow box
img_1156006_3_7e1bac01e949c5e8f7378d0ad4863d5a.jpg

side view
img_1156006_4_cfac00b22ee6d6eb9682b653756ceb12.jpg

After that was completed drilled two sides for the return one on each end. I only took picture of one end that I did. Which this first portion of the drill My arm was pretty tired from drilling the other three hole I ended up chipping the surface edge pretty good but if it leaks nothing like some Aquarium silicone to seal it right up. :) Oh bTW for the other that drill tanks and are just starting take a break from time to time.. I know I needed it... LOL
img_1156006_5_7f1b1191fdfdddf08033e9bfac7299b4.jpg
 
Close up
img_1156007_0_4a6618af7c45f60ece0610c6c24fe6db.jpg


As of right now there are no new updates I am ordering two new bulk head fitting for the return but I am going to wait until my Sump is completed to install it under the tank then I will get the rest of the plumbing parts and return pump. I hope this will do for now until the rest of my equipment is going to be ready.... Enjoy

:snipersmile:
 
Very impressive. Sure was a lot of work to send that stand. Nice overflow box. Looking forward to see it finish. I almost done with my upgrade to 125.. Need to change my sump too. Does the guy who designed overflow and will do sump does that for living. Can you give me contact. Thanks.
 
Back
Top Bottom