You are using an out of date browser. It may not display this or other websites correctly.
You should upgrade or use an alternative browser.
You should upgrade or use an alternative browser.
Ziggy's Nano Build (again)
- Thread starter Ziggy953
- Start date
The friendliest place on the web for anyone with an interest in aquariums or fish keeping!
If you have answers, please help by responding to the unanswered posts.
If you have answers, please help by responding to the unanswered posts.
- Status
- Not open for further replies.
OP
OP
Ziggy953
Aquarium Advice Addict
So will this be sufficient for your average sps?
Ill be following this by the way
I am 100% sure this will cover anything I want to put in the tank...
mfdrookie516
Aquarium Free - 2+ Years
I think if you scroll up 3 posts above yours, you'll find your answer.
mfdrookie516 said:I think if you scroll up 3 posts above yours, you'll find your answer.
Yup..sorry. I said 300 though!
OP
OP
Ziggy953
Aquarium Advice Addict
Yeah...so this stuff ran me about $300 total. I still haven't built the canopy yet...
OP
OP
Ziggy953
Aquarium Advice Addict
Well my new Digital Aquatics RKE is on the way. I guess with all the money I have spent so far I should really ramp up the build of my stand.
Off to Home Depot!!!
Off to Home Depot!!!
FishEggs
Aquarium Advice Addict
How come you went with such low Kelvin whites? i thought with saltwater you want 10000k or higher but your leds show as 3000k-5000k.
OP
OP
Ziggy953
Aquarium Advice Addict
How come you went with such low Kelvin whites? i thought with saltwater you want 10000k or higher but your leds show as 3000k-5000k.
LEDs emit true spectrum so you can get away with LEDs that have lower color temps. Diodes that are white are exactly that only white.
OP
OP
Ziggy953
Aquarium Advice Addict
Well I went to Home Depot today and picked up all the lumber for the stand. I also made a trip out to my storage unit to pick up some equipment. I plan to spend the day tomorrow building the stand and getting it ready for the trip up to the third floor for finishing.
I have to run out to Home Depot first thing in the morning to pick up a couple things that I forgot. I plan to take a lot of pics during the build tomorrow.
RKE was shipped today...amazing, ordered it this morning and it is already one the way here.
The 7lbs of rubble rock I ordered came in and I picked it up from the post office. I also picked up another bulkhead for the 10g that I plan to use as the refugium.
That's about all that's going on at this point. Pics coming tomorrow.
mfdrookie516
Aquarium Free - 2+ Years
Looking forward to those pics. If you're like me, this will be only one of the many trips to home depot for those 'forgotten' items.
OP
OP
Ziggy953
Aquarium Advice Addict
Looking forward to those pics. If you're like me, this will be only one of the many trips to home depot for those 'forgotten' items.
haha...well for the most part the only thing I needed was the lumber. I keep forgetting the plumbers putty for when I drill the tanks.
I should be good to go tomorrow but you never know.
OP
OP
Ziggy953
Aquarium Advice Addict
So a successful trip to Home Depot this morning. Gotta tell ya, 6:45am visit to HD is the way to go!
I picked up a few extra 2x4's just to be safe, also managed to remember the plumbers putty. I went ahead and got some aluminum stock to build the mounting system for the LEDs in the hood.
I'll be in the garage all day working on the stand. I will post pics of progress later today.
Update: RKE is scheduled to deliver on 2/16 YAY!! I will do an "unboxing" series of pics of maybe a video when it arrives.
OP
OP
Ziggy953
Aquarium Advice Addict
The stand is coming along nicely. Basic framing is complete. It's time to start adding the finishing touches and tie things together.
I'll post the sequence of pics later....
I'll post the sequence of pics later....
OP
OP
Ziggy953
Aquarium Advice Addict
So here are some pics and a few notes on what I have built thus far for the stand:
My saw and the lumber that has been cut for the stand

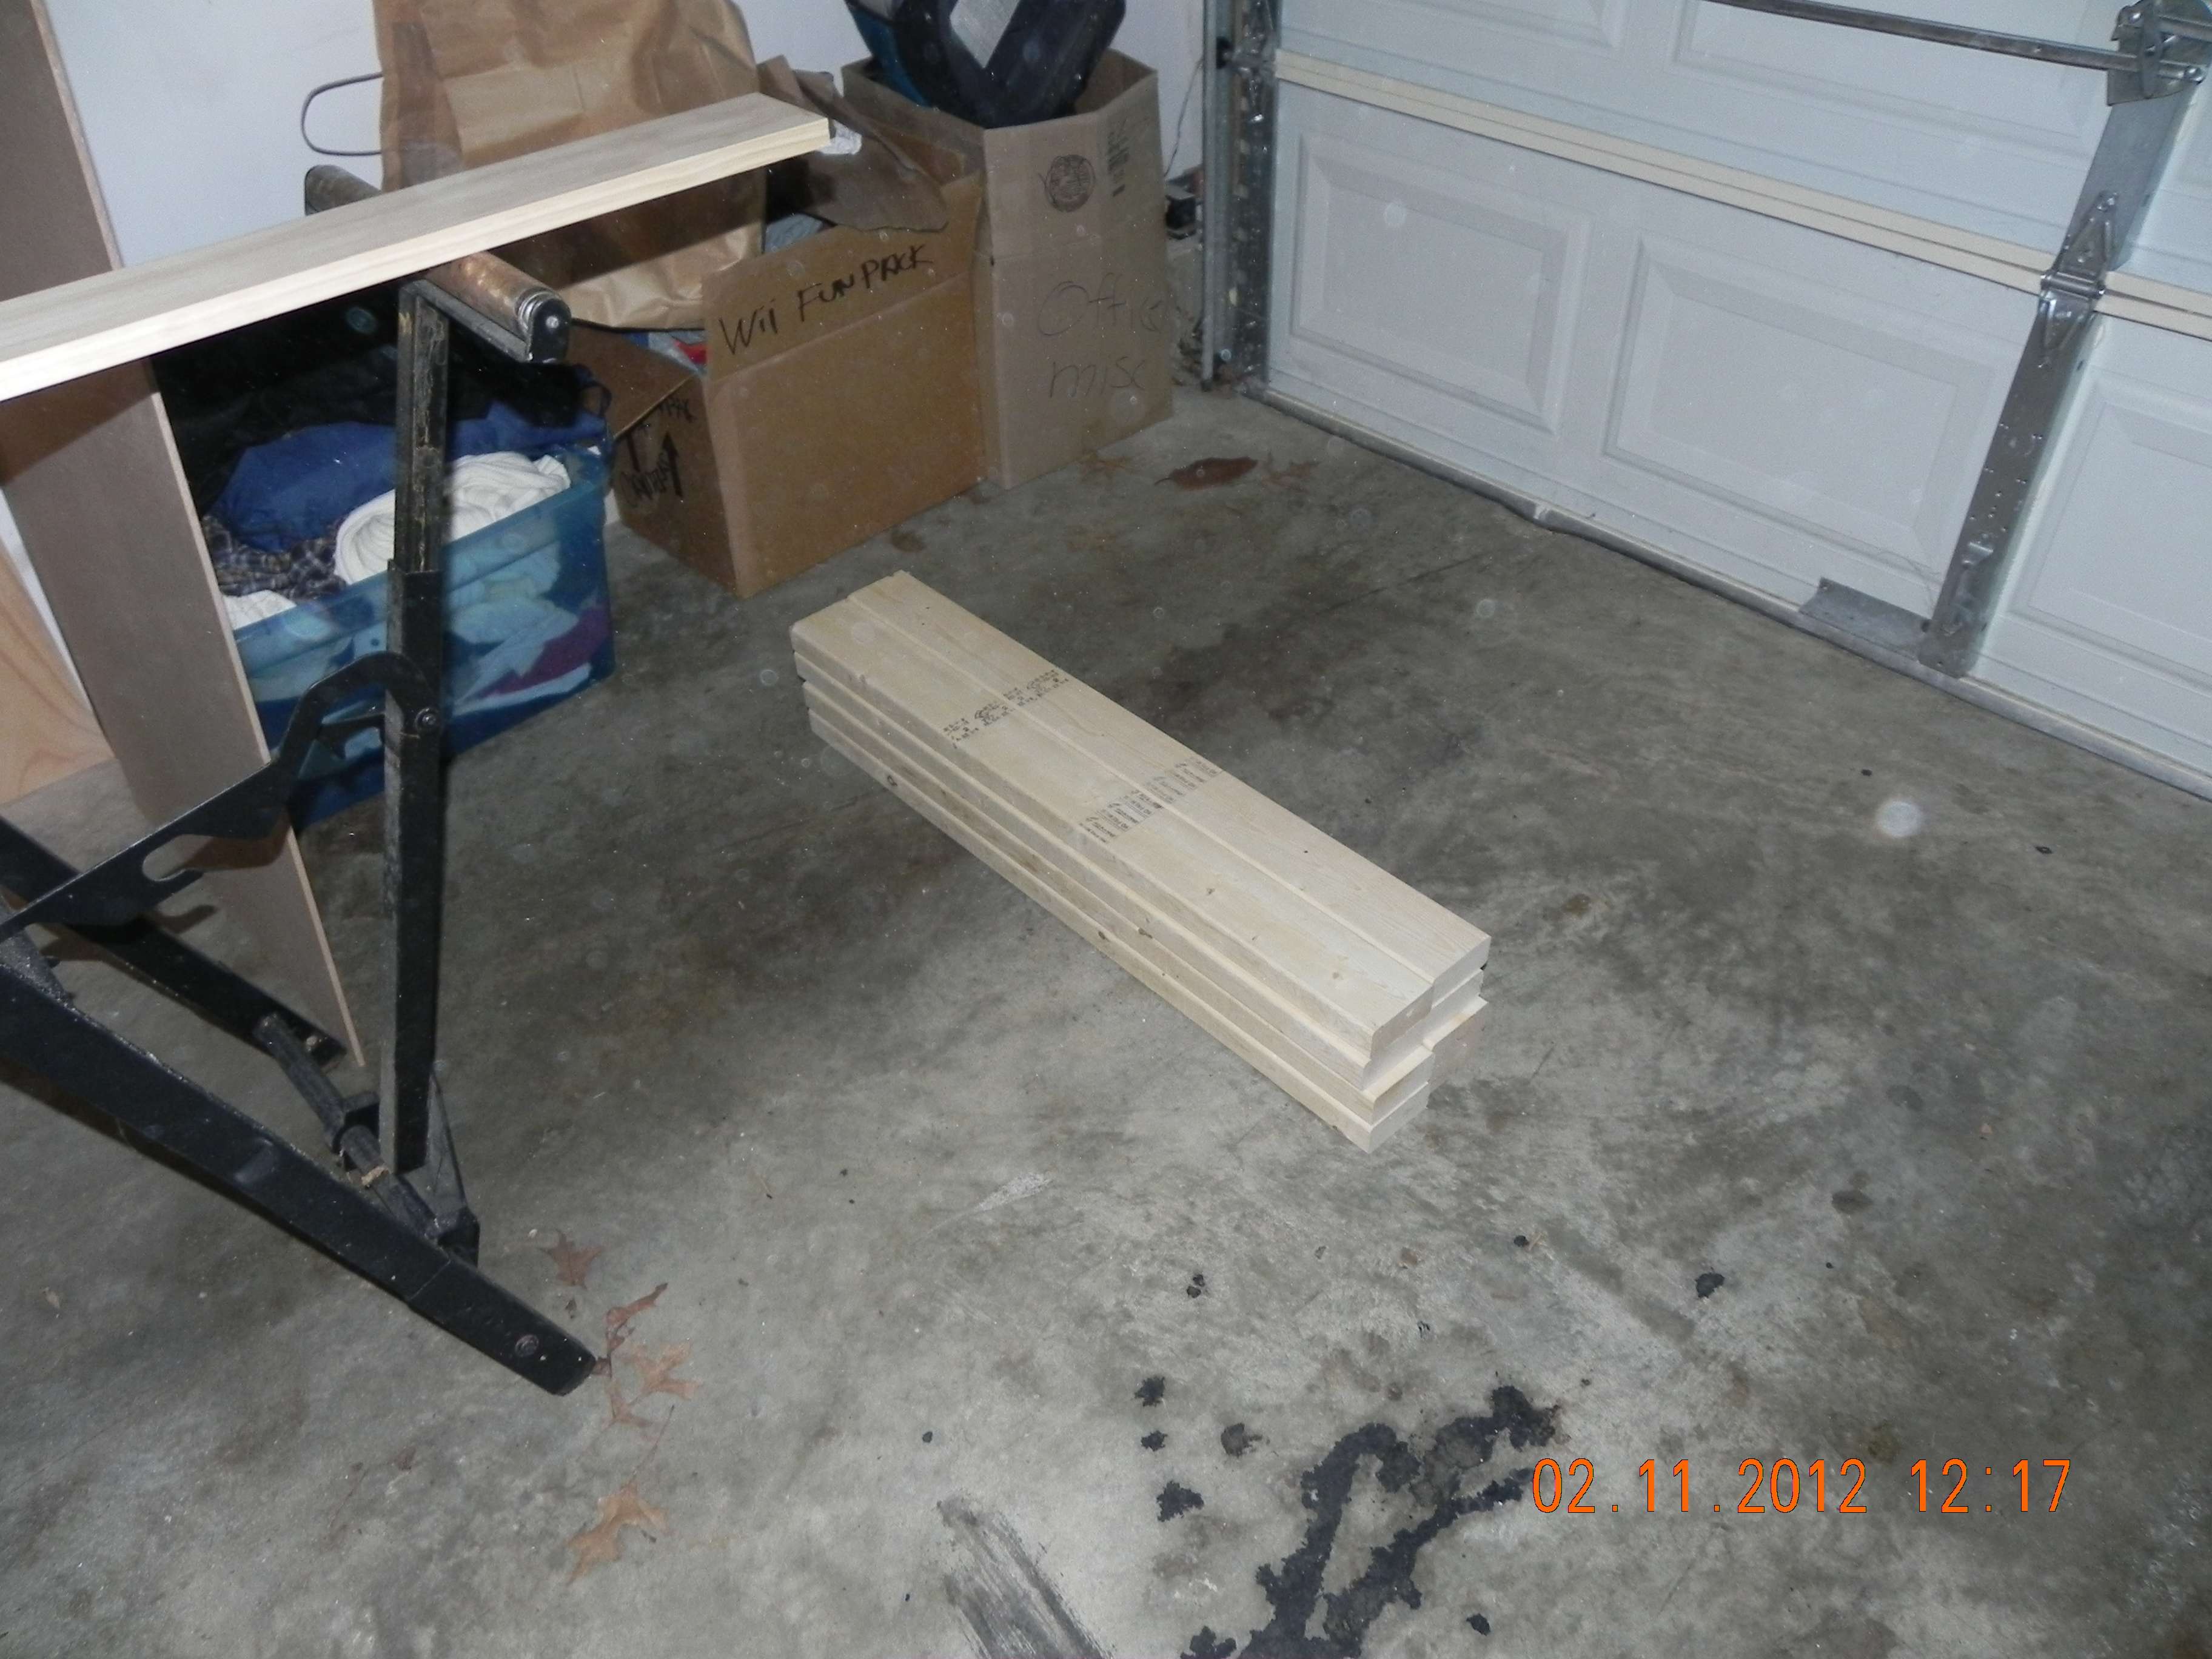
One note when starting a project like this, it is always a good idea to square your lumber. What I mean is cut about 1/8" off the end of the wood you are working with to get a true edge. I always do this to keep things nice and square. It also helps to make sure that the lumber you are working with is straight and has little crown.
Plans I drew up last night and have been working from. This is not the first cabinet I have built so these were just a reference for me to go by.
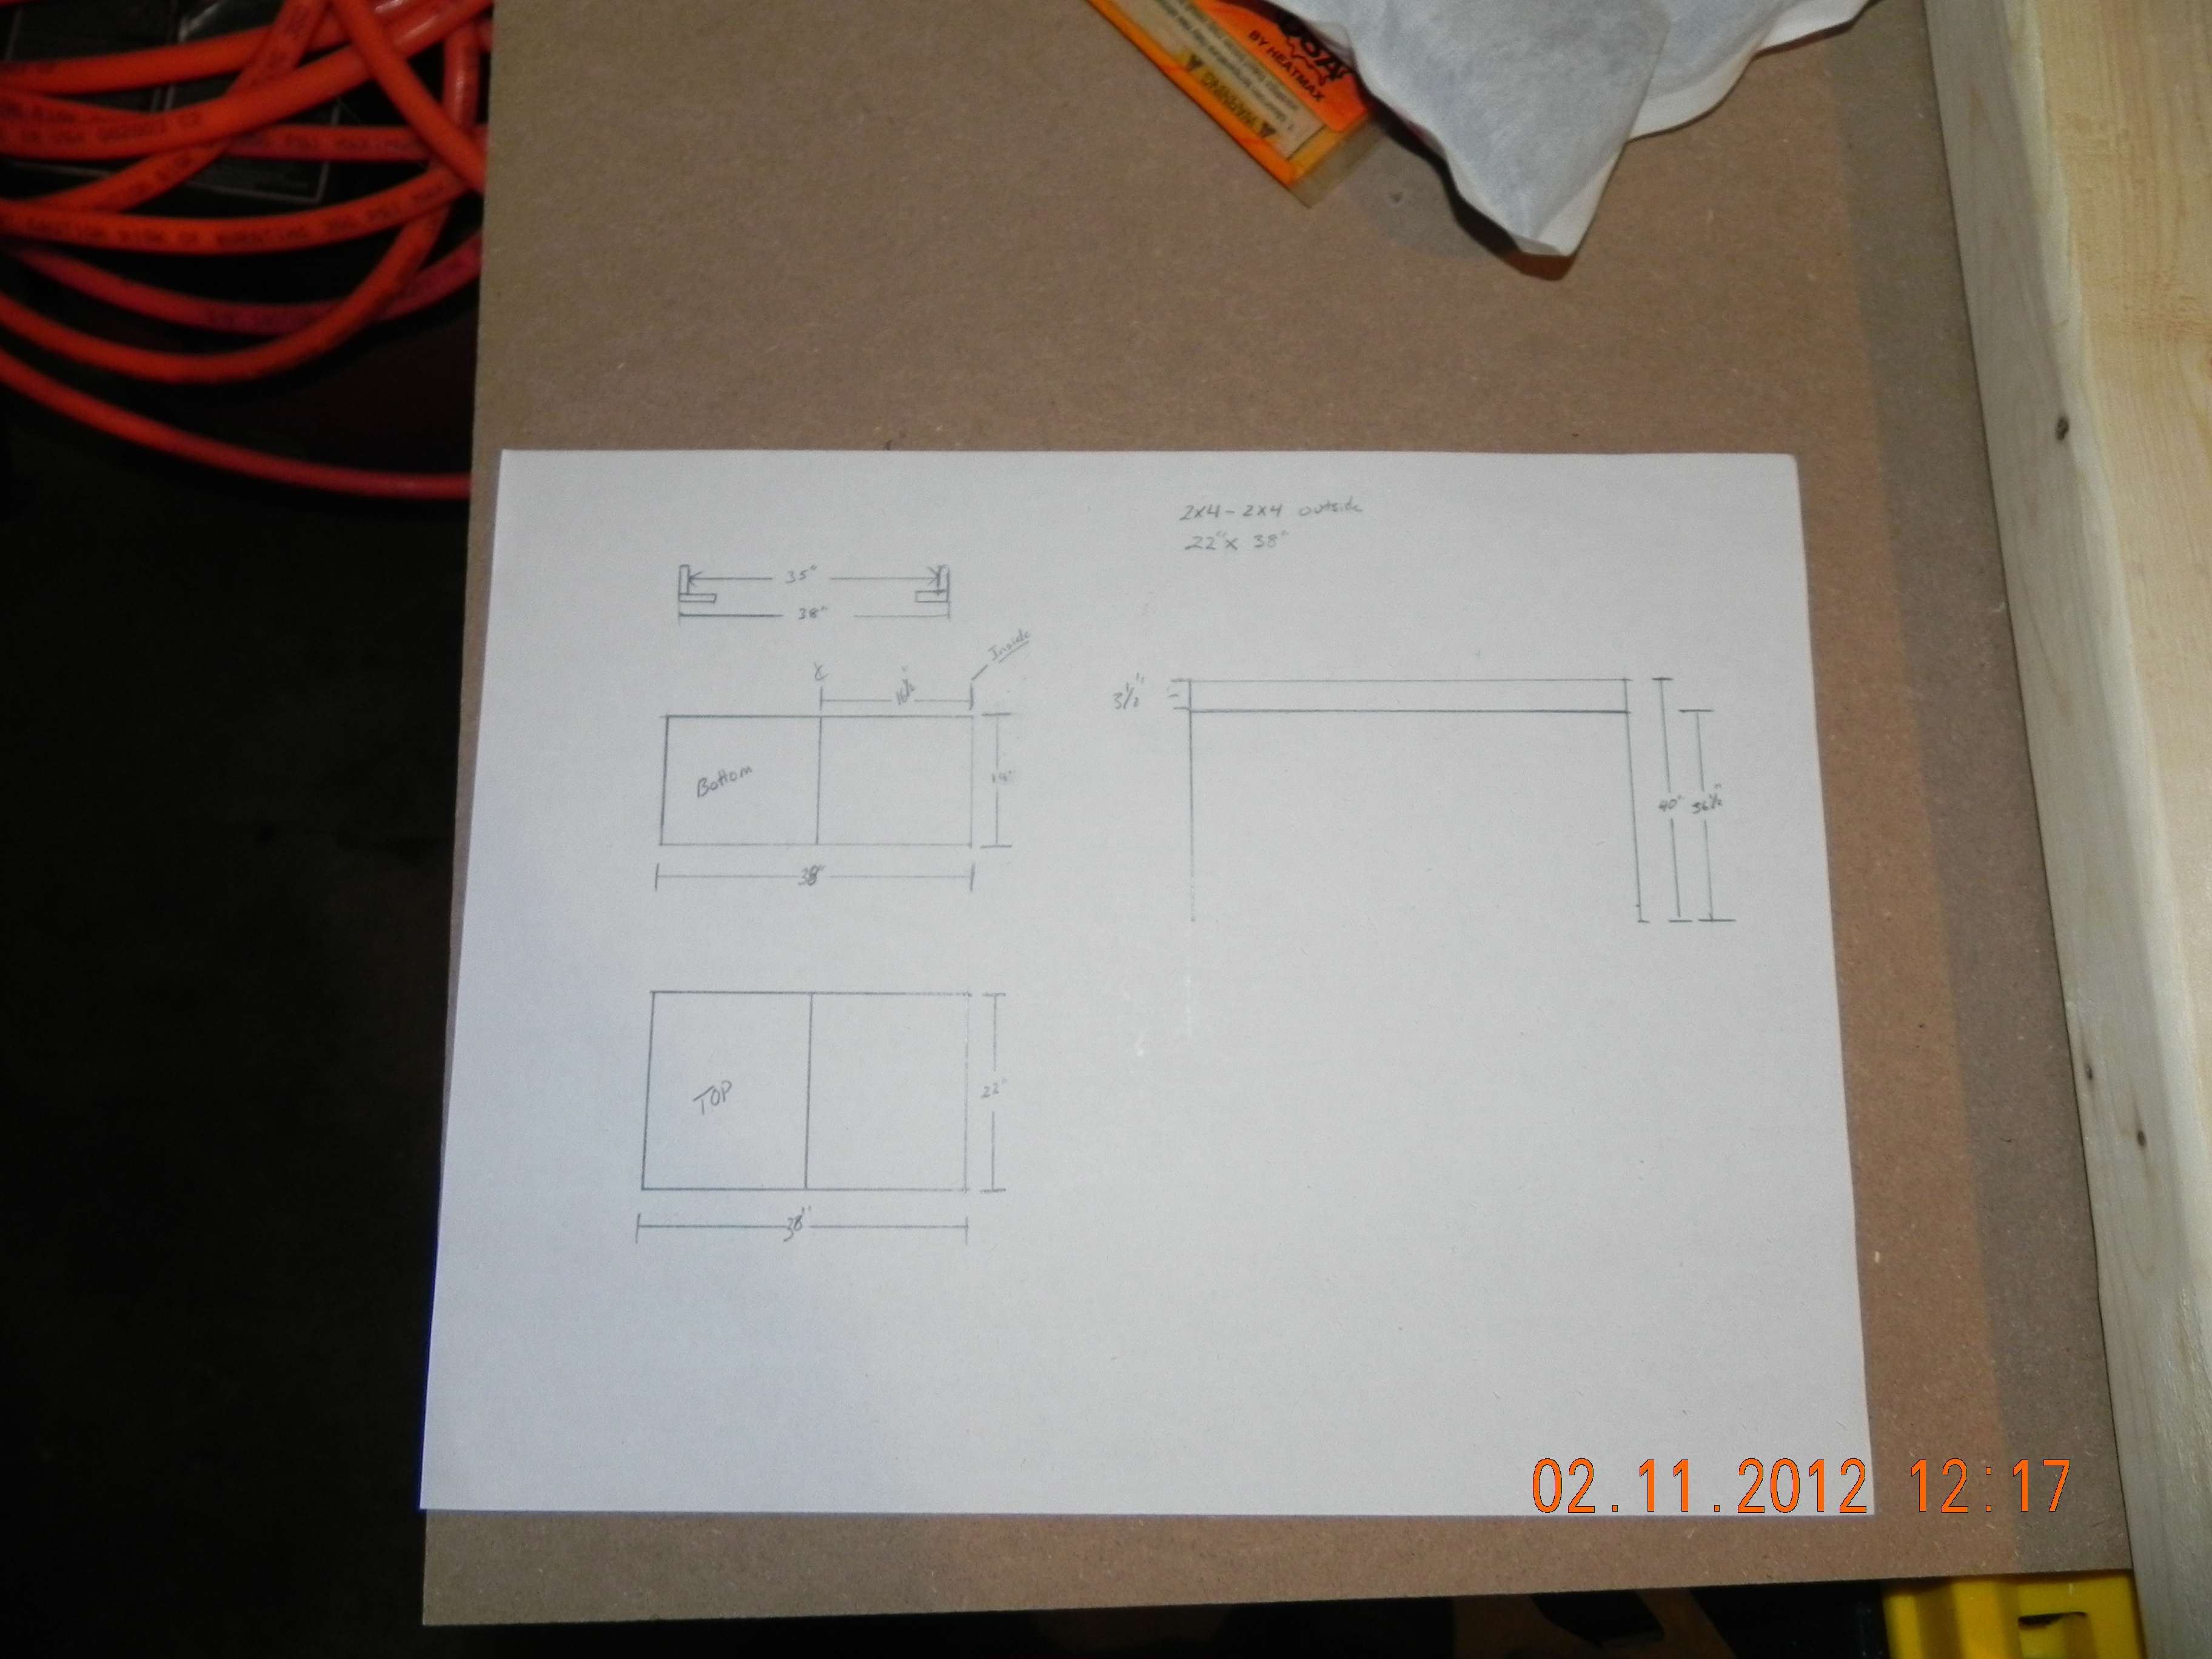
Another very important tip, drill pilot holes for your screws when putting together forms. This will reduce the likelihood of splitting your lumber.
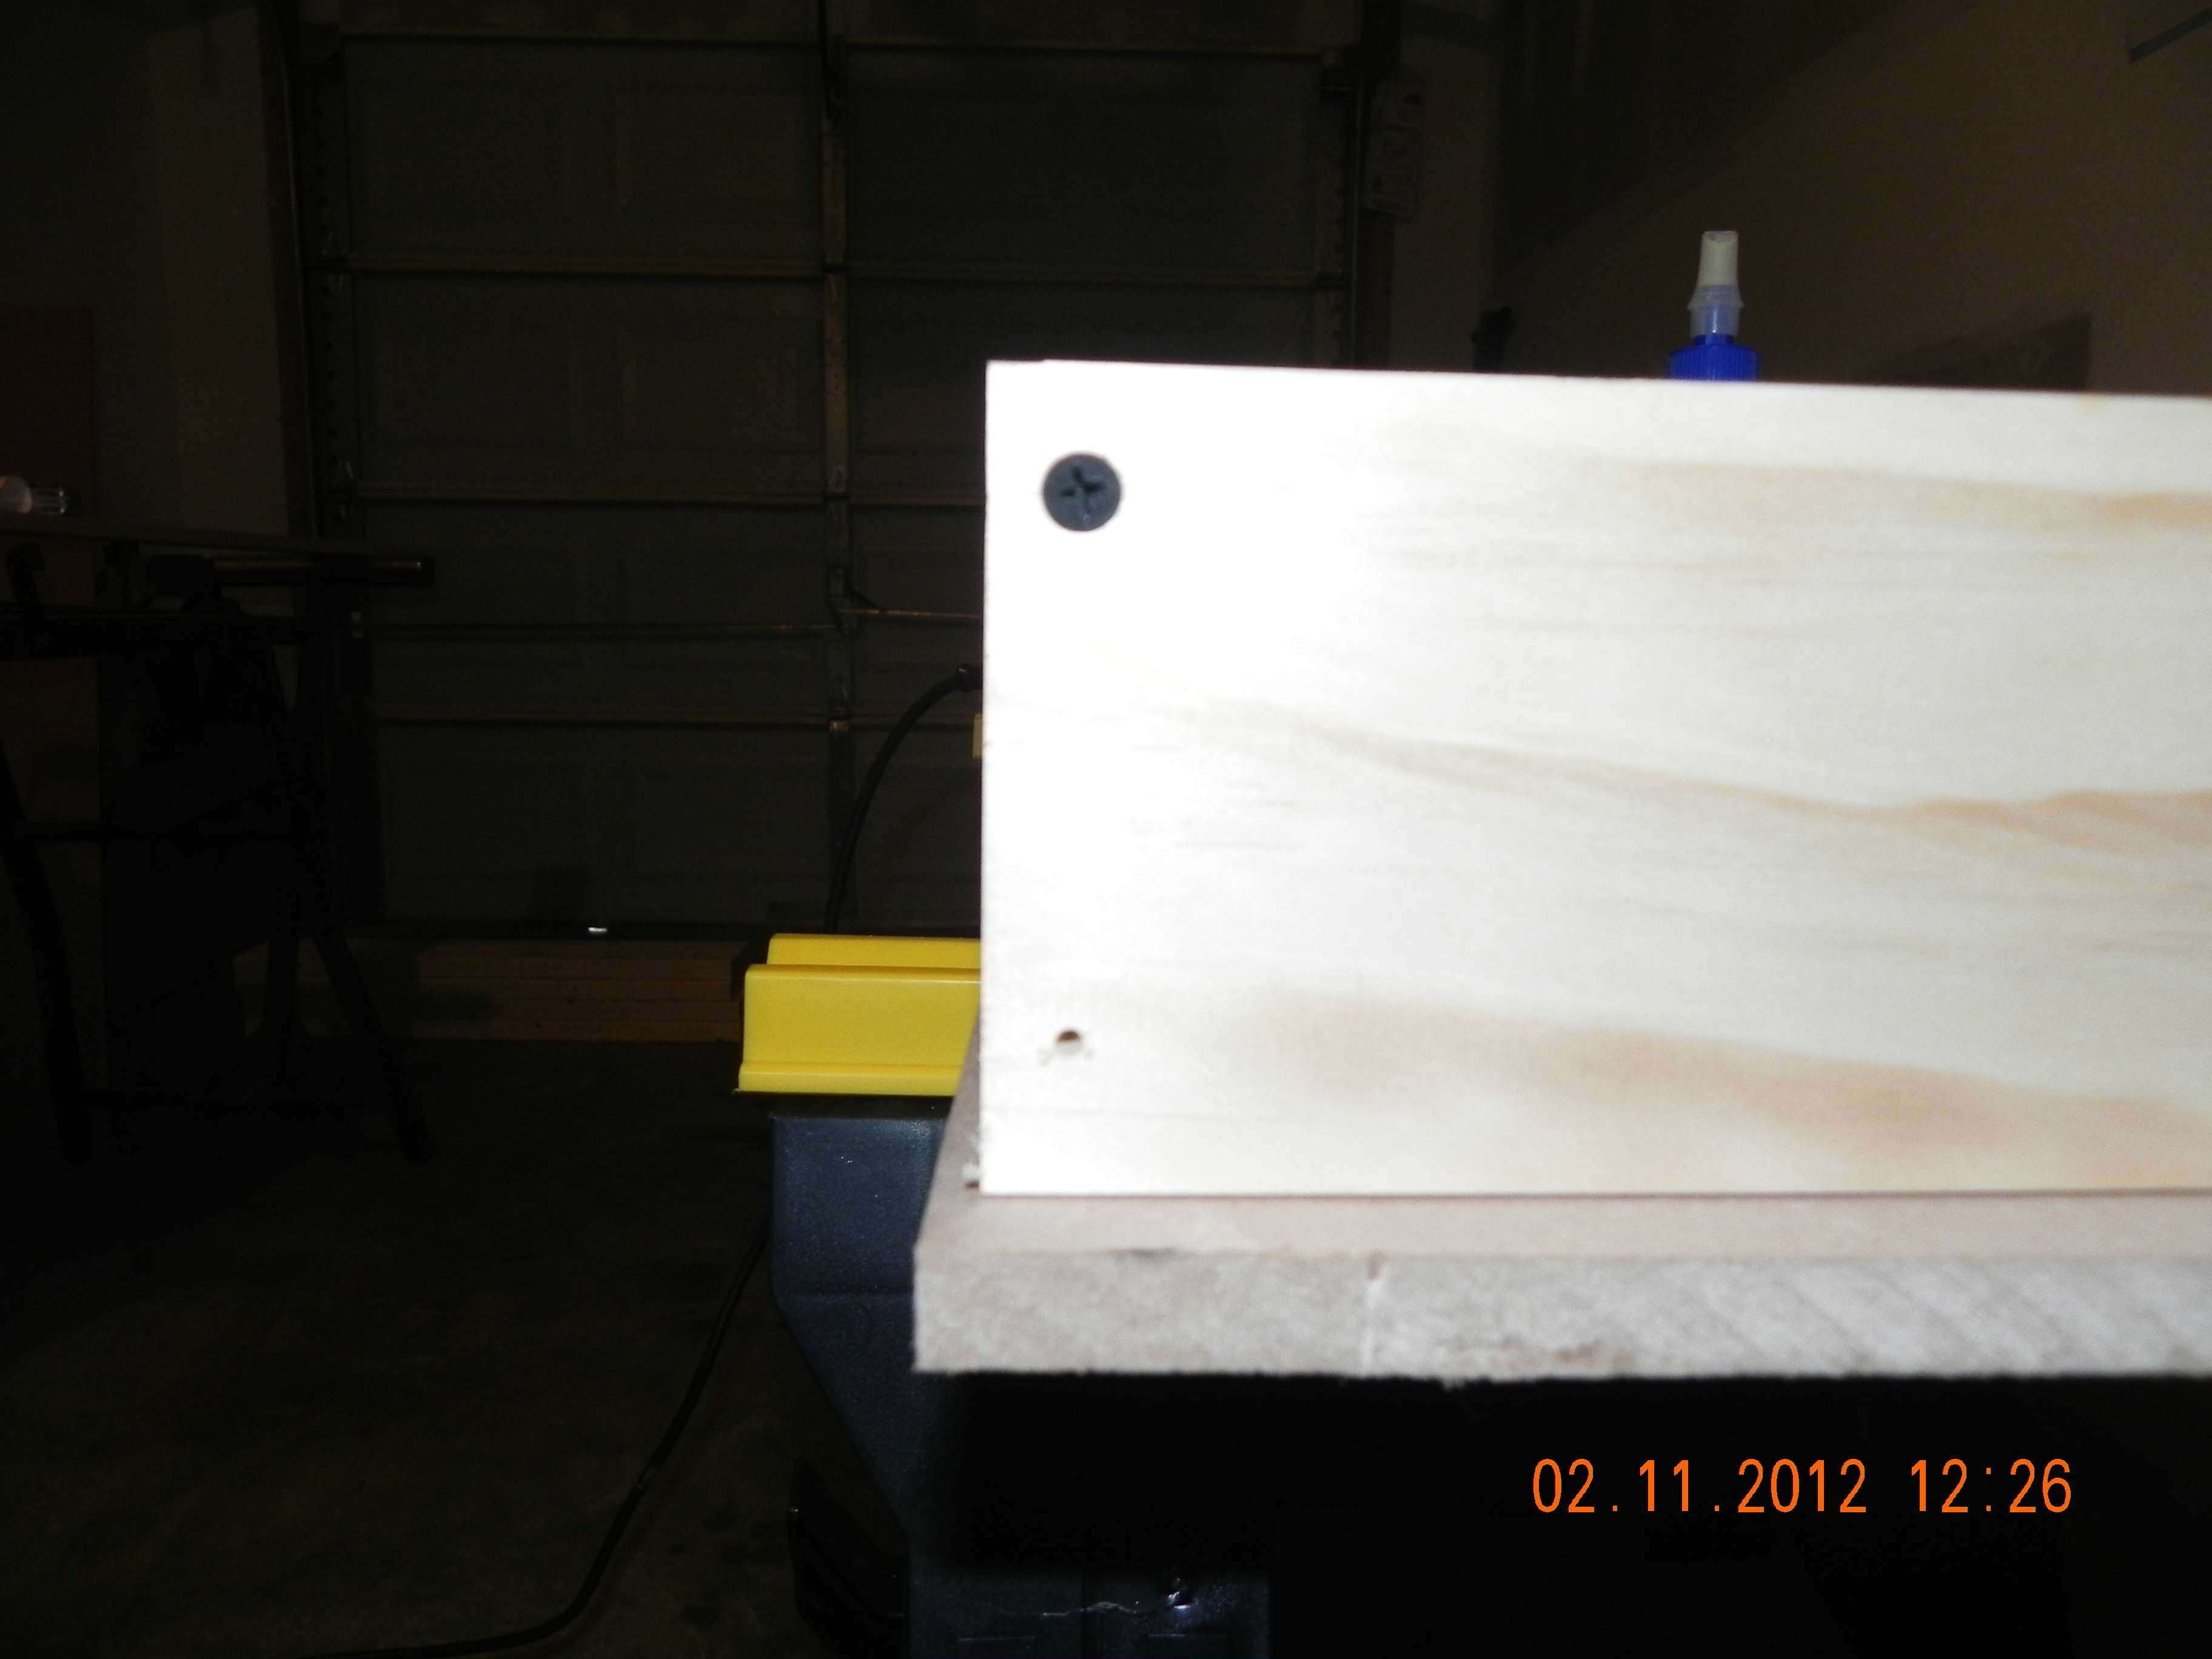
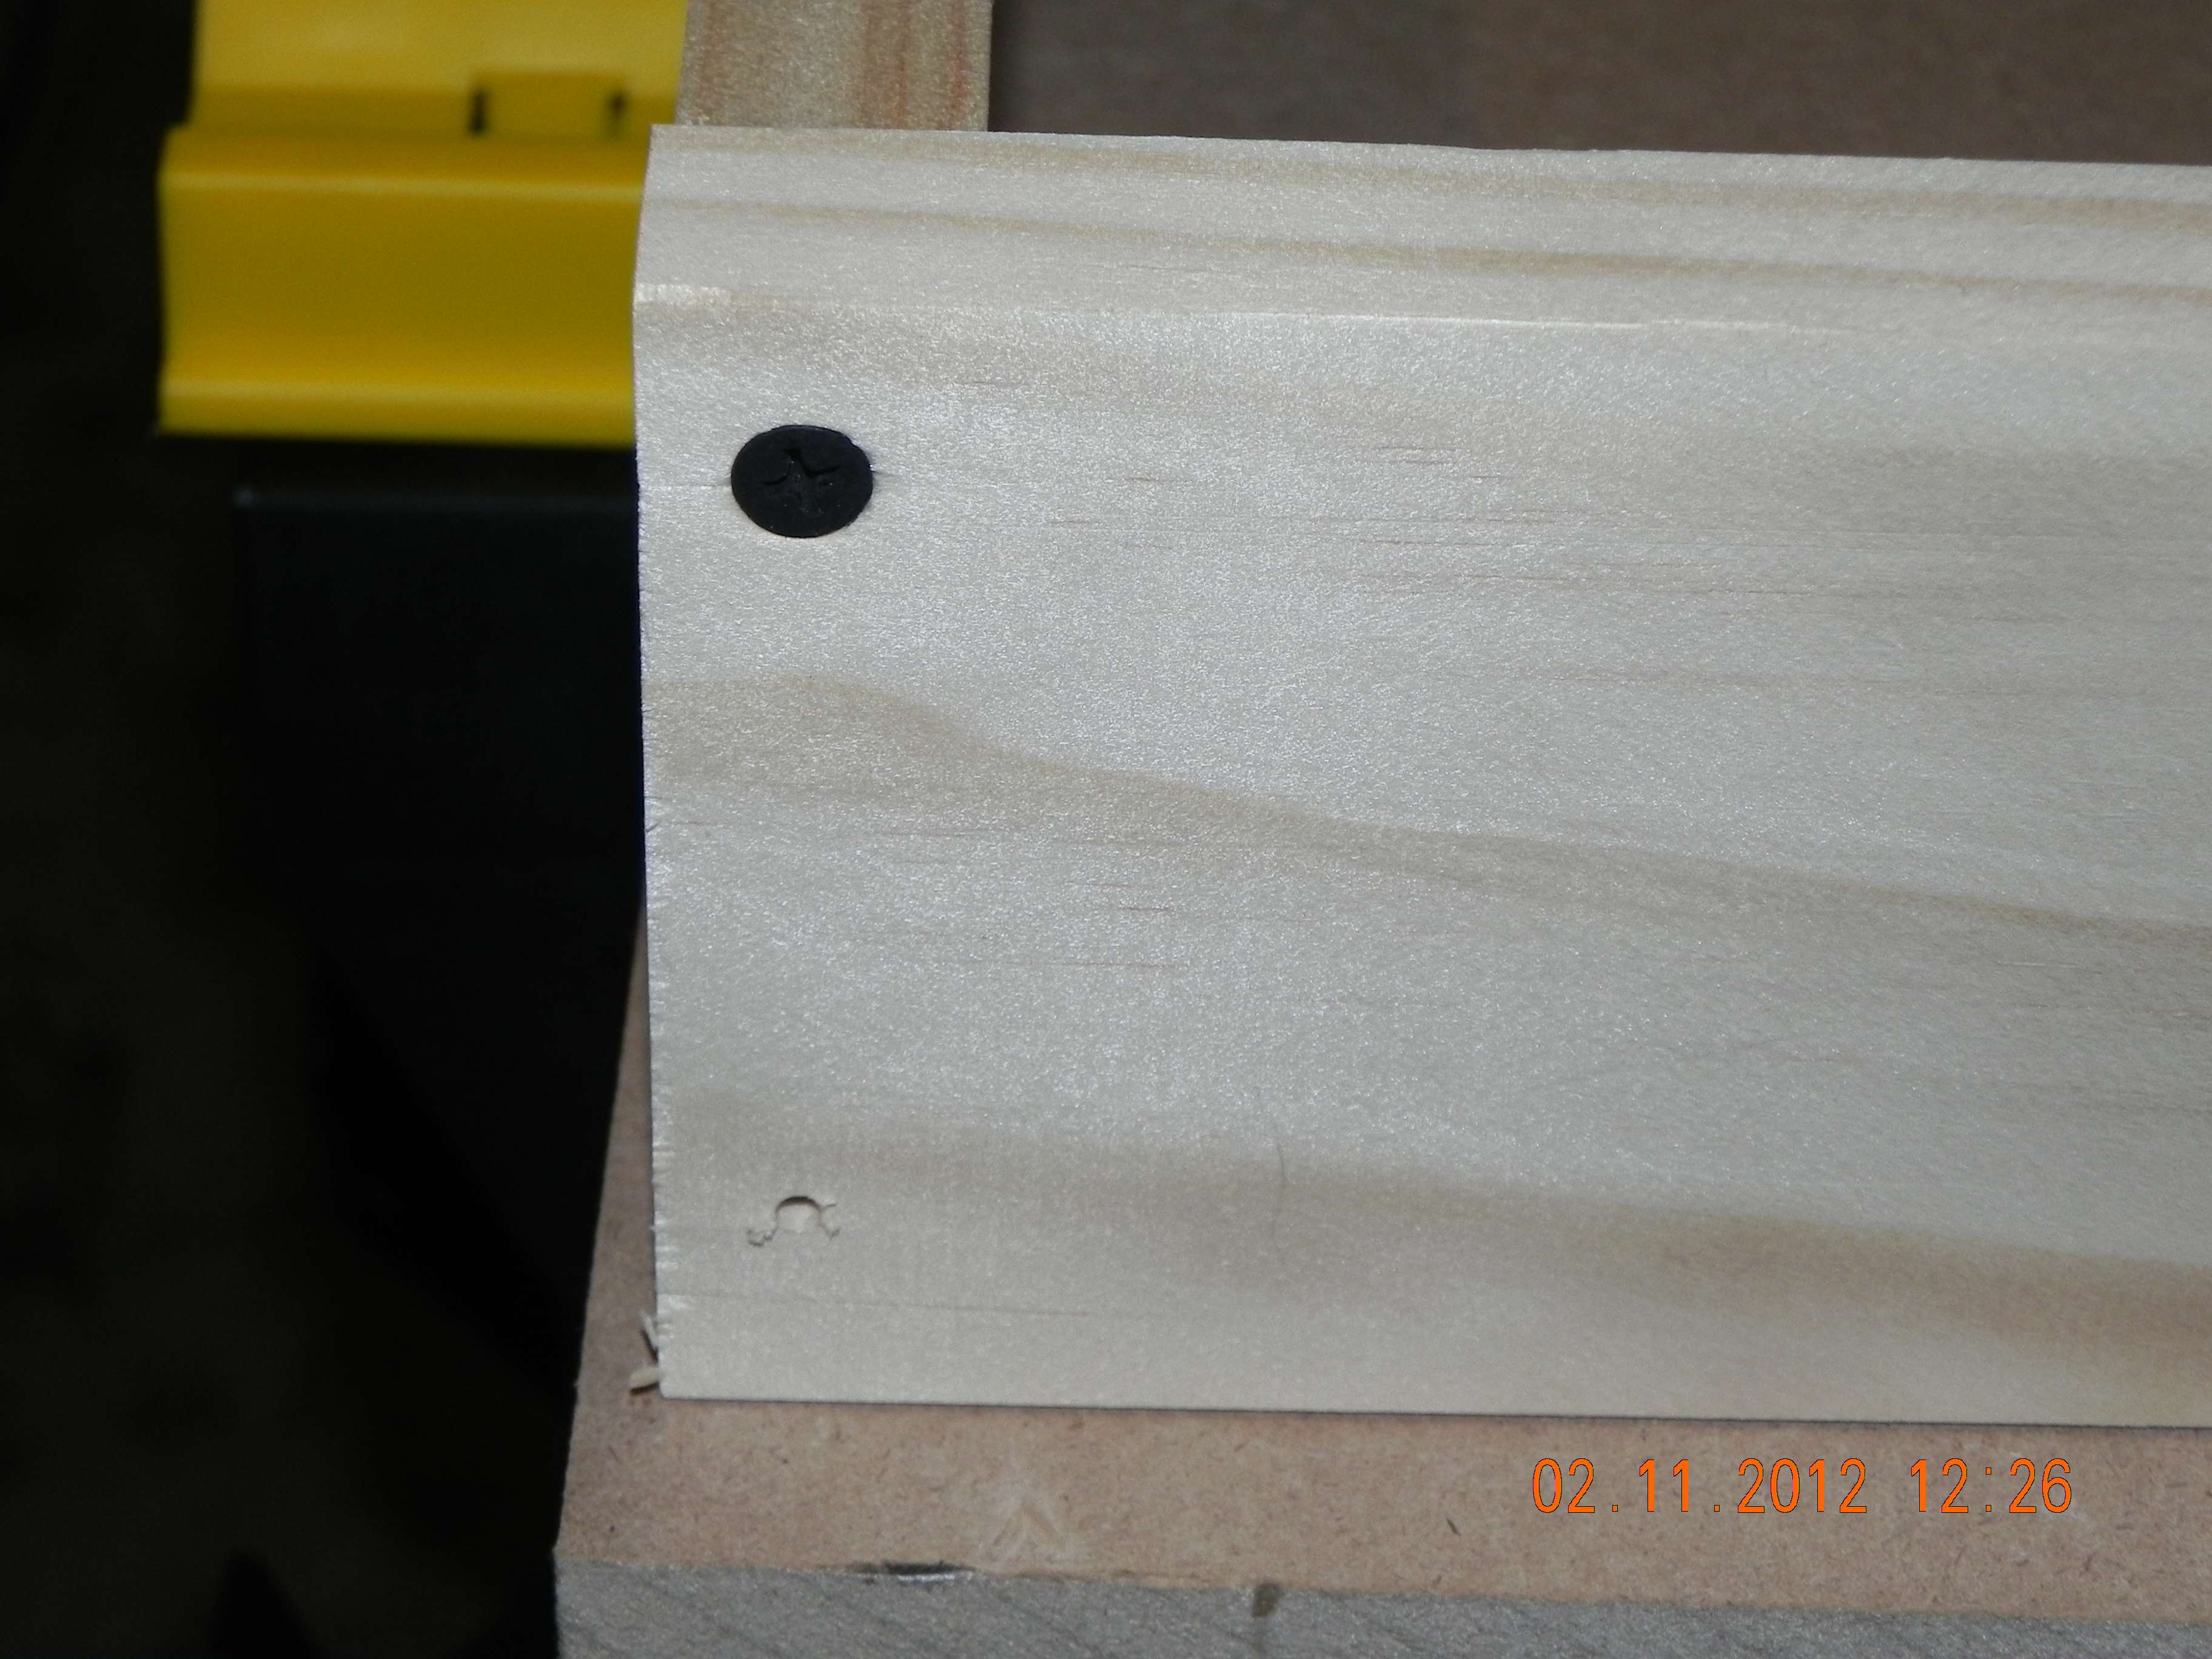
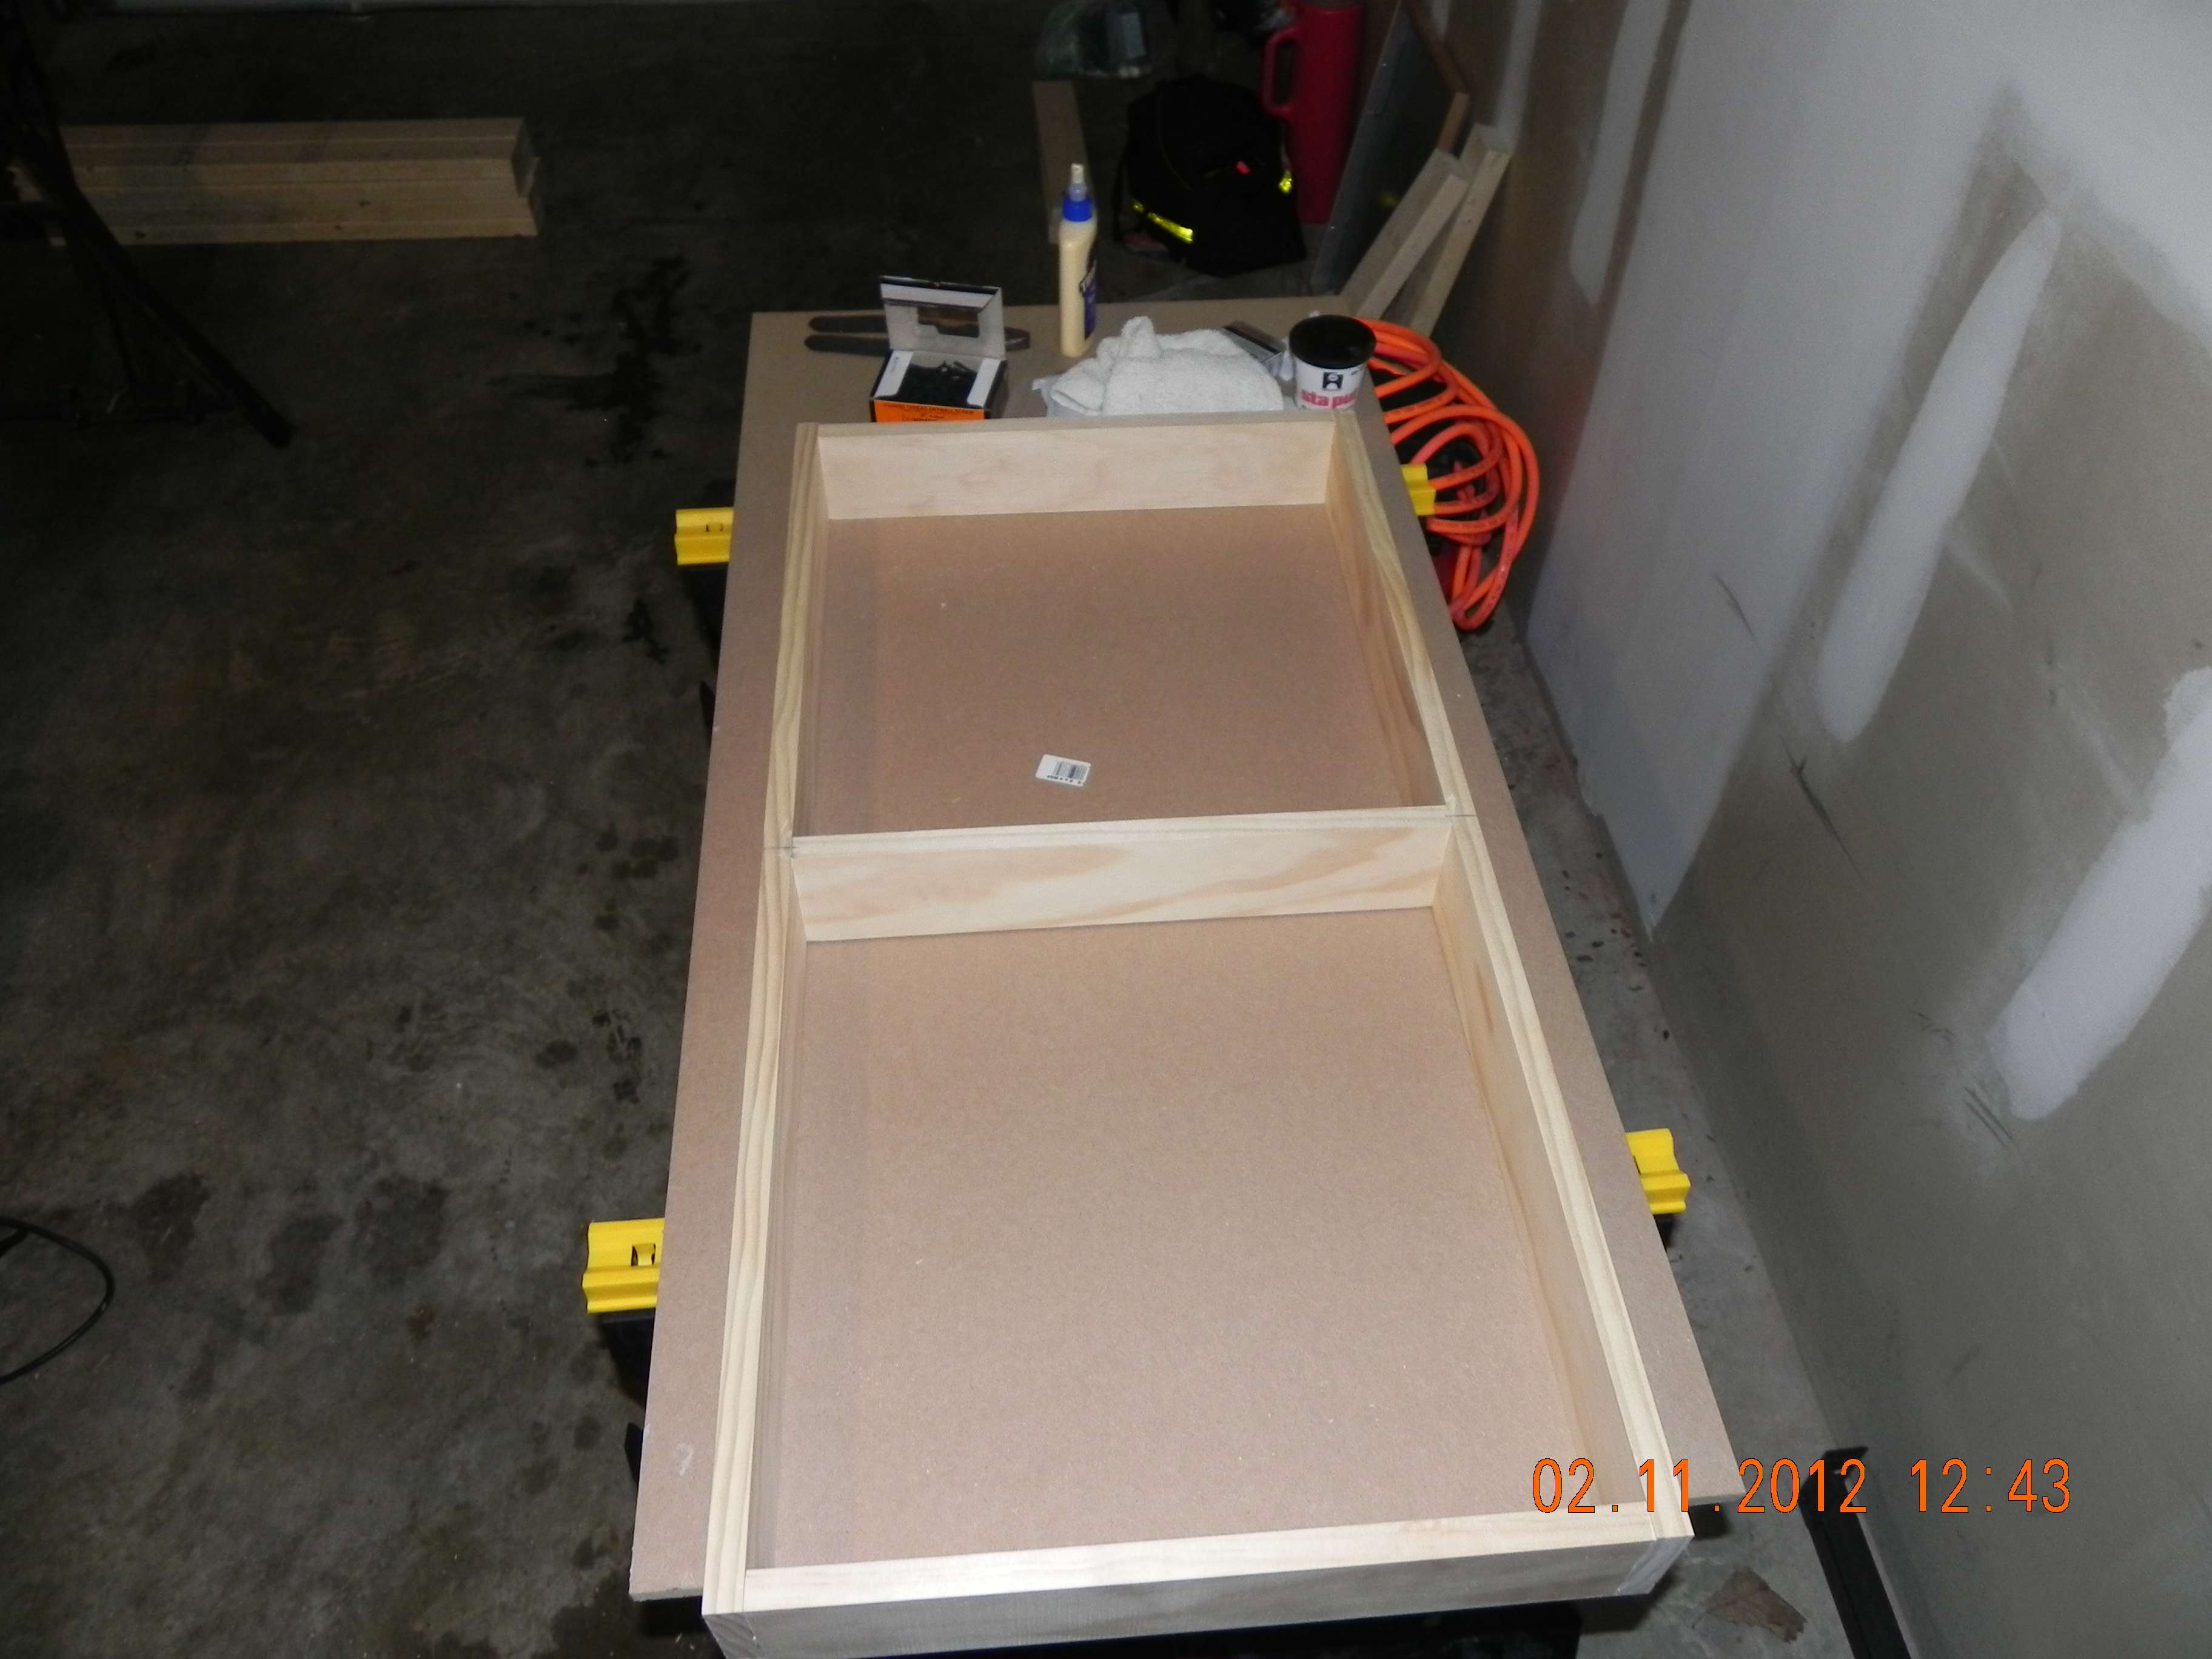
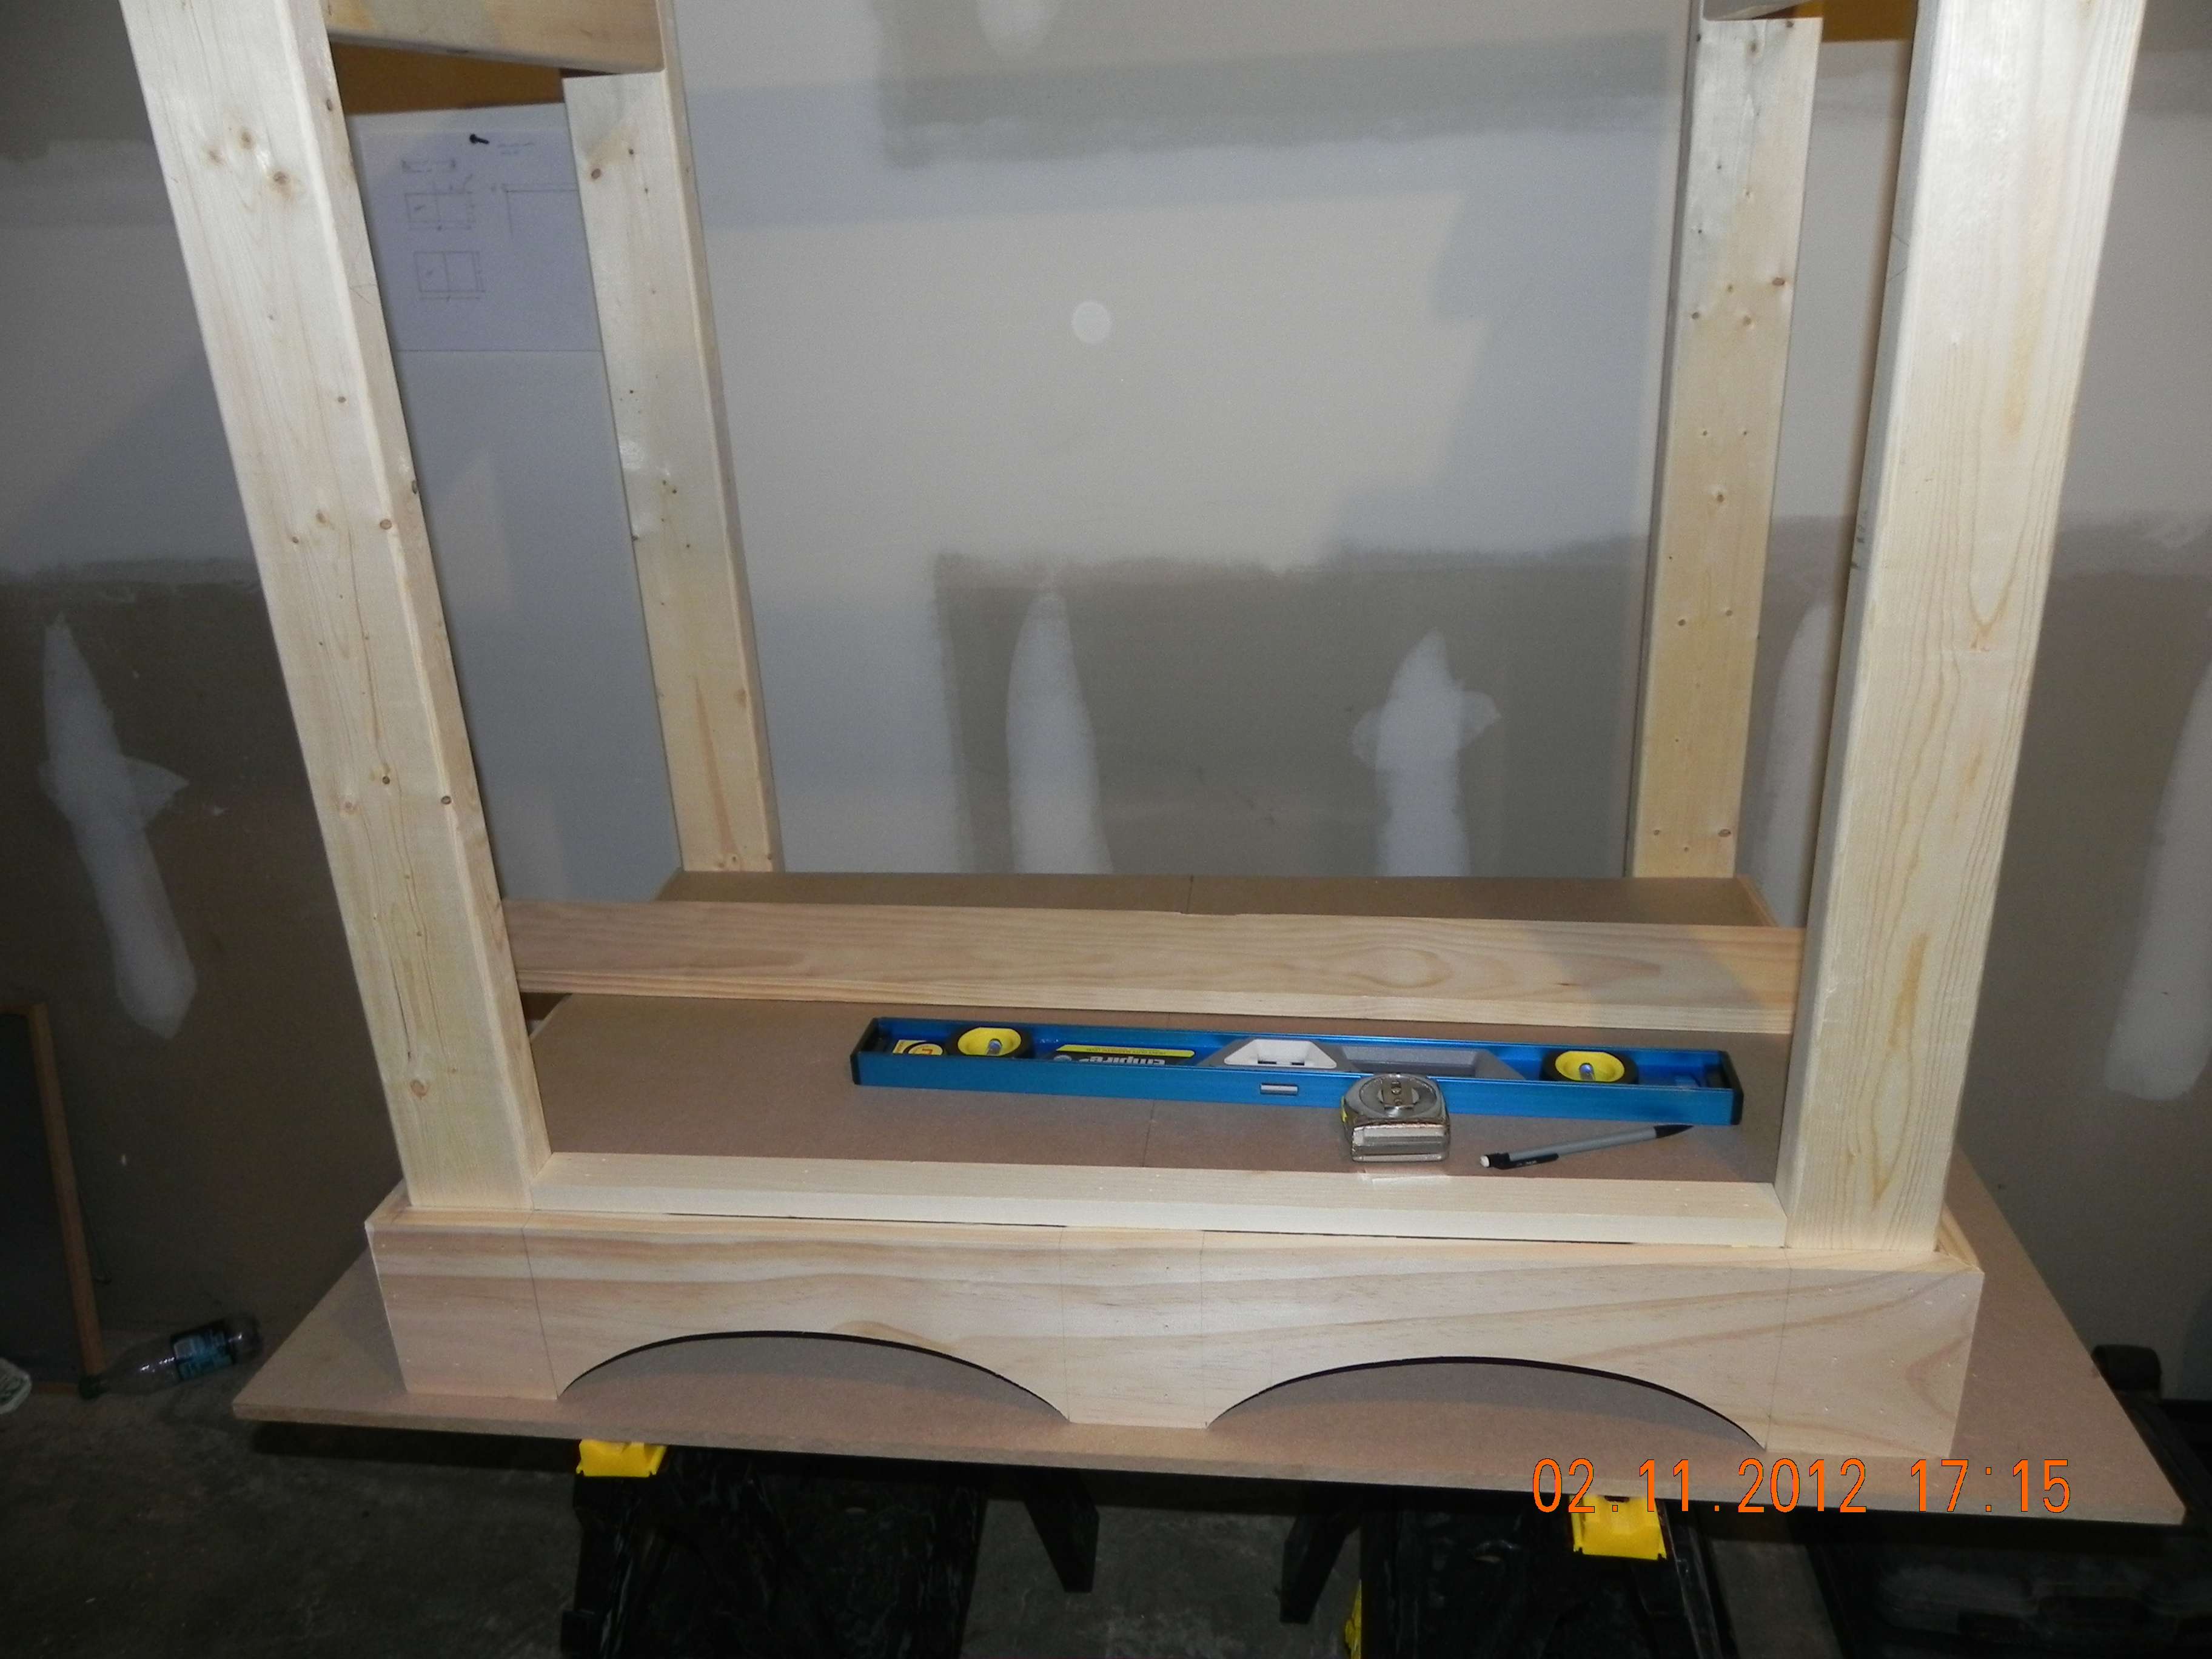
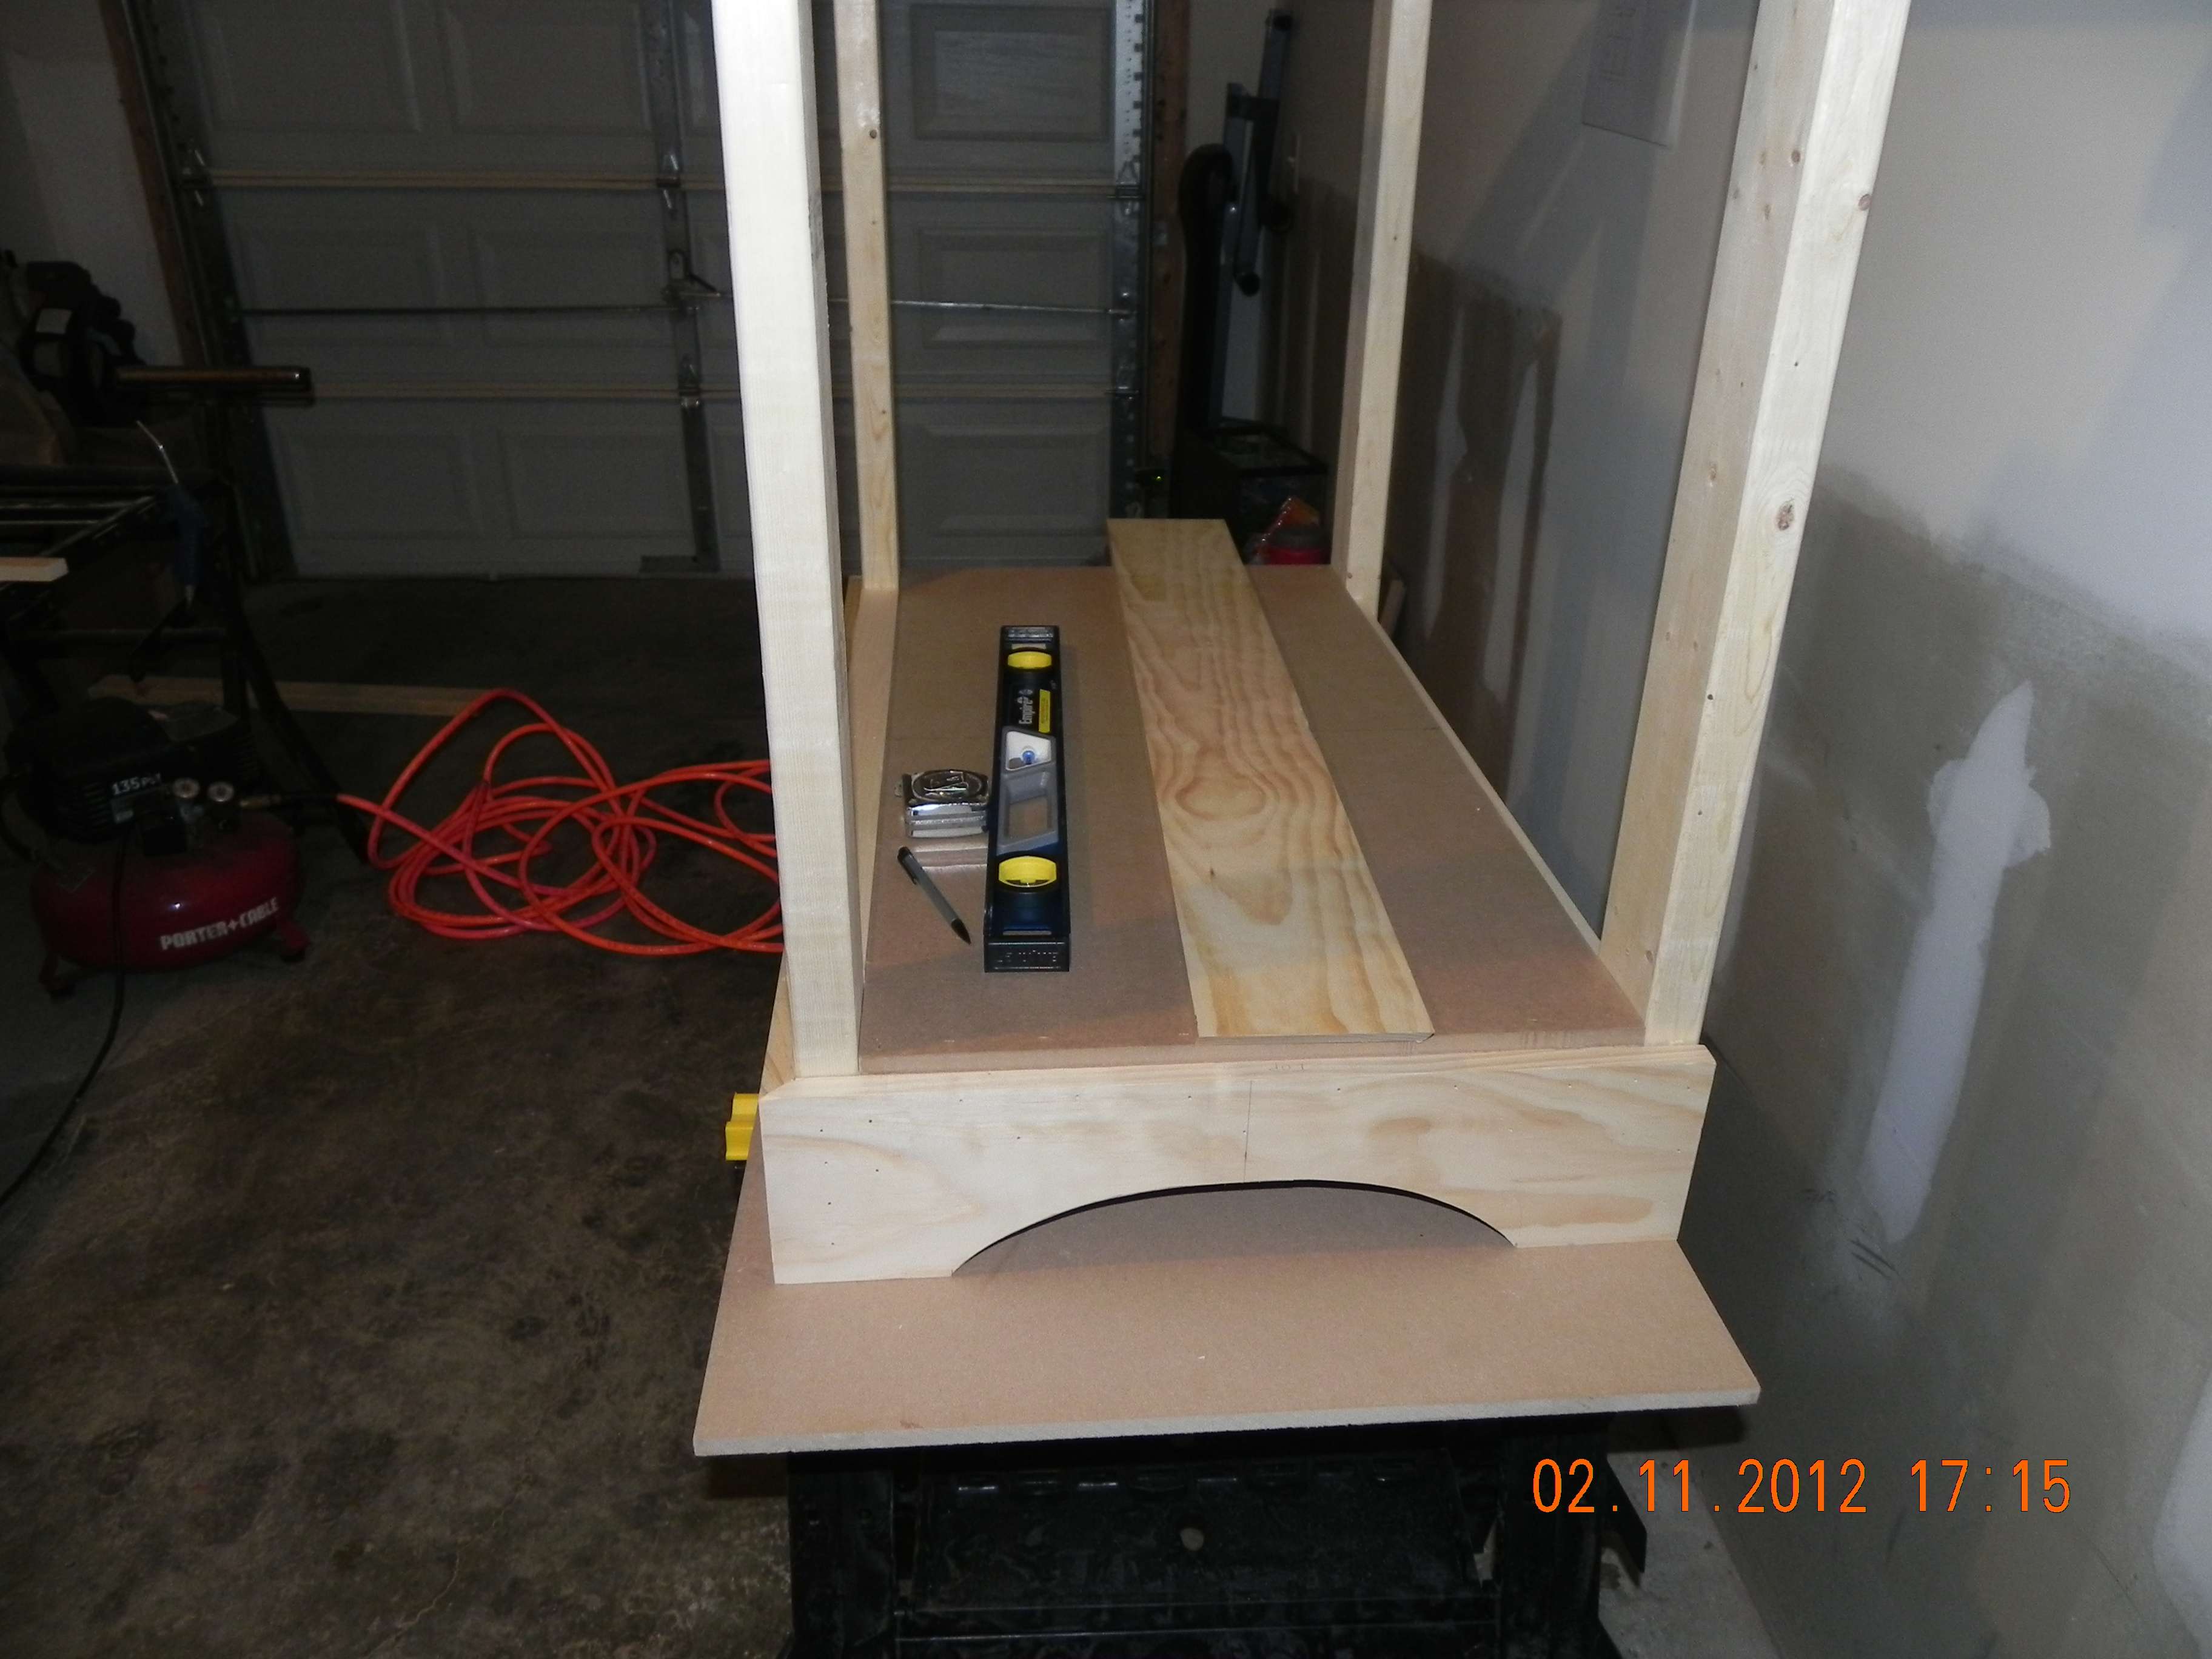
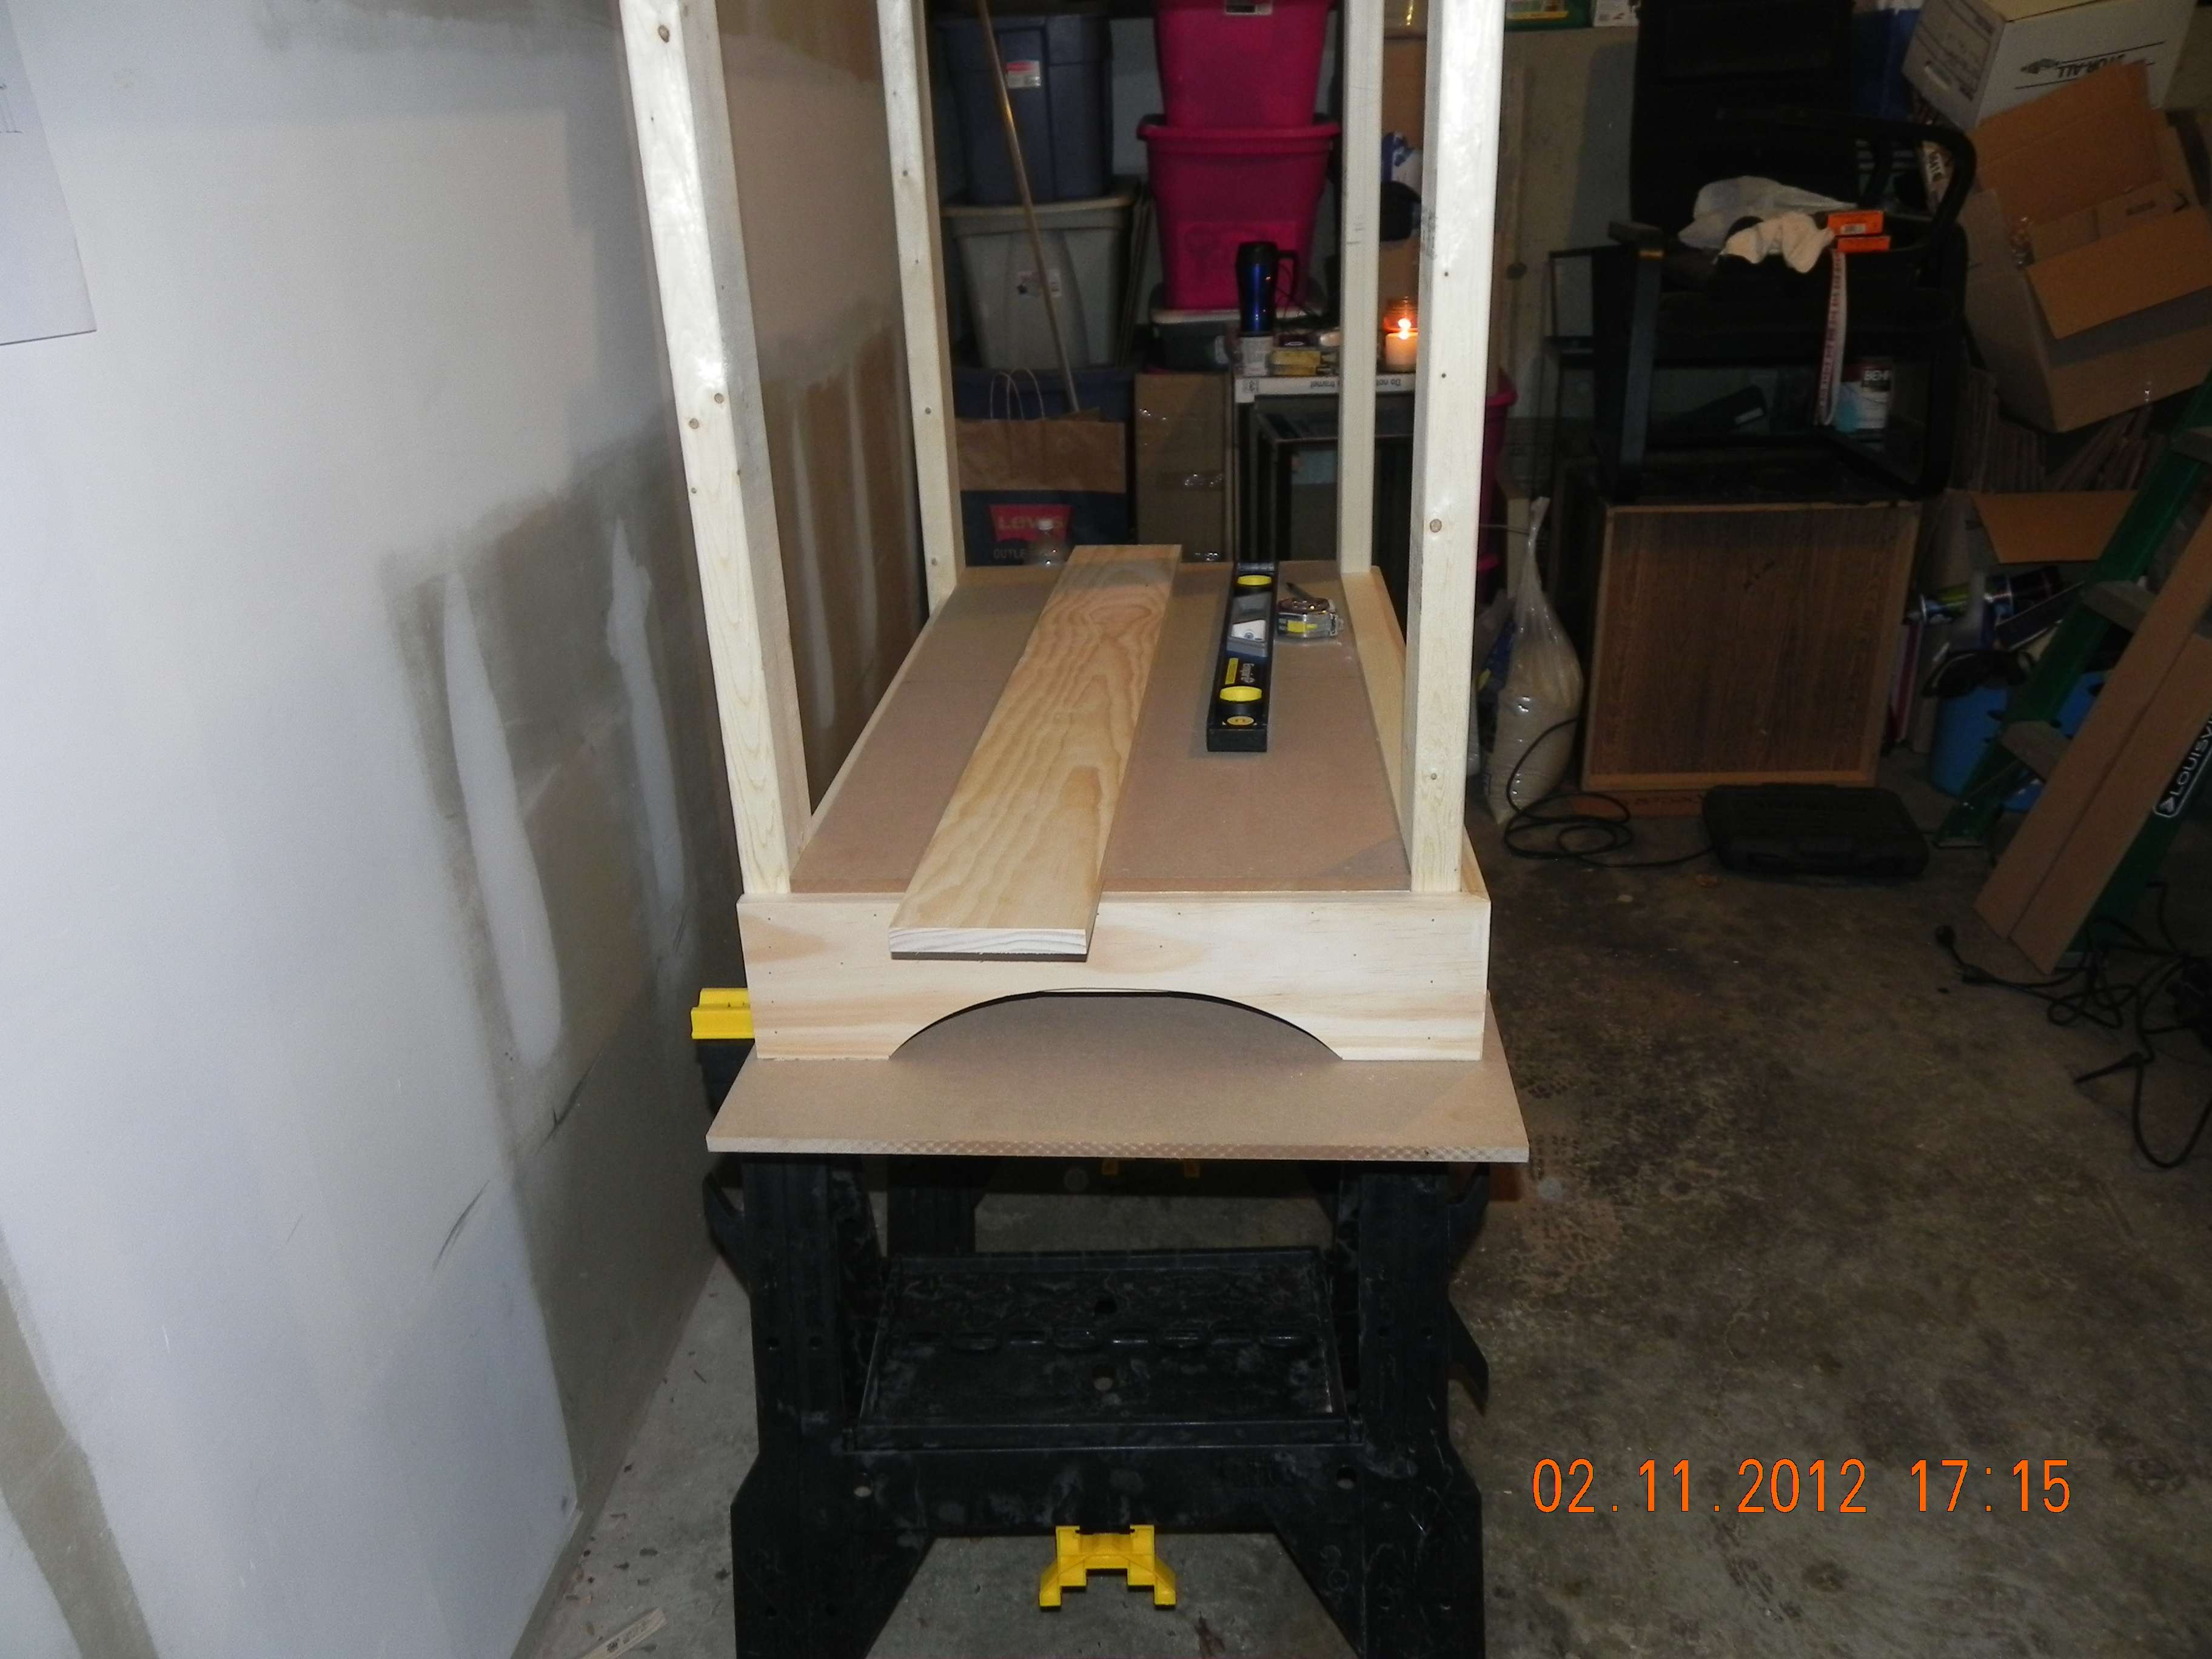
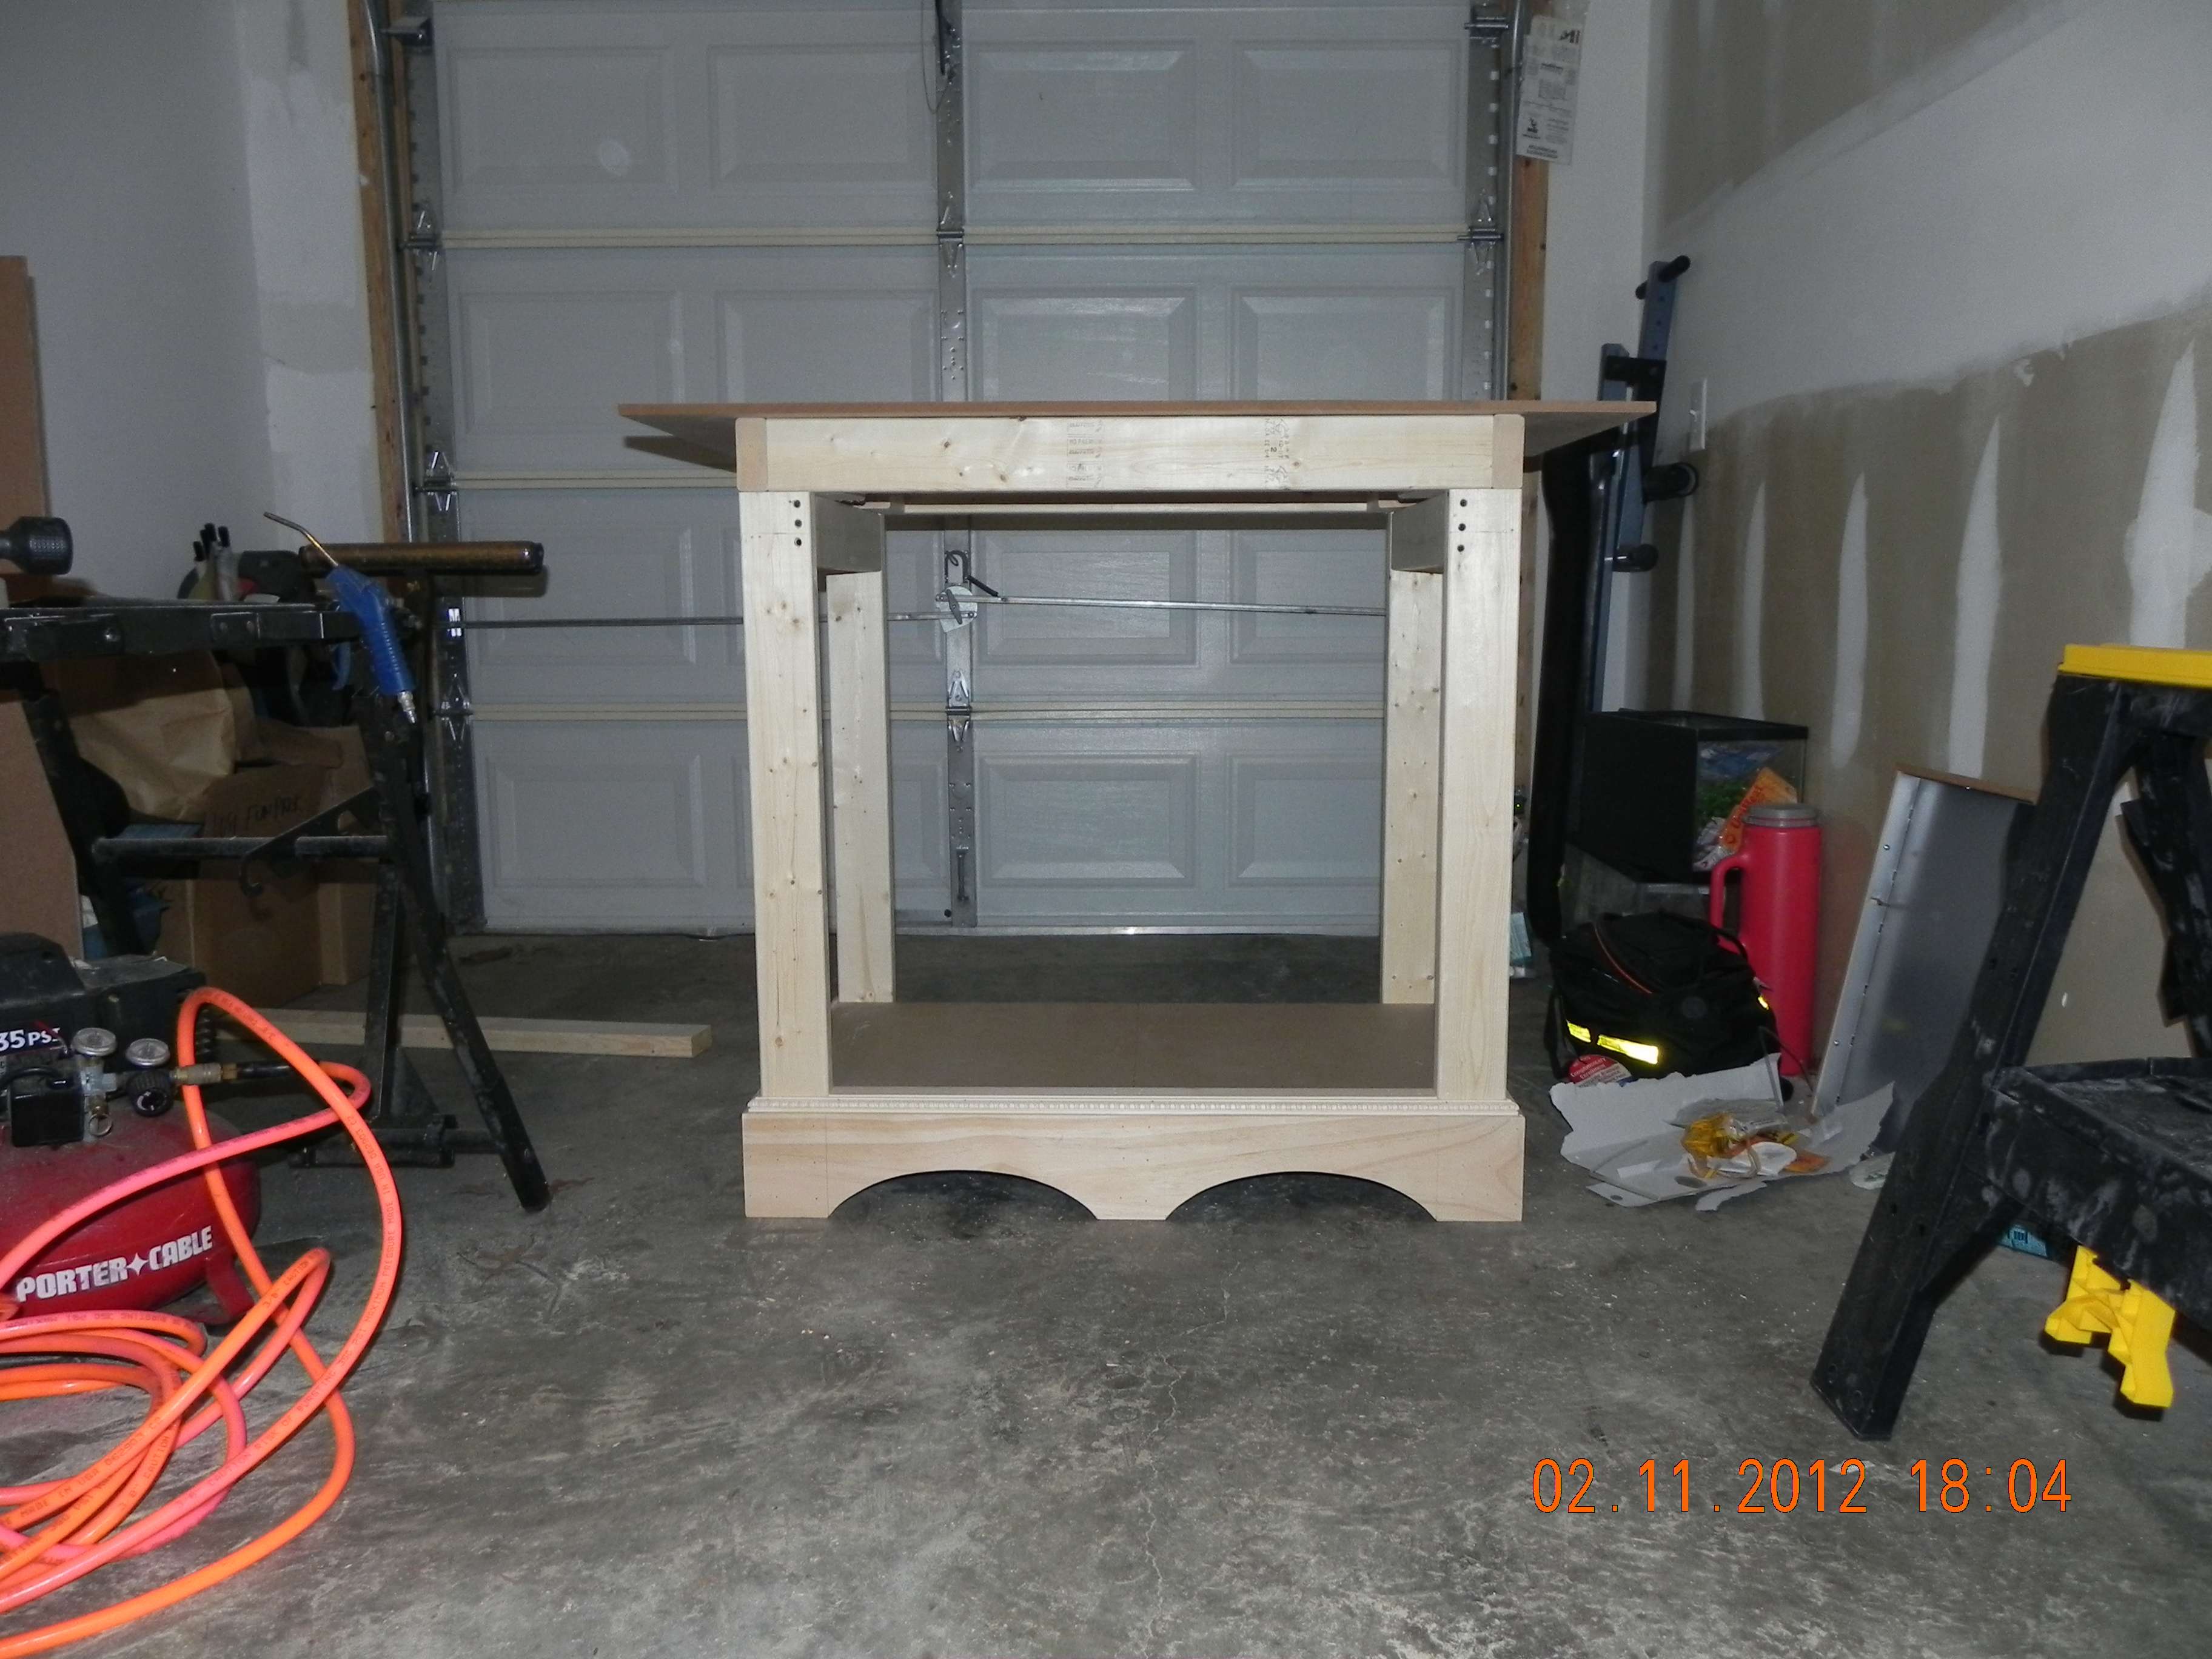
Here is the bottom of the stand. This measures 38"x19". I used 1"x4" stock to build this. Actual measurements are 3/4"x 3 1/2". The bottom edge of the base of the stand is elevated 2" off the bottom of the legs. I did this to allow for arcs to be cut in the base trim on the front and sides. You will see what I mean further down.
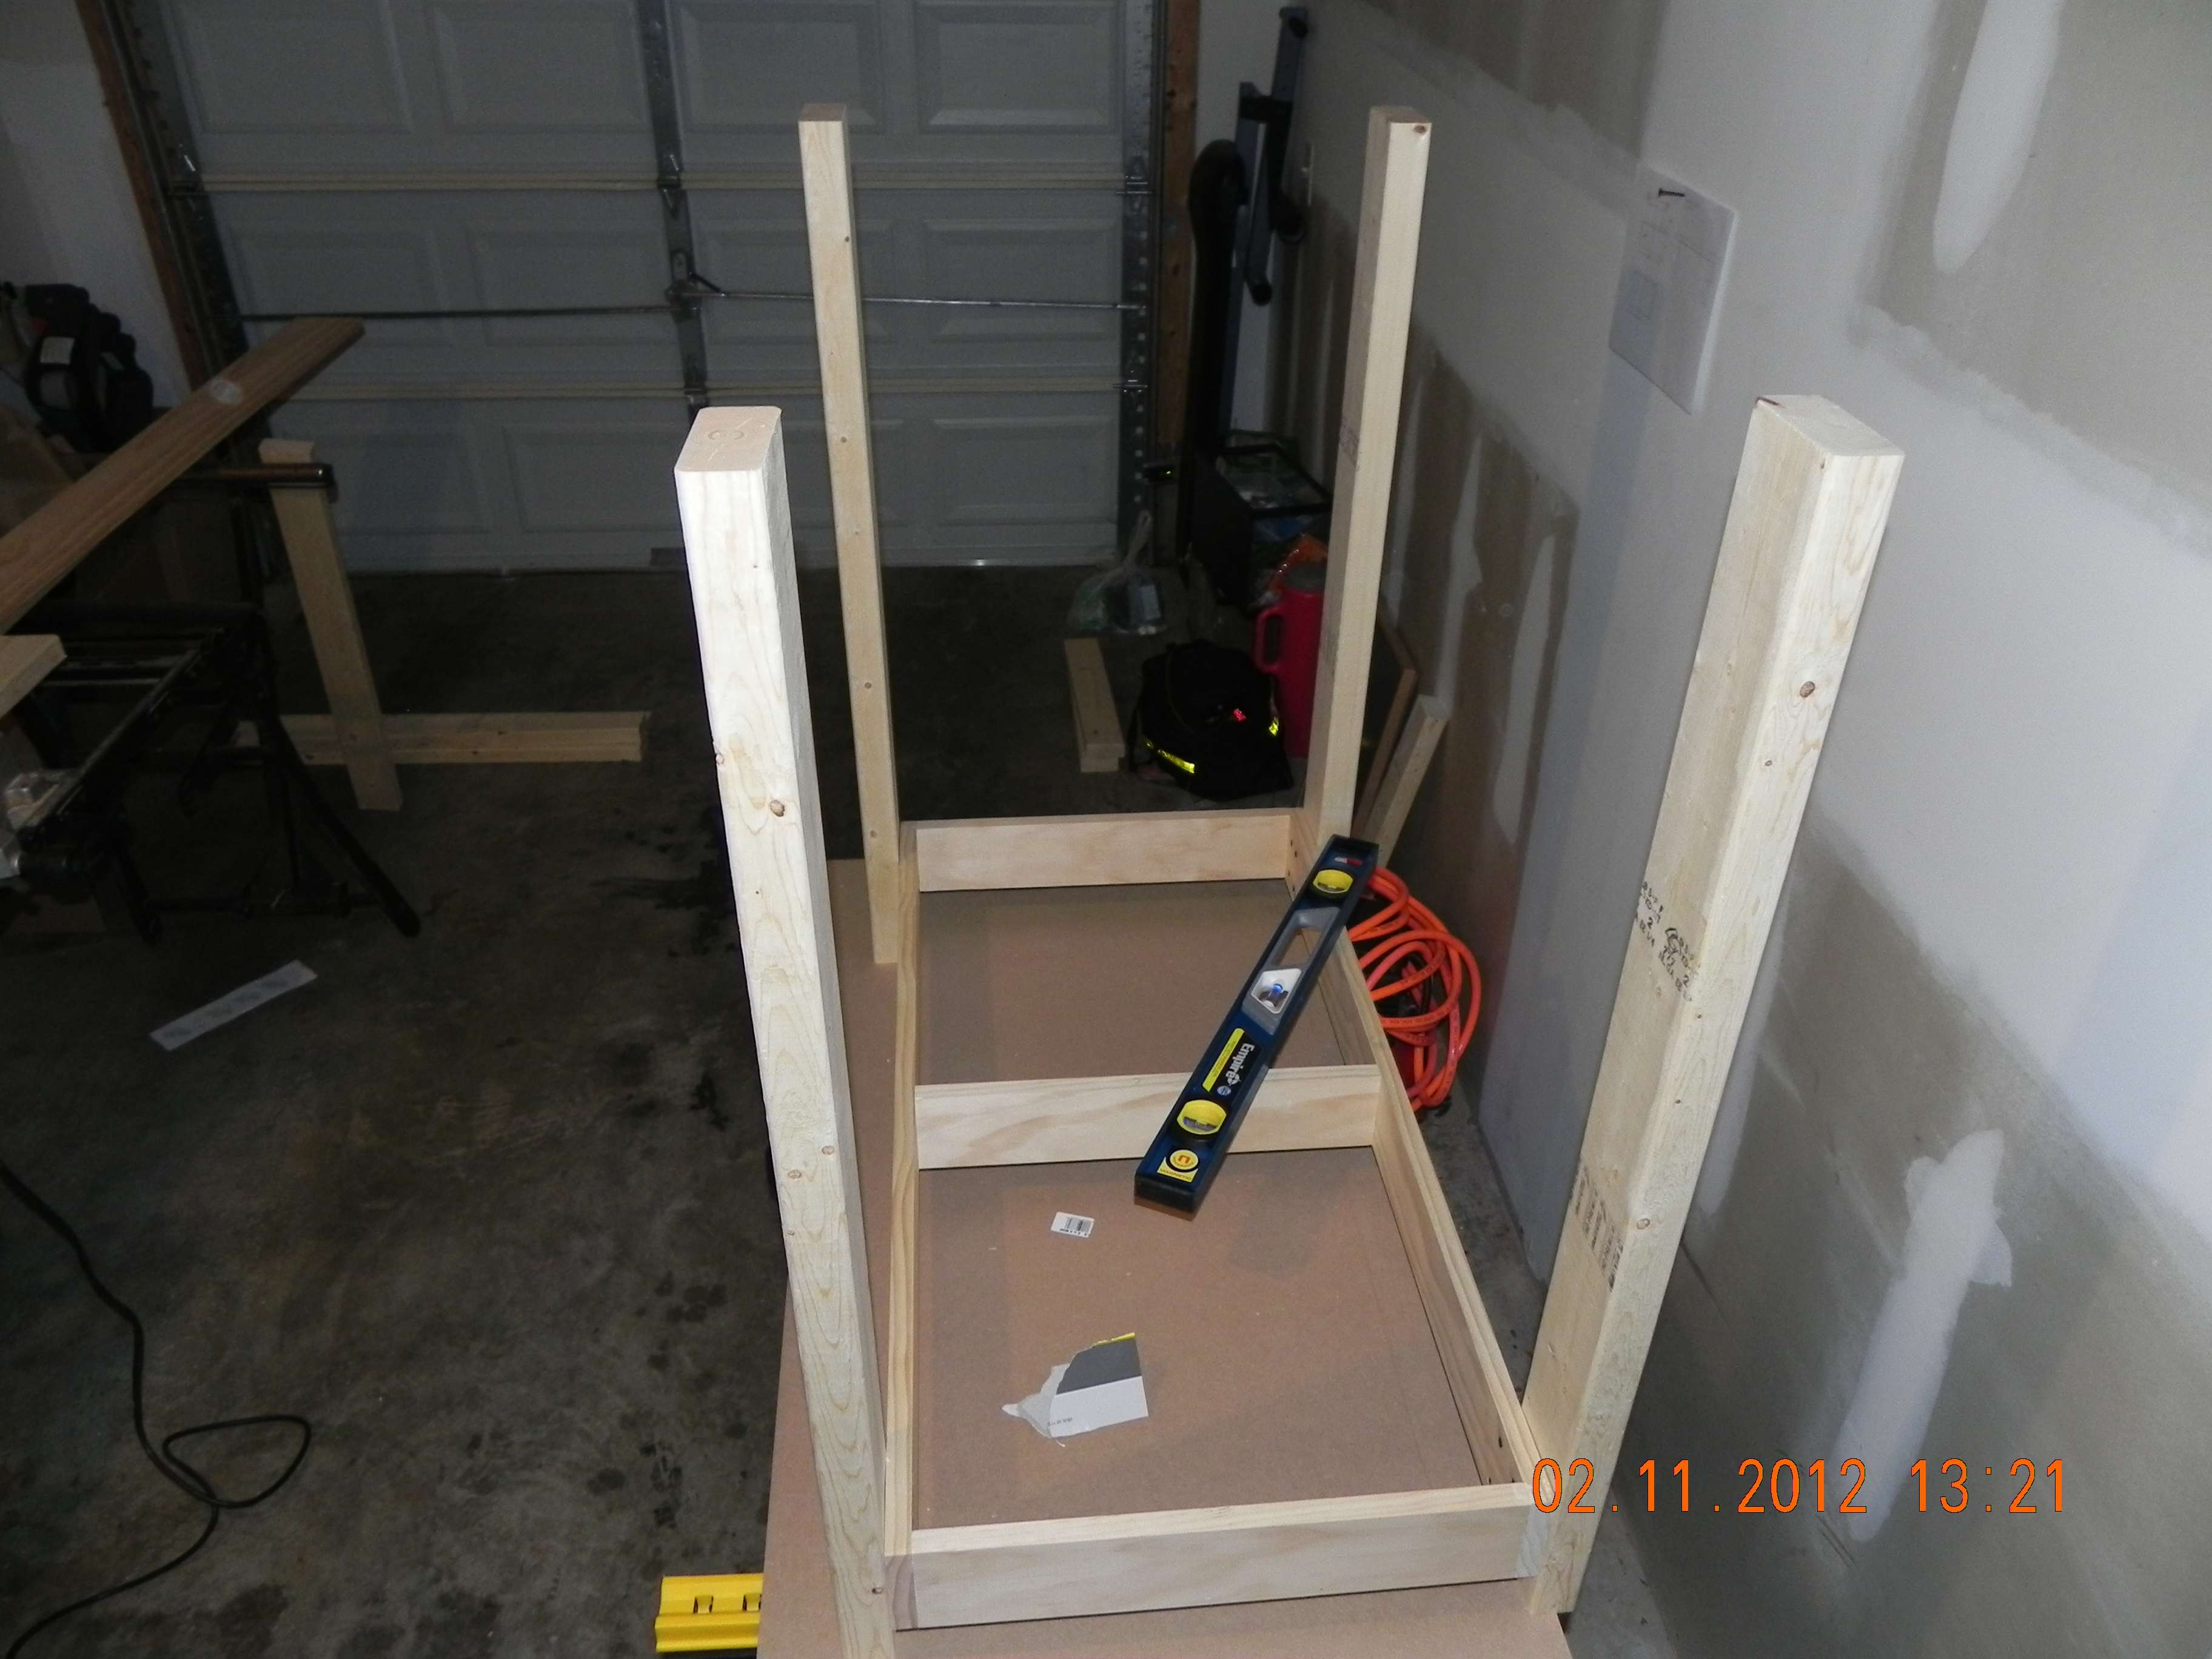
Here you see the base attached to the legs. Again this is 2" off the "ground". The legs are 36 1/2" tall. Overall stand height will be about 41".
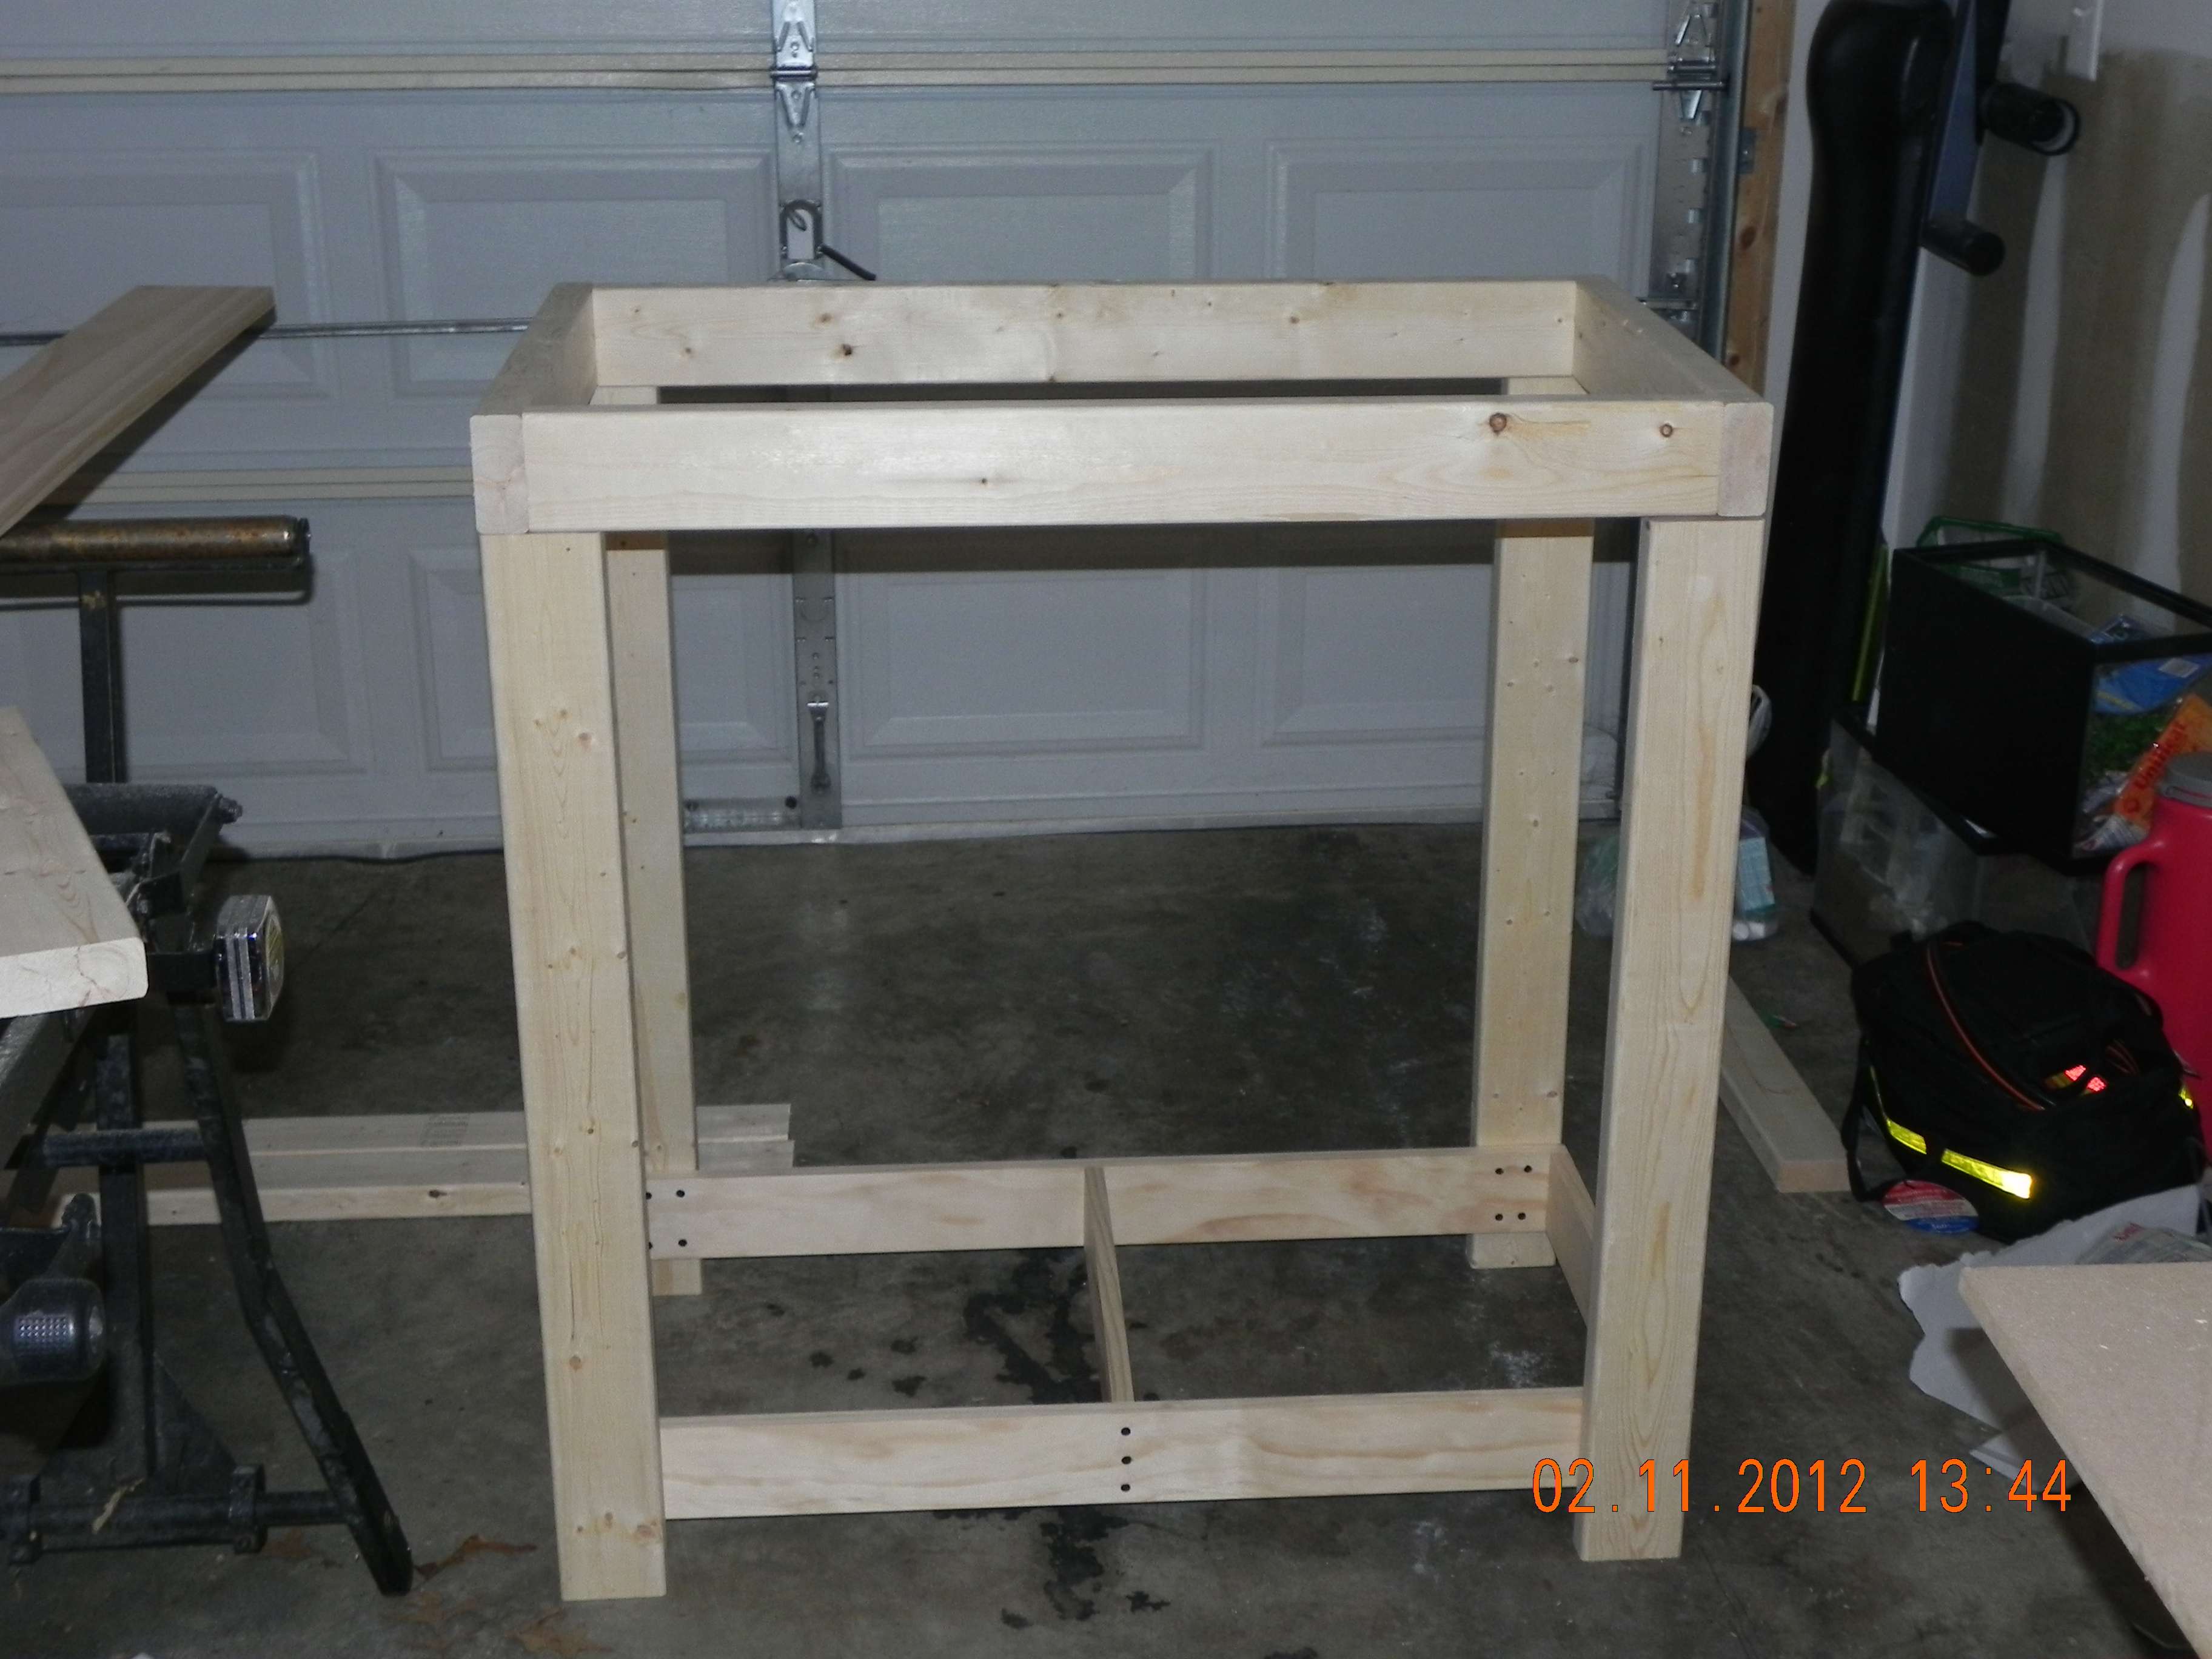
Here you see the legs attached to the base and the top. These forms are intended to carry the load of the tanks. The base/bottom has a center support that was added after the decking was put down. I'm not as concerned with having the center support on the top as the tank will span the distance between the 2x4s.
My saw and the lumber that has been cut for the stand
One note when starting a project like this, it is always a good idea to square your lumber. What I mean is cut about 1/8" off the end of the wood you are working with to get a true edge. I always do this to keep things nice and square. It also helps to make sure that the lumber you are working with is straight and has little crown.
Plans I drew up last night and have been working from. This is not the first cabinet I have built so these were just a reference for me to go by.
Another very important tip, drill pilot holes for your screws when putting together forms. This will reduce the likelihood of splitting your lumber.
Here is the bottom of the stand. This measures 38"x19". I used 1"x4" stock to build this. Actual measurements are 3/4"x 3 1/2". The bottom edge of the base of the stand is elevated 2" off the bottom of the legs. I did this to allow for arcs to be cut in the base trim on the front and sides. You will see what I mean further down.
Here you see the base attached to the legs. Again this is 2" off the "ground". The legs are 36 1/2" tall. Overall stand height will be about 41".
Here you see the legs attached to the base and the top. These forms are intended to carry the load of the tanks. The base/bottom has a center support that was added after the decking was put down. I'm not as concerned with having the center support on the top as the tank will span the distance between the 2x4s.
OP
OP
Ziggy953
Aquarium Advice Addict
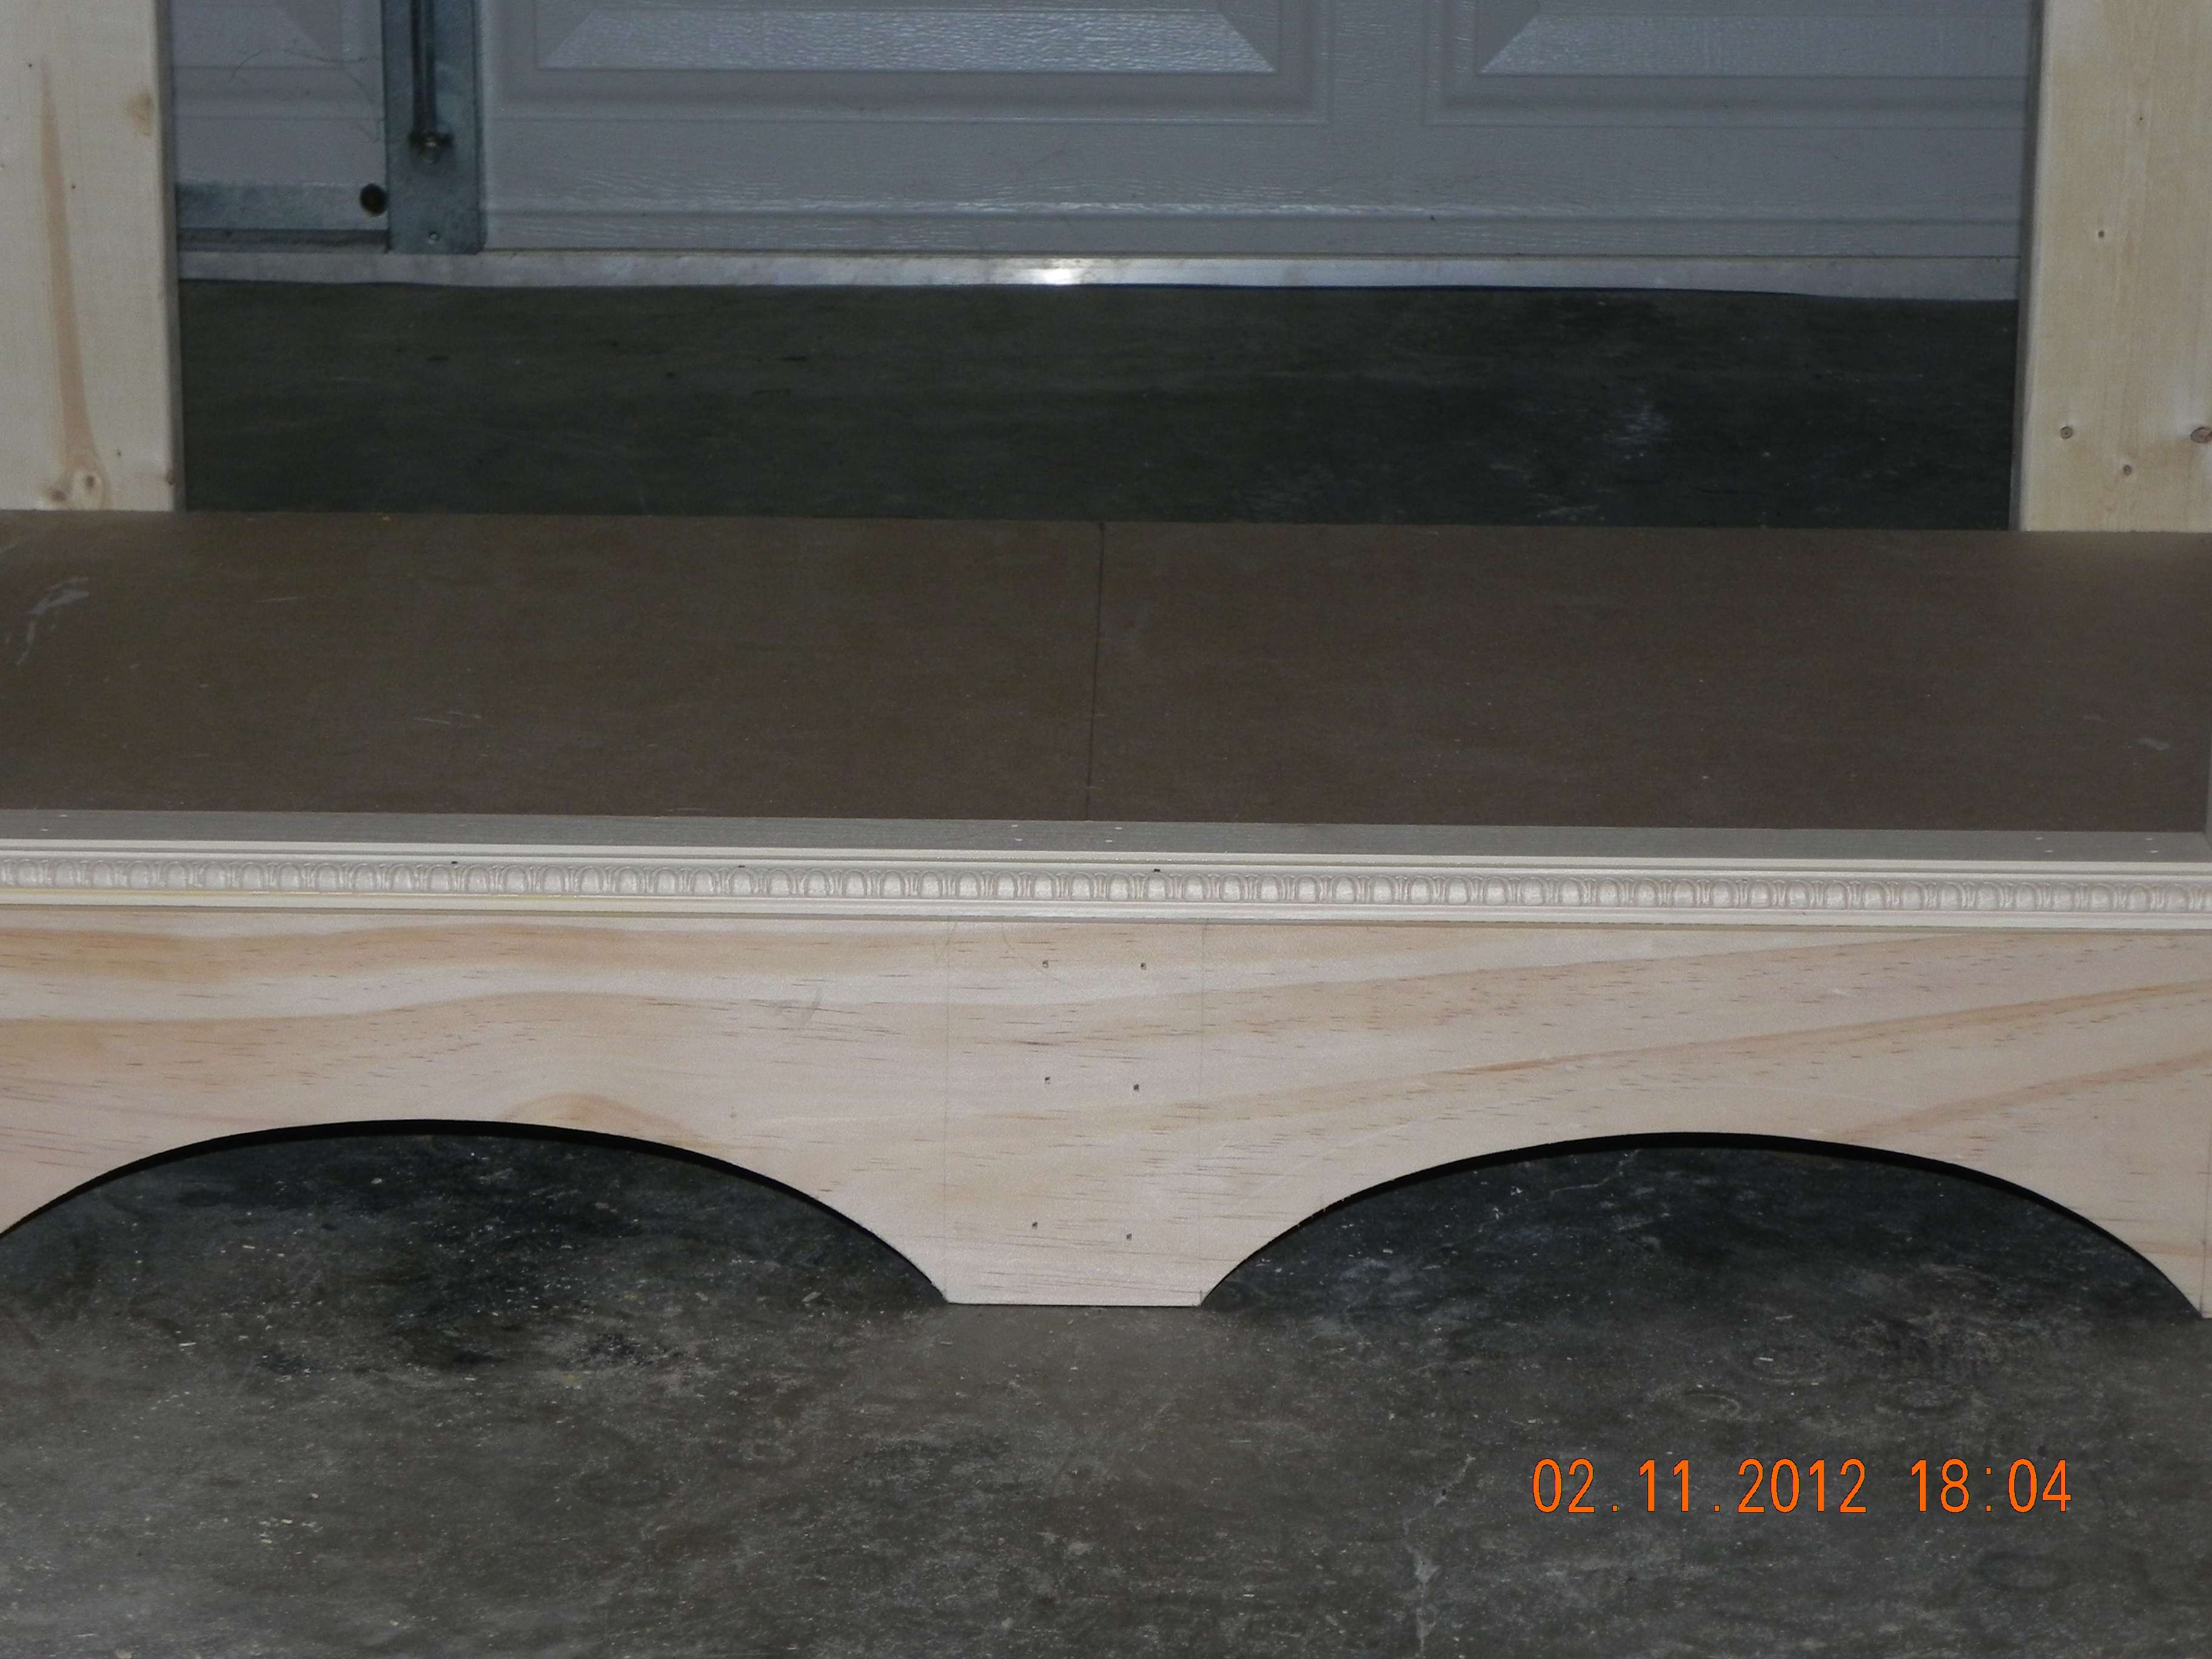
This is what I was referring to earlier. Just a nice detail I thought would make this cabinet look a little nicer. There are arches cut on the ends as well
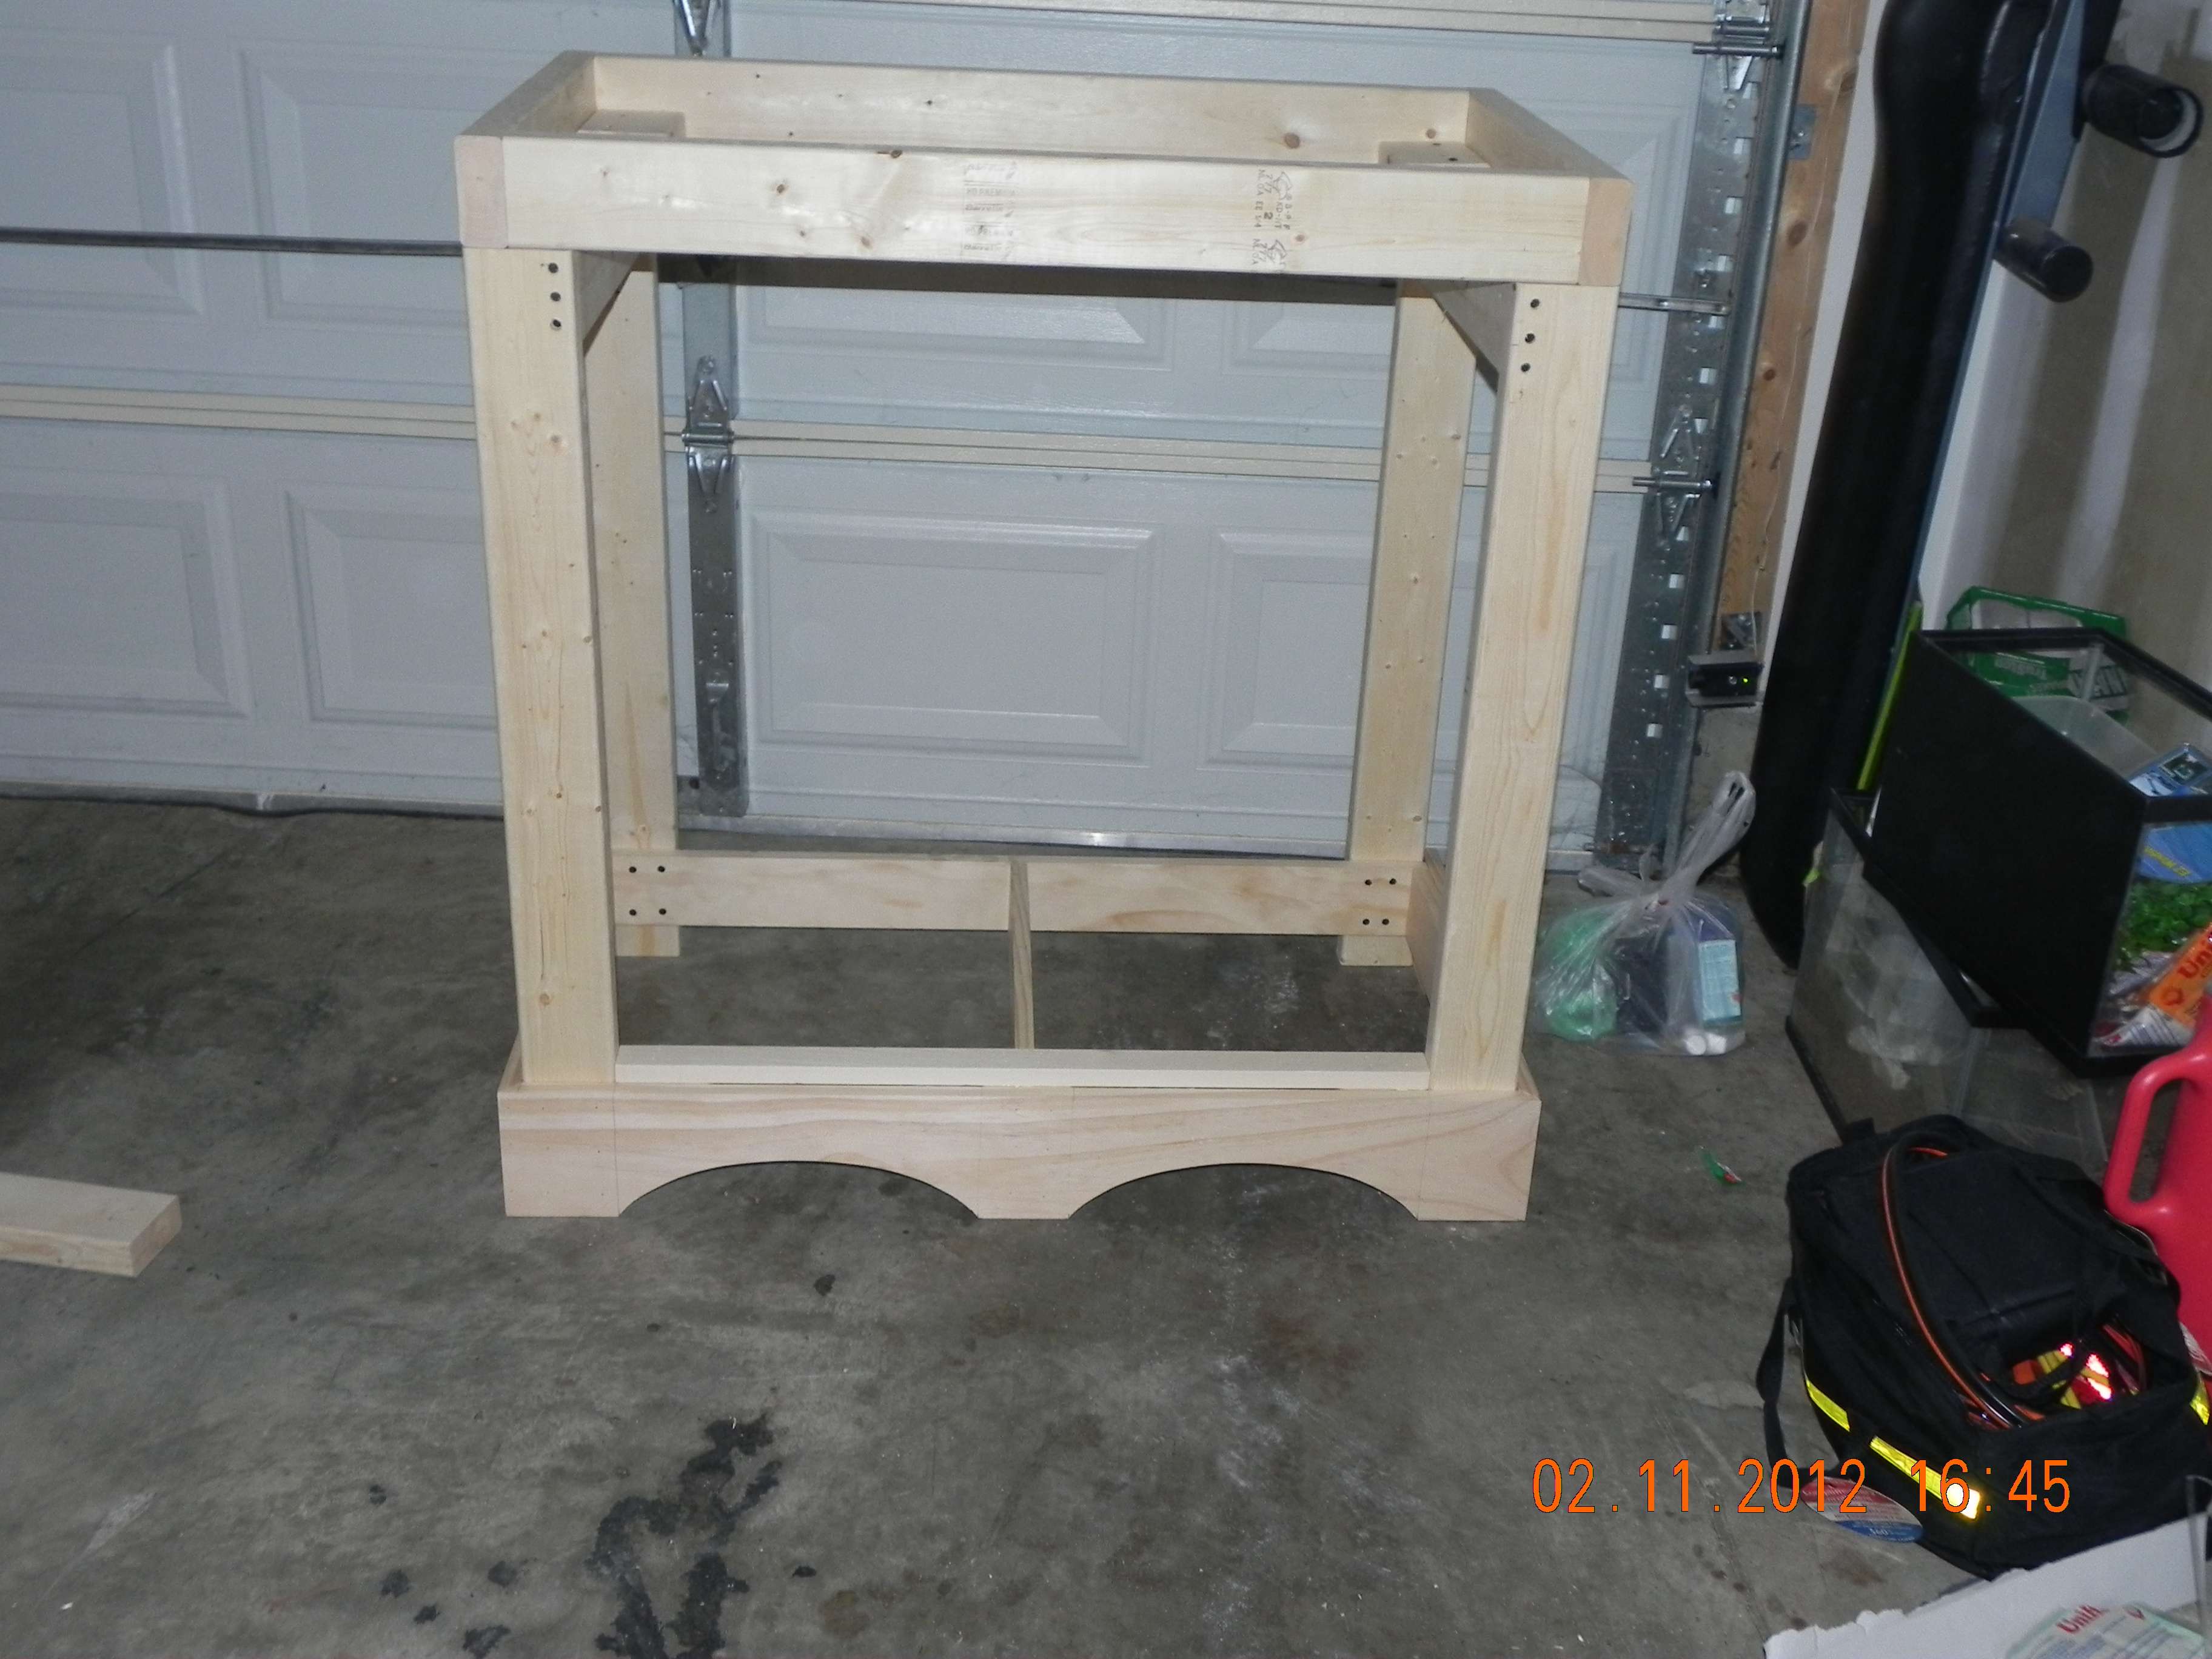
Here's the stand back on the work table with the bottom decking in place
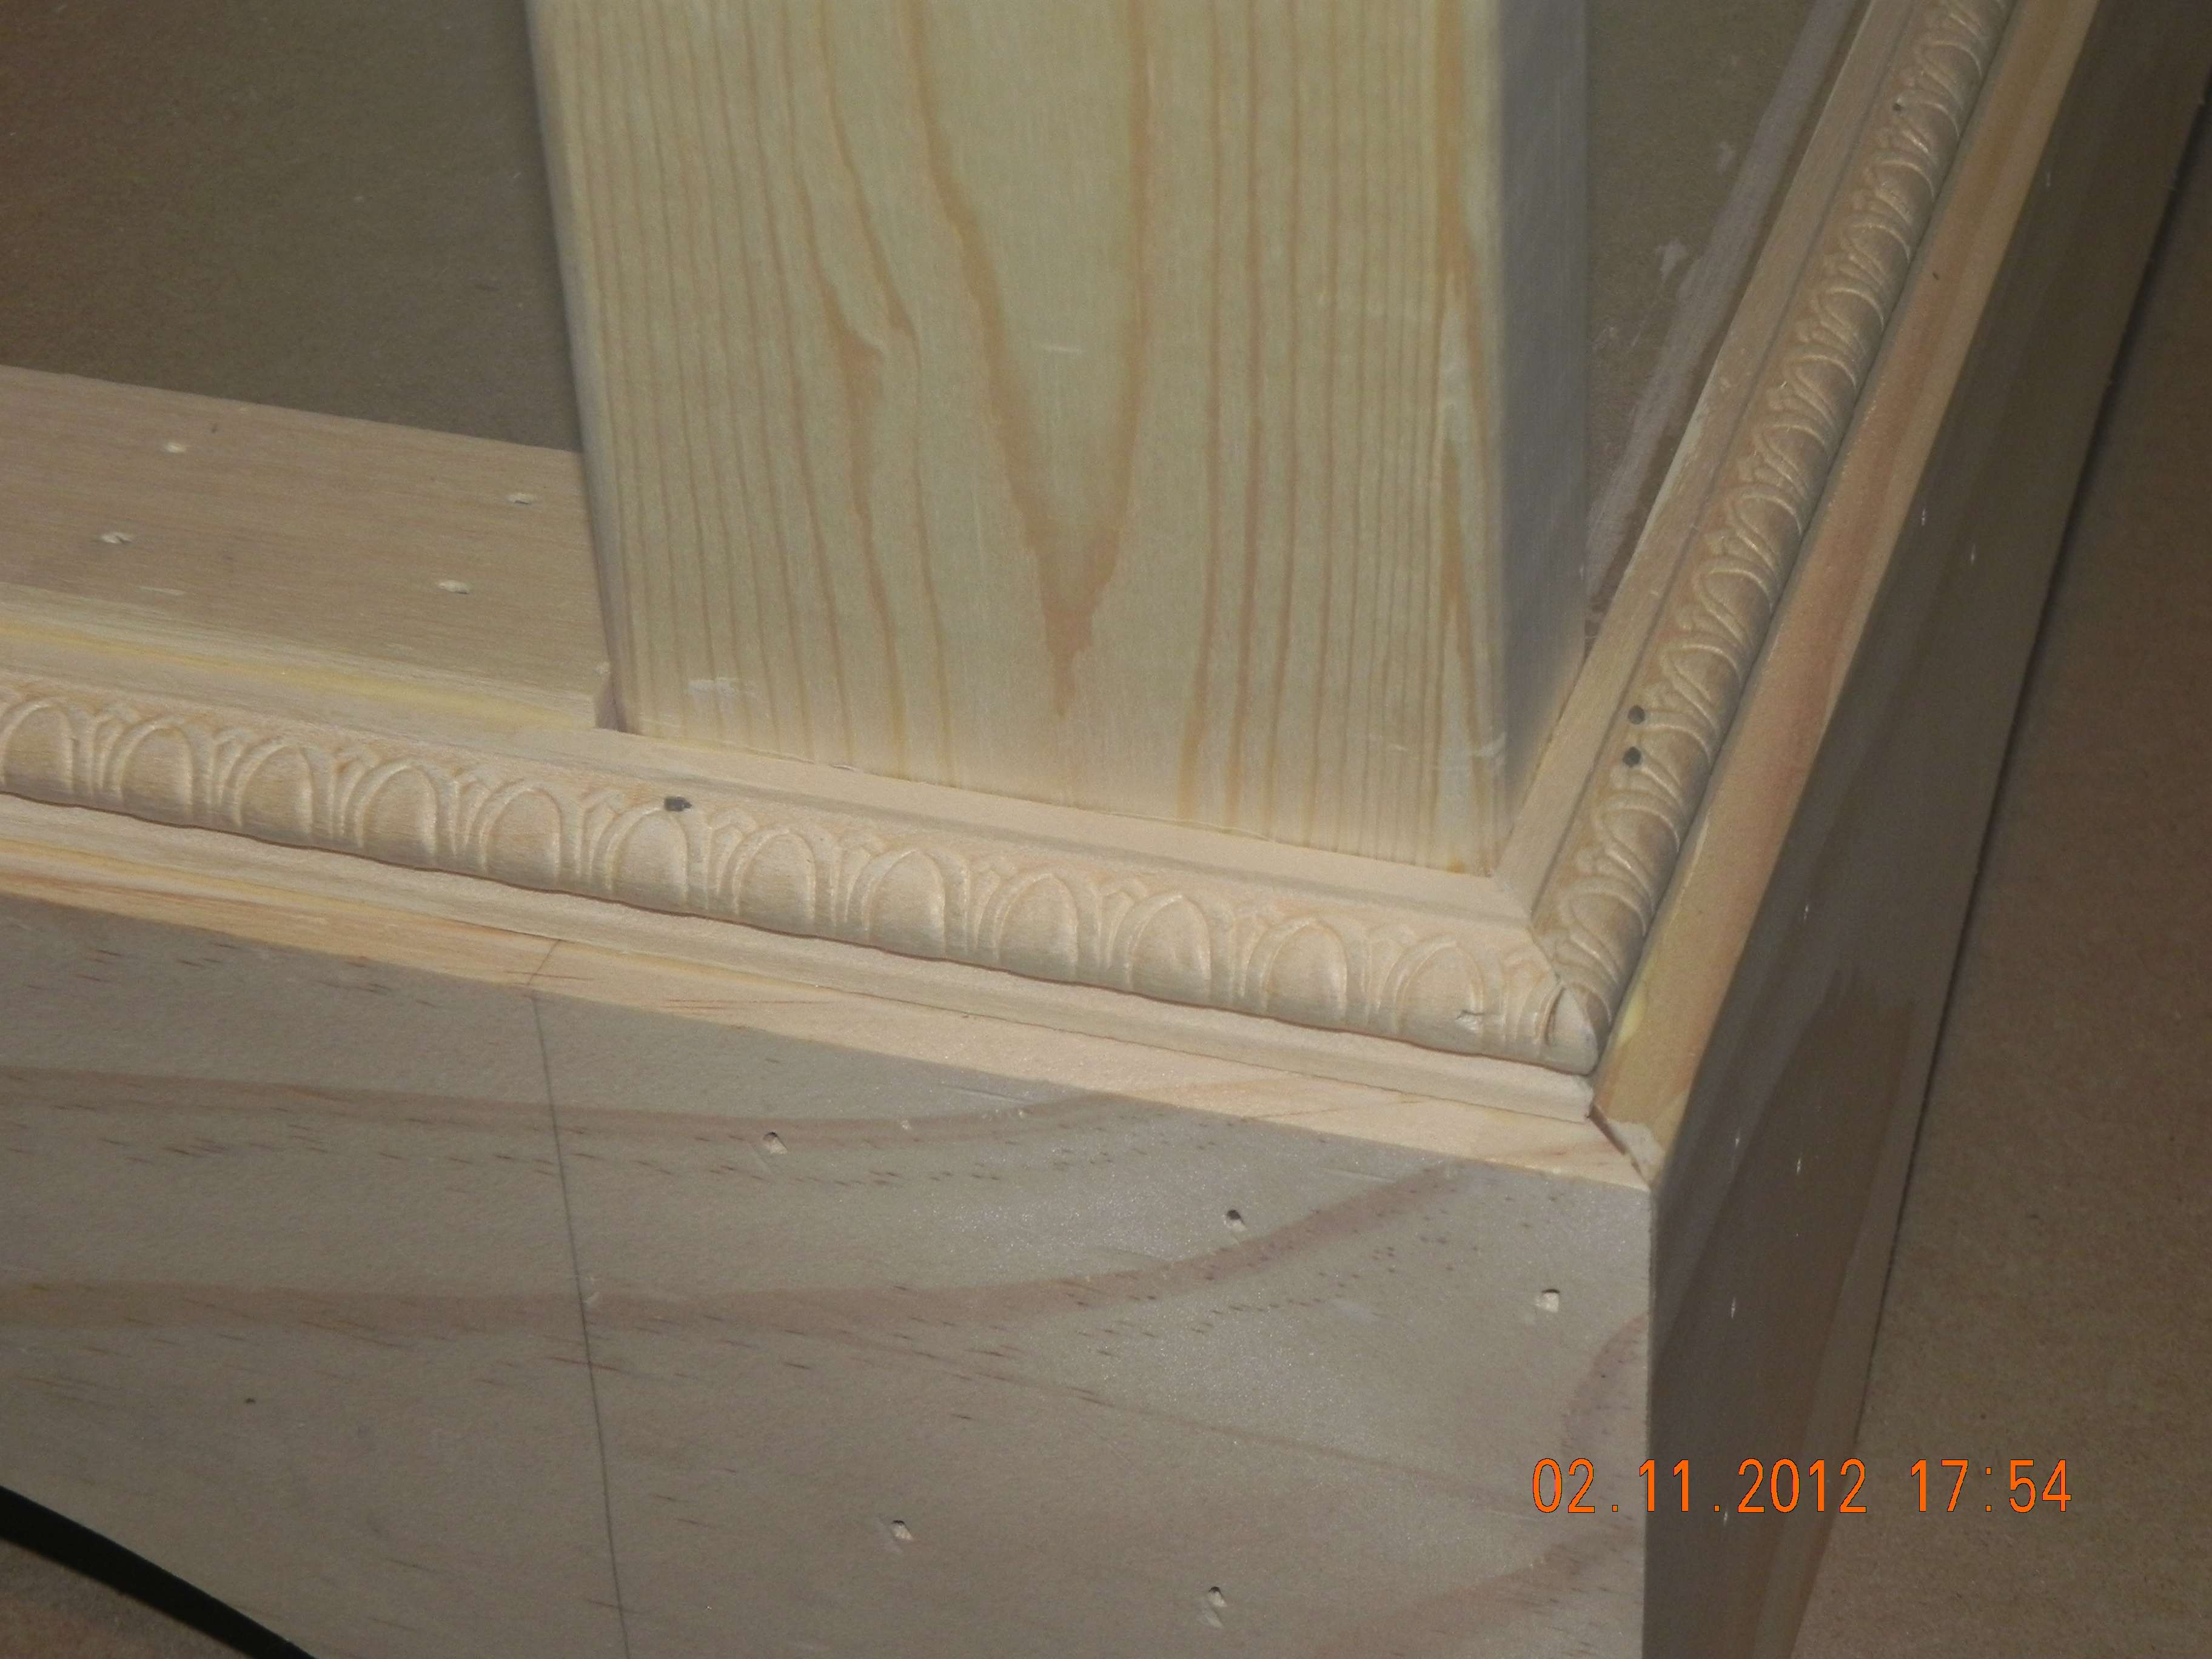
Some of the finishing touches to the base of the cabinet:
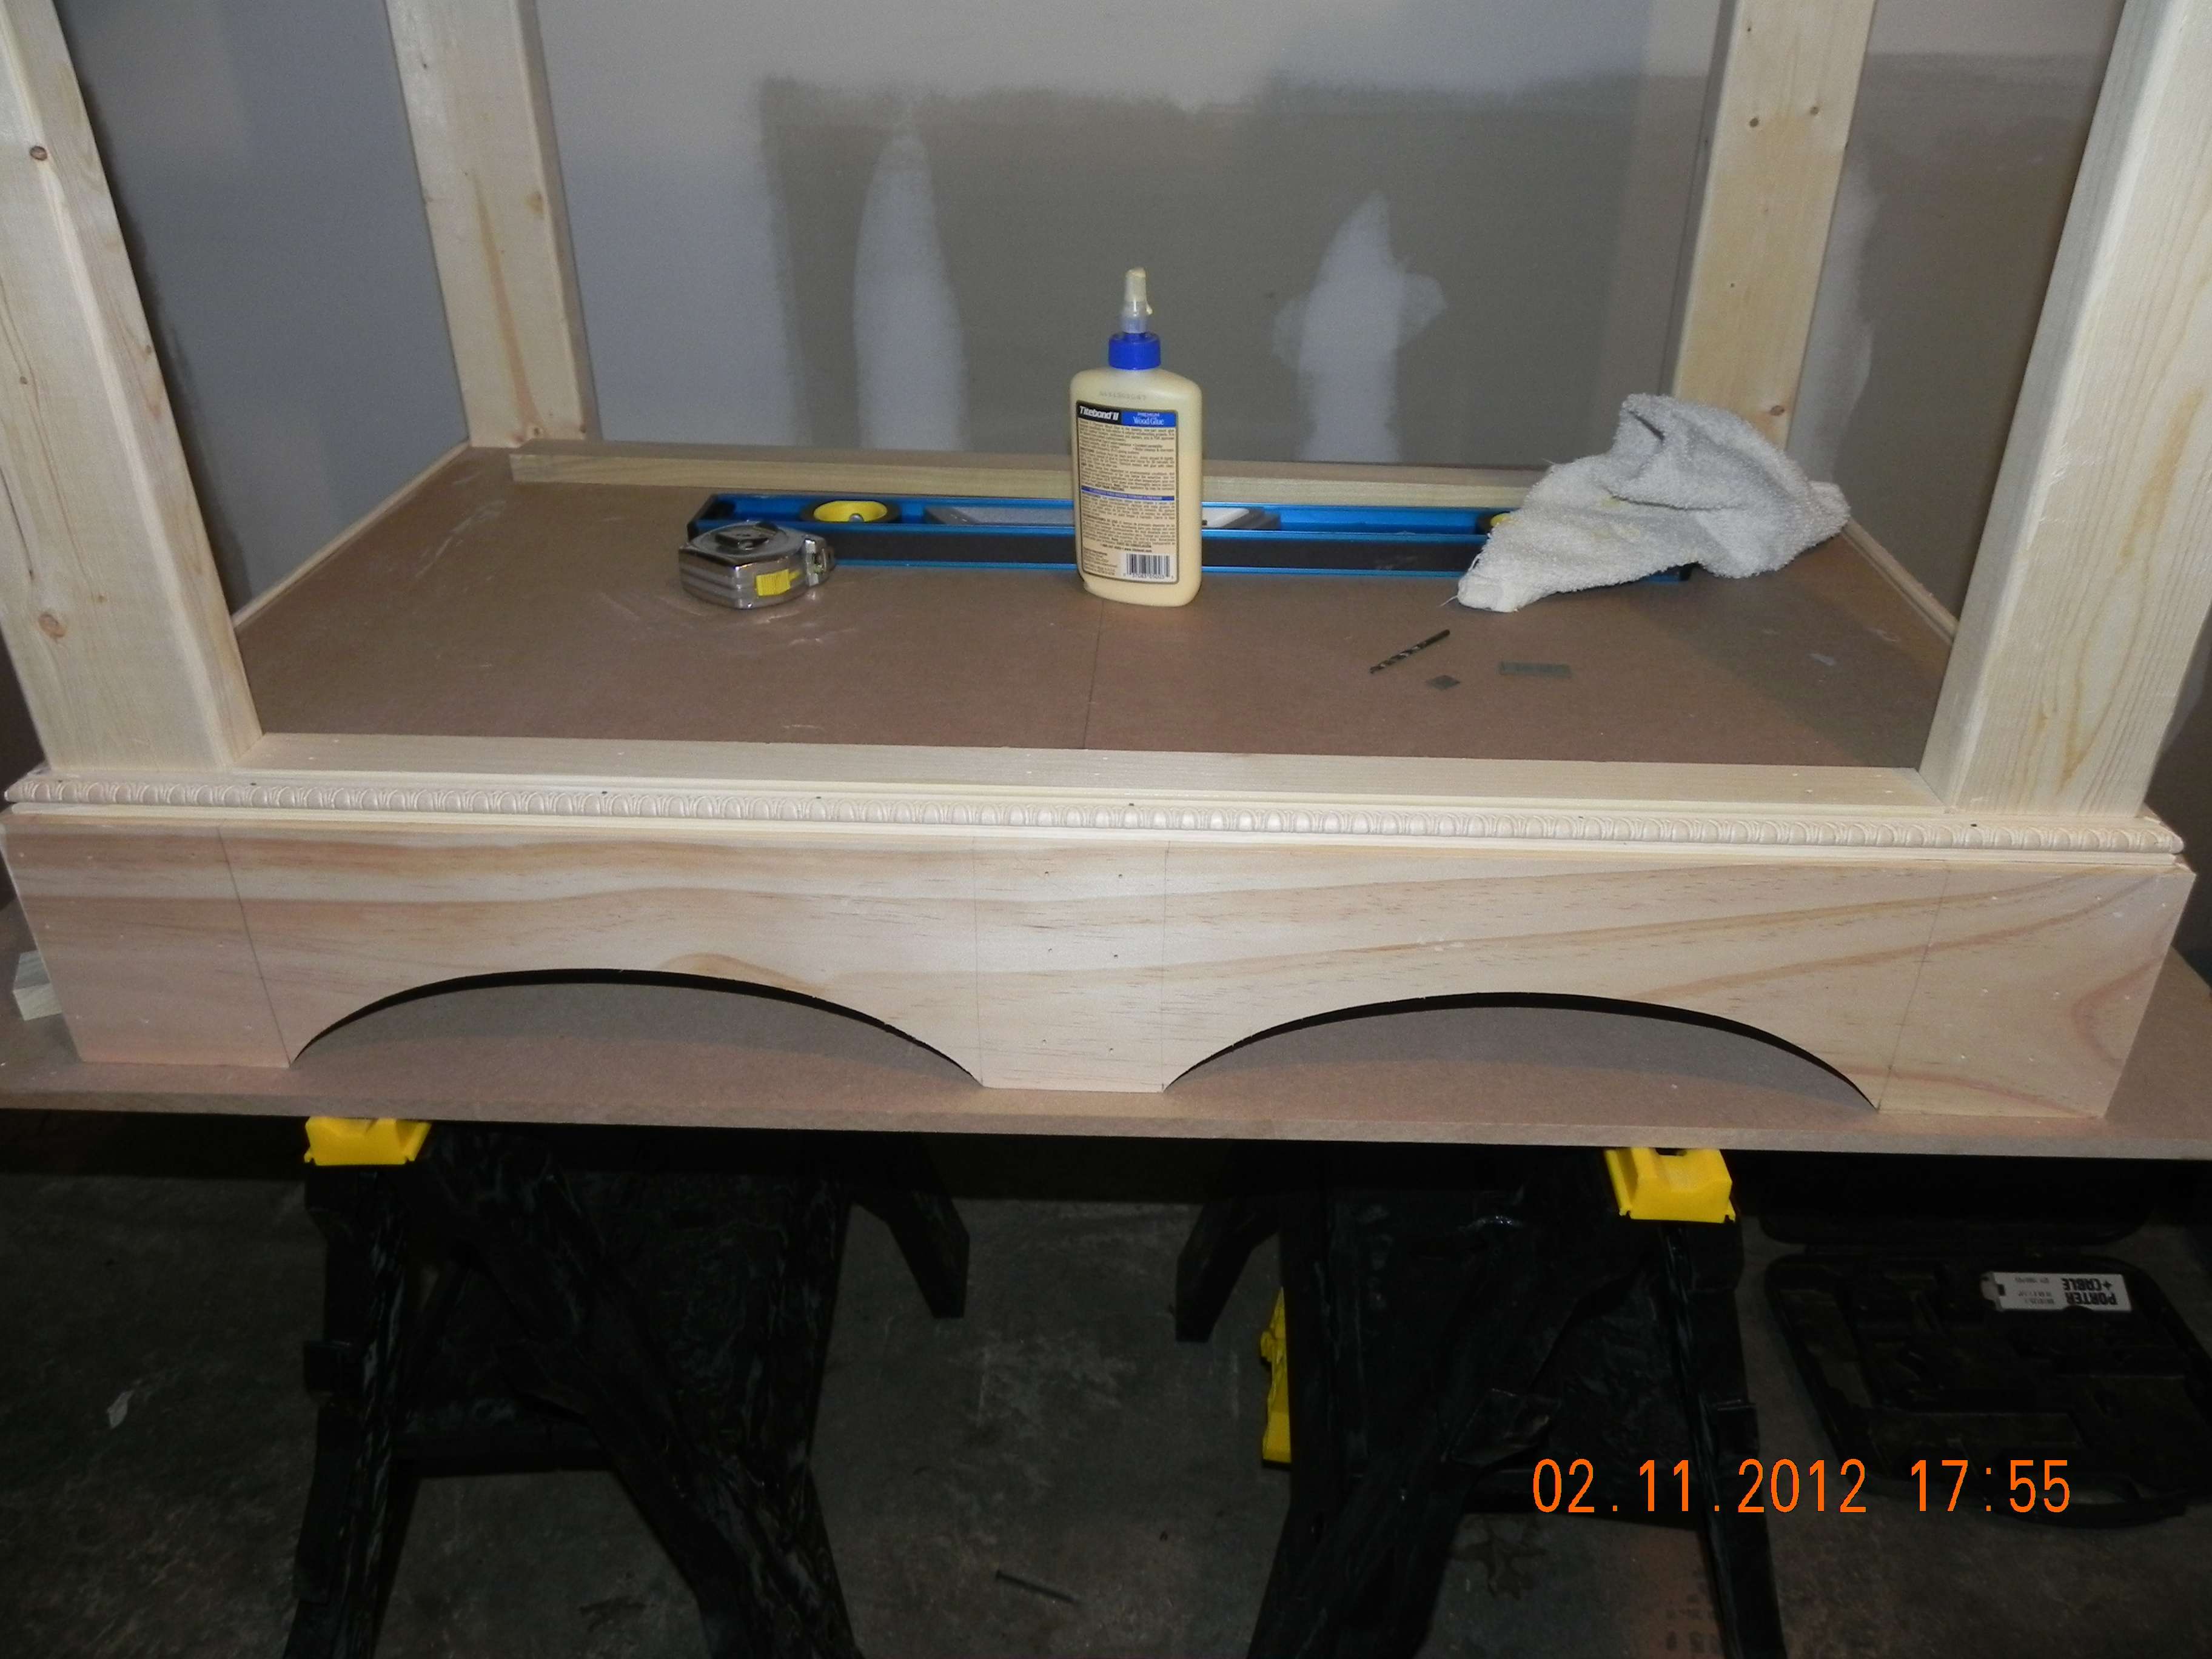
Here is where I left the stand for the night.
I have a lot more work to do yet. I've cut several pieces out and have things ready to assemble. I got hungry and it was time to warm up. My garage isn't heated and it's a bit chilly here today.
I will continue to document the build as I complete it.
Lots to come!!!
Here's the stand back on the work table with the bottom decking in place
Some of the finishing touches to the base of the cabinet:
Here is where I left the stand for the night.
I have a lot more work to do yet. I've cut several pieces out and have things ready to assemble. I got hungry and it was time to warm up. My garage isn't heated and it's a bit chilly here today.
I will continue to document the build as I complete it.
Lots to come!!!
OP
OP
Ziggy953
Aquarium Advice Addict
I forgot....
I going to use a paneling on the ends. The doors are going to be flush-mount doors. The top will measure 40"x24" with a 1" over hang on the left and right and a 2" overhang on the front. I'm going to continue the styling of the trim on the top. The canopy will fit nicely with the stand and will coordinate. I may mimic the arches on the canopy though I am not married to the idea as yet.
I am going to be working on an adjustable setup for my LED system meaning I will be able to raise and lower the LEDs by preset intervals.
I'm also working on a actuator lift system to raise and lower the entire canopy for easy access. Any major work in the tank will require removing the canopy completely and I plan on having quick-connect/disconnect for the LEDs and fans.
I think that about covers all the updates I can think of right now....
OP
OP
Ziggy953
Aquarium Advice Addict
So day two of the stand build is about to begin. I plan to have the stand to a point where I can bring it into the house for the finishing touches by the time the sun sets today.
Lots to do!!
Pics to follow...
Lots to do!!
Pics to follow...
OP
OP
Ziggy953
Aquarium Advice Addict
Very cool, stand is looking awesome so far!!
Thanks!!
I am rather pleased with how it has turned out so far. I have more pics to post in a minute.
- Status
- Not open for further replies.
Similar threads
- Replies
- 61
- Views
- 3K
- Replies
- 8
- Views
- 785
- Replies
- 0
- Views
- 341