My starry blenny is currently living in a 24G nanocube. I'm building a 90G tank to upgrade his digs. This build began last summer and it's taking me forever but I'm finally getting there. I'm also interested in rehoming my Hollywood stunner chalice, which is getting to be a real monster in size.
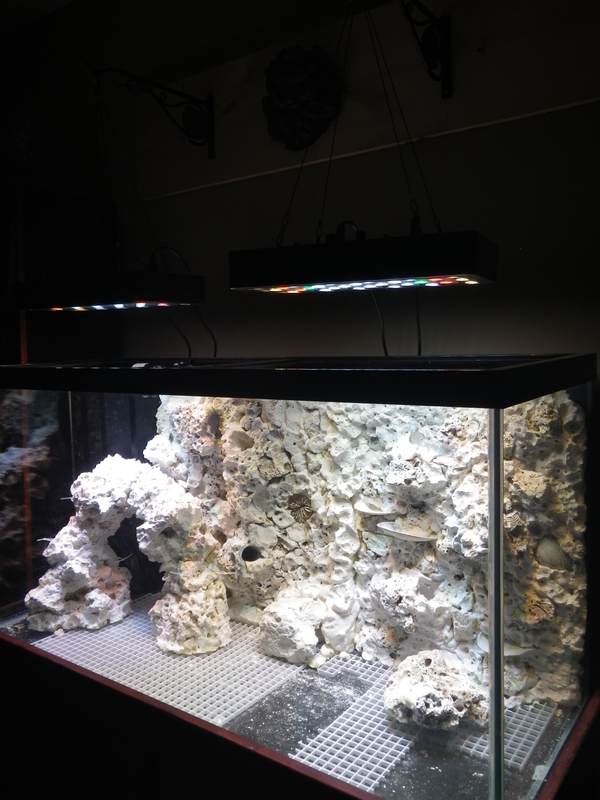
So, this tank is built with the blenny in mind. The background is foam and eggcrate, sealed with drylok. I know these backgrounds were sort of popular a few years back. I've experimented with the foam and built a background for a 60G paludarium that I ran for 6 months. I took it down because the waterfall splashed the glass and the logistics of cleaning it were a pain. Not to mention the planted portion was either too dry or too muddy. However, I didn't notice any adverse effects to the animals that lived in it during this time. I had a blue crayfish and tropical fish and had no casualties. I felt satisfied it didn't pose a significant health risk. I wanted to apply this to a reef tank. I tie-wrapped 7 PVC elbows into the background that were blenny sized swim through caves. Also tie-wrapped rubble rock to the eggcrate to minimize the amount of foam I would need. Since my tank is only 18" deep, I wanted to maximize the area of the back wall. Using this 3D background only cost me a few inches, opposed to what building up a wall of rock would cost me in tank space. I do plan to add quite a bit of live rock after I get it cycling so the rock scape isn't close to done. But what I accomplished was 7 caves in a space that may have otherwise been unused. I also built an arch with rock and foam. I've tie-wrapped loops so I can add coral frags down the road. While it looks a bit artificial, I think in time, it will blend in after coralline encrusts it.
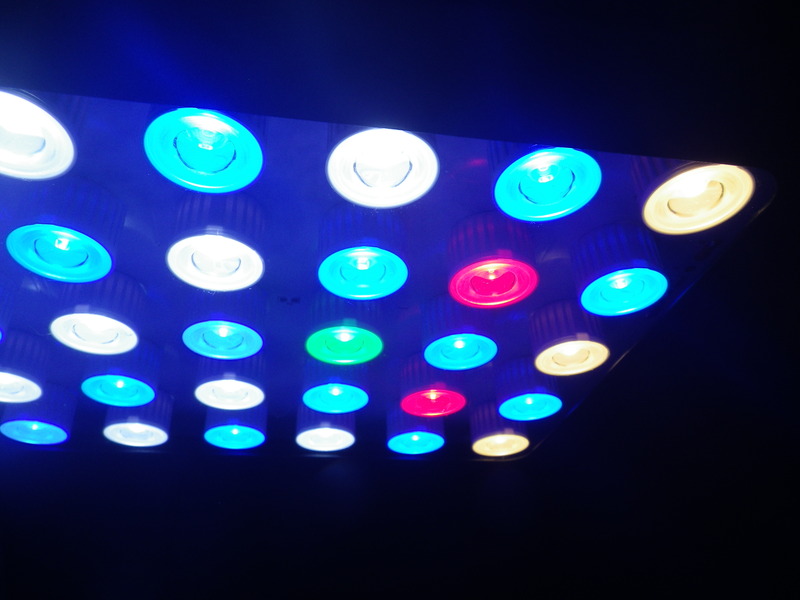
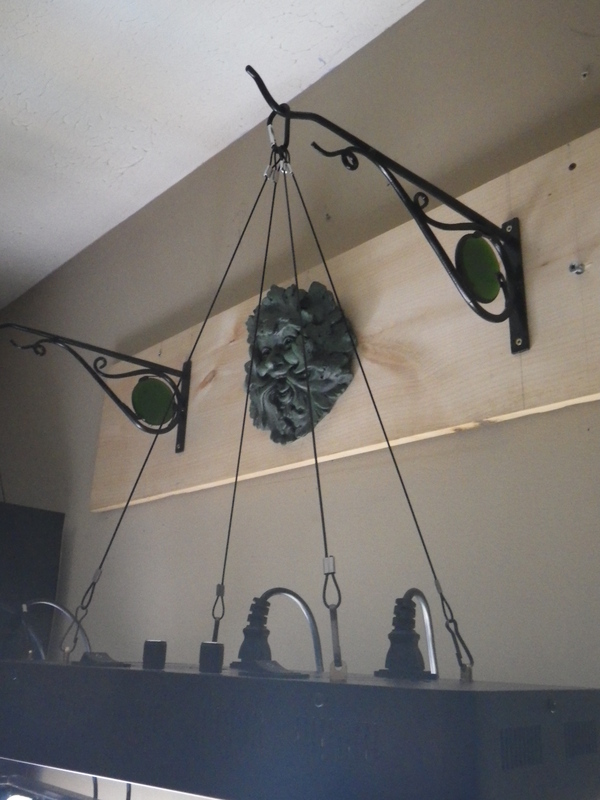
Lighting is cheap ebay LEDs. But I really like them! I wasn't ambitious enough to attempt to hang them from my ceiling so I thought I'd try plant brackets. I have a piece of wood screwed into the wall studs and hung the lights from the brackets mounted on it. I have to fix some screws and maybe paint it but I think it turned out ok. I do have a canopy for the tank but may not use it.
Hoping someone can 'once over' the sump. I'm concerned about the waterline that is marked on the sump - it's 6" and has to work with the protein skimmer and return pump. I wanted to set it up in the bathtub and do a closed loop test to see if this is going to work or if I need the water level higher. I'm stuck on this point and don't want to finalize it in the cabinet until I feel confident it will work. The pump is a RIO 2100. It came with the setup that I bought off CL. I'm hoping it's going to work. I think the drain line is 1" and the return line is 3/4" Also took out the bio balls that were in the compartment. Not sure how I want to fill that space. Might do a mix of rubble rock and those ceramic rings.
I have poles to reinforce my floor from the basement because I'm running this tank parallel with the joists instead of across them. Had I put it across the joists, it would have been in front of a window. I did some reading on reinforcing flooring. I guess a 90G is iffy but I don't want to risk a sagging floor and the problems that could happen from that. Poles are cheap compared to fixing a floor.
I bought 2 wave makers. I think I want them running opposite of each other. I've never played around with them so I'm going to have to figure out good placement and do some more reading.
Here are pictures so far.
This kids named him Quibbler. I love this guy to bits.
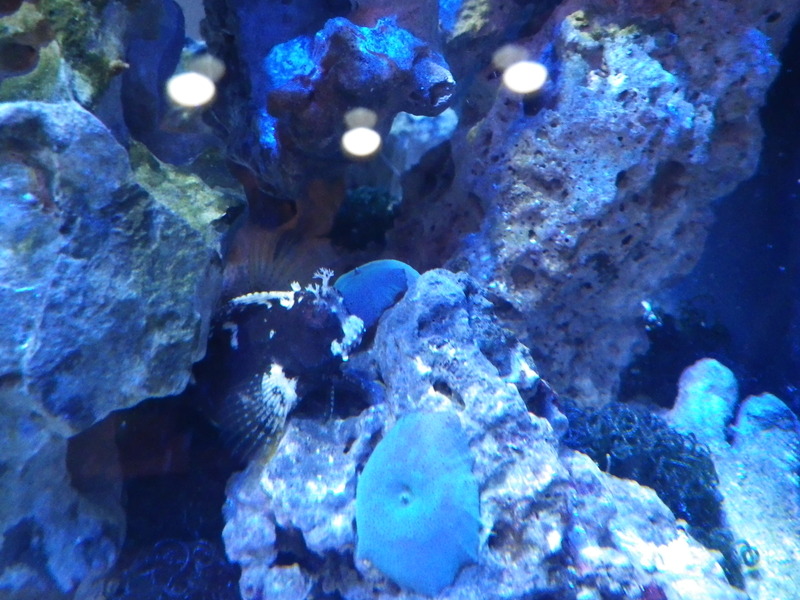
Close up... his eyes were clouded when I bought him but it doesn't seem to slow him down.

Ebay lights

This setup seems to work but I need to get a bigger bit to finish the bottom screws.

Sump in question.

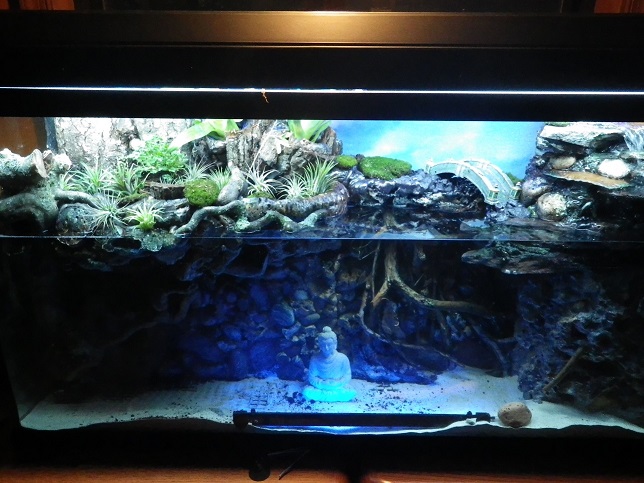
Paludarium with DIY foam background
So, this tank is built with the blenny in mind. The background is foam and eggcrate, sealed with drylok. I know these backgrounds were sort of popular a few years back. I've experimented with the foam and built a background for a 60G paludarium that I ran for 6 months. I took it down because the waterfall splashed the glass and the logistics of cleaning it were a pain. Not to mention the planted portion was either too dry or too muddy. However, I didn't notice any adverse effects to the animals that lived in it during this time. I had a blue crayfish and tropical fish and had no casualties. I felt satisfied it didn't pose a significant health risk. I wanted to apply this to a reef tank. I tie-wrapped 7 PVC elbows into the background that were blenny sized swim through caves. Also tie-wrapped rubble rock to the eggcrate to minimize the amount of foam I would need. Since my tank is only 18" deep, I wanted to maximize the area of the back wall. Using this 3D background only cost me a few inches, opposed to what building up a wall of rock would cost me in tank space. I do plan to add quite a bit of live rock after I get it cycling so the rock scape isn't close to done. But what I accomplished was 7 caves in a space that may have otherwise been unused. I also built an arch with rock and foam. I've tie-wrapped loops so I can add coral frags down the road. While it looks a bit artificial, I think in time, it will blend in after coralline encrusts it.
Lighting is cheap ebay LEDs. But I really like them! I wasn't ambitious enough to attempt to hang them from my ceiling so I thought I'd try plant brackets. I have a piece of wood screwed into the wall studs and hung the lights from the brackets mounted on it. I have to fix some screws and maybe paint it but I think it turned out ok. I do have a canopy for the tank but may not use it.
Hoping someone can 'once over' the sump. I'm concerned about the waterline that is marked on the sump - it's 6" and has to work with the protein skimmer and return pump. I wanted to set it up in the bathtub and do a closed loop test to see if this is going to work or if I need the water level higher. I'm stuck on this point and don't want to finalize it in the cabinet until I feel confident it will work. The pump is a RIO 2100. It came with the setup that I bought off CL. I'm hoping it's going to work. I think the drain line is 1" and the return line is 3/4" Also took out the bio balls that were in the compartment. Not sure how I want to fill that space. Might do a mix of rubble rock and those ceramic rings.
I have poles to reinforce my floor from the basement because I'm running this tank parallel with the joists instead of across them. Had I put it across the joists, it would have been in front of a window. I did some reading on reinforcing flooring. I guess a 90G is iffy but I don't want to risk a sagging floor and the problems that could happen from that. Poles are cheap compared to fixing a floor.
I bought 2 wave makers. I think I want them running opposite of each other. I've never played around with them so I'm going to have to figure out good placement and do some more reading.
Here are pictures so far.
This kids named him Quibbler. I love this guy to bits.

Close up... his eyes were clouded when I bought him but it doesn't seem to slow him down.

Ebay lights


This setup seems to work but I need to get a bigger bit to finish the bottom screws.


Sump in question.

Paludarium with DIY foam background

")