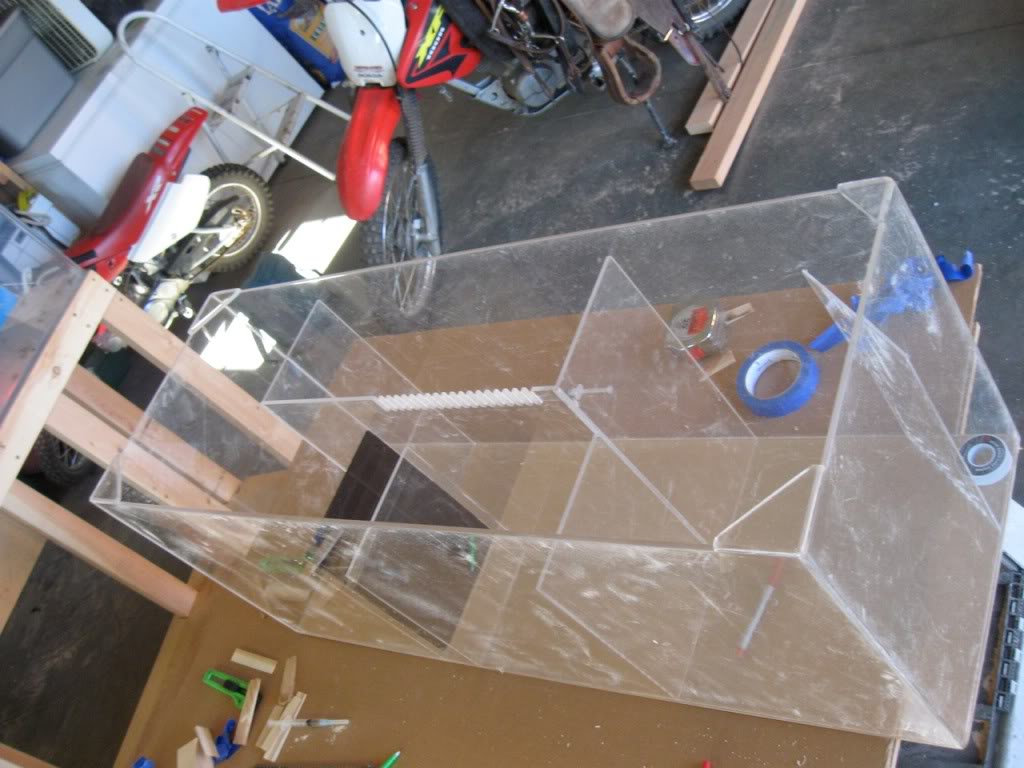
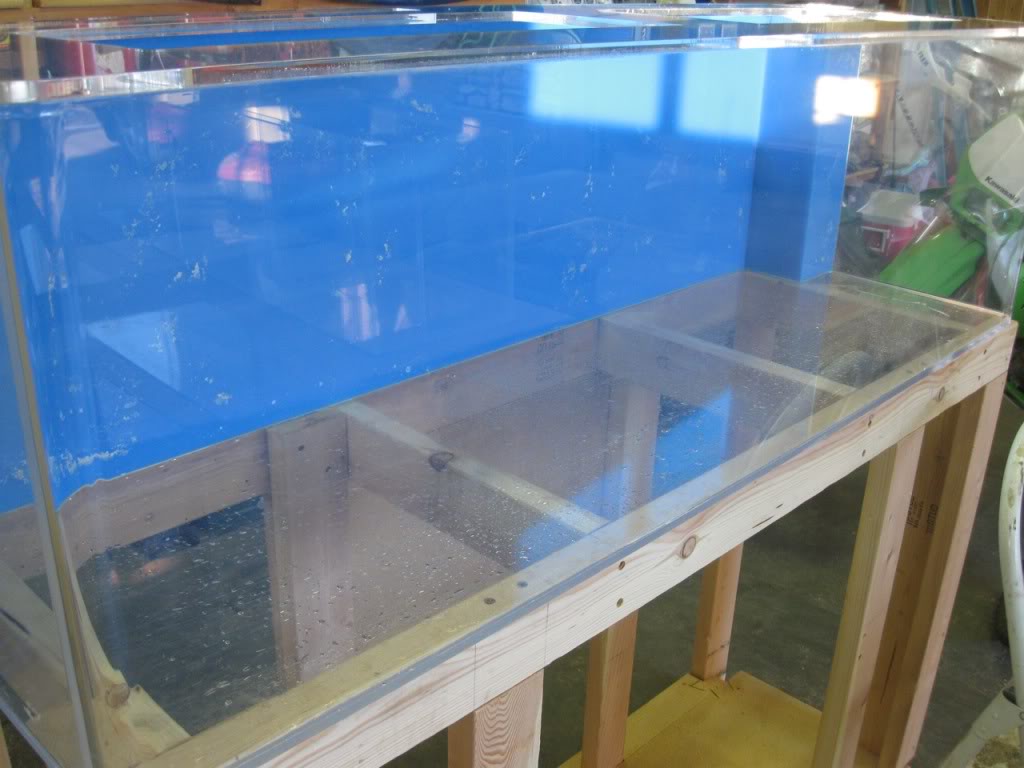
That is a great sump. it is funny some one mentioned the 2x4 thing. I have a 180 that sits on 1x2s. I have to build a stand for my 165 and I wanted 2x4s. But there is no reason for them. But you will have piece of mind and you have a great stand. How will you finish the stand?
Tank build - newbie again... need thoughts
- Thread starter Idaho-Tank
- Start date
The friendliest place on the web for anyone with an interest in aquariums or fish keeping!
If you have answers, please help by responding to the unanswered posts.
If you have answers, please help by responding to the unanswered posts.