75 gallon set up journal

The friendliest place on the web for anyone with an interest in aquariums or fish keeping!
If you have answers, please help by responding to the unanswered posts.

jennandjuicetm

Aquarium Advice Freak
Joined
May 29, 2014
Messages
204
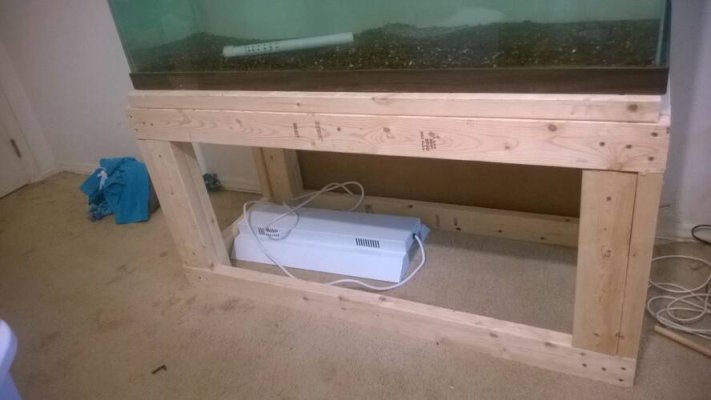
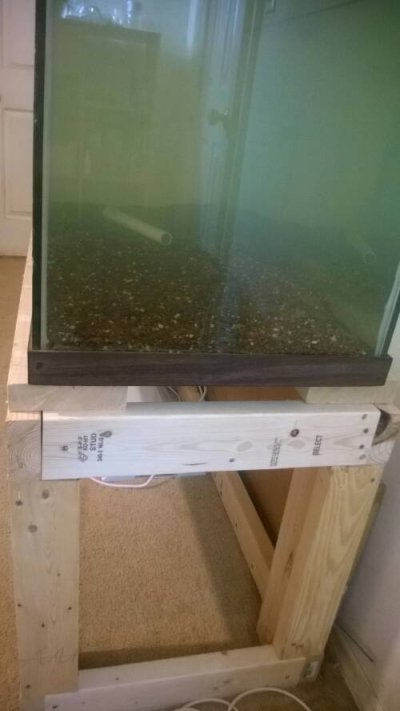
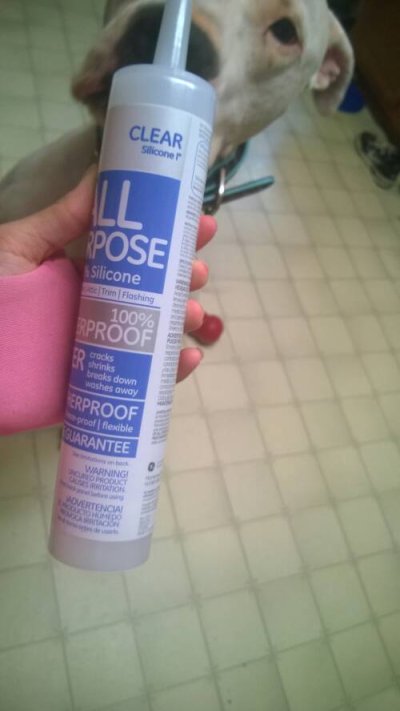
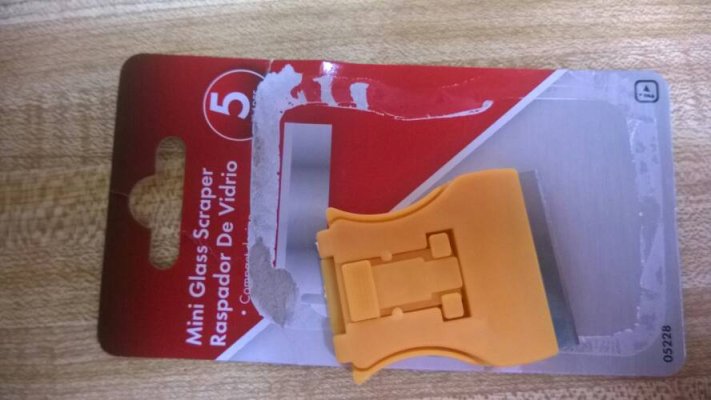
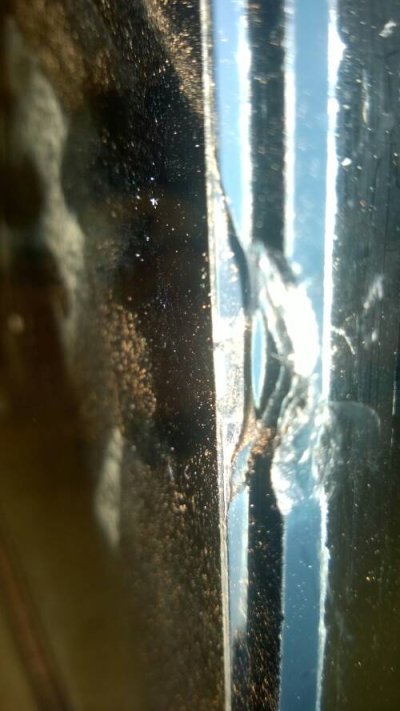
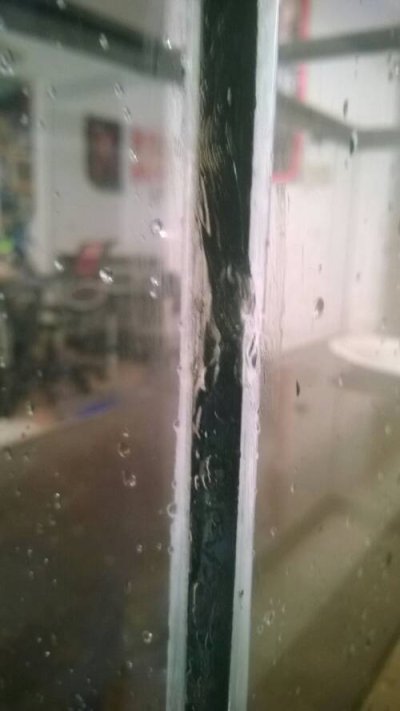
It all started when we say an amazing 55 gallon with plants and fish for $60 on CL. We wrnt ahead and DIYed a stand but the guy stopped answering our texts! So here we were with a 55 stand but no tank. We scoured CL and came across a 60 gal for $50.went to pick it up and as it turns out it was actually a 75 gallon! There were turtles in it previously who ripped up the seams pretty good and there were a lot of nicks in the outside corners. So thus far we had to widen the stand, reseal the inside, and do something eith the chipped corners. Widening thr stand was a breeze, we just exchanged the 12" pieces for 18" pieces. Resealing was tedious but easy. For covering the chips we used clea JB Weld since it doesn't come in contact with the inside of the aquarium. You can't even tell until you're super close that there were ever any chips. At the moment we are creating an internal canister filter and a glass canopy. Pictures to follow.
 
The stand we built with 2x4's. We used 5 I think that were 8 feet long. One box of screws was all we needed. I reccomend anyone DIYing a stand measure each piece of lumber before its cut because I miscalculated some pieces by assuming each piece was 1.5" x 3.5" x 8.' I went by the DIYKing youtube video then drew out the plans and figured out how to cut the lumber to make the most of it. Maybe one dayvwe will wrap it or paint it.
 

Attachments

  • 1409201343053.jpg
    1409201343053.jpg
    36.2 KB · Views: 106
  • 1409201369176.jpg
    1409201369176.jpg
    34.1 KB · Views: 114
The tank we also went by the DIYKing resealing video. We used the GE 1 silicone. I highly recommend watching Sons of Anarchy while stripping the old silicone. It really saved me from boredom! Definitely use a scraper and in the future, I would try to find one that exposes more of the blade. The one I got didn't expose enough to get under the silicone very well so I had to do it by hand for the big pieces. Believe me, that starts to hurt your finder after a while! Stripping the whole tank took me about 2 hours and I used about 10 straight razors. The sharp ones work well for scraping the small pieces. Also, less is more with the silicone!
 

Attachments

  • 1409201999139.jpg
    1409201999139.jpg
    31.5 KB · Views: 75
  • 1409202012790.jpg
    1409202012790.jpg
    47.1 KB · Views: 86
For the cracks on the corners we used Clear JB Weld. One crackbwas pretty big, that was the hardest because the dang gravity kept pulling the weld down. In the future I would do b one corner at a time. We mixed the weld on a piece of cardboard and then globbed it on each chip. Then as it dripped down Ibused a razor to even it and put it back where it belonged. Once it was mostly dry I was able to touch up the edges and get the excess off. Here's a before and after of the biggest chip. JB Weld is NOT aquarium safe from what I've read but this is only b on the outside of the tank. No chipsbwere deep enough to go all the way through.
 

Attachments

  • 1409202404172.jpg
    1409202404172.jpg
    49.7 KB · Views: 66
  • 1409202431690.jpg
    1409202431690.jpg
    29.8 KB · Views: 80
Back
Top Bottom