jbing27
Aquarium Advice Apprentice
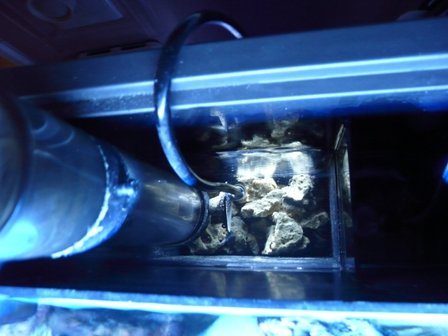
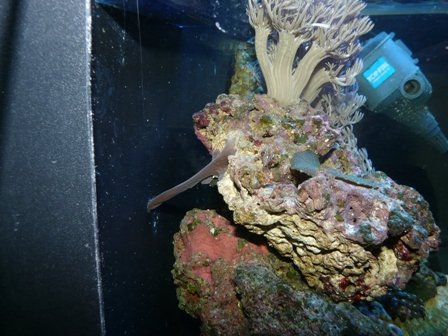
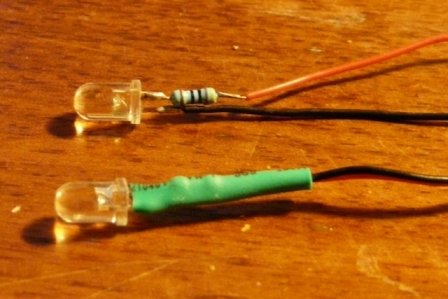
I've got a 24 gal Nano Cube and I would grow chaeto in one of the built in chambers in the back of the tank. I've seen pictures of projects where a window of the black vinyl was cut away from the tank, exposing the clear acrylic so that a light source behind the tank could get to the vegetation growing inside. I just wasn't excited about adding another electronic device to my unit that had inefficient bulbs that had a reletively short life span. LEDs seemed to be the logical choice. Unfortunately commercially available LED fixtures are a little pricey. I'm new to this hobby, but I've worked in electronics for the past 35 years, so I fabricated a light of the size I need (6x3 inch lighting area) for a total of about eight bucks. I bought 20 5mm white LEDs with a 470 ohm current limiting resistors like the one in the photo below for $1 with $4.95 shipping from a Hong Kong vender on eBay.
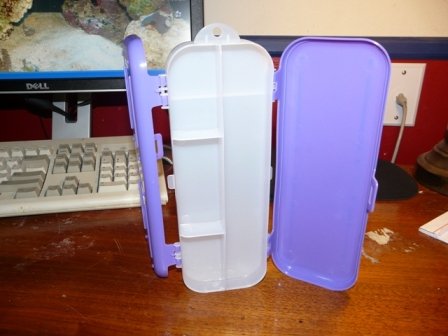
I then aquired a 2 sided plastic pencil box from a dollar store for a dollar.
After the removal some of the internal dividers, I cut a window for the light to shine through, drilled 18 holes to mount the leds, and mounted them by anchoring them from behind with hot glue. I don't think they will run hot enough to remelt the glue. They haven't after running 6 hours.
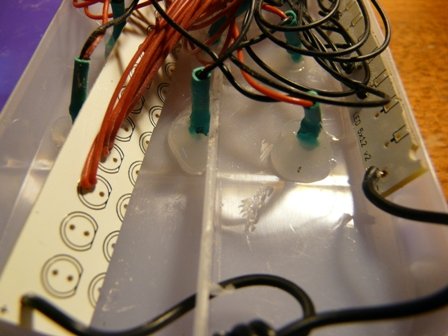
Since I was working with LEDs that had already had resistors attached, I was stuck with wiring them all in parallel so they had the full 12 volts from the power supply going across each of them. I cut some bus strips off of a small circuit board I had so I could have all the blacks running to the negative side and the reds running to the positive side of the power supply. It was the easiest way I could think of to have soldered connections everywhere. Boards like this can be had for a couple of bucks from Radio Shack. They easiest way to cut them is with a Dremel. I did all the cutting on the box with a Dremel too.
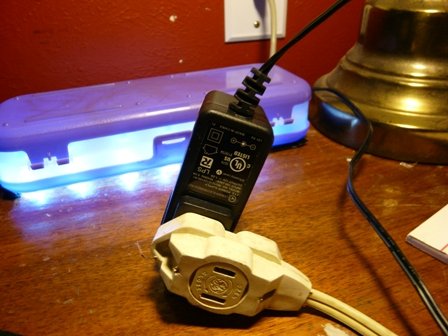
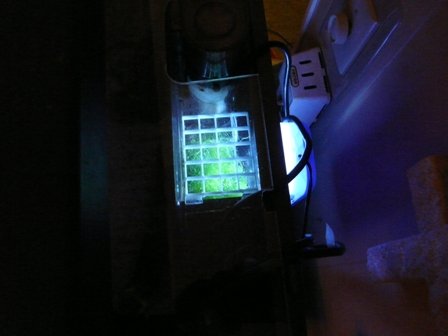
Here it is fired up. The LEDs are rated at a 30 degree spread, so at about 4 1/2" the light from each one overlaps.
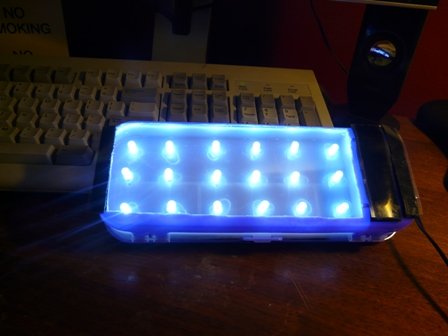
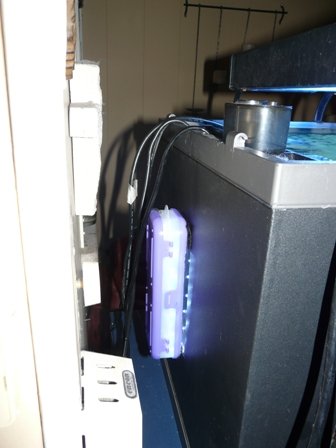
They are angled away from the camera because they are actually quite intense. They are rated at 20000mcd. They should keep the chaeto alive, only use about 750ma of power and last for between 30,000 and 50,000 hours. I'm going to attach it to the rear of my tank with velcro. Not bad for eight bucks huh? Oh yeah, I forgot to mention. Power is supplied by a 12 volt 1 amp "wall wart" power supply from an old router I had. If I had to purchase it, there is a used electronics store in town that has bins of them for $2.99.

I then aquired a 2 sided plastic pencil box from a dollar store for a dollar.

After the removal some of the internal dividers, I cut a window for the light to shine through, drilled 18 holes to mount the leds, and mounted them by anchoring them from behind with hot glue. I don't think they will run hot enough to remelt the glue. They haven't after running 6 hours.

Since I was working with LEDs that had already had resistors attached, I was stuck with wiring them all in parallel so they had the full 12 volts from the power supply going across each of them. I cut some bus strips off of a small circuit board I had so I could have all the blacks running to the negative side and the reds running to the positive side of the power supply. It was the easiest way I could think of to have soldered connections everywhere. Boards like this can be had for a couple of bucks from Radio Shack. They easiest way to cut them is with a Dremel. I did all the cutting on the box with a Dremel too.
Here it is fired up. The LEDs are rated at a 30 degree spread, so at about 4 1/2" the light from each one overlaps.

They are angled away from the camera because they are actually quite intense. They are rated at 20000mcd. They should keep the chaeto alive, only use about 750ma of power and last for between 30,000 and 50,000 hours. I'm going to attach it to the rear of my tank with velcro. Not bad for eight bucks huh? Oh yeah, I forgot to mention. Power is supplied by a 12 volt 1 amp "wall wart" power supply from an old router I had. If I had to purchase it, there is a used electronics store in town that has bins of them for $2.99.

