"Corian" tank - 2/24/07 (Finished)

The friendliest place on the web for anyone with an interest in aquariums or fish keeping!
If you have answers, please help by responding to the unanswered posts.
Thank you everyone,

I've built many things in my life, but yesterday when I stood back to look at my progress I couldn't help but think "this is the most beautiful thing you have ever made"...The look and feel, the cabinetry(which is still in my head) it all fits...

now the bad news...I HAVE A LEAK...just a small one,lower left corner,...In all my excitement I did rush to fill it...I cut out that section and resealed...Think I'll wait till wednesday night to test again


Can you polish corian like acrylic to a high gloss?
yes you can, but it shows any and every rub mark... matte is better...easier to maintain
 
the leak was at the glass...in the corner...all better now


I hope
 
back from the holidays....hope hope you all had a safe & happy christmas

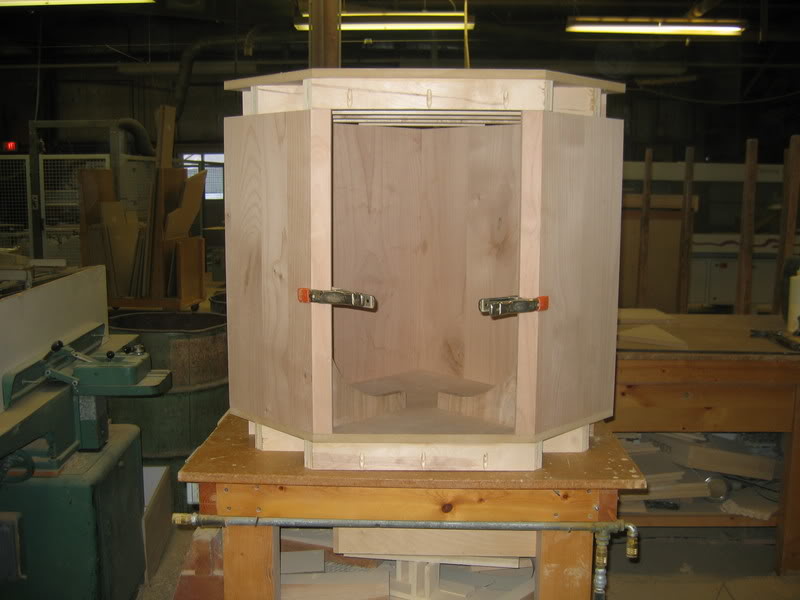
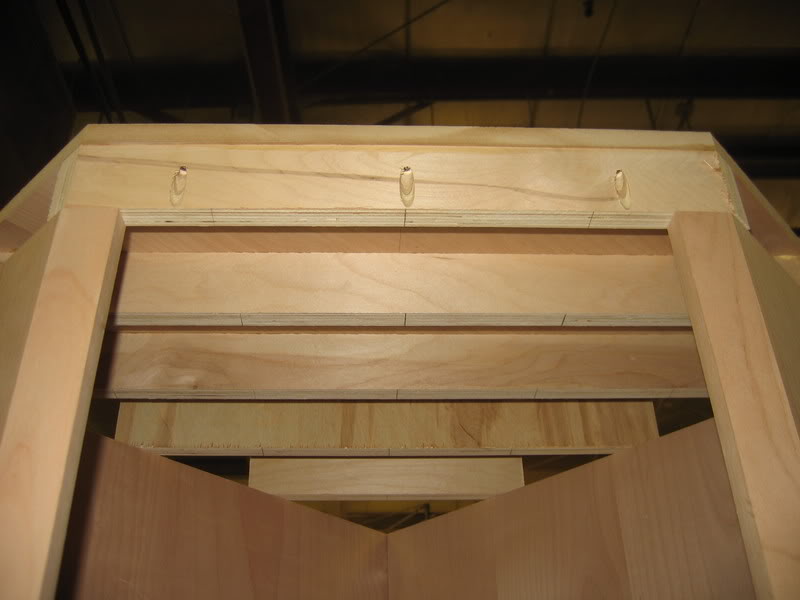
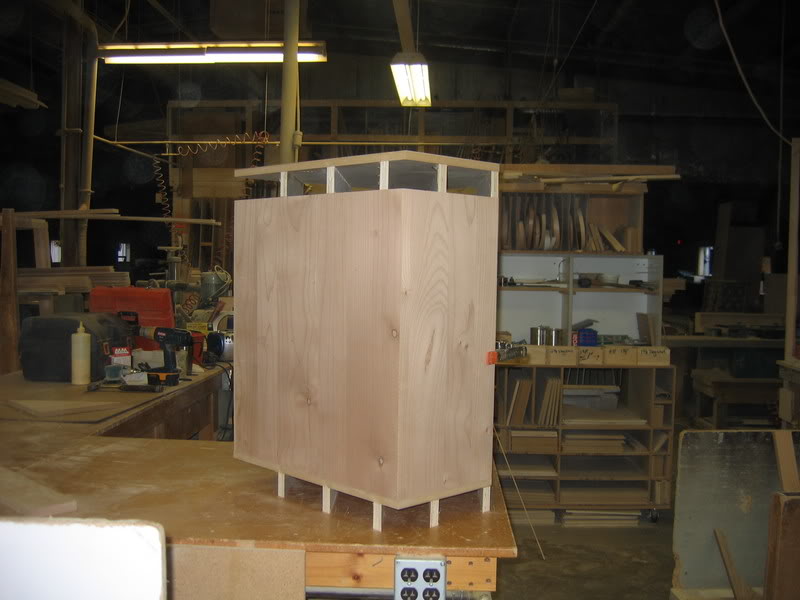
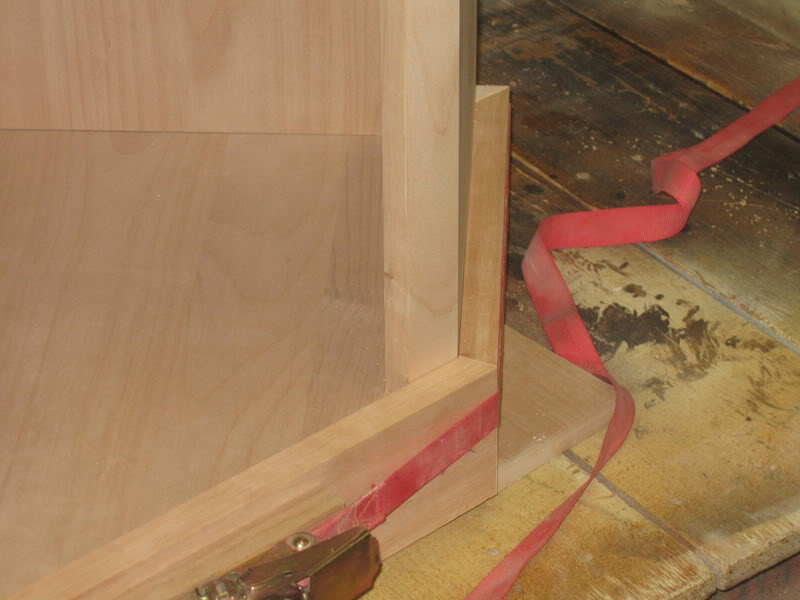
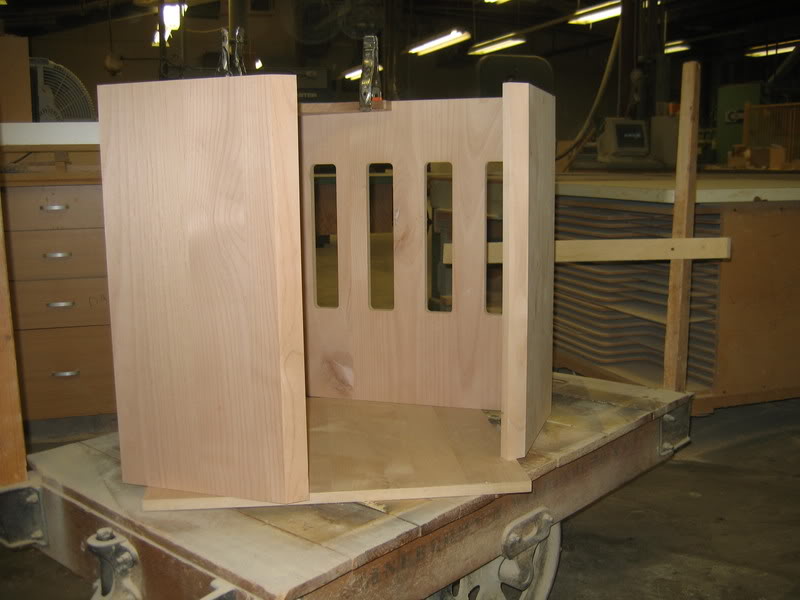
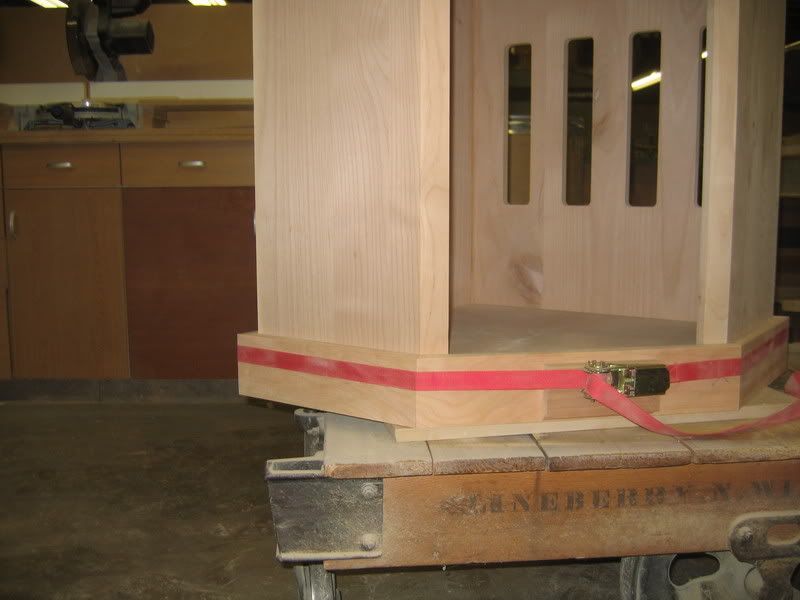
the tank has been filled and has been holding for the last week...I will be starting the stand and canopy this weekend, and will update w/ pics...I decided on a simple design in alder with a honey finish , matching the shape of the tank...I need to build this first so I can get accurate dimensions for the filter and plumbing.
 
what do u use to glue the arylic?


Corian, and other solid surface materials, are glued together with the same resin that makes the product ,(acrylic / polyester resin and a catalyst)...when allowed to cure it can be machined, sanded, and polished to eliminate any seams....the 3 front panels with glass on this tank are actually made from 4 separate pieces each...all total there are 20 pieces of Corian in this tank
 
That looks incredible. It's times like these that I wish that I was more handy. I'll just have to admire everyone else's handy work. Incredible!
 
I started the stand today using MDF veneered with Alder,and solid Alder...
img_752630_0_268961a351fc9e9108af6db2c21e51b2.jpg


decided on a modified "Torsion Box" for the top and bottom...
img_752630_1_307ae6a37dfb680a964dff9752493a46.jpg

this makes a rigid platform that will carry the weight to the sides and backs and allow me to attach adjustable levelers to the base...
img_752630_2_6adf2d2afd513413e2045fbe8cb9fd2f.jpg


the solid trim at the base creates a 3/4" lip for the sides and backs to be attached from the inside...
img_752630_3_48b60fd70391e6737a7f2ccb44a362d2.jpg

the top will have this same lip ,(below to attach the sides and backs,and above to reccess the tank)...

I also routed the back for air circulation and electrical access...
img_752630_4_dd97f350d4bb559549d09f59b0db3b5d.jpg


I still need to apply the solid trim, and make a door...I think I may add a shallow drawer also...then I can start the canopy...

img_752630_5_3f1a64e4311afc16a2704a26314154de.jpg


more to come next weekend
 
Do you program the CNC yourself?

no...the panels were cut on a manual beam saw,and machined with an overhead pin router...other than that i used your standard shop tools
 
no...the panels were cut on a manual beam saw,and machined with an overhead pin router...other than that i used your standard shop tools

Tight work!, I thought for sure this was all routed stuff :D
 
Back
Top Bottom