Sicklid
Aquarium Advice Addict
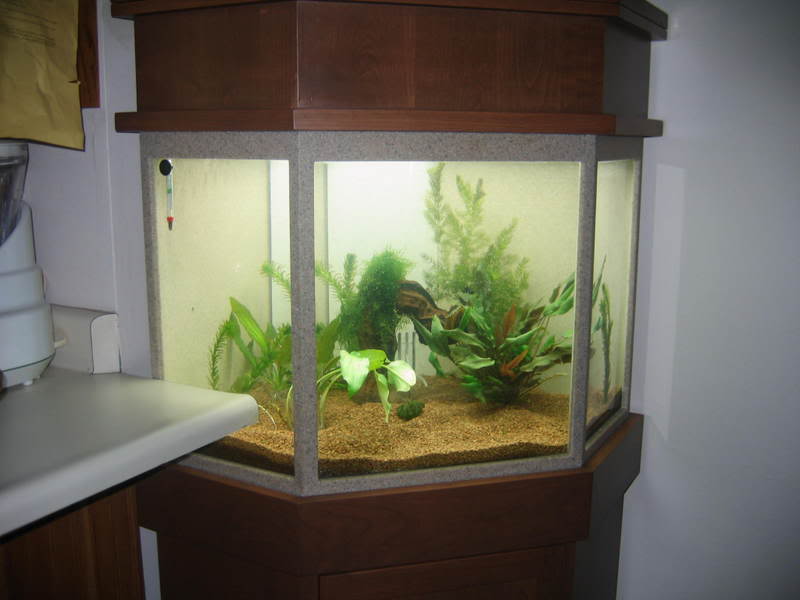
Can't wait to see that thing planted and grown in... I am following this thread like my girl watches "Gray's Anatomy"...
redswi said:"Yay" for Drs Foster and Smith...
They delivered my pumps this afternoon...I got 2-quiet one 1200s, 2-stealth 200w heaters an airpump and all kinds of goodies...Time to play...maybe now my luck will change...
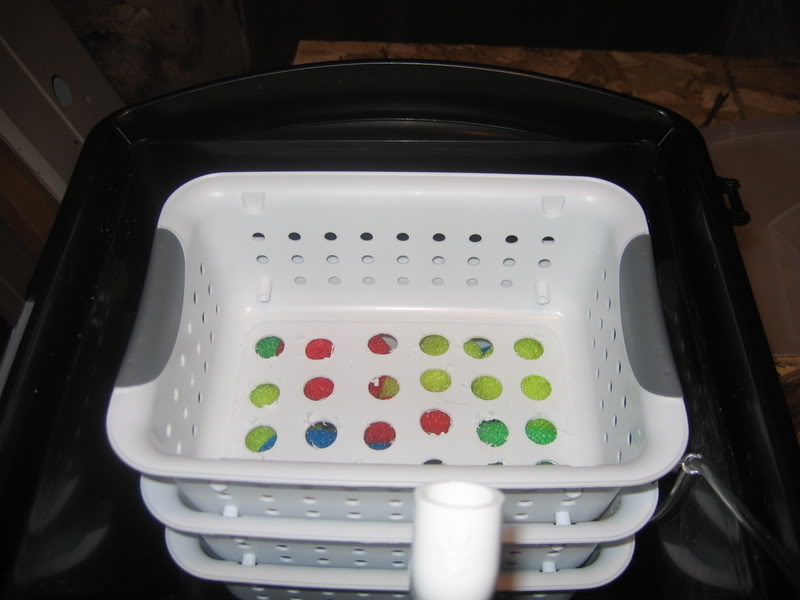
Over the weekend I tried to do everything I could without the pumps, but everything I touched fell apart...1st- my perfect piece of driftwood turned to mush when I boiled it (it takes a big man to cry)...Then the food dehydrator baskets, that I was going to use in the test filter, cracked when I drilled them ( I quit before I ruined anything else)
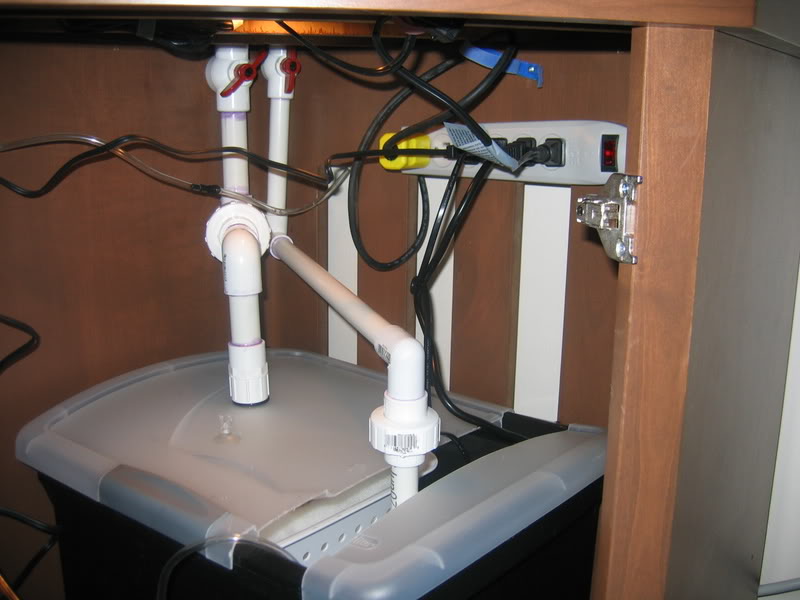
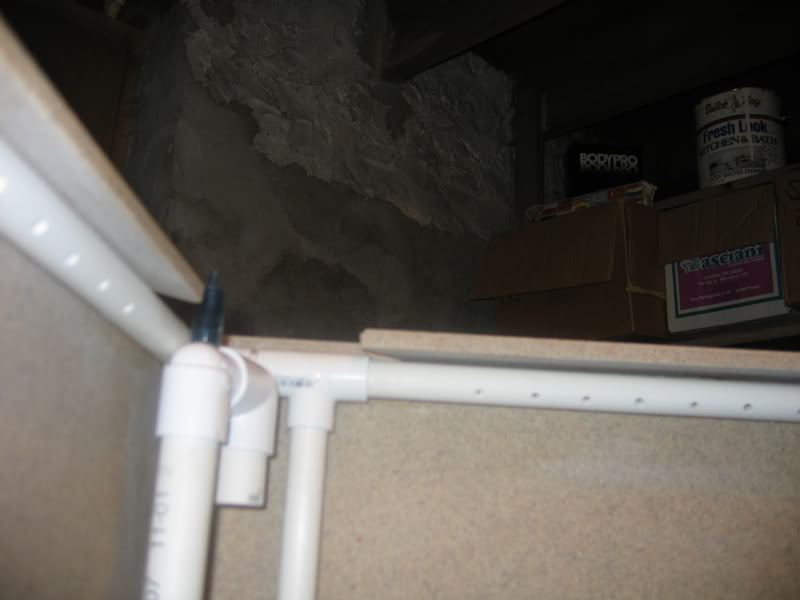
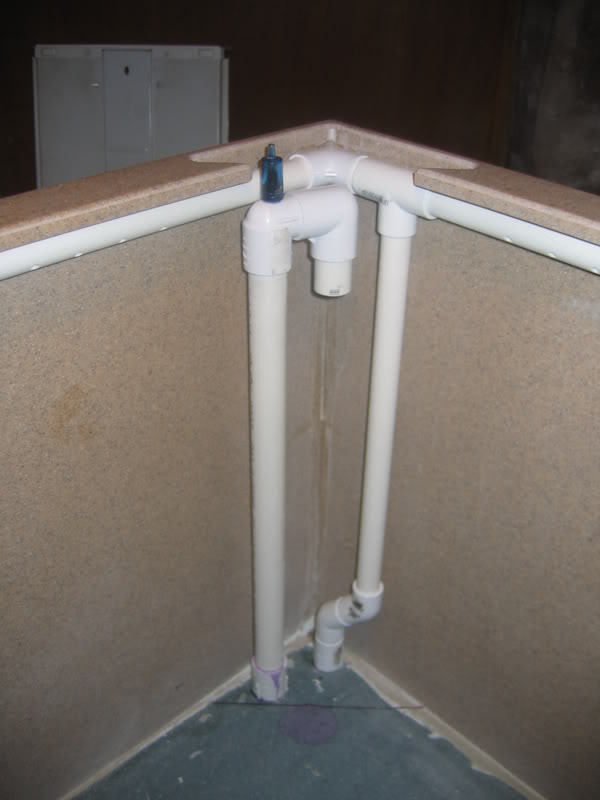
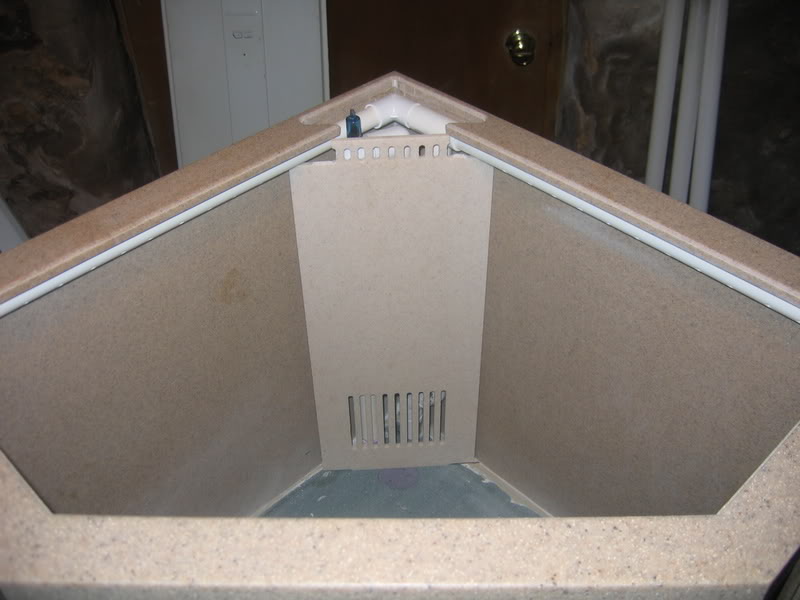
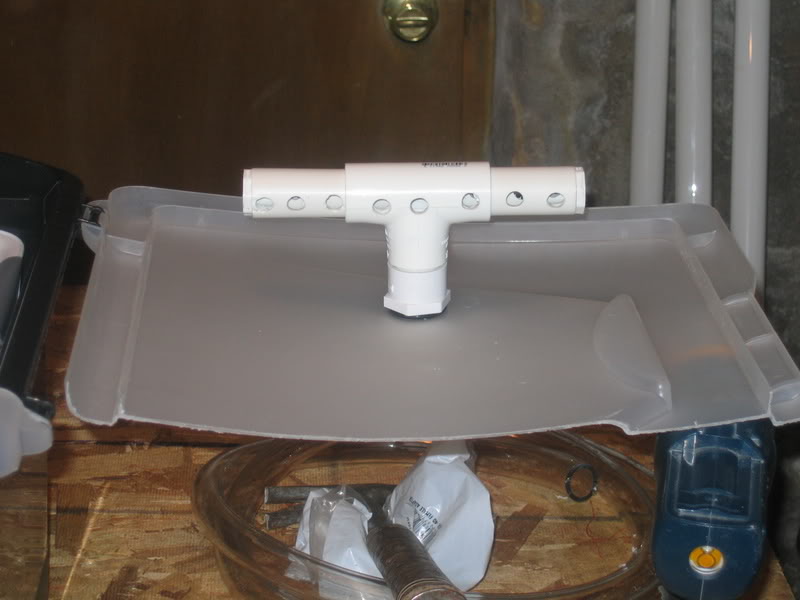
Luckily I was able to build my overflow for the test tank...worked better than expected...I feel confident enough to put it in the corian tank without any changes....Also made a return line w/spraybar...It worked, but I had it set to low in the test tank and it created to much of a siphon...I had to shorten it some, and will change that when I make the final one for the corian tank...
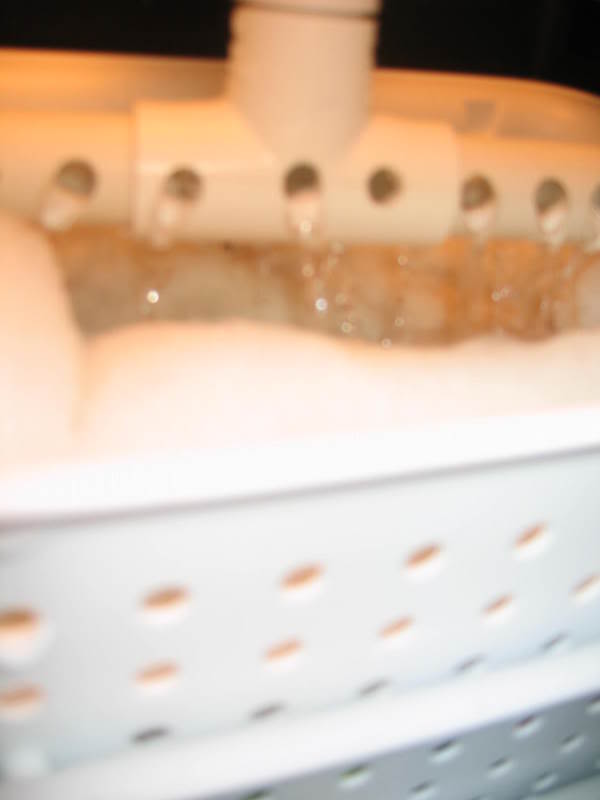
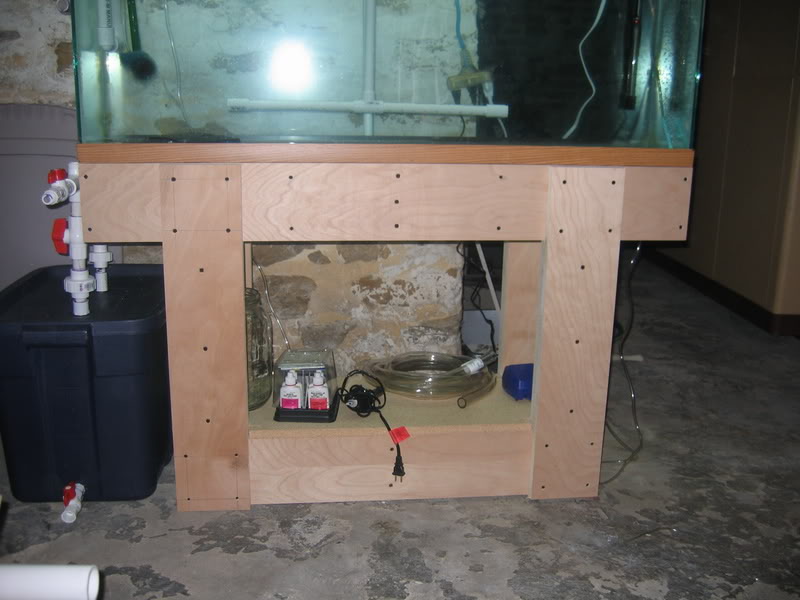
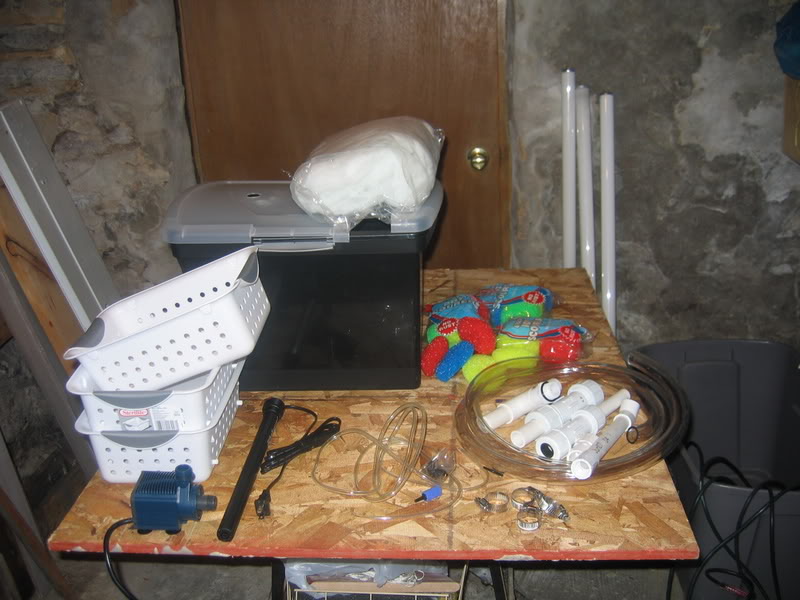
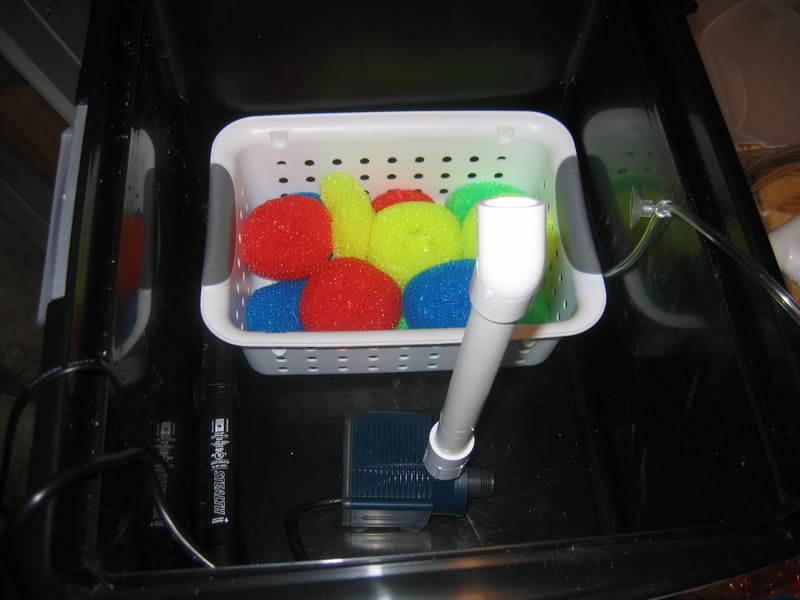
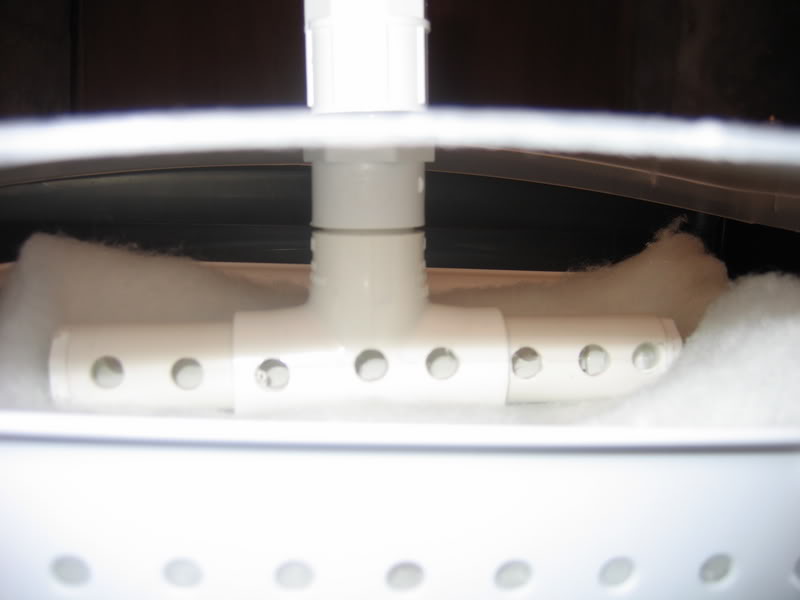
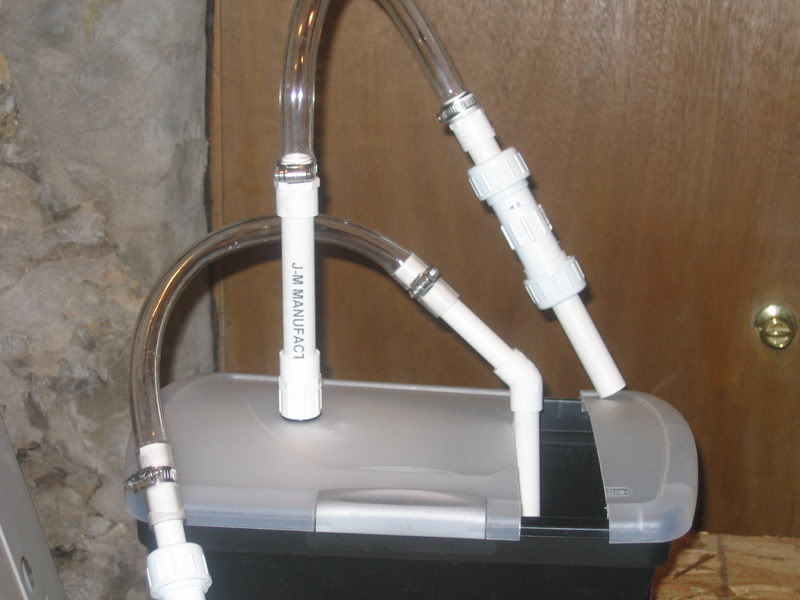
Tonight I put together the test filter...It consists of a 18gal rubbermaid container and a square bucket w/ a divider, and lots of drain holes...water flows into the bucket,,, over filter floss placed on top of a drip plate,,,then drips over plastic scrubbies,,,,overflows the bottom of the bucket filling the sump , where it is heated and returned to the tank...I put a drain in the container so I empty it right into a floor drain in the basement...Turn off the pump ,,,let the container fill,,,drain,,,refill...fast 15gal water change...so far it is working well...had a time balancing the flows but it has passed the test...I can now build the corian filter and keep this project alive...Gonna be a busy weekend coming up...
The idea I had about using the siphon from the filter to use as a gravel vac doesn't work...maybe try again some other time but not now...
BTW I don't like to use credit cards online(or anytime really) so I called Drs Foster and Smith to ask about their online pricing...turns out that if you call ahead and tell them when your placing the order, they will hold the online price...I save about 36.00 off the catalog price with my order.
")
then I realized my electricity was a little overloaded so I ran a new line for this tank , and the 55 test tank in the basement...
You should add the costs of the materials for the wet/dry filter just in case someone here would also like to make one.
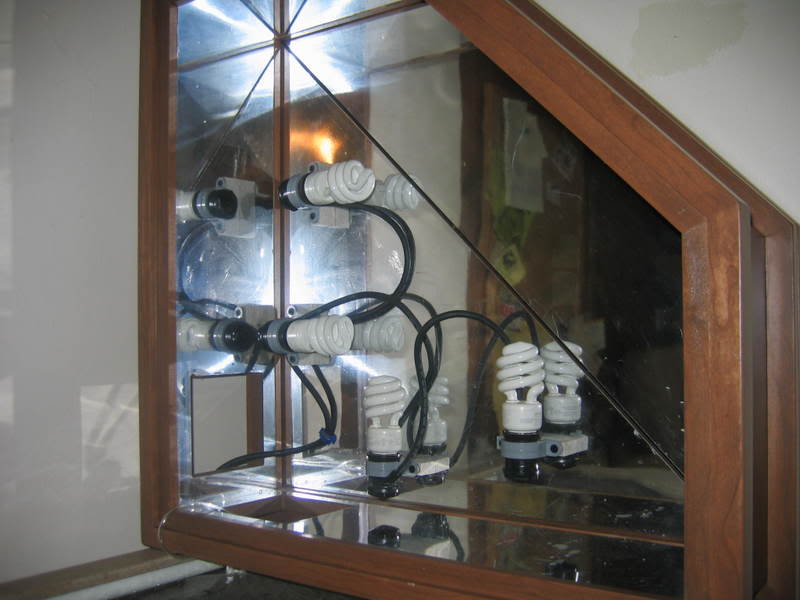
What are the pens for?