DIY internal mini sump/filter (Pics)

The friendliest place on the web for anyone with an interest in aquariums or fish keeping!
If you have answers, please help by responding to the unanswered posts.

Mac11

Aquarium Advice Activist
Joined
Mar 11, 2014
Messages
106
Location
Akron, Ohio
Just finished building my mini internal sump/filter for my 55 gallon fowlr. little rough and im not so good w/ silicone but I think it came out pretty good. Im gonna get some bio balls, sponges, ceramics, and sand in there soon. Just thought id show some pictures of what I built. feedback would be great!

 
Looks cool. Want to give us a little more info so maybe we can try it too?

Sent from my Nexus 7 using Aquarium Advice mobile app
 
I like how water is drawn into the filter rather than forced in and churned up by a pump.
Won't this become an algae magnet since it is close to the light.
 
I took a sheet of acrylic from the hardware store and heated it with a crembelle torch over the edges of my counter until I got a basic hang-on-back piece. Then cut small pieces of acrylic that would waterfall down. Used aquarium sealant to put it all together and stuck a maxi-jet pump on it. It was all pretty easy and I did it under $30. I also got the plastic mesh at the art store for 39 cents for a big sheet.

And Im pretty good with aquarium maintenance plus I plan on putting macroalgea in the center chamber to help naturally filter the tank.
 
I saw the silicone job. As you said, rough but you can hardly tell with water in it. Next time I would tape it off with blue painters tape and use a wooden tongue depressor (cheap at craft stores) to smooth the silicone plus it forces the silicone into the joints.
I would get a wood strip to put under the overhanging part outside the tank to level it and get rid of the clamps before they rust. Good idea with the plastic canvas mesh. I use that myself in my sump.
 
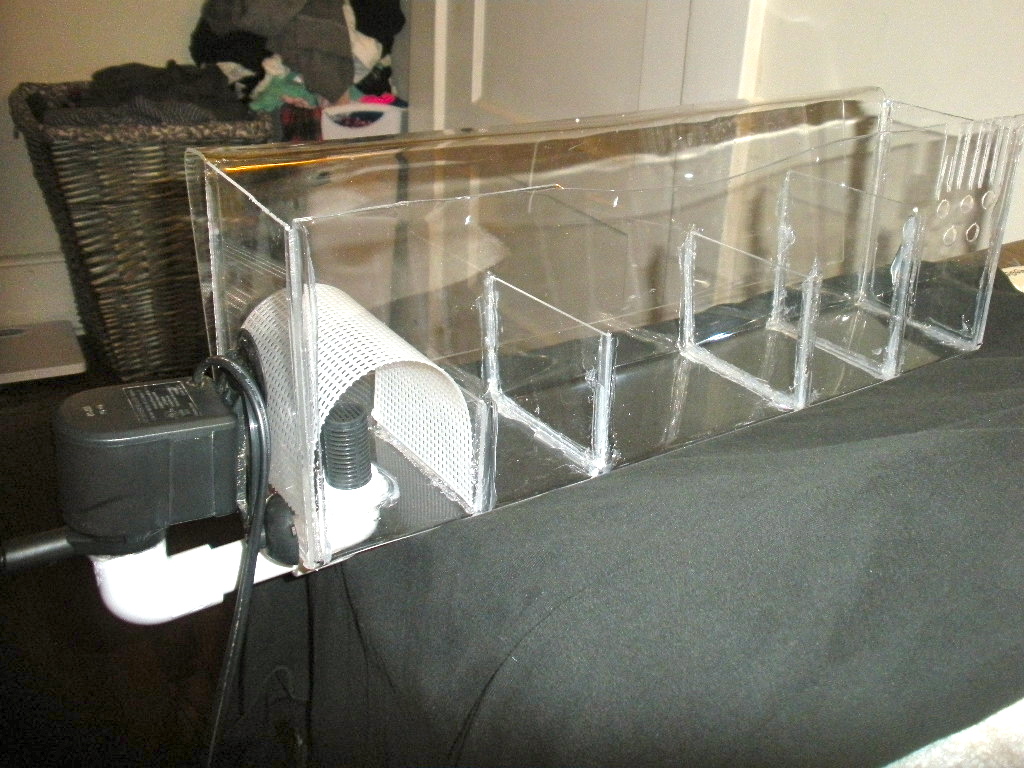
good job, but I do notice one rather large design flaw;
you have all the water traveling over the top of all the media chambers and not through the media.

You need to set-up the baffles so that water enters from the tank at the top and out the bottom of the first baffle, and then basically up/down through the rest of the chambers.
It appears as if the water simply flows over the top of everything.
You will not achieve very efficient filtration that way.

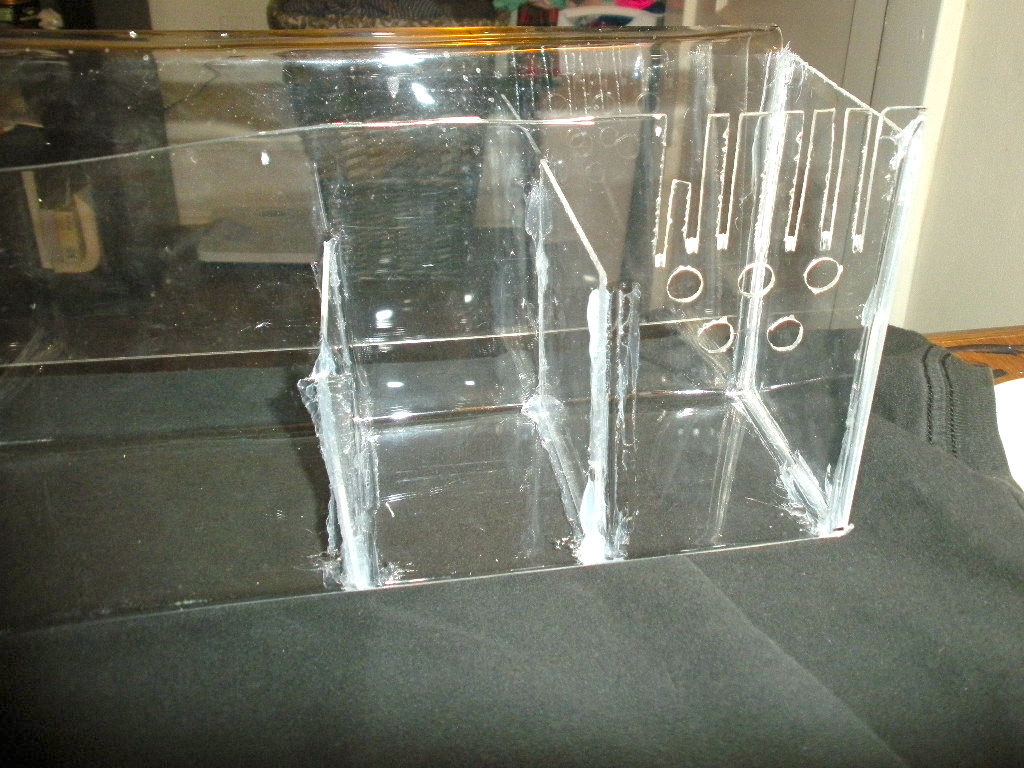
Luckily with silicone you can cut out a couple of baffles and re-seal them in new positions.
Take the first baffle and raise it up almost to the top so water exits it from the bottom, then add another small baffle to the top of the last (#3) baffle so that it creates a passage in the middle of the baffle for water to exit.
that way it will be forced to flow through the macro-algae without disrupting the sand bed of that section.
;)


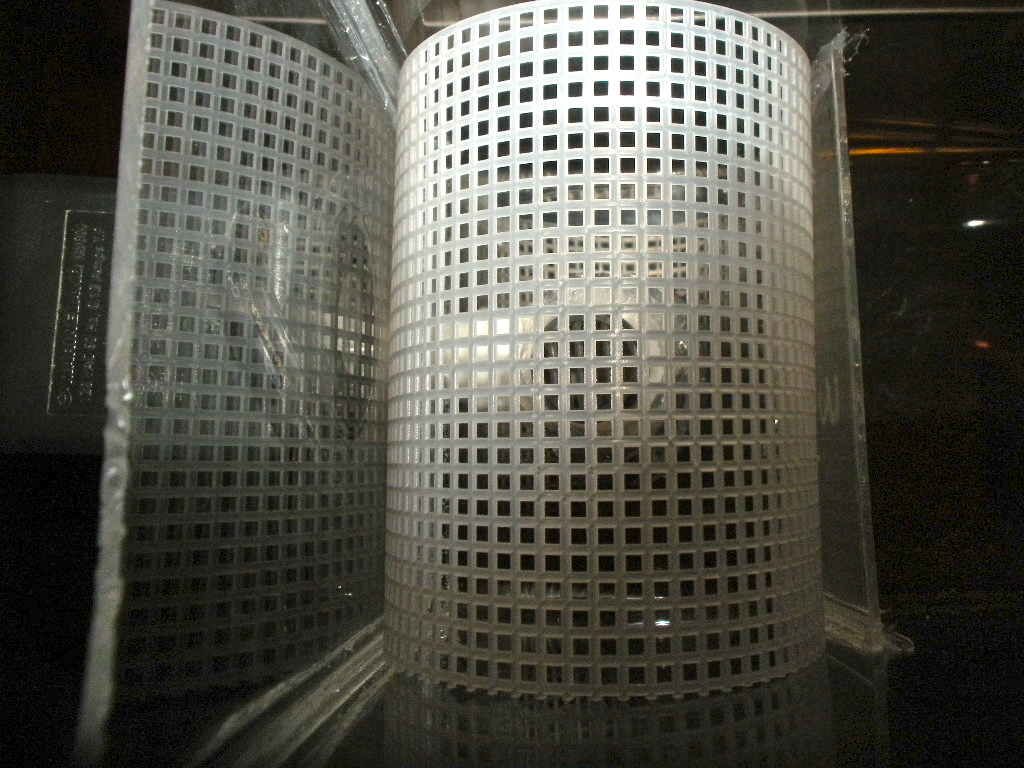
plus shouldn't you have the filter pad before the bio-balls? otherwise the bio-balls will become clogged with muck and lose efficiency.
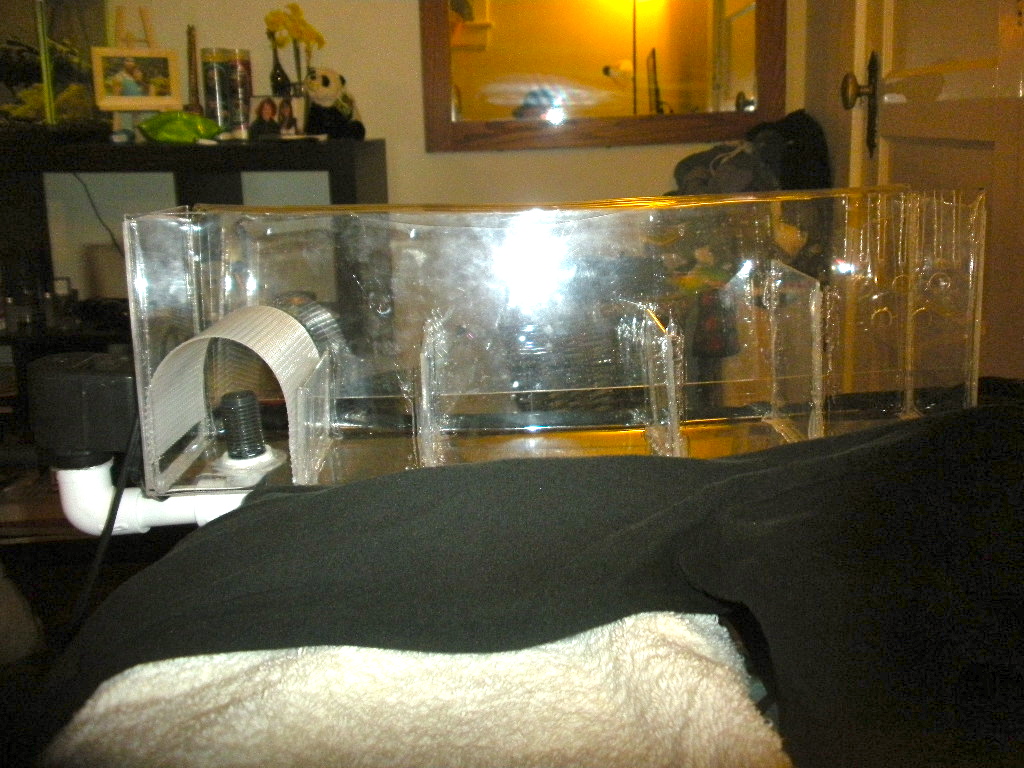
Also lose the output pipe and let it discharge straight from the pump. That way you are circulating more of the tank. Where the discharge is now you are essentially re-cycling a lot of the same water through the filter and not moving the entire volume of water.

Remember, the intake and discharge should always be at opposite ends whenever possible.
 
used a blowtorch (crembrelle torch) over wood or counter tops. It becomes very flexible once its warm enough.
 
Its been running in my tank now for almost 2 months and it still works great. No algae problems with it.
 
Back
Top Bottom