Gamefreak0109
Aquarium Advice Activist
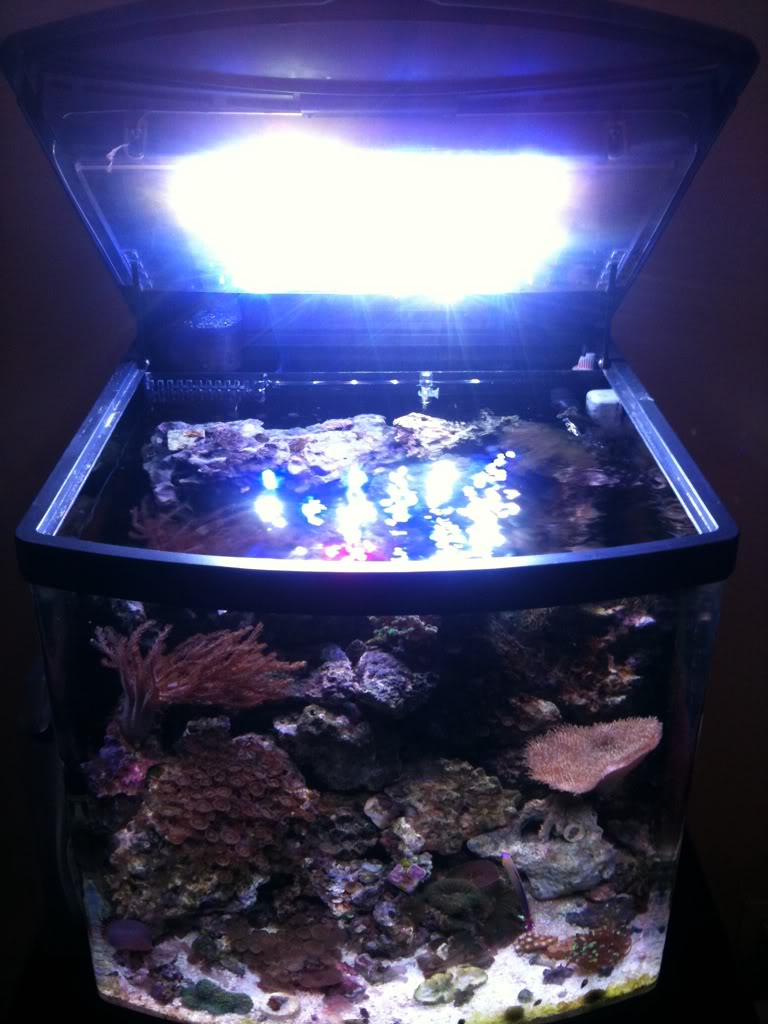
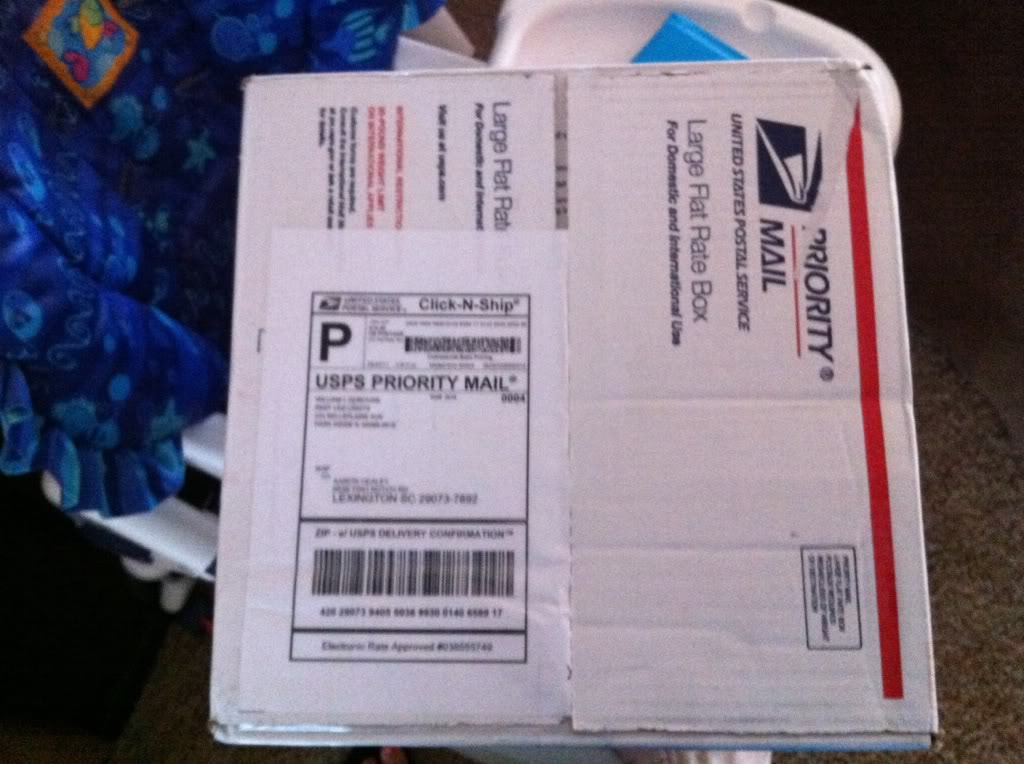
So i ordered my kit from reefLEDlights.com and wanted to post up my build on here.
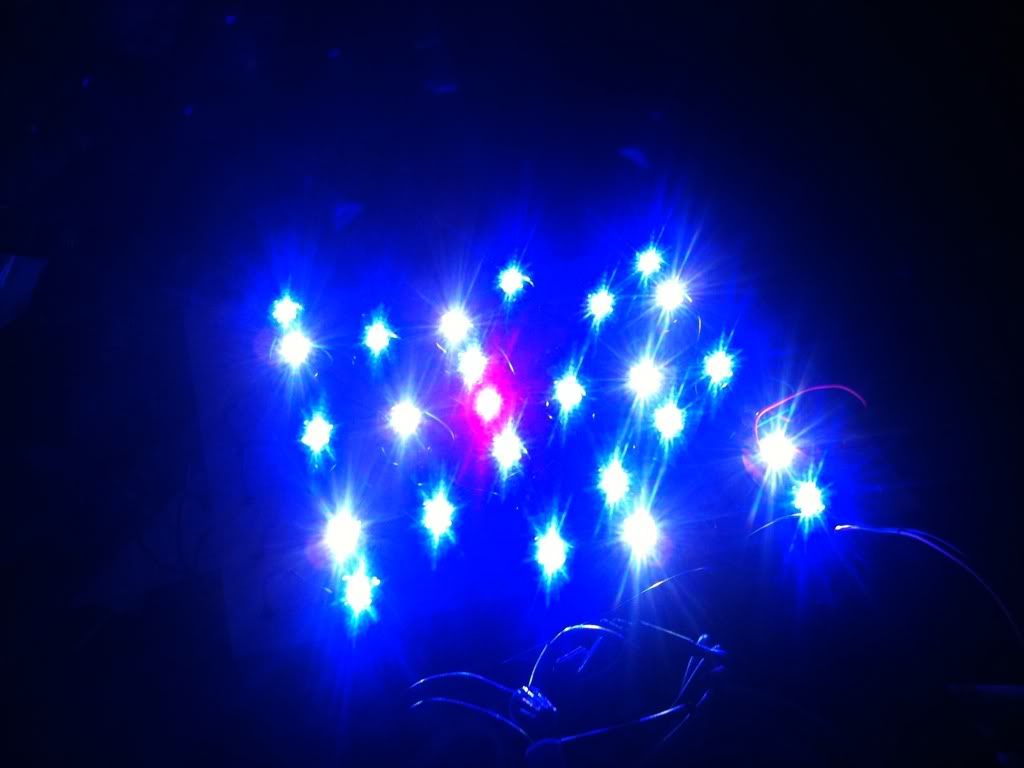
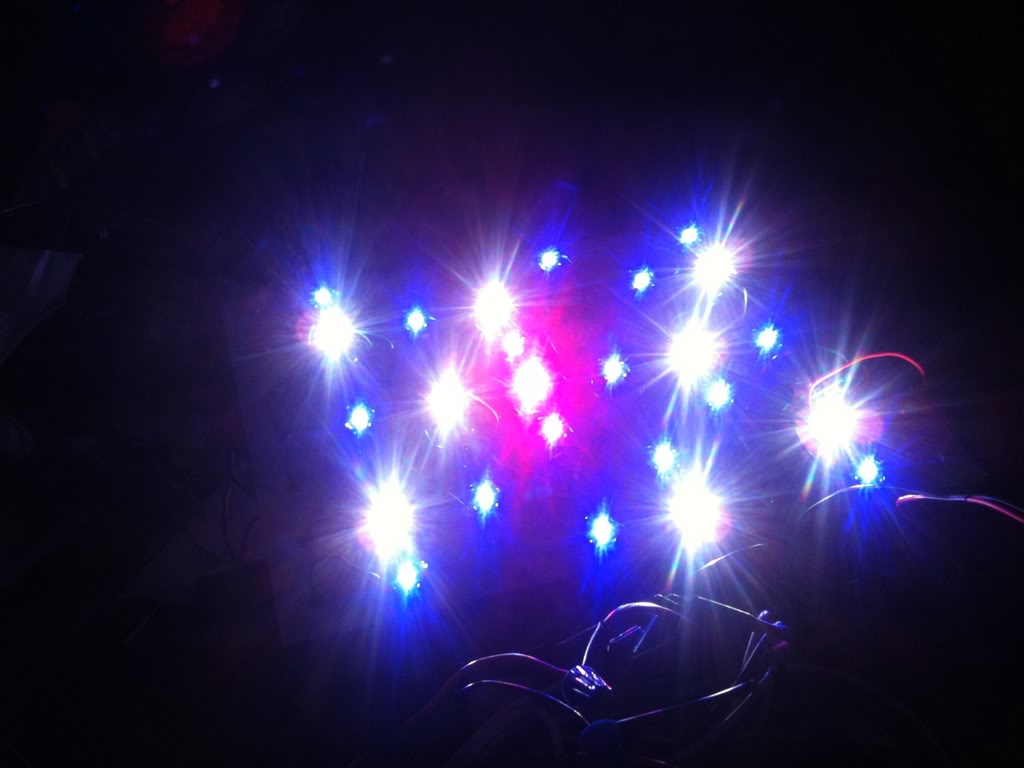
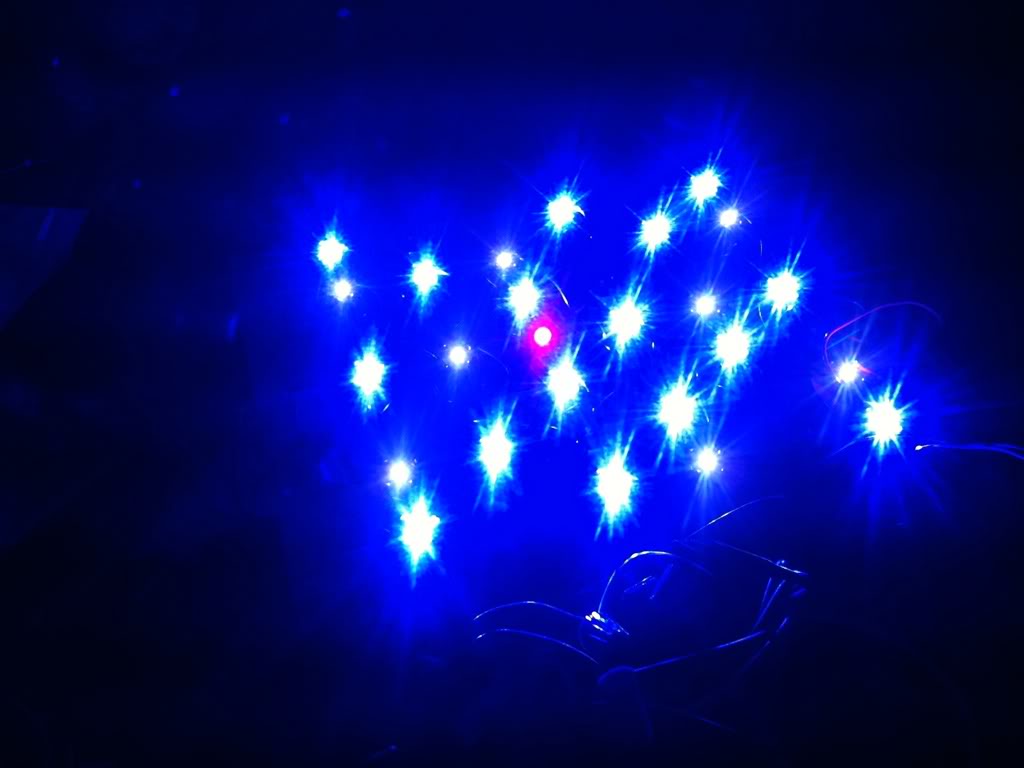
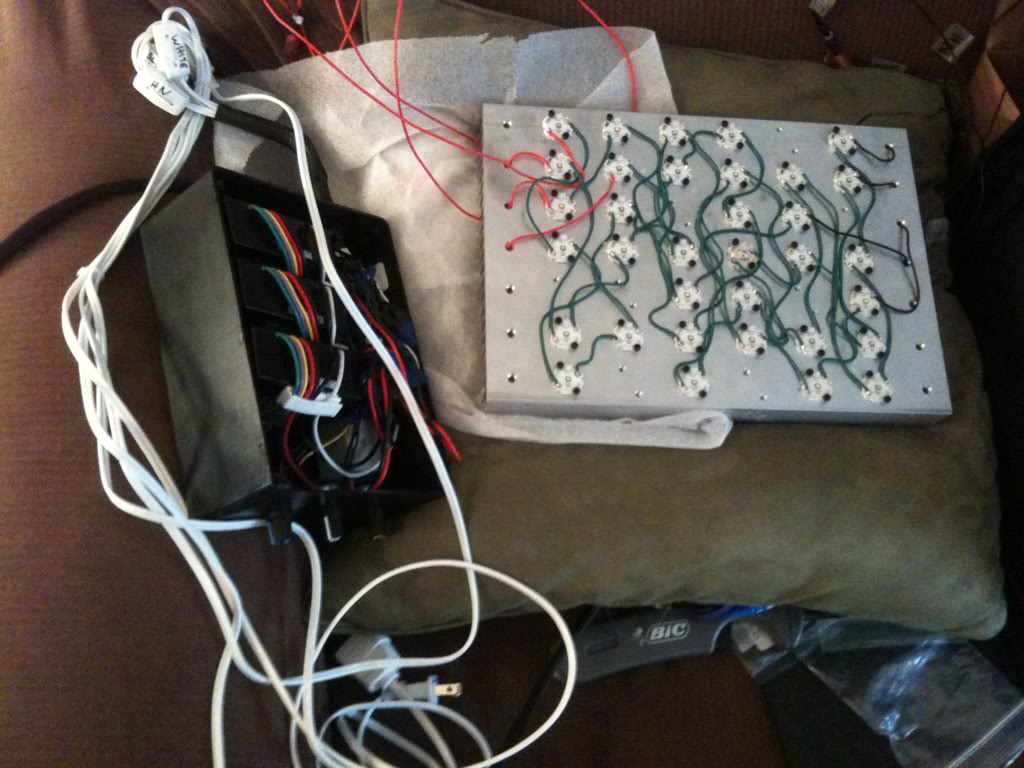
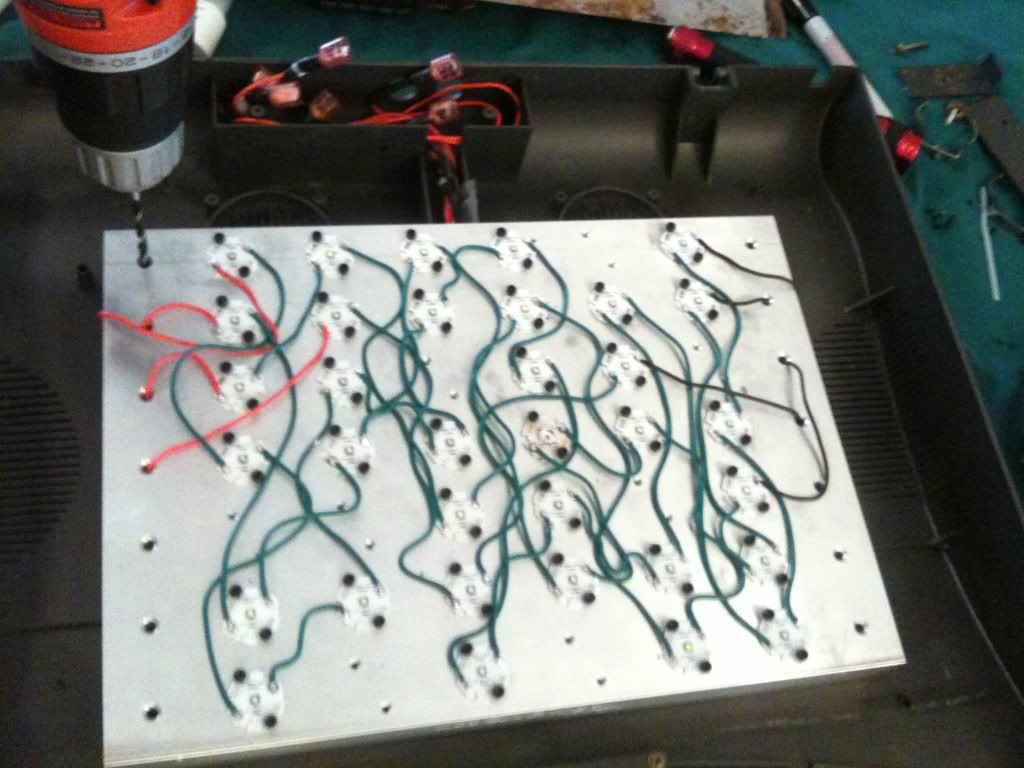
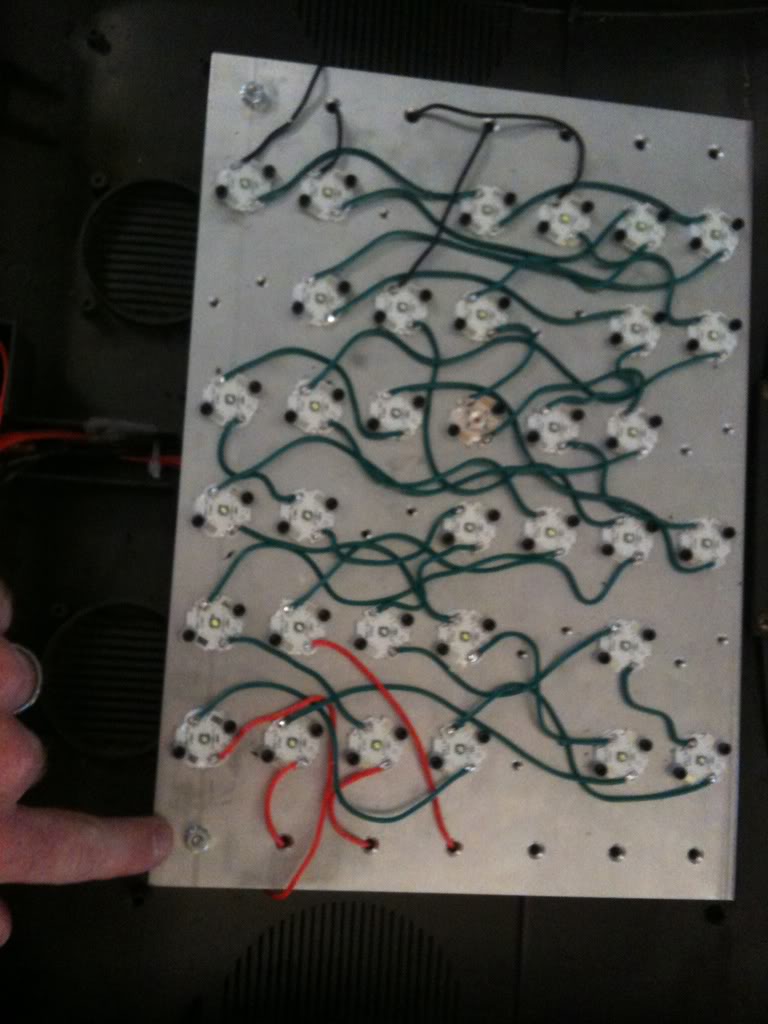
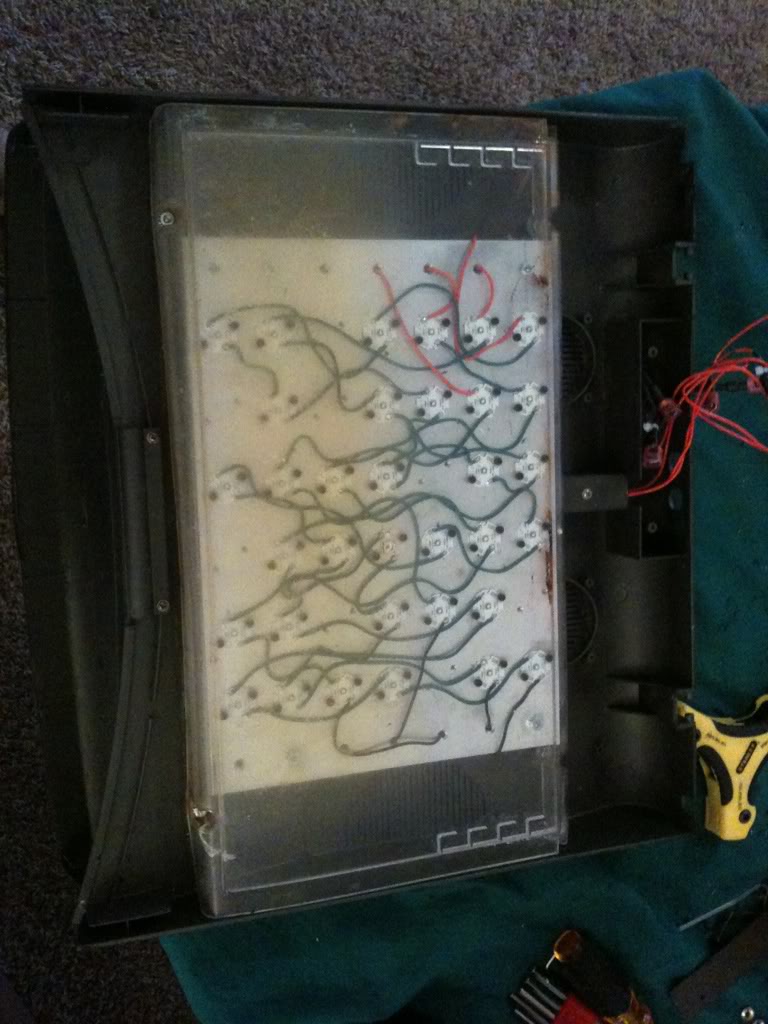
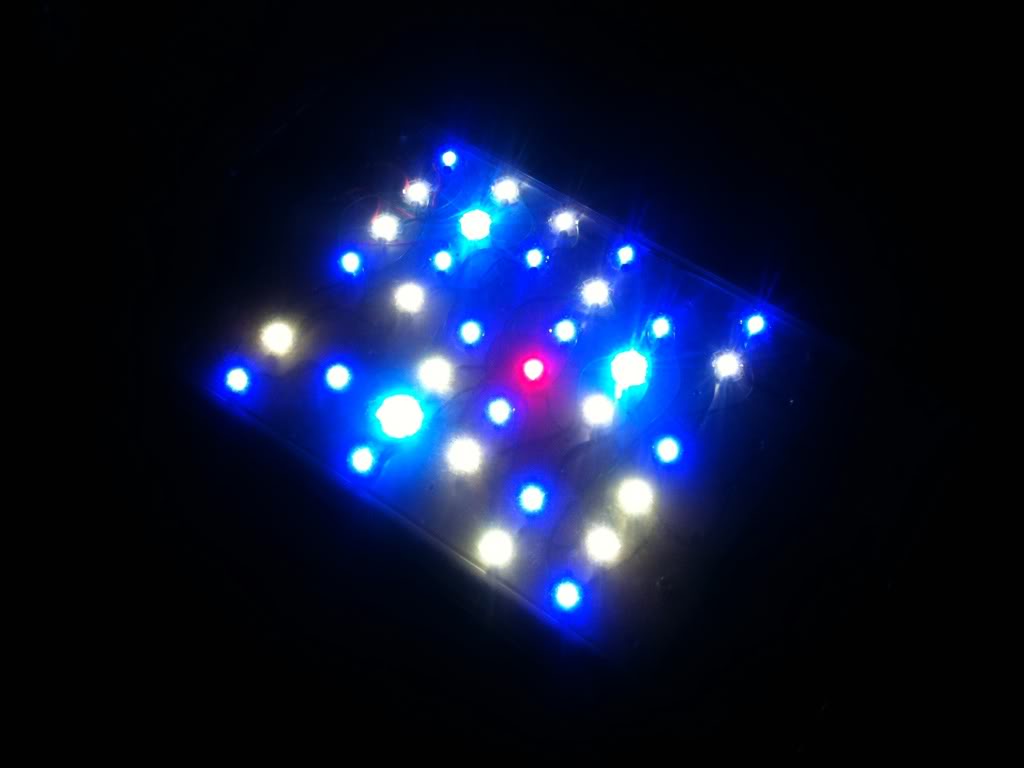
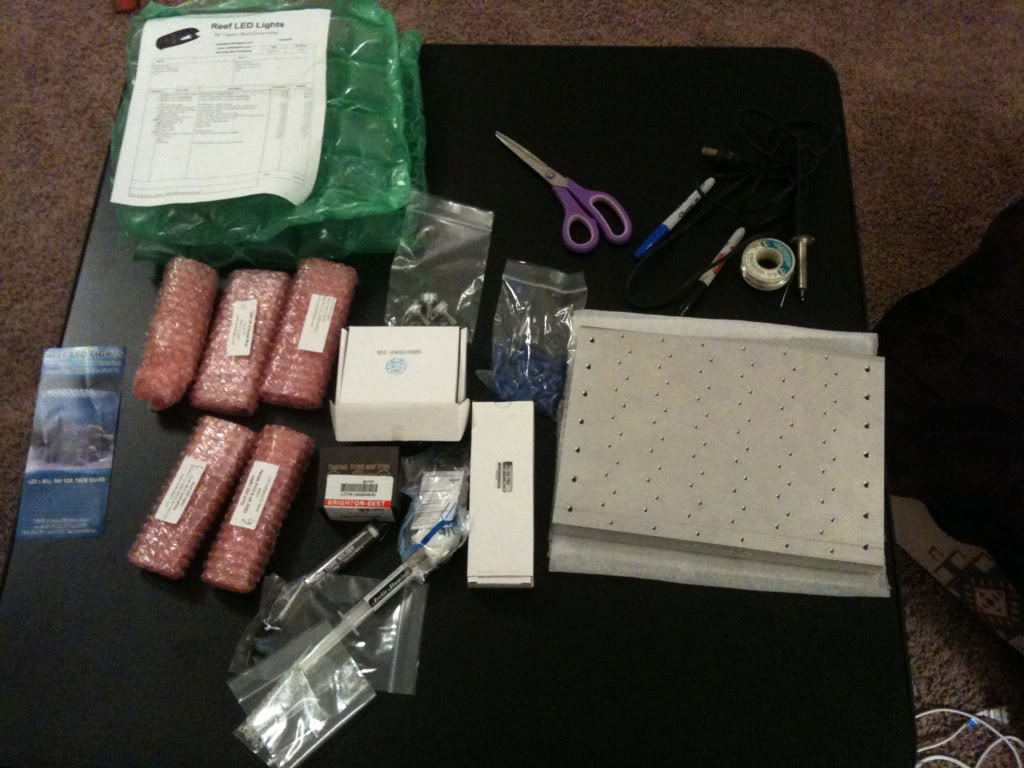
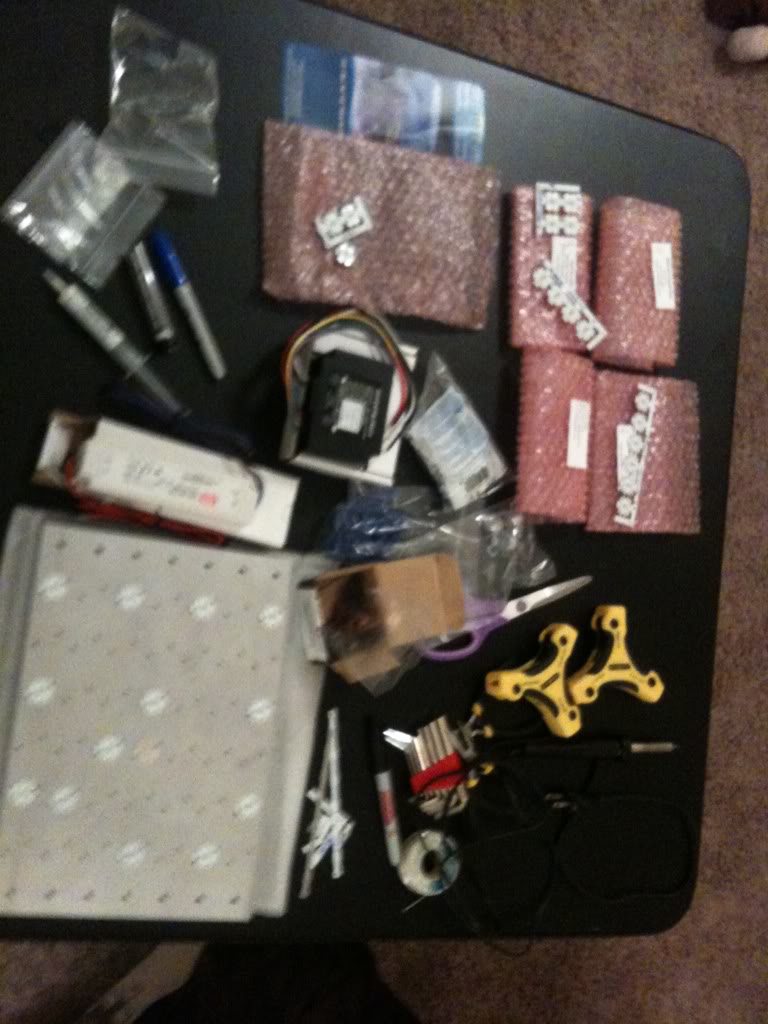
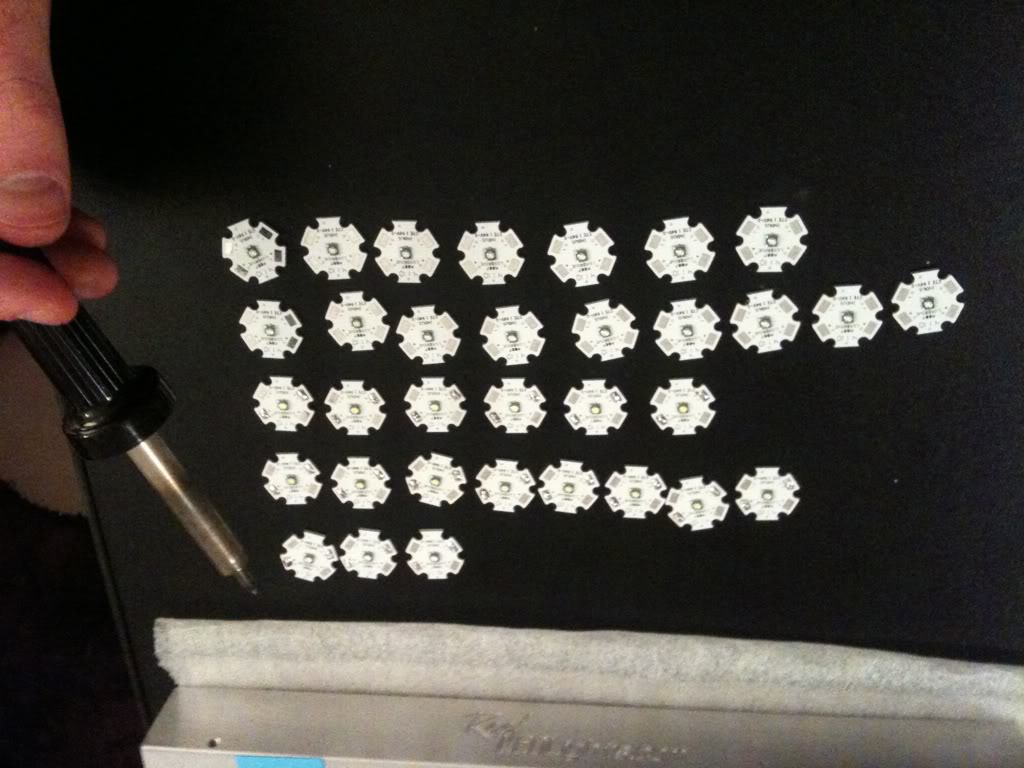
I ordered the 24 XP-E kit with the addition of a 6 led High Noon kit, and 3 led moonlight kit. And also one red led for color. Totaling 34 LEDs
so yea, i hope its a decent build, this is my first one....
**this is a build thread i have on another forum, i started this back in july. so im just copy and pasting all this up at once, obviously this didnt take place in one night.***
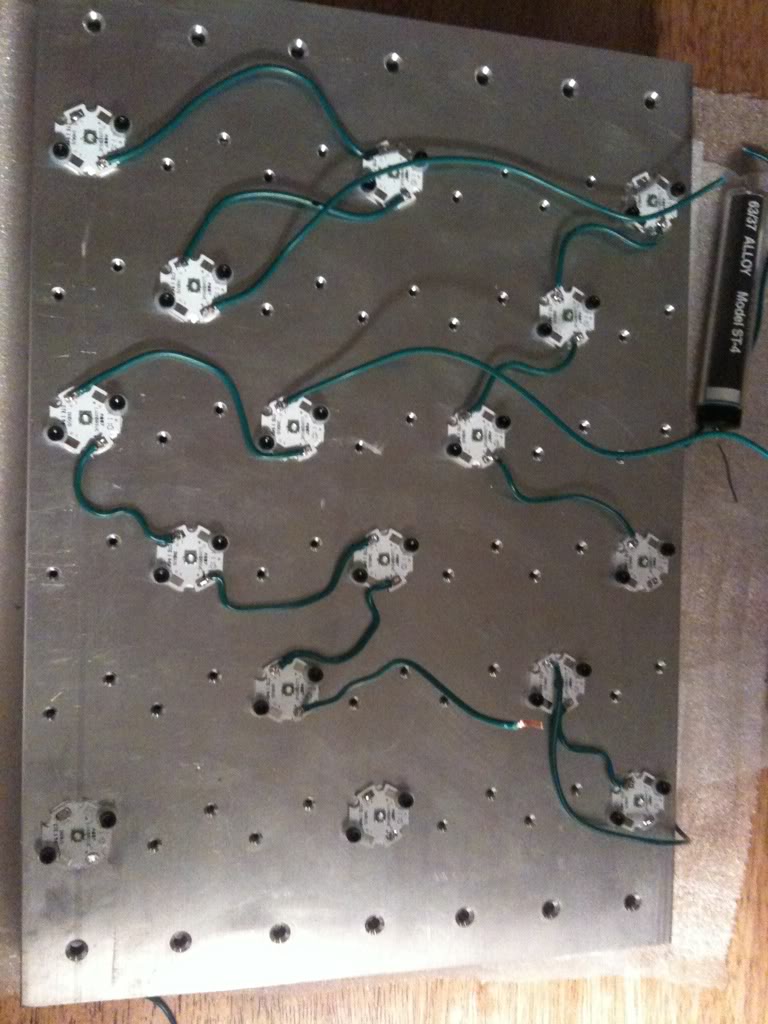
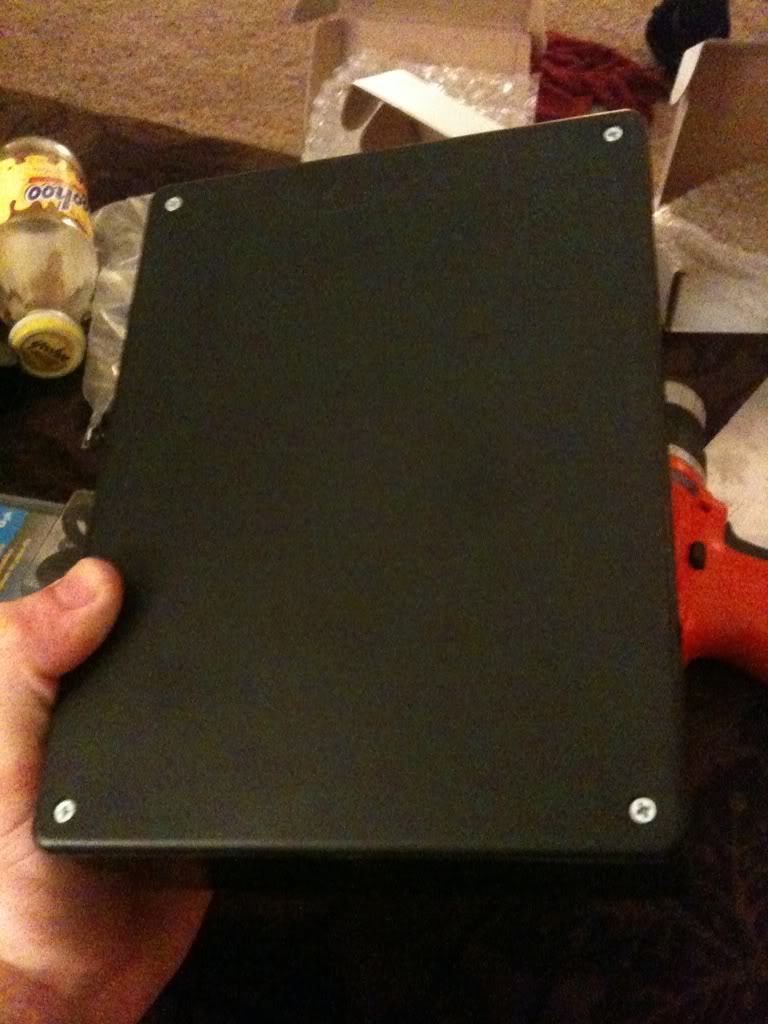
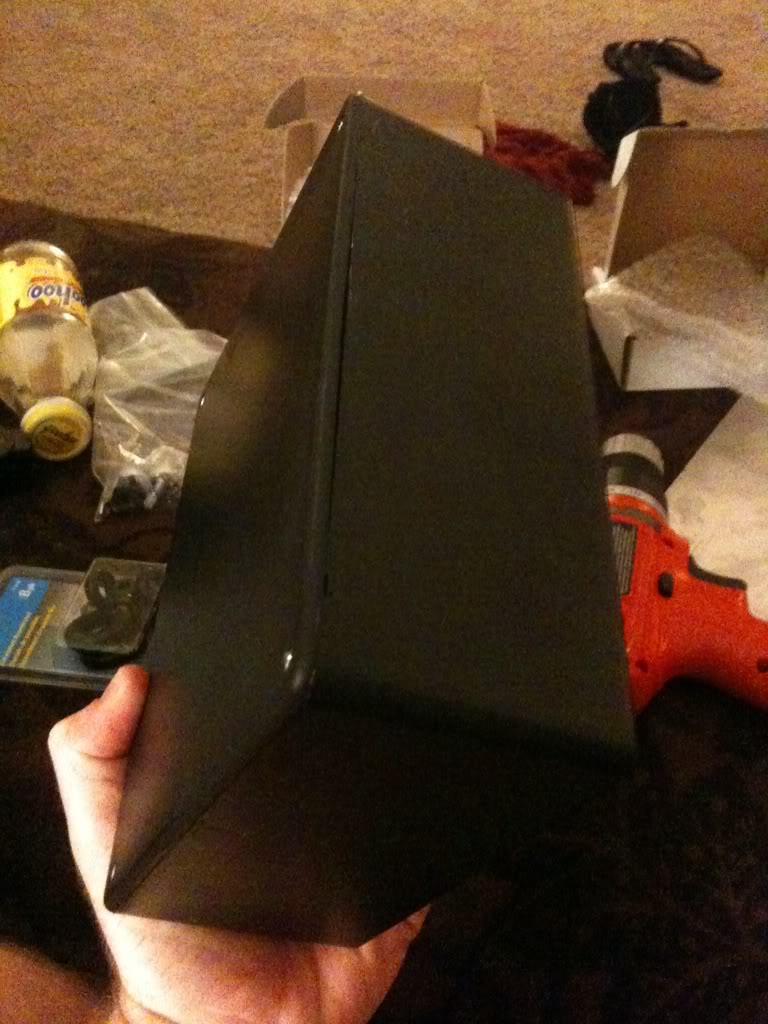
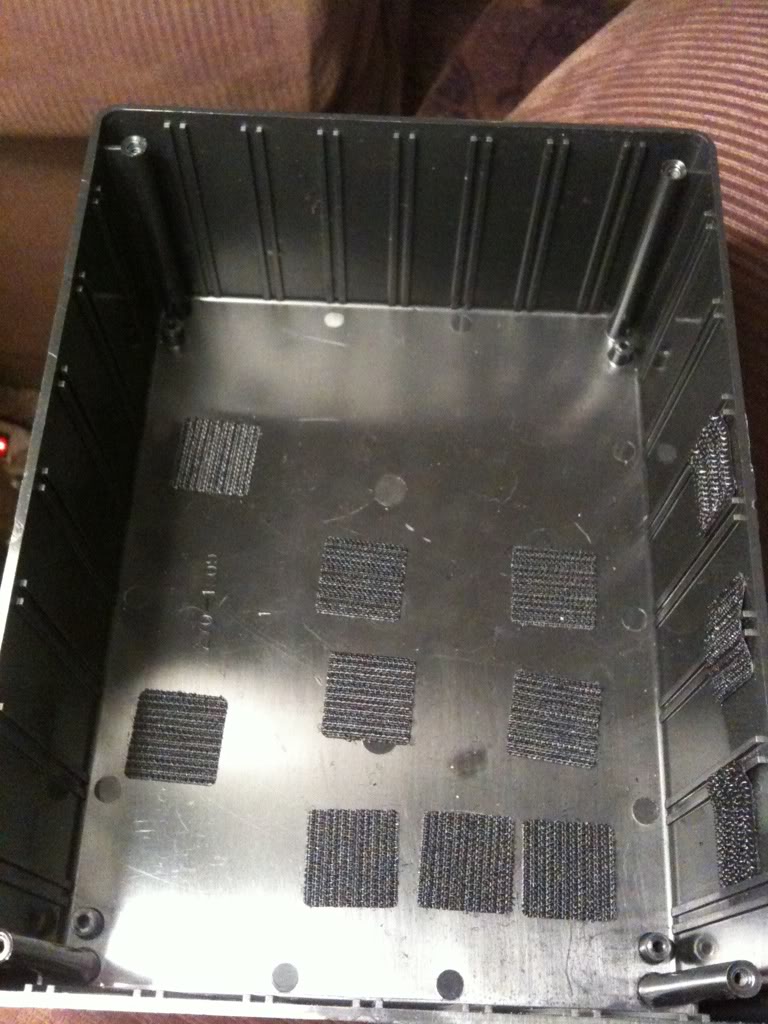
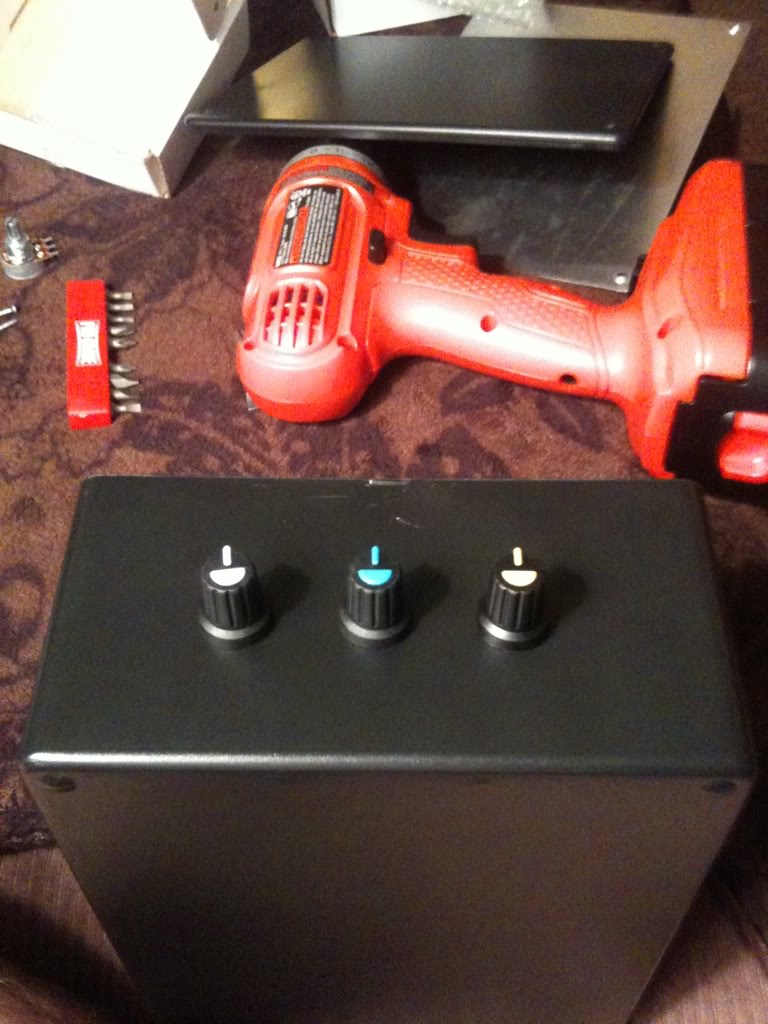
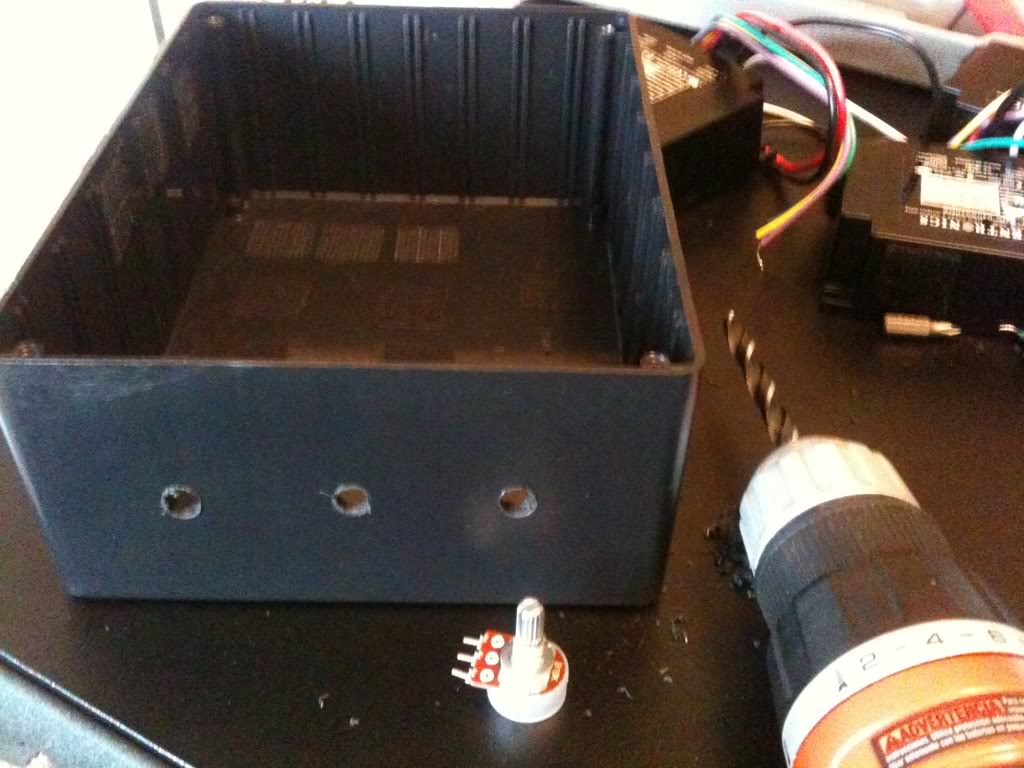
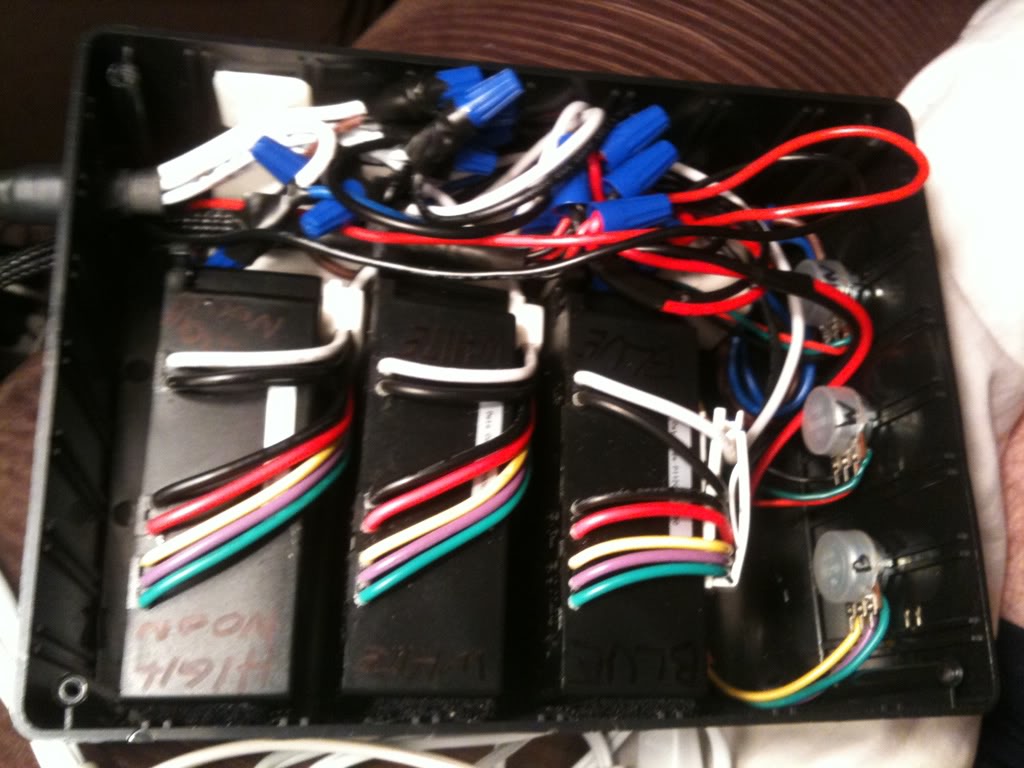
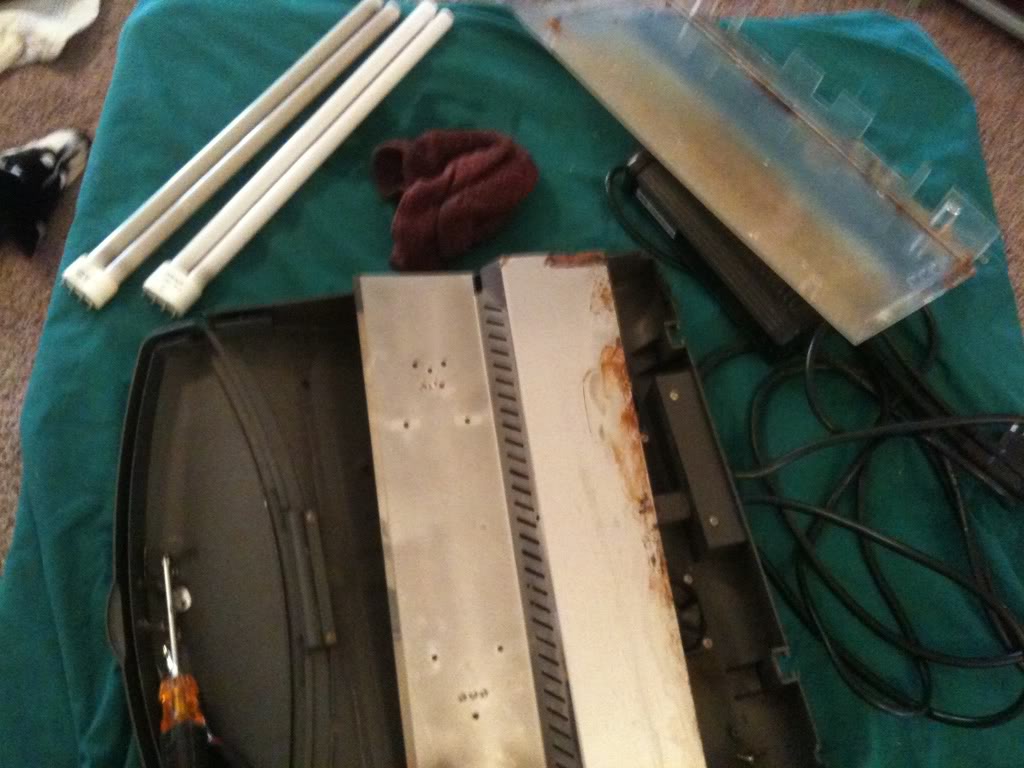
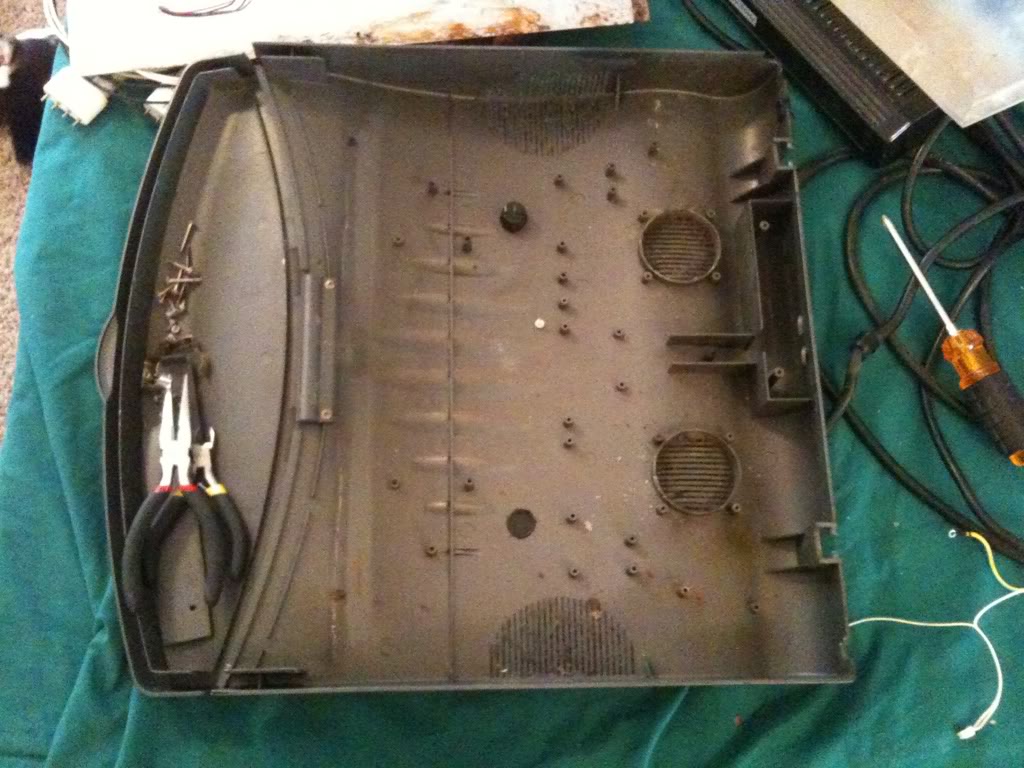
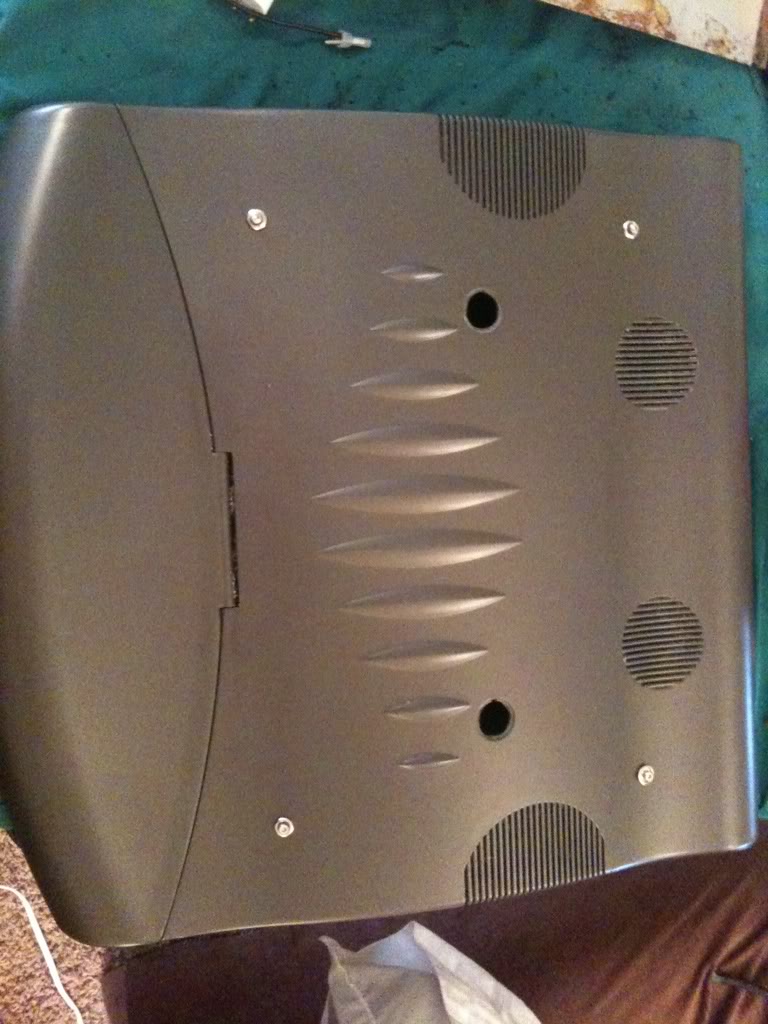
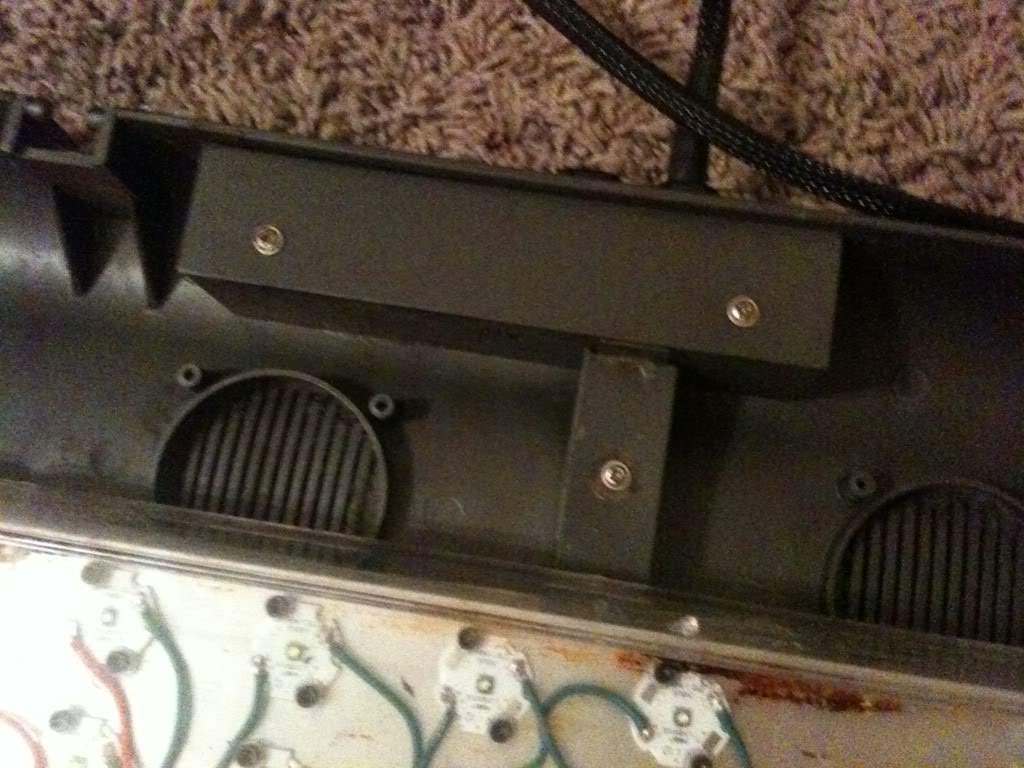
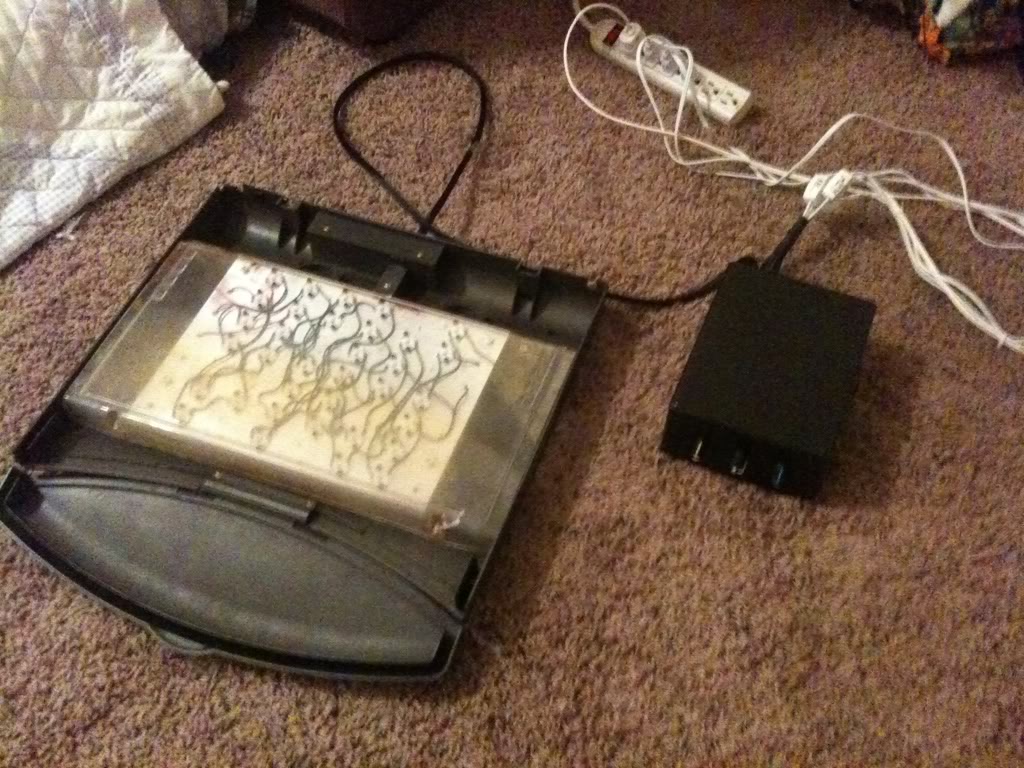
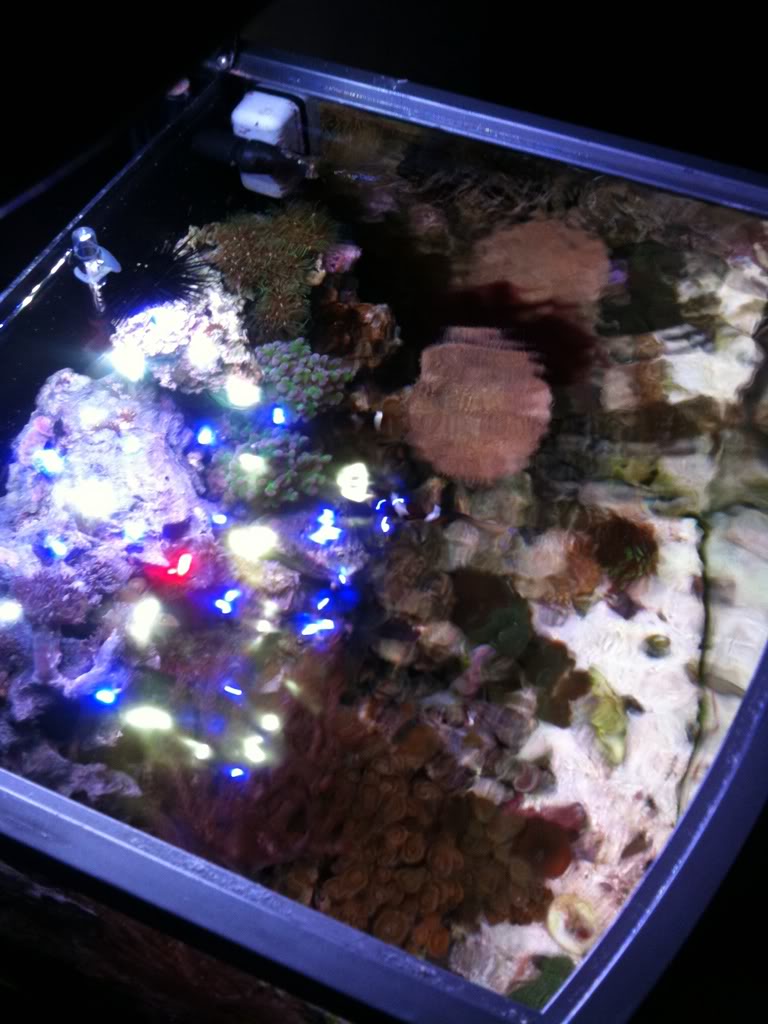
Let's get started


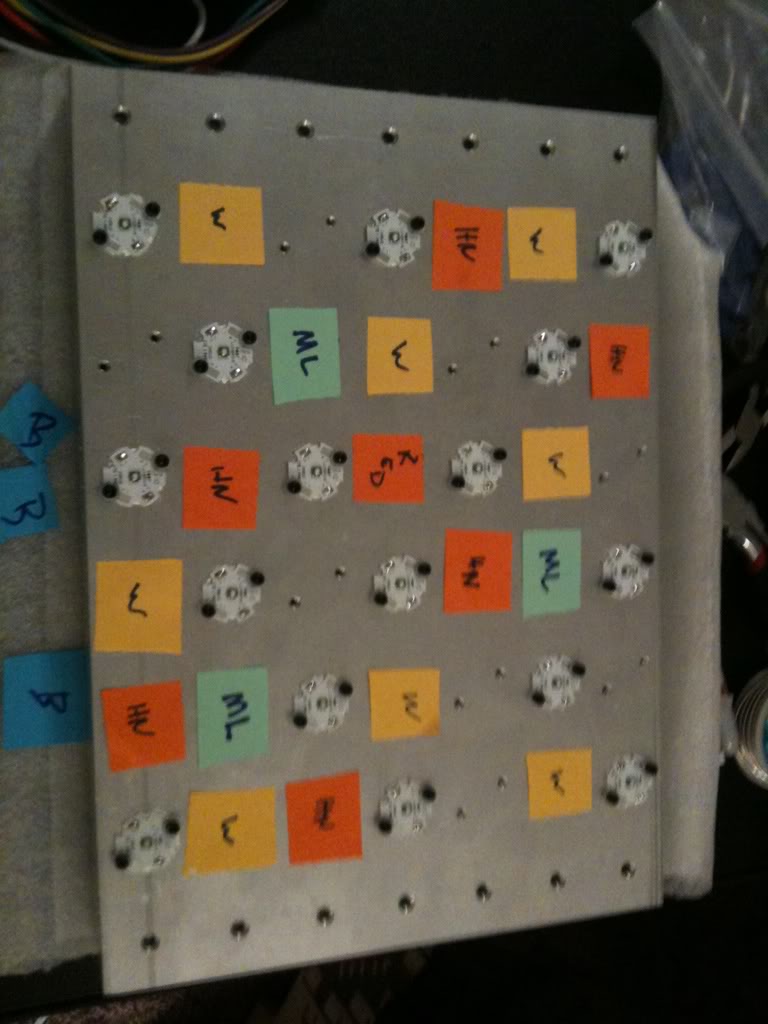
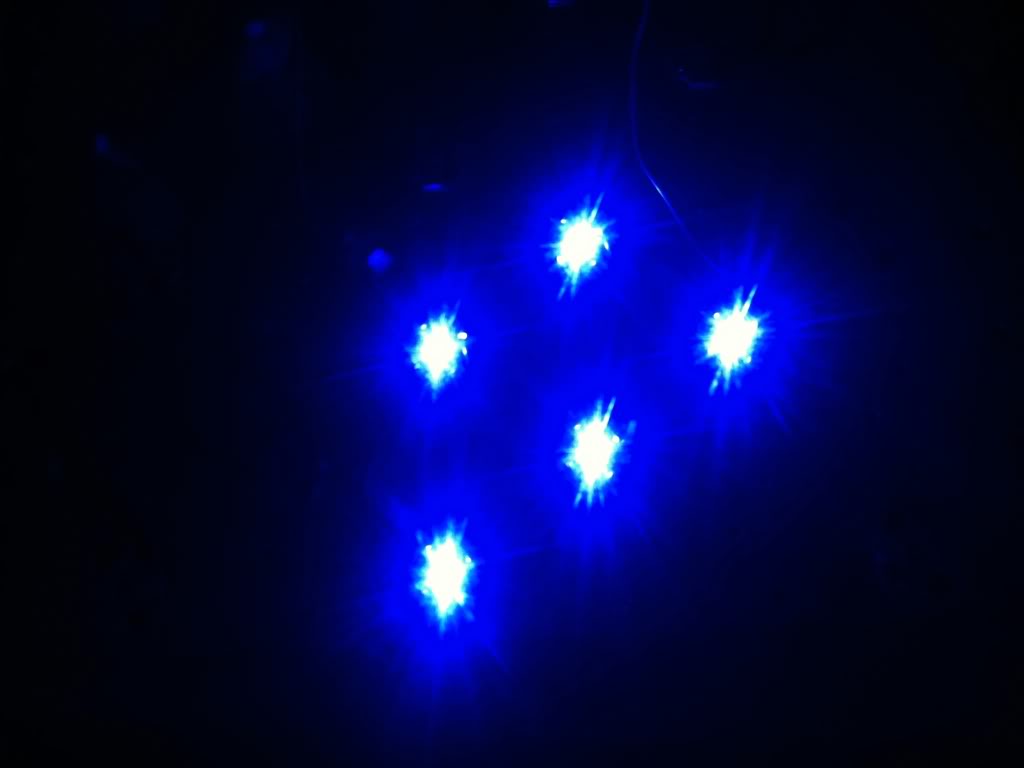
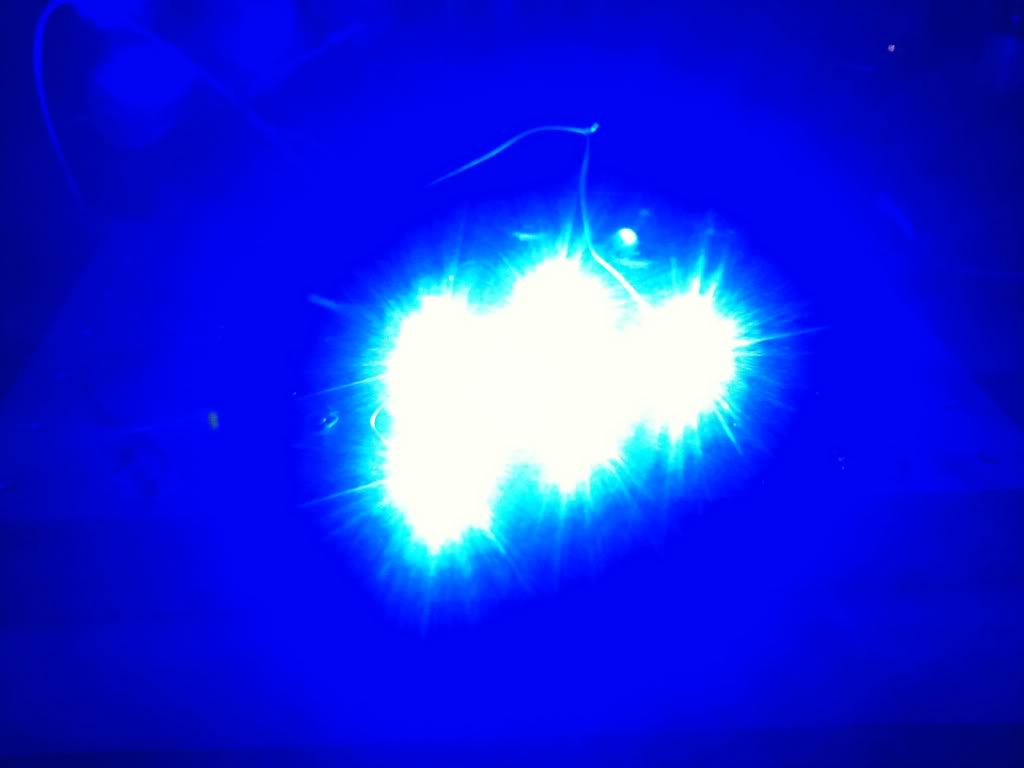
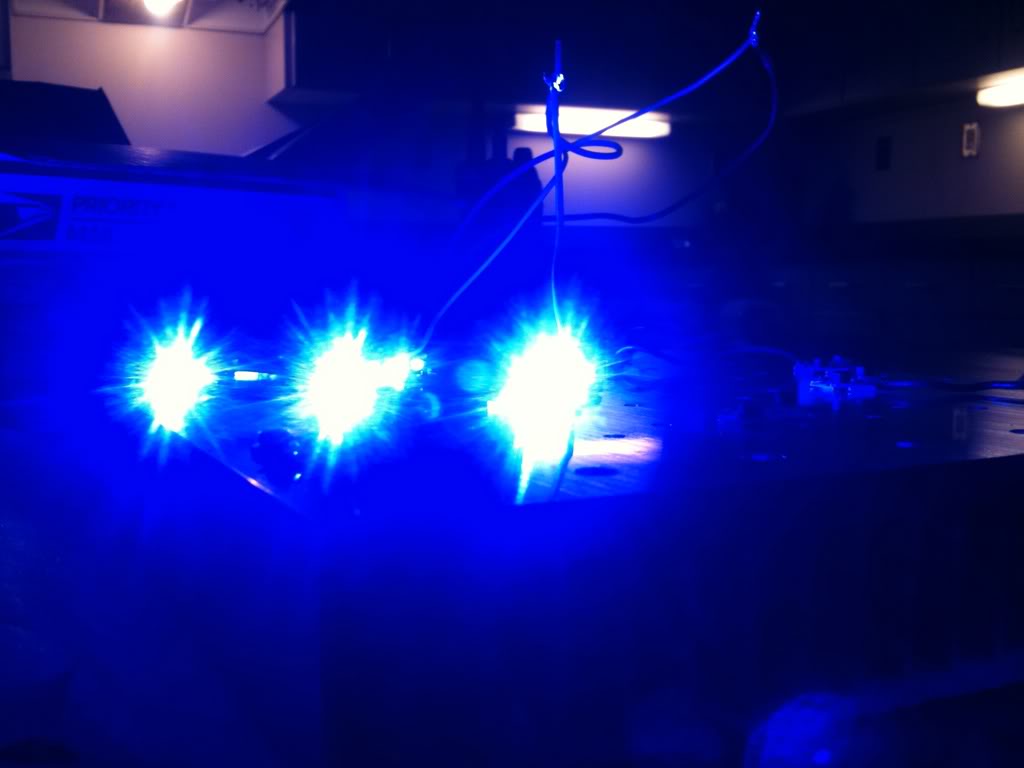
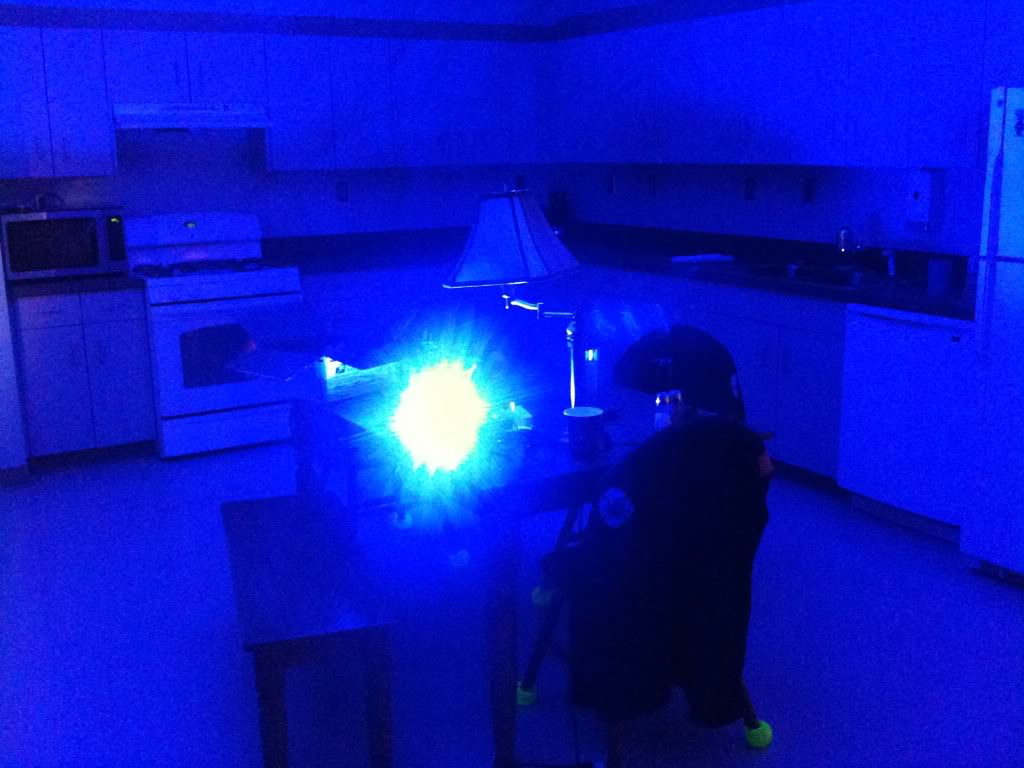
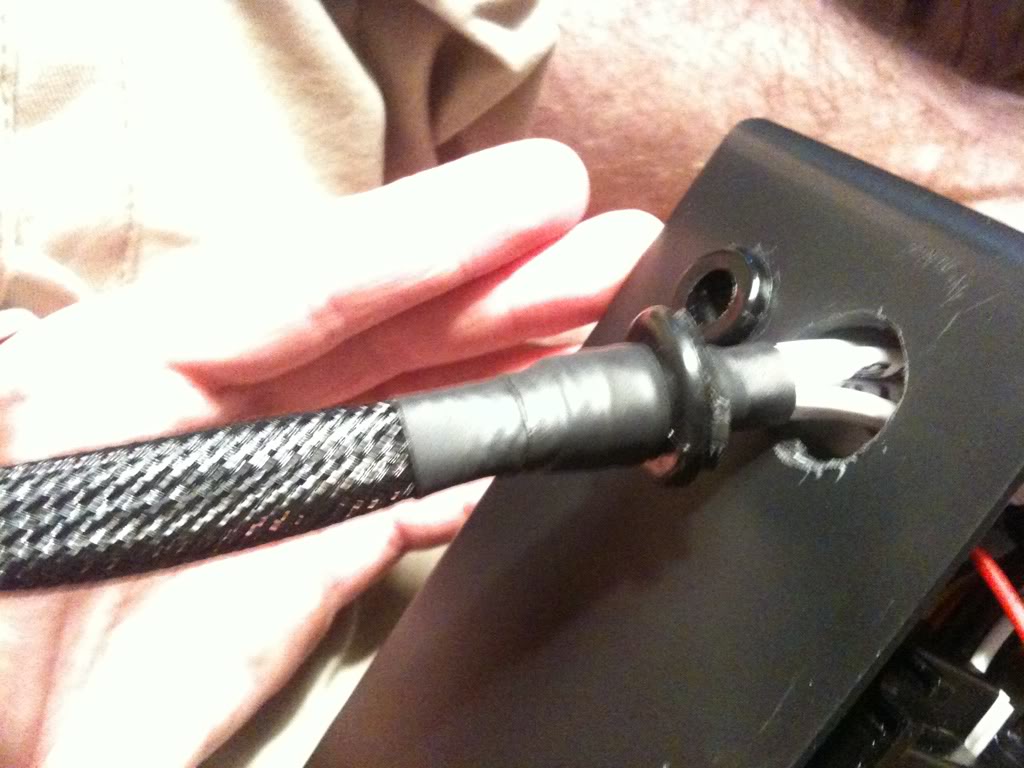
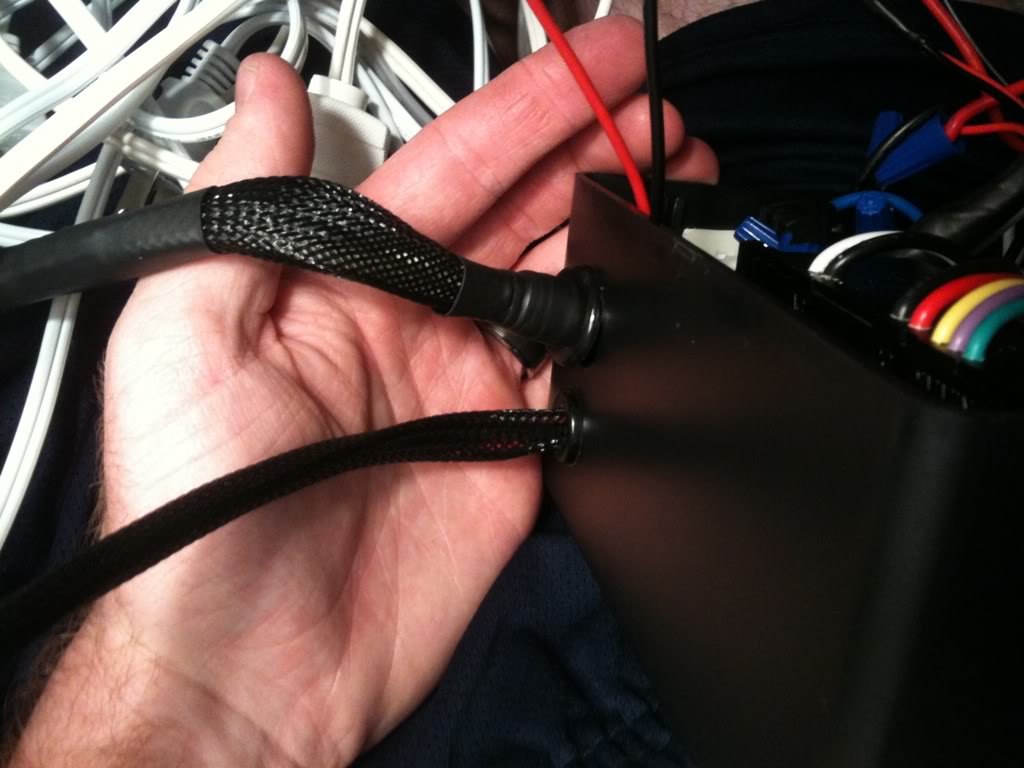
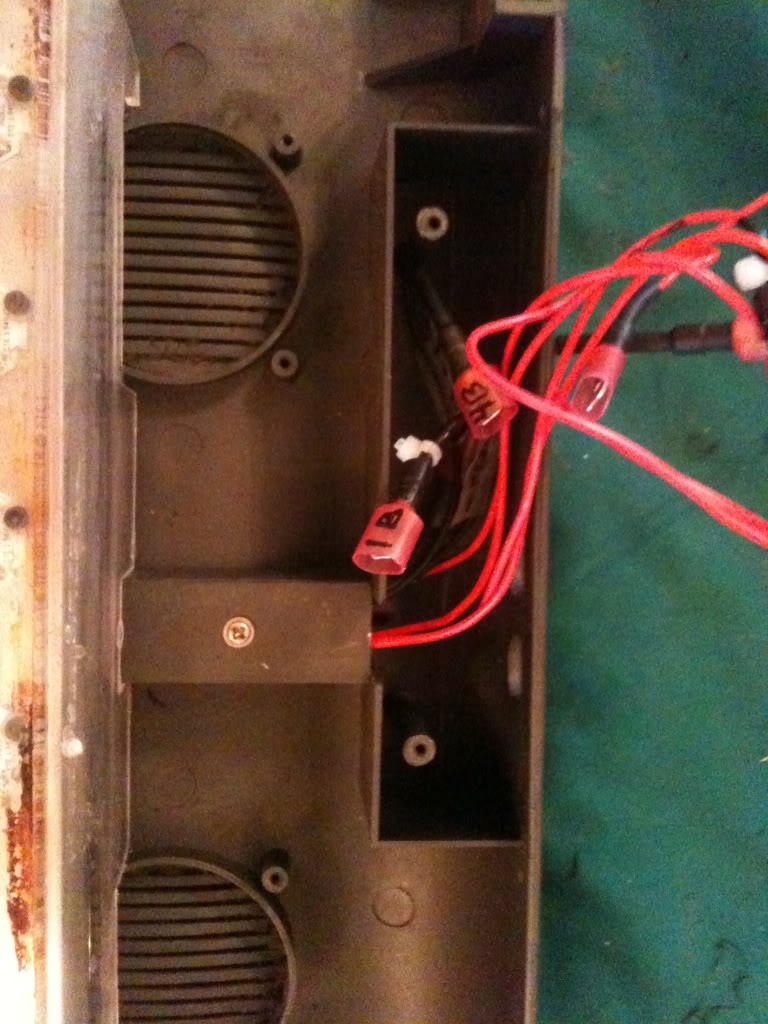
Workin on getting the lights where I want them...
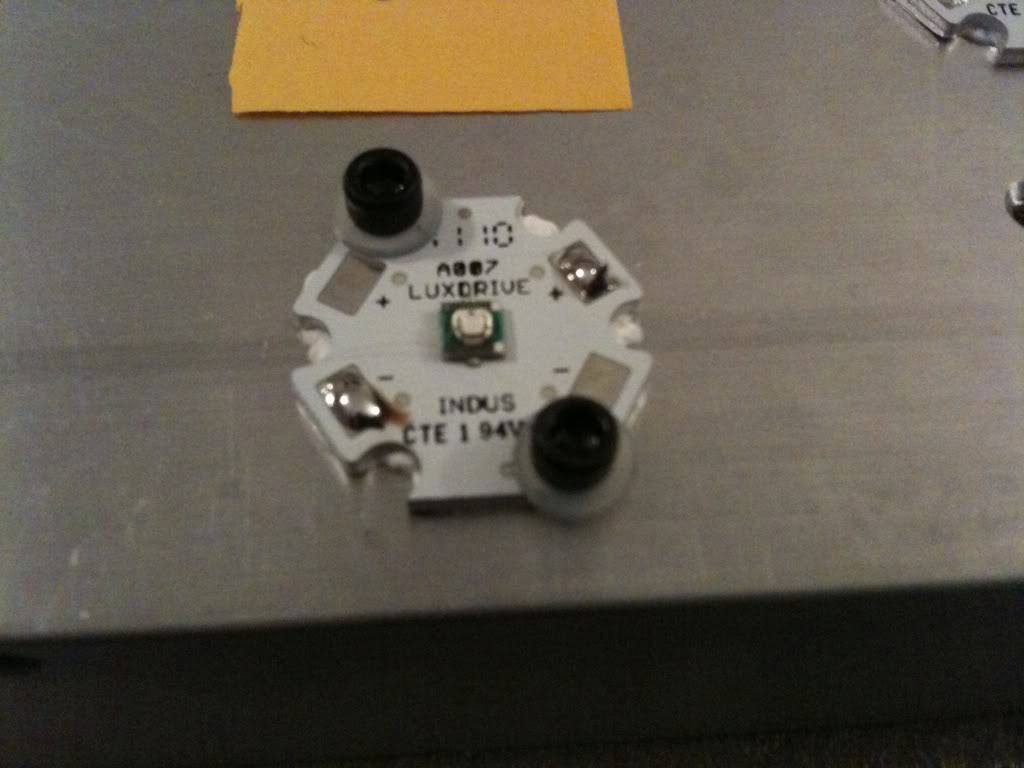
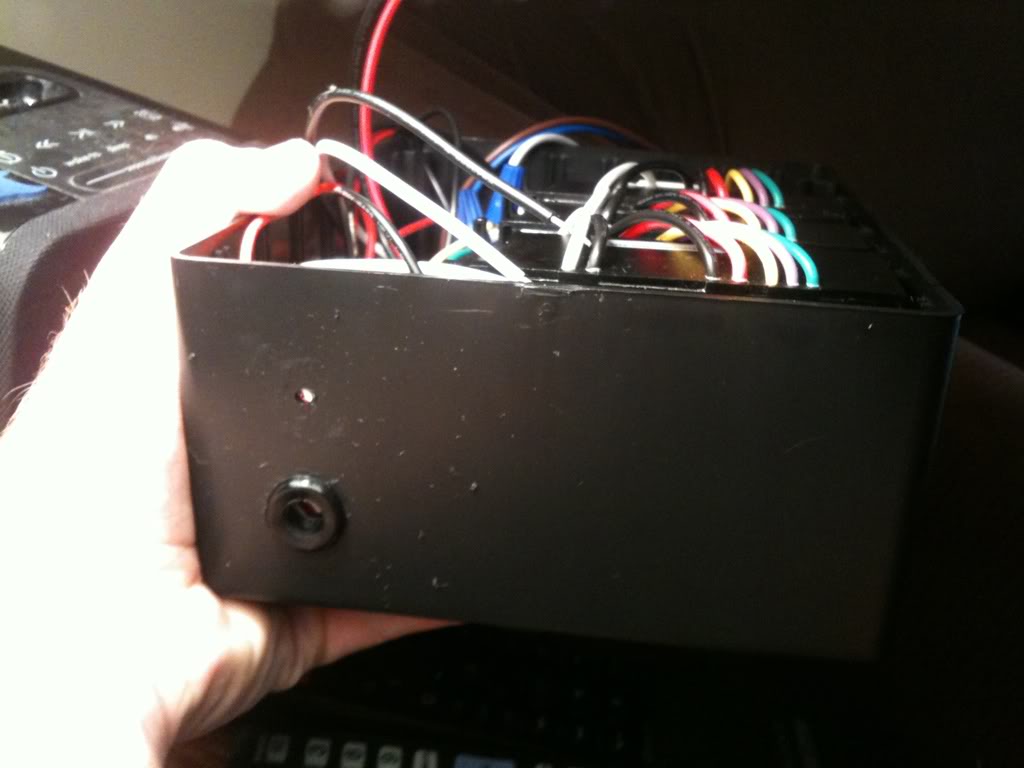
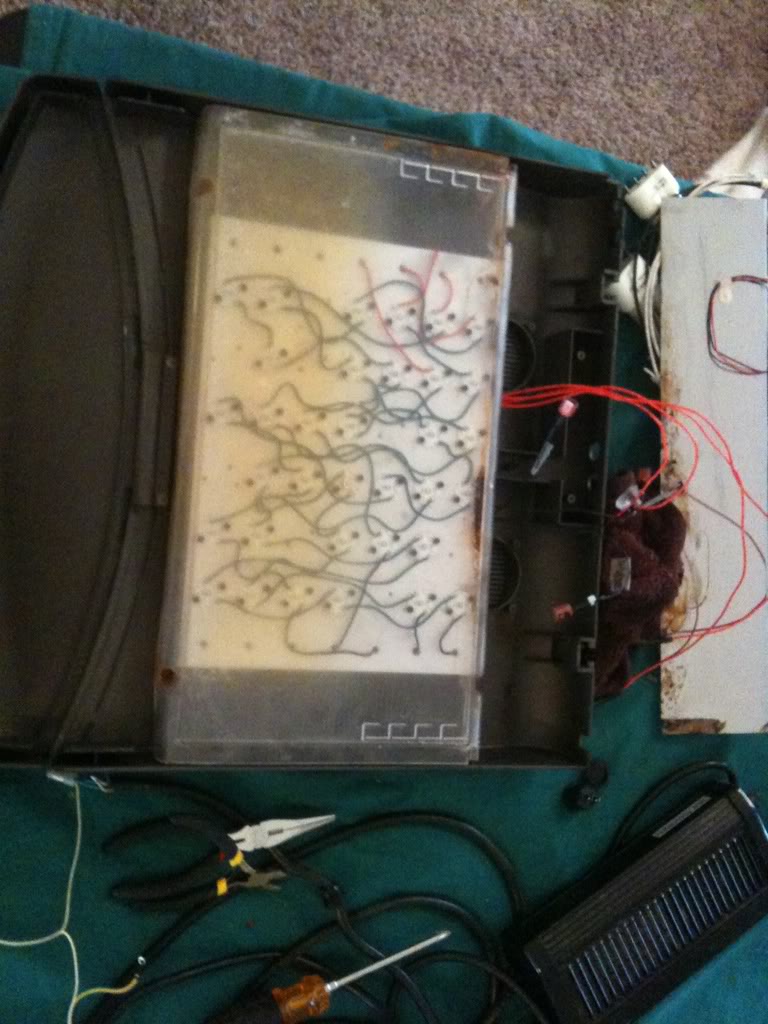
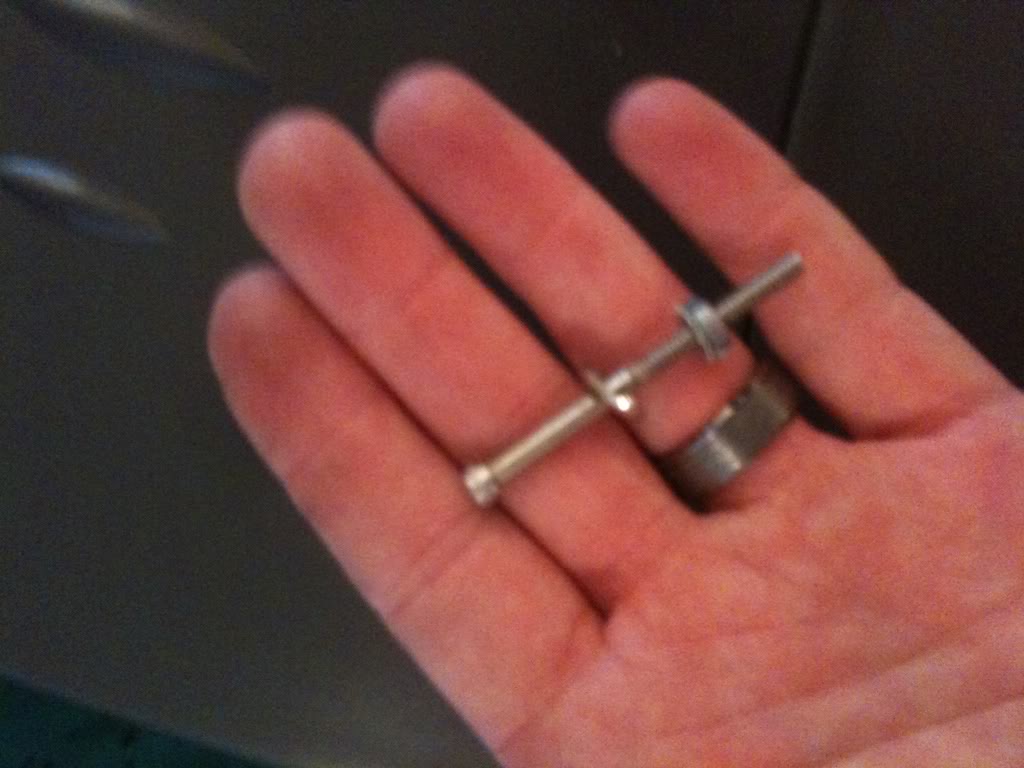
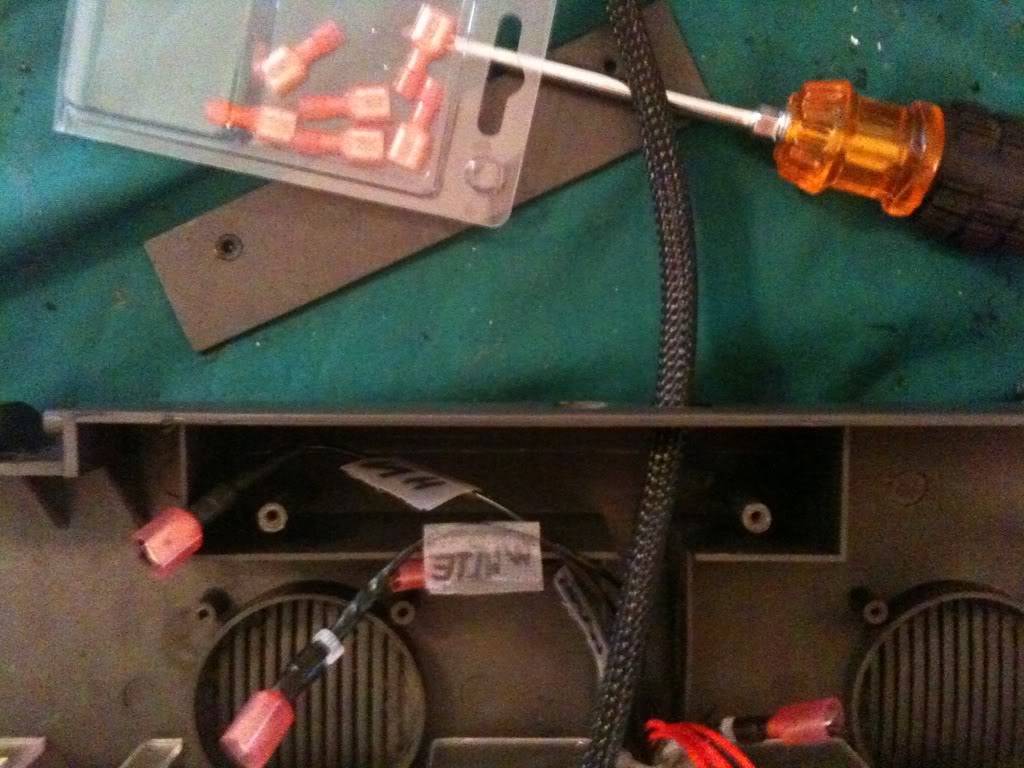
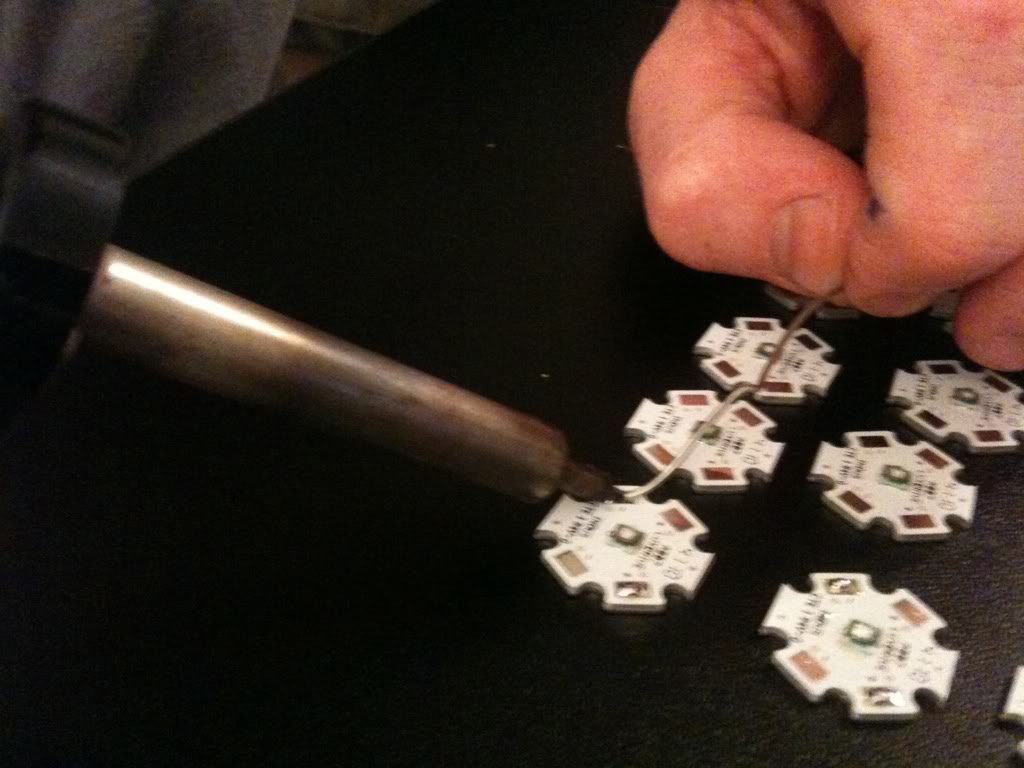
PRETINNING
.
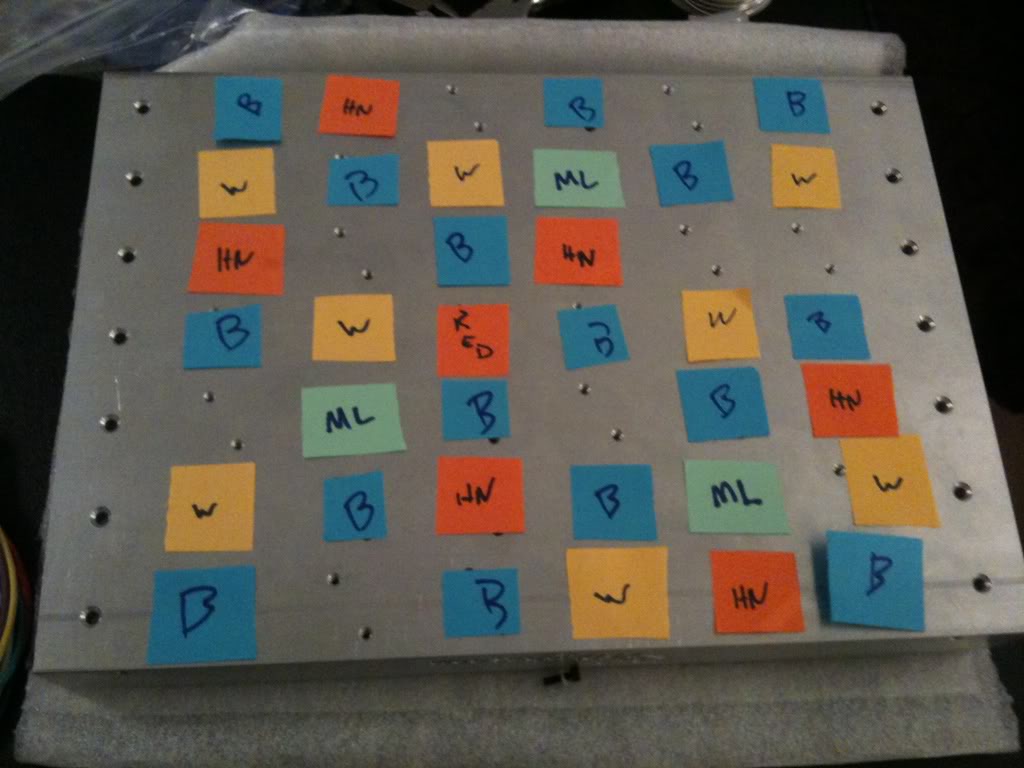
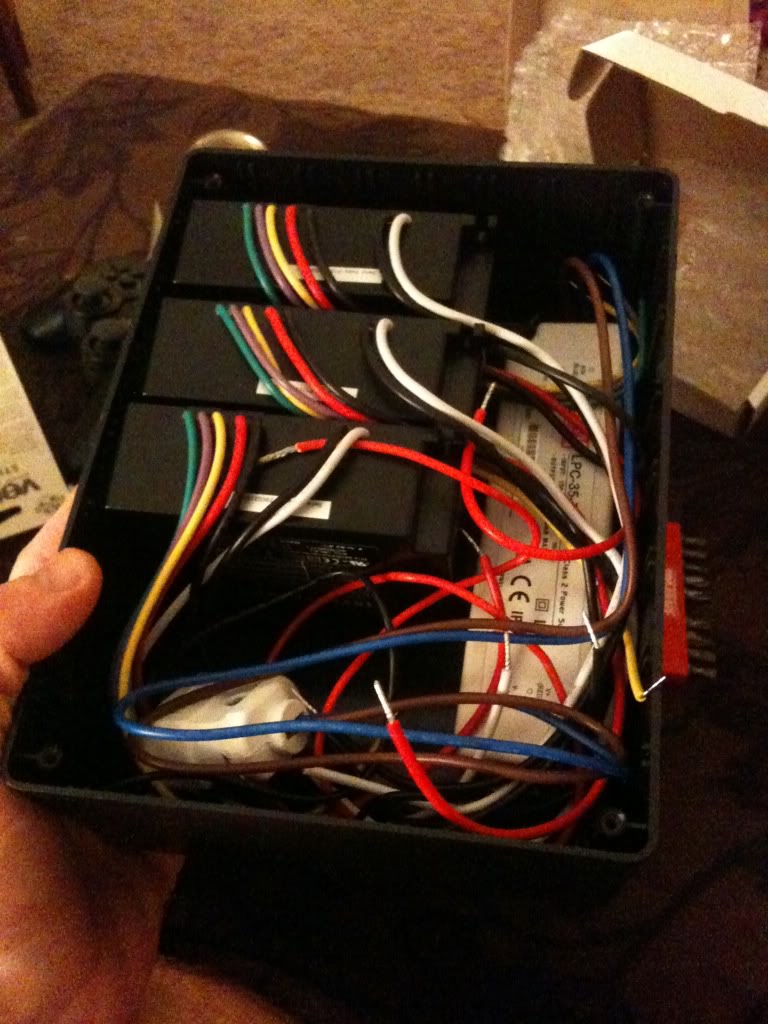
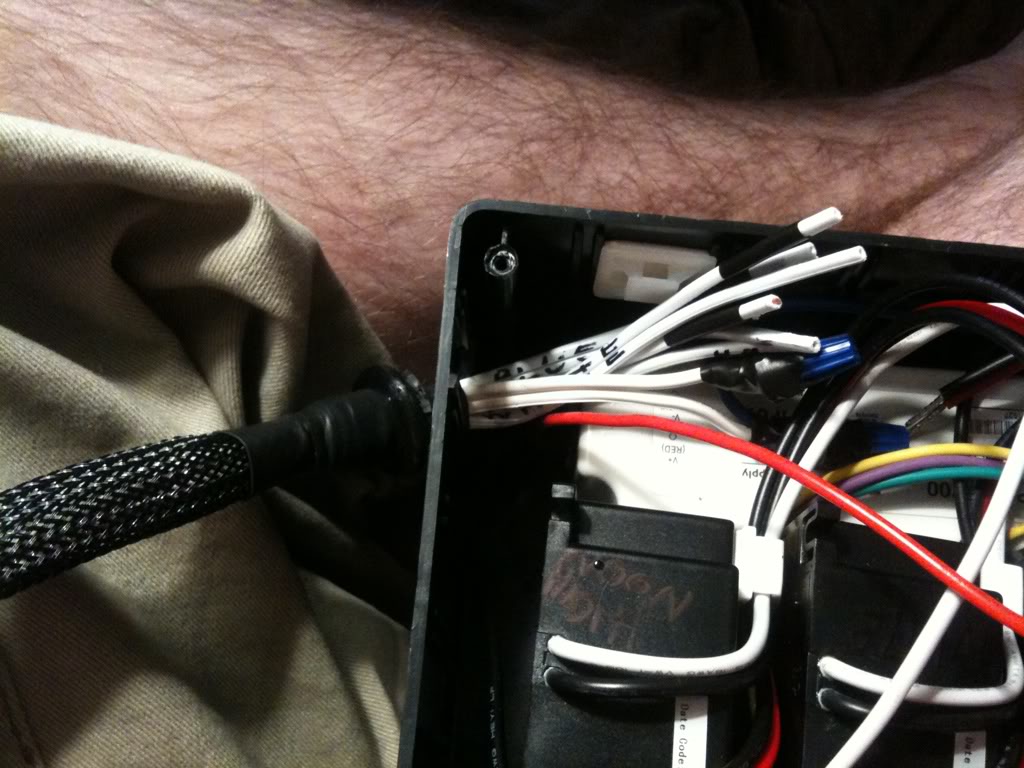
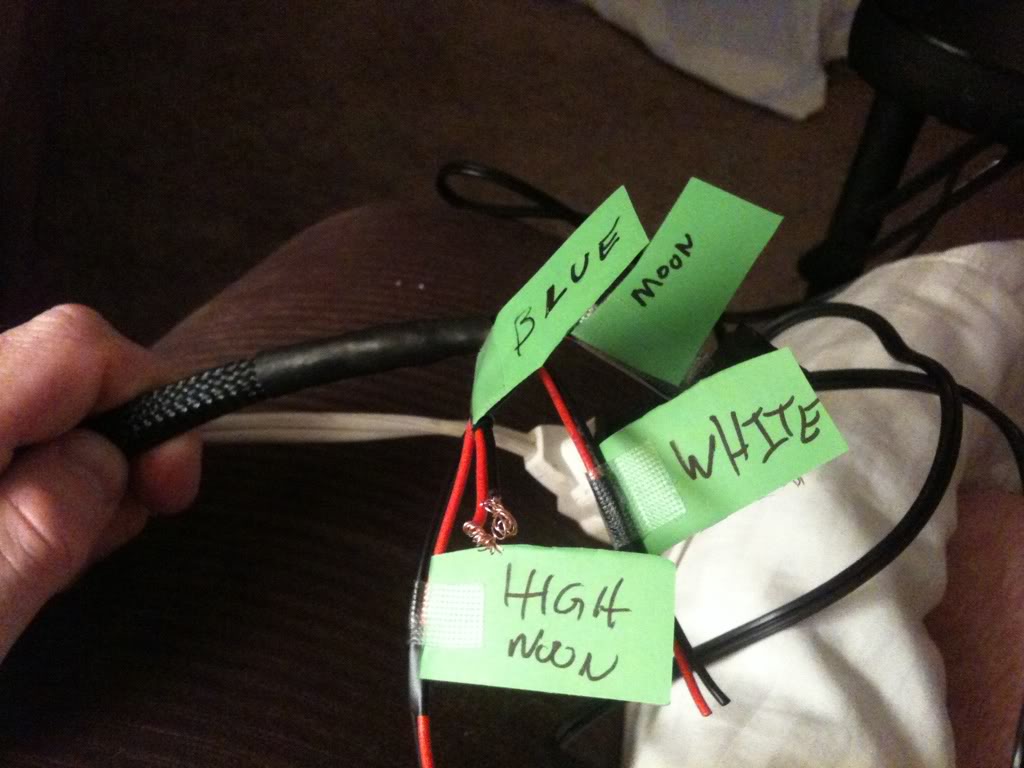
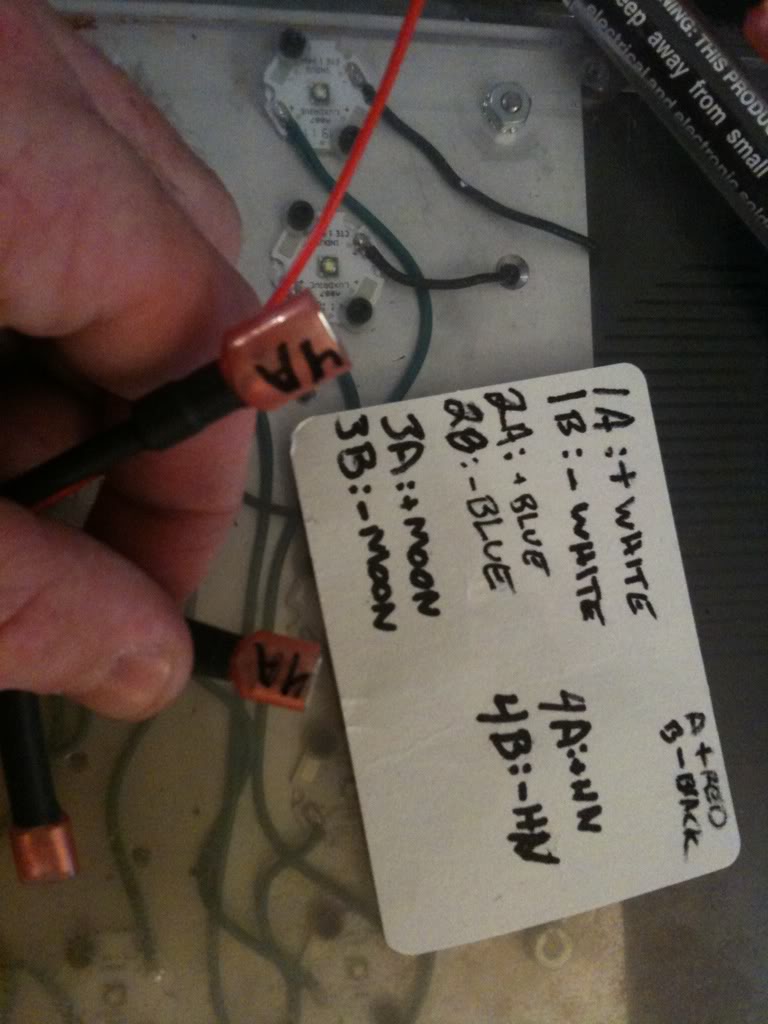
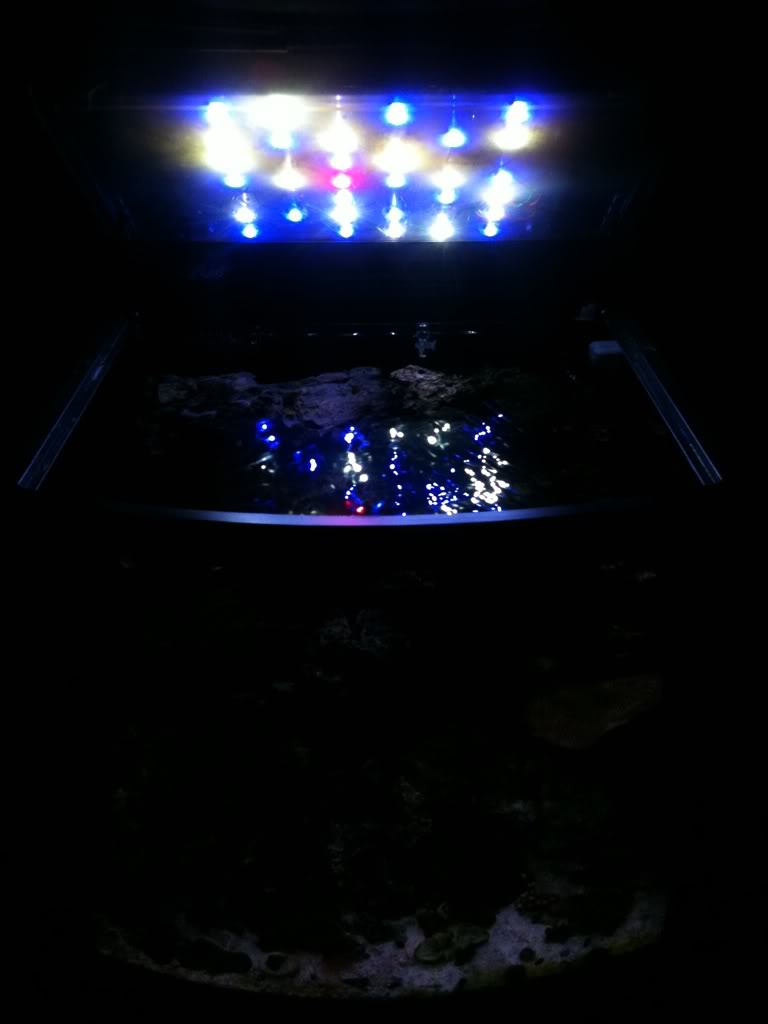
ML= moonlight
HN =high noon
And then blue and white of course
I ordered the 24 XP-E kit with the addition of a 6 led High Noon kit, and 3 led moonlight kit. And also one red led for color. Totaling 34 LEDs
so yea, i hope its a decent build, this is my first one....
**this is a build thread i have on another forum, i started this back in july. so im just copy and pasting all this up at once, obviously this didnt take place in one night.***
Let's get started
Workin on getting the lights where I want them...
PRETINNING
.
ML= moonlight
HN =high noon
And then blue and white of course