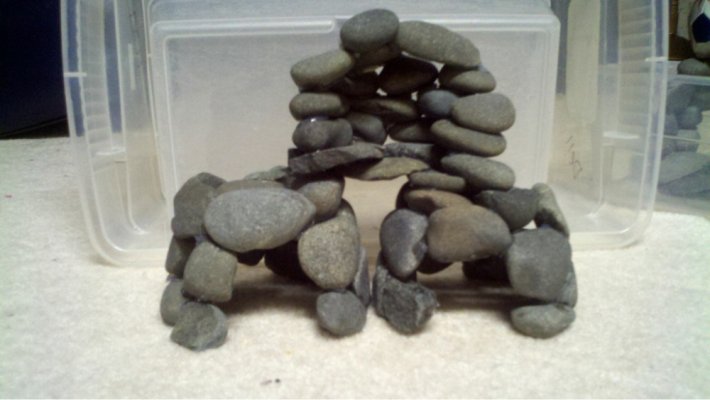
DIY Rock Cave Grotto

The friendliest place on the web for anyone with an interest in aquariums or fish keeping!
If you have answers, please help by responding to the unanswered posts.

Labenator65000

Aquarium Advice FINatic
Joined
Nov 16, 2011
Messages
733
Location
Midwest-USA
I have a 55 gallon Malawi Cichlid tank. Included in my stock are Mbuna, which are rock-dwelling Cichlids of Lake Malawi. As of the time of this initial posting, I have gravel, some store-bought ceramic or plastic wood-looking decor, and some artificial plants. There is enough hiding places that they can all disappear if they are startled, but I feel they could use more hiding places to feel comfortable. As well, my Yellow Labs have been found to be holding a few times, but none have made it to fry. I have decided to do my first rock-work project. I thought I would post my progress and/or lessons learned. Feel free to offer advice or tell me I am doing it all wrong. As I mentioned, this is my first rock-work.

I have a few ideas that I'm considering for an overall design. So far as stone-selection, I have decided to use smooth, mostly flat, dark grey stones from my landscaping.

I picked a bucketful that looked clean and not too jagged. I rinsed off loose debris with hot water in a service sink. Then soaked overnight in water. Next I soaked for several hours in vinegar, looking for any bubbling. None bubbled. I soaked again overnight in water. Next, I used an old toothbrush and scrubbed each one with a paste of water and baking soda. I rinsed off well with hot water. Now I am boiling the stones in an old pot in the grill burner.

That's where I am at so far. I'll keep posting updates and may post a pic or two of progress along the way.
 
I started with about 15 lbs of rocks. In the process of soaking in vinegar, scrubbing with baking soda, and boiling, I tossed out any stones that were blemished, had ugly stains, or had a brownish color. Probably 1/4 of them were tossed back into the landscape. I want only clean stones that are as close to black as possible. They look more grey when they are dry, but are a very dark grey when wet. I'll try to remember to take some pics tonight.
 
Upon doing significant research, and posting questions in other forums in AA, I guess I feel as confident as I am going to be that the stones are "safe."

I'm a little torn as to whether to secure the stones to brown vinyl gutter, black PVC, or just secure the stones together with silicone aquarium sealant. The PVC and vinyl ones are very clever, but I think they will look a bit unnatural in my tank. I'm leaning more towards a more natural look with strategically stacked stones with nooks and crannies big enough to fit fish in them, but random enough to make look like it may have occurred naturally. I have a few sketches that look good on paper at least.

I am determined to only use supplies available locally. Unfortunately, I couldn't find any black aquarium sealant in the stores, so I had to settle on clear sealant ($7 for a tube). However, I'm planning to secure the stones on the inside of the "seams" such that the ugly, shiny, clear sealant is not visible. We'll see how that goes.
 
Sorry, I keep editing this post. Hopefully that does not cause any problems with anyone. Let me know if it does, please.

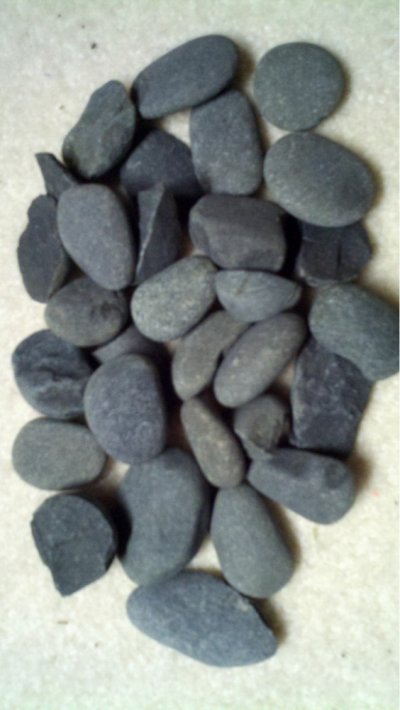
Here are a few of the rocks that I am using. The stones look darker when they are wet.
image-1339294593.jpg
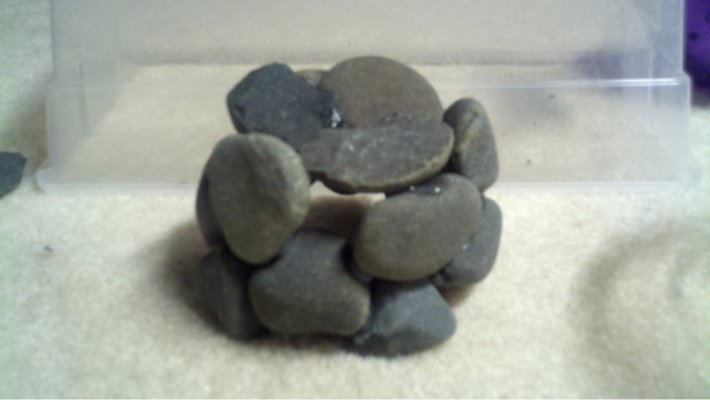
To come up with a good initial design, I laid the plastic container down flat and just added enough stones to cover the bottom completely. Then I carefully stood the plastic container nearly on end and let the stones pile up, having the back of the container to keep them from collapsing completely. It gave a nice natural look, and helped me figure out how to assemble the rock-work.

With that image in mind, I dumped the stones out and began assembling them in the corner of rectangular plastic containers as a form, since am planning to put the completed rockwork in the corner of the tank. Securing the stones together using silicone is necessary with these smooth flat stones, or they would just slide off of each other and create a pile of rocks with no hiding spots big enough for any fish to hide in.

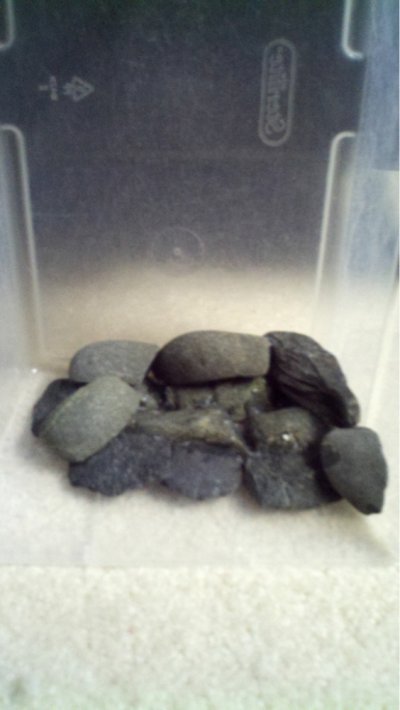
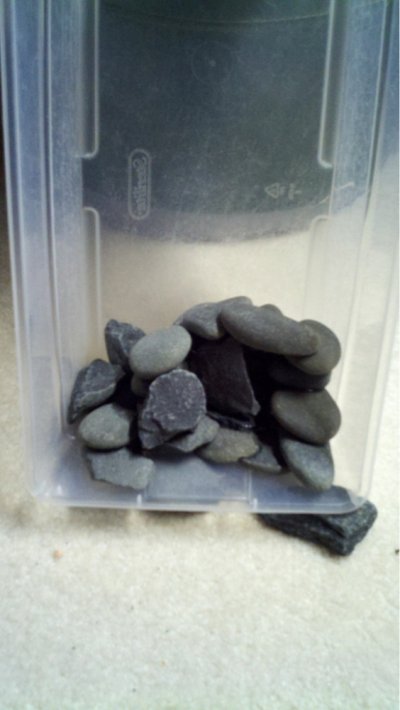
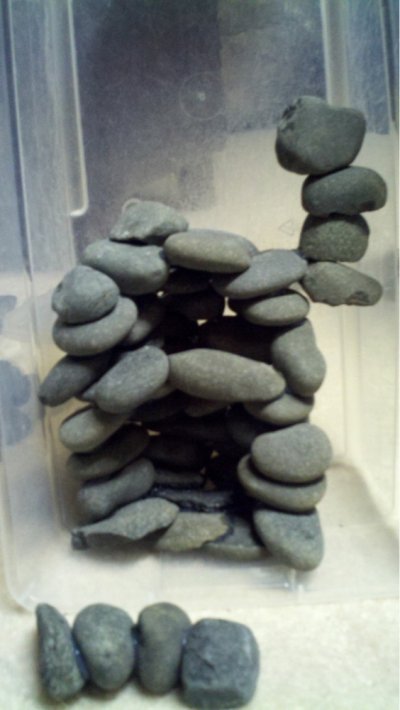
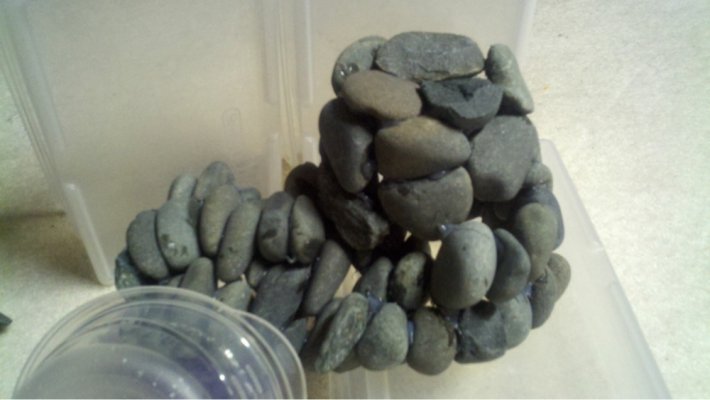
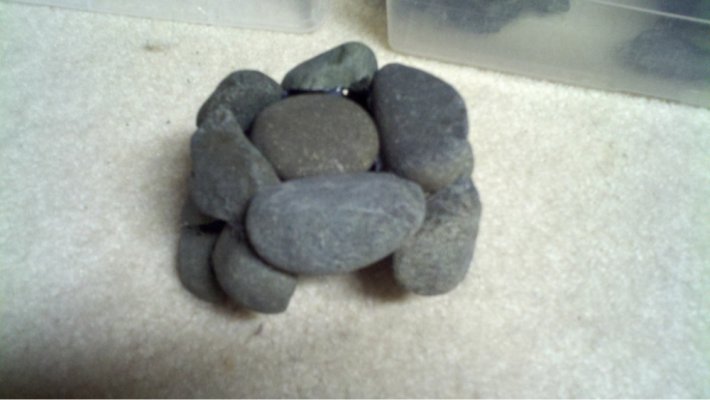
I'm building the rockwork by degrees as tiers. Below are two different tiers that I will try to stack up later in the project...hopefully. In the second pic you can see a rough cave taking shape. I have some added temporary stones in there to hold the pile in place until it dries, but you get the idea.
image-4168444403.jpg
image-2794578444.jpg
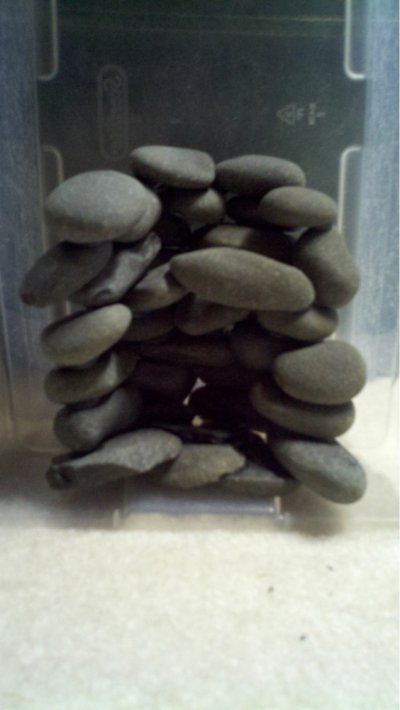
That's about as high I could stack them and keep them in place while the silicone was wet. I'll have to let the silicone dry overnight before I continue.

My next step is to remove the rockwork from the containers and add more silicone to the back unseen seams to reinforce it, if needed. Later, I will try to assemble the tiers one on another and fill in a few extra rocks at the seams and corners to round it up a bit and give it a more natural look. I'm also planning to add discreet silicone "bumpers" in the back to keep it from banging into the tank glass.

Lessons Learned: The aquarium sealant in a tube is rather difficult to work with. I wish I would have cut a smaller opening in the tube end so I could be more precise in the application. I had planned on using the silicone such that it was not visible at all, but this is proving to be challenging with the uncooperative, messy stuff. I will have to try to cut out/scrape off any excess with an X-Acto knife when it's finished. At this point it looks like I may need a second tube to complete the project. The good news is that it adheres to the clean river rock just fine. I also advise plenty of ventilation when using silicone. There were a lot of fumes, and I was a little woozy for a while afterward.

My stone inventory is about 1/3 gone already. I may need to forage out in the landscape for another load to clean and use. We will see.
 
I didn't need to reinforce the seams after all. The silicone cured pretty tough. In the next day of assembly, I used free stones to prop up the stones that I needed to secure in place. Here's a pic from the next morning after it cured.
image-3252403225.jpg
I'm not done yet.
 
Looking good, I will be starting mine soon...I'm going to use the same process but I plan to use a little different stones....
 
I've added on the start of another nook/cranny on the side. It looks goofy right now, but I will fill it in with rocks when it dries. Keep in mind that it's build to sit in the corner of the tank so I will leave it open on the side(s) to keep the total weight down. You can see below that I started another leg. When I'm done there should be 4 or 5 small caves in the project. I harvested another bucket of stones. Im in the process of detoxing them.
image-3313730625.jpg
So far it's very solid. I even dropped it once from about 6" and it held together just fine. Looks like I'll be able to get away with one tube of silicone after all.
 
Cool, I was able to collect some nice Fieldstone, limestone and some Slate...I have other stuff to do but I'm encouraged after seeing your set up.
 
Pton46 said:
Cool, I was able to collect some nice Fieldstone, limestone and some Slate...I have other stuff to do but I'm encouraged after seeing your set up.

Pon46t, you may want to do your research on Limestone beforehand. I know it will make the water Alkaline, but will it do so too much? I bet fieldstone would be safe. Matter of fact I almost went that route myself, but opted for the river rock for the smoother, safer edges. I'm sure whatever you use can be ground down safe with a Dremel or a file, etc.
 
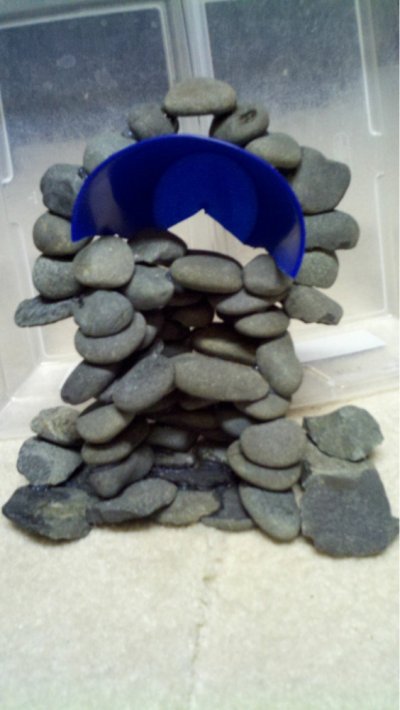
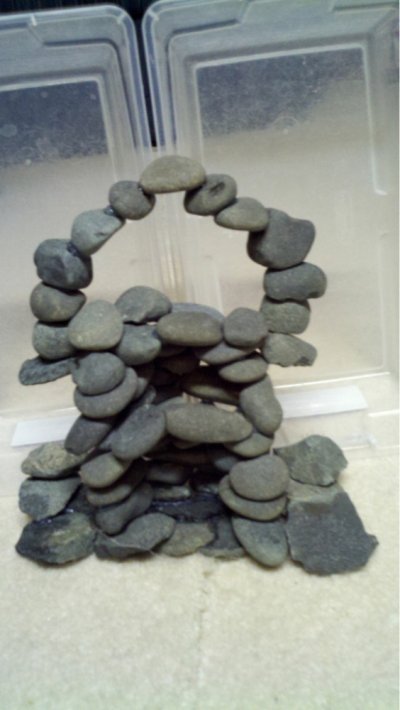
Found a little time over the weekend to do some more work. As it gets more precarious I need to leave more time for drying between stages. I utilized a flexible cup as a form for an arch. What a time saver! The bottom picture is the next morning with the cup removed after the silicone cured. I plan to use the cup again to continue forming the top cave. Admittedly it still still looks a bit odd as is, but I'm planning to fill in around the edges and in the back. It's about 12" tall right now. It's still not overly heavy. I have store-bought ornaments in the tank that are about the same weight.
image-627750470.jpg
image-3567894977.jpg
 
Pon46t, you may want to do your research on Limestone beforehand. I know it will make the water Alkaline, but will it do so too much? I bet fieldstone would be safe. Matter of fact I almost went that route myself, but opted for the river rock for the smoother, safer edges. I'm sure whatever you use can be ground down safe with a Dremel or a file, etc.

Thanks I will do my homework on the limestone....(at Least that is what I think it is)....As far as the Fieldstone....you are 100% right. I have a Dremel and I file the Rough and Sharp Edges down. I actually have drilled holes it and use them as a base for some Fake plants. My wife had a container of Silk Fake plants, I Cut them down and used smaller Fieldstone for that purpose. Attached it with silicone.

I'll probably test it ("the Limestone" ) by soaking in old tank water and and check the PH levels....all my Tanks run like 7.6 (the SA Cichlids) 8.0 (community) to 8.2 (Africans) respectively
 
Pton46 said:
Thanks I will do my homework on the limestone....(at Least that is what I think it is)....As far as the Fieldstone....you are 100% right. I have a Dremel and I file the Rough and Sharp Edges down. I actually have drilled holes it and use them as a base for some Fake plants. My wife had a container of Silk Fake plants, I Cut them down and used smaller Fieldstone for that purpose. Attached it with silicone.

I'll probably test it ("the Limestone" ) by soaking in old tank water and and check the PH levels....all my Tanks run like 7.6 (the SA Cichlids) 8.0 (community) to 8.2 (Africans) respectively

Check your pH for sure, but also do a before/after check for Alkalinity (GH/KH).
 
Check your pH for sure, but also do a before/after check for Alkalinity (GH/KH).

We'll Do...

In the meantime, I checked with my Neighbor who gave me the Stone a couple years back said, He believe it was rough cut Granite. Which could be...I dropped one on a Decent piece of Fieldstone and it Shattered (the Fieldstone). I then proceeded to hit with a mallet...nothing then a Ball peen... little dust and then a 25 pound Sledge...which sent it 2 inches into the lawn but cracked it....maybe he's right...which would be very cool. I'll need Egg Crate for the bottom because it heavy....I'll still test though
 
Pton46 said:
We'll Do...

In the meantime, I checked with my Neighbor who gave me the Stone a couple years back said, He believe it was rough cut Granite. Which could be...I dropped one on a Decent piece of Fieldstone and it Shattered (the Fieldstone). I then proceeded to hit with a mallet...nothing then a Ball peen... little dust and then a 25 pound Sledge...which sent it 2 inches into the lawn but cracked it....maybe he's right...which would be very cool. I'll need Egg Crate for the bottom because it heavy....I'll still test though

Granite would look very cool, especially if it were cleaned up well.
 
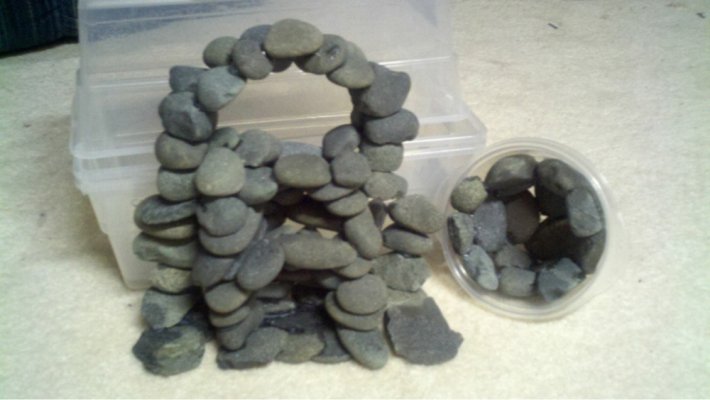
On the left side of the pic immediately below (not in the container) is the main structure with the two separate side structures just set beside it to get an idea of the end results. The arch at the top is two layers deep, although from this angle it doesn't show too well.

I had a revelation last night. I'm kicking myself for not thinking of it sooner! On the right side of the below picture you can see that I just repurposed a round plastic container to use as a form to build a hemisphere. It only took about 10 minutes.
image-3422815798.jpg
Below you can see how the hemisphere looked in the morning after the silicone cured. That's about 4.5 " outside diameter, so probably about 3" inside diameter. Really, if I would have left an opening big enough for a fish to go, I would have a DIY Cichlid Stone. I know what I'm doing for my next DIY project!
image-2391616194.jpg
So the picture below shows the new hemisphere attached to the back of the main structure arch (left-side of the top picture in this post). The results will be a cave about 4" deep. It's face-down now until it cures.
image-3475795970.jpg
I plan two attach the two side structures to a small wall of stones that the hemisphere-cave of the main structure will rest on. I will keep the then two pieces separate to distribute the total weight, and to allow it to be disassembled for cleaning.
 
OK lesson-learned time (did I mention this was my first DIY rockwork?):
The procedure for the "instant cave" that I illustrated in my last posting was absolutely what I should have been doing right from the beginning. My current project has been going on for a couple of weeks now because I have had to wait for silicone between free-standing rocks to cure before moving on. Using "instant caves," I could probably have created a very slick 3-6 cave grotto in one week. Well, if my current project does not look as nice as I would like when it's done I can always start over. There are plenty of rocks in the yard. In the mean time, though, I'm going to push on and see how it works out.

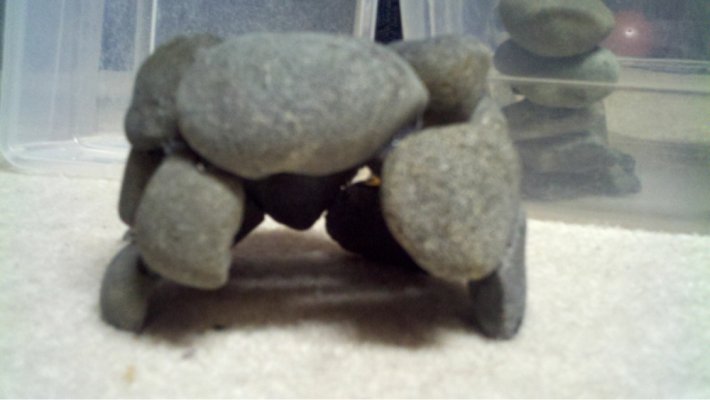
I had a slight change of plans. I made another "instant cave" to prop up the back of the main structure. Below are some pics of the new little cave. You can see I left a fish-sized opening in this one.
image-3086094588.jpg
image-661163169.jpg
I envision that I will need to use some small artificial plants to incorporate into the project to hide the inevitable blemishes and to make it look more natural.
 
Man that looks cool...with plants and sand it will blend in nicely. Giving me good ideas lab6500 (y) .

I just got the "future Fish room" almost cleared. Should be done this weekend and I can start moving the Tanks I got for set up. Plus I Have a workbench I can use for my rock work. I am only going to keep my Hex and maybe my 60 Gallon on the First floor with the 2 75's and 55 gallon in the Basement I promised to give my 30 gallon away but you never know....I need to tap into a water source though so I need my Buddy the Plumber to either tap into one of the Outside faucets or just install one of those Laundry sinks which could drain into my Basement Sump pit. Just worried about my crazy town (even though it would be only tank water) they would consider it an Illegal drain....ugh living in NJ stinks.
 
So last night I stepped back and took a look at the project overall, and was not really happy with the main structure. It was rather misshapen, and was getting too bulky and heavy. So I removed the instant cave off of it and took the main structure apart, keeping the original cave in tact. Meh, this is my first rock formation, so I'll allow myself some mistakes and re-dos. Boy just a little of that silicone is really quite strong. I used an X-Acto knife to cut it apart. I may need to use a wire brush to clean up old silicone.

So now, repurposed the original smaller cave (because it had a floor), and attached it to the two instant caves that I just created a couple of days ago. It's not quite "back to the drawing board" but it is back to a very basic foundation.
image-1250080635.jpg
Honestly, I may just keep it simple and not build it up too much more. I may add a few more rocks in the corners to round it all up and make it look like a unit.
 
Back
Top Bottom