RLG2182
Aquarium Advice FINatic
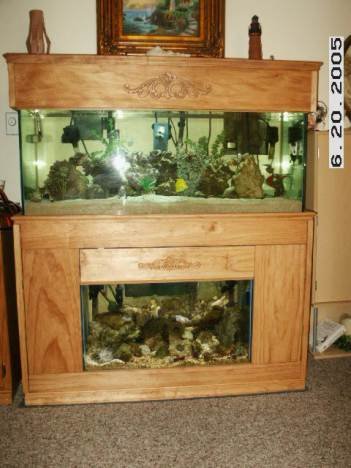
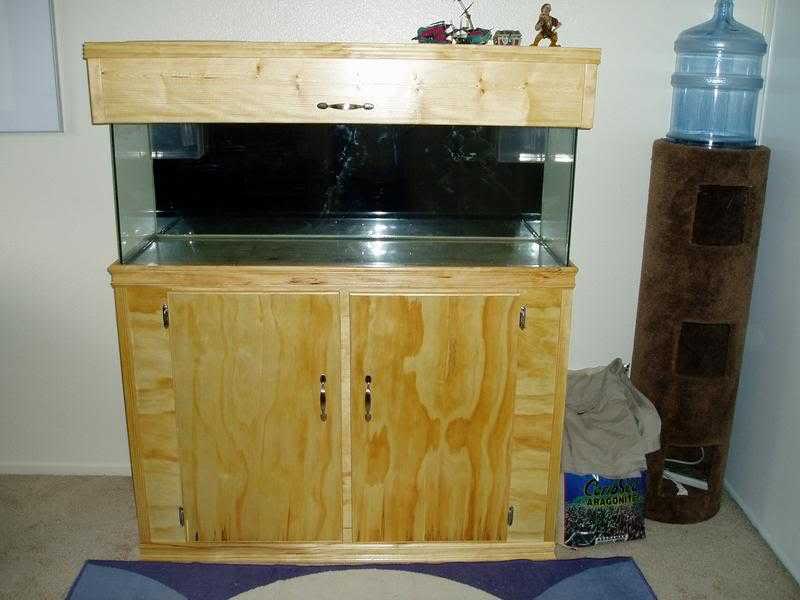
So I've been getting several pm's lately asking about my stand and canopy. Yes, I did make it... just never documented it. I dug around and found some old pics of it before it was finished!! 
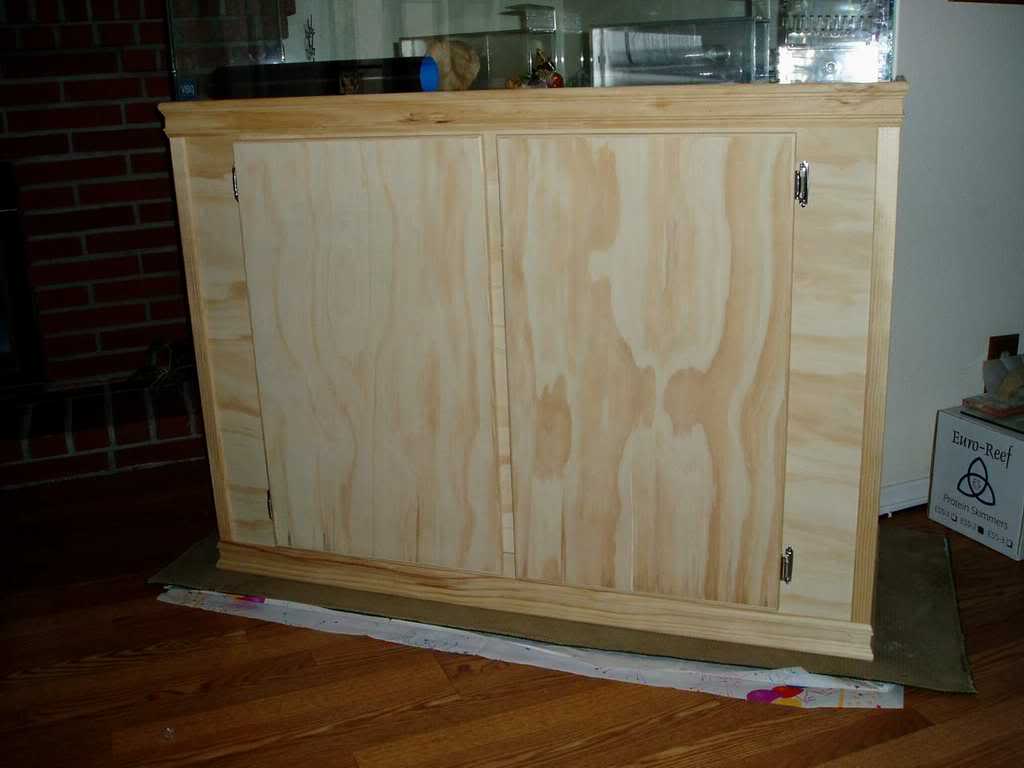
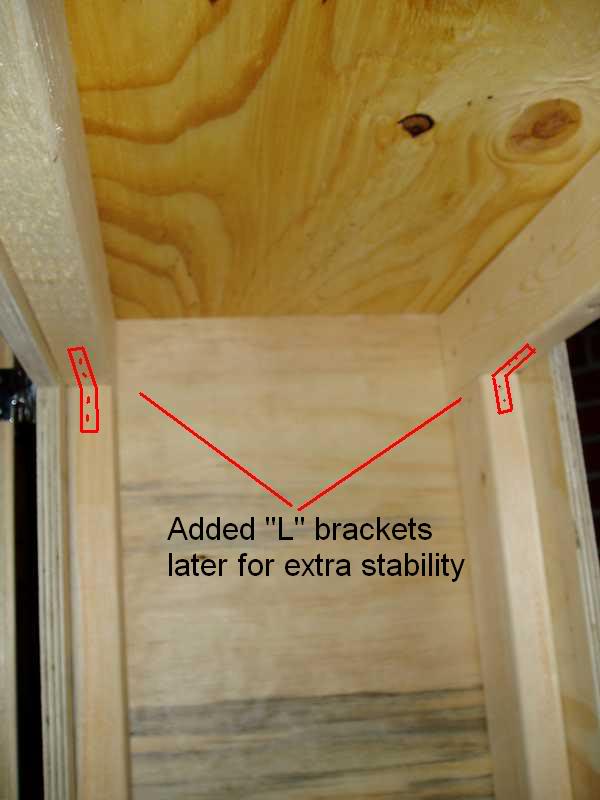
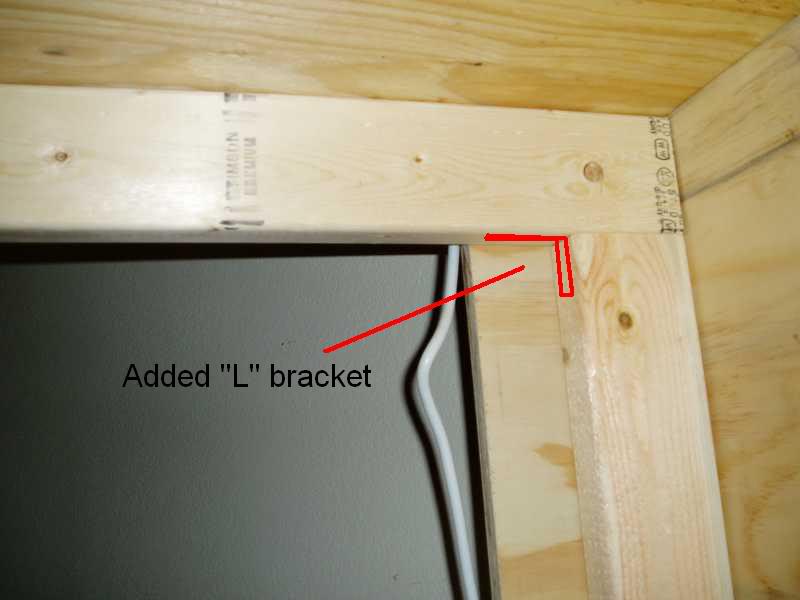
Now... just be aware that additional hardware was added afterwards to increase strength. For the base, I used 4x8 sheets of 3/4" sanded pine plywood, 2x4 supports, and several feet of moulding. 90 degree moulding was used to hide all seams, while crown moulding was used to hide the seam between the tank's edges and the edge of the stand.
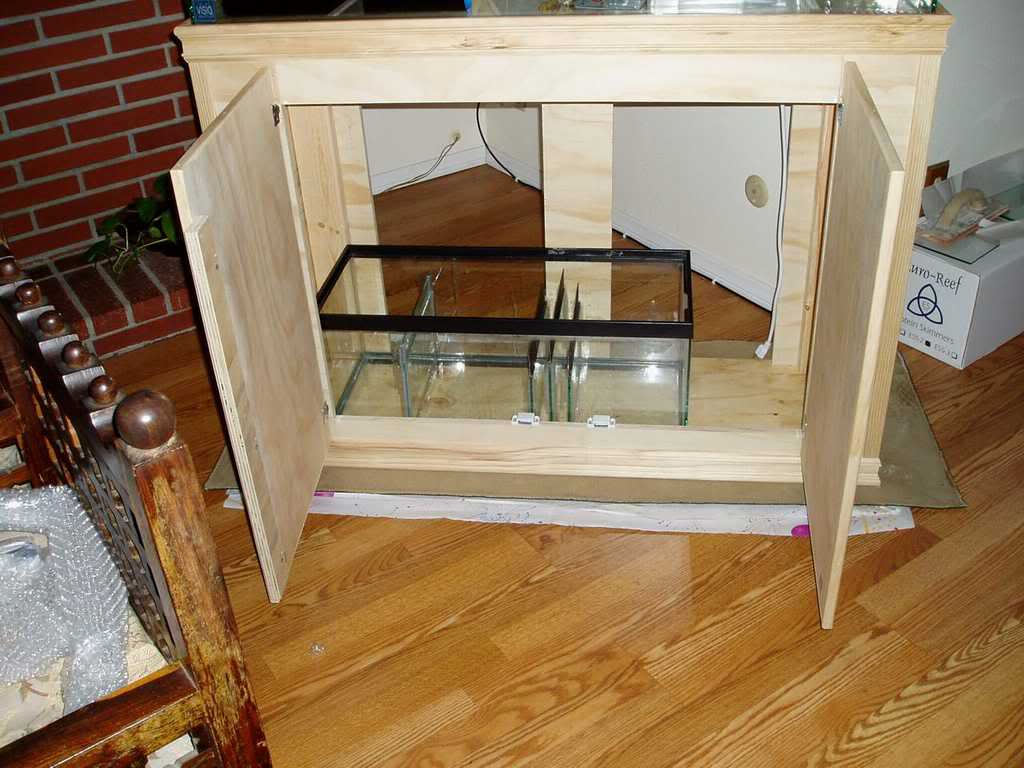
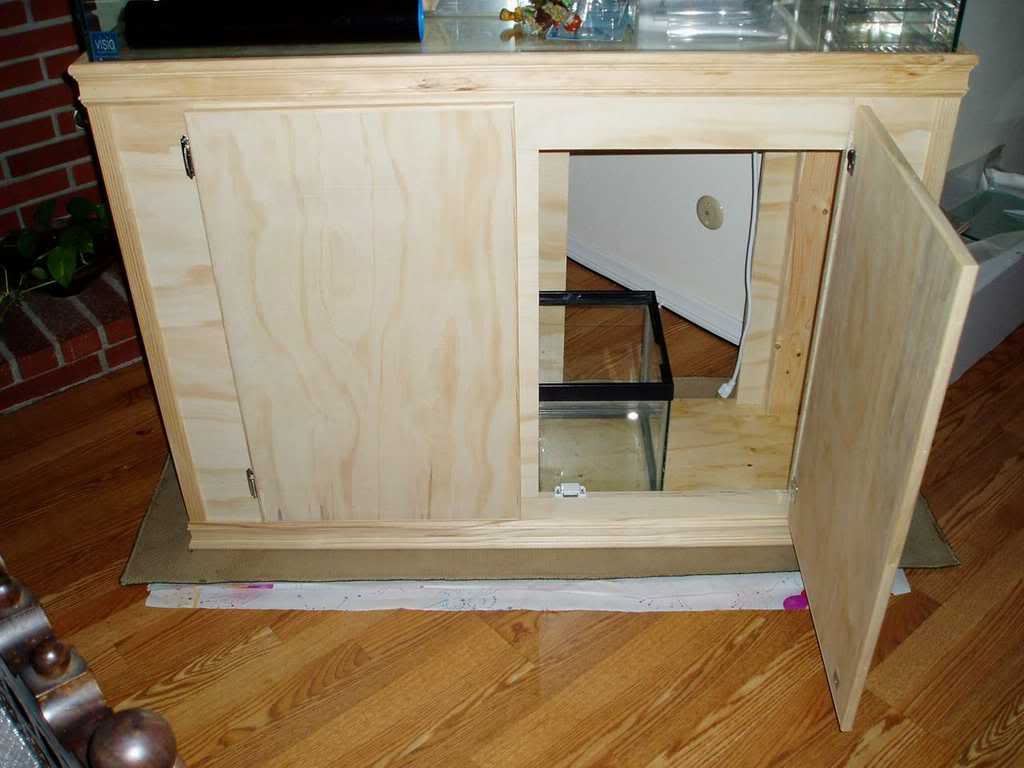
Basically, I sat the tank on the floor with a huge piece of cardboard underneath and traced EXACTLY how big my tank was. From that, I cut out a piece of plywood to be my base so that no space was left between the moulding and the tank. (looks cleaner this way). Ultimately, the tank had to be "dropped" into place for it to fit... there's no "play room" for the tank to slide side to side. There is, however... 3 inches in the back just in case I wanted to get a bigger tank later on (say, an 80 gal that was also 4' long).
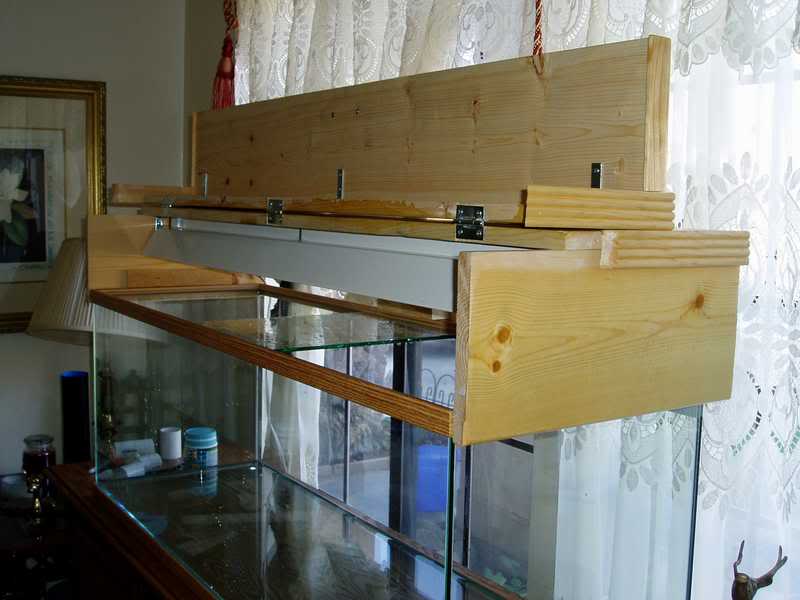
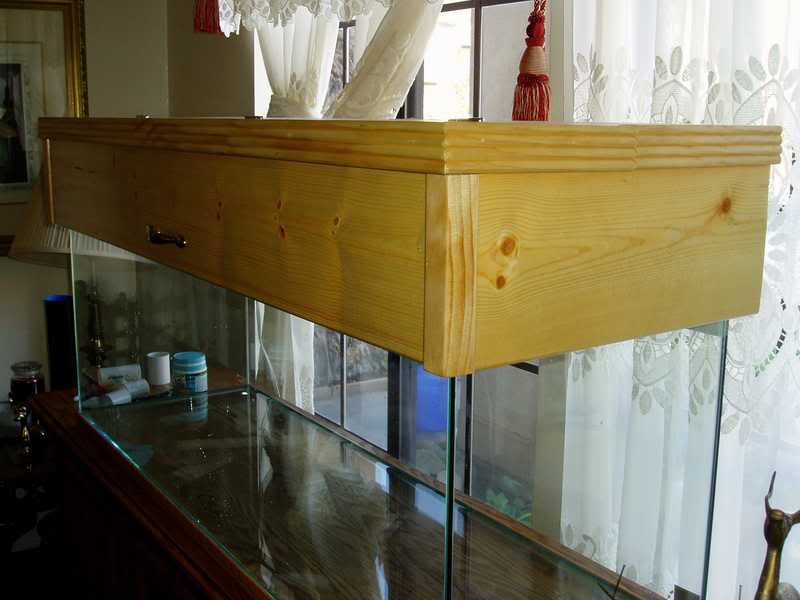
The canopy was made first out of 1X10 and 1X8 planks of pine. Simple hinges and moulding cuts made it so that the top opened up and out, while still letting me have lights perm. installed. The canopy rests on the top by two pieces of scrap strip wood that rests on the rim itself... the rest of the plank covers the tank moulding. The entire setup took a couple weeks to build as I was doing it part time.
I made my own mainly because I could not find a decent stand in any LFS. Any stand that didn't have a center brace was over $300!! 8O Plus... MANY LFS stands were cheap, and by the looks of them, couldn't hold their weight in water. If anyone has any questions on how exactly this was built, feel free to PM me as I will get to everything one at a time.
(I'm still working on DIY electrical plans...)
(remember... one cannot make a stand with these pics alone... they're not blueprints and are merely intended for inspiration and possible motivation).
Now... just be aware that additional hardware was added afterwards to increase strength. For the base, I used 4x8 sheets of 3/4" sanded pine plywood, 2x4 supports, and several feet of moulding. 90 degree moulding was used to hide all seams, while crown moulding was used to hide the seam between the tank's edges and the edge of the stand.
Basically, I sat the tank on the floor with a huge piece of cardboard underneath and traced EXACTLY how big my tank was. From that, I cut out a piece of plywood to be my base so that no space was left between the moulding and the tank. (looks cleaner this way). Ultimately, the tank had to be "dropped" into place for it to fit... there's no "play room" for the tank to slide side to side. There is, however... 3 inches in the back just in case I wanted to get a bigger tank later on (say, an 80 gal that was also 4' long).
The canopy was made first out of 1X10 and 1X8 planks of pine. Simple hinges and moulding cuts made it so that the top opened up and out, while still letting me have lights perm. installed. The canopy rests on the top by two pieces of scrap strip wood that rests on the rim itself... the rest of the plank covers the tank moulding. The entire setup took a couple weeks to build as I was doing it part time.
I made my own mainly because I could not find a decent stand in any LFS. Any stand that didn't have a center brace was over $300!! 8O Plus... MANY LFS stands were cheap, and by the looks of them, couldn't hold their weight in water.
If anyone has any questions on how exactly this was built, feel free to PM me as I will get to everything one at a time. (I'm still working on DIY electrical plans...)
(remember... one cannot make a stand with these pics alone... they're not blueprints and are merely intended for inspiration and possible motivation).