DIY Water/Salt Mix Station

The friendliest place on the web for anyone with an interest in aquariums or fish keeping!
If you have answers, please help by responding to the unanswered posts.

Keithhjs

Aquarium Advice Addict
Joined
Jul 7, 2012
Messages
1,673
Location
California
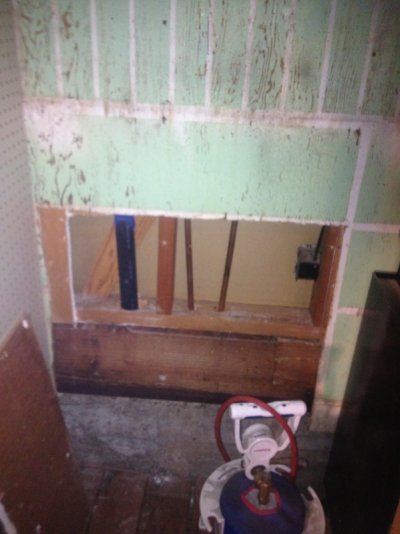
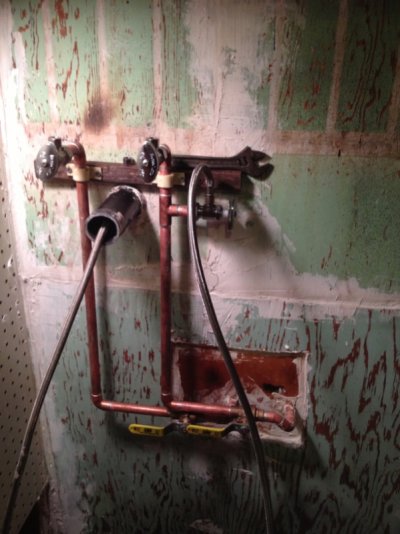
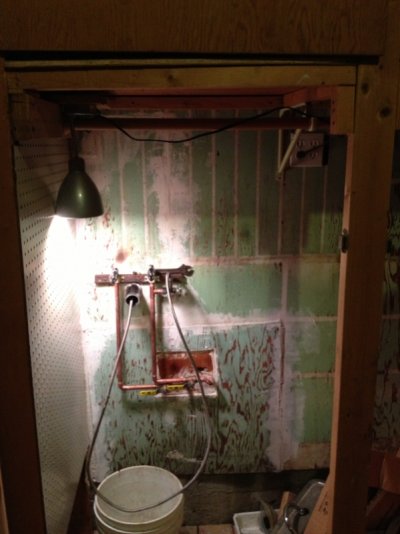
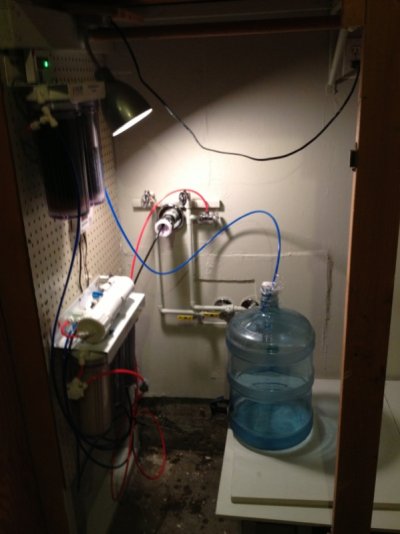
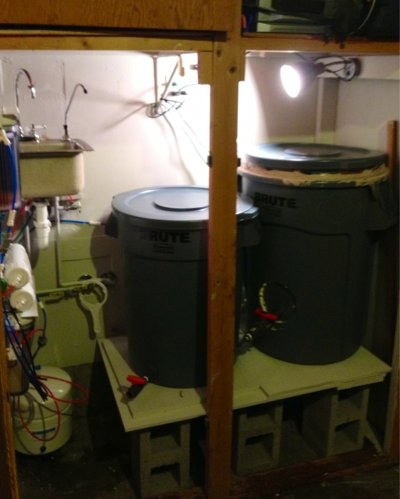
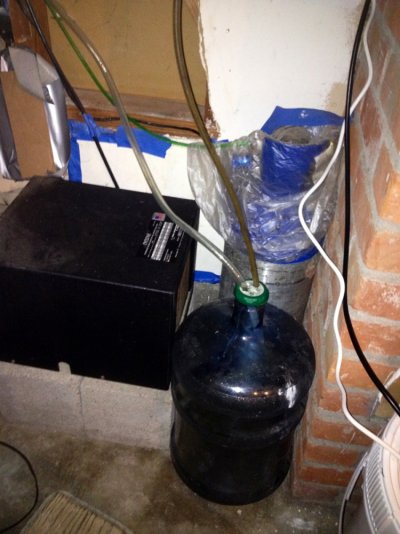
In the process of making my new RO/DI & saltwater mix and transfer station.

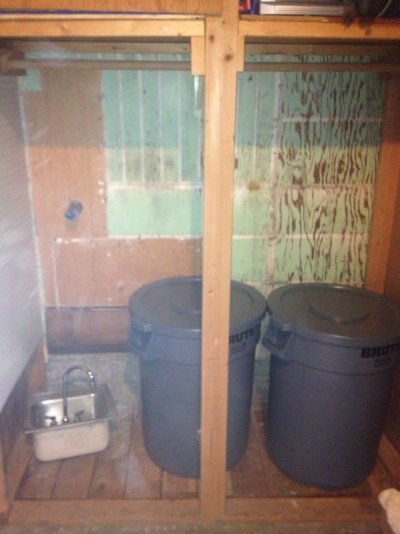
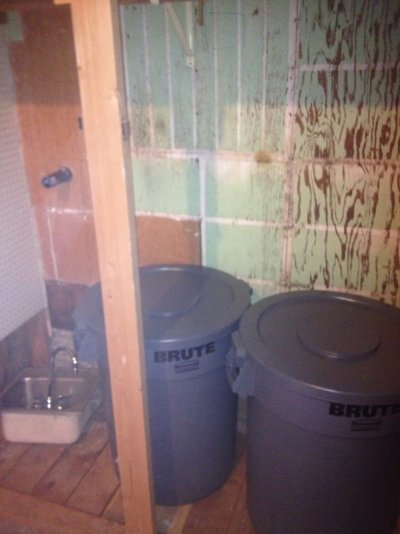
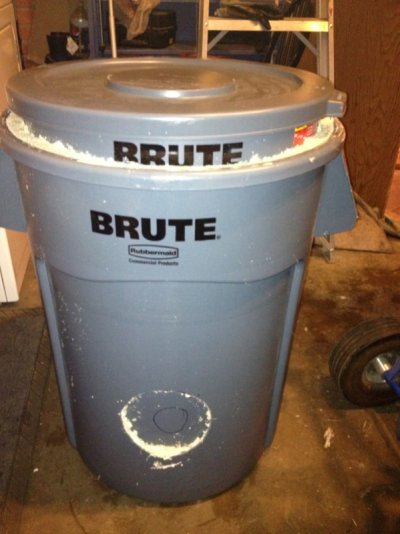
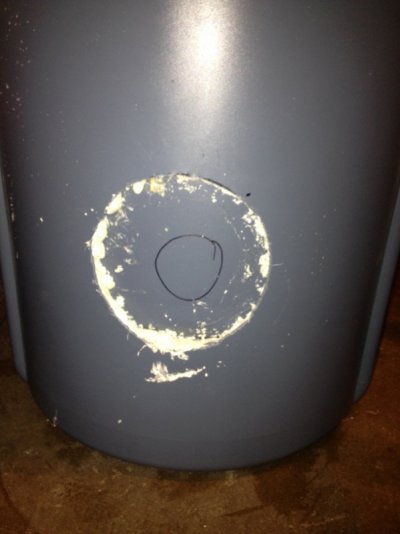
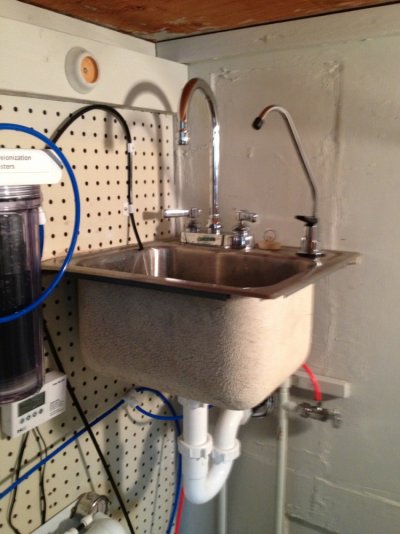
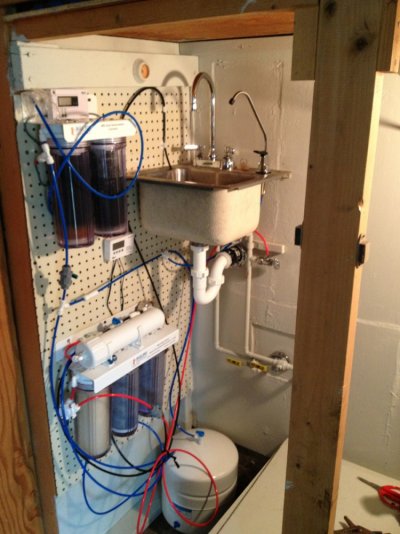
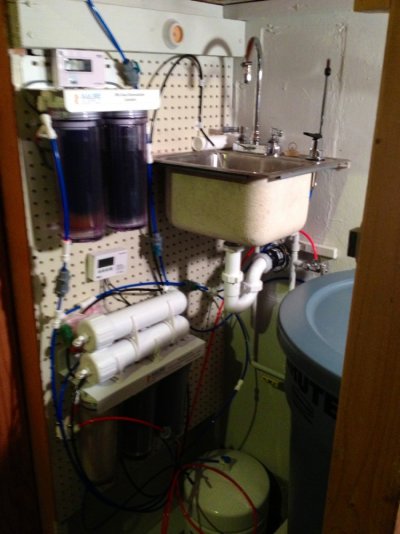
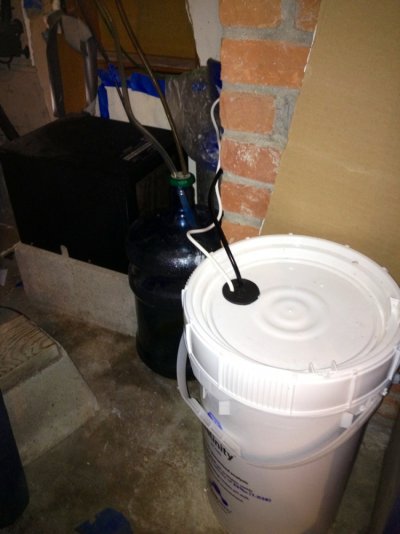
Considering I've already expanded support equipment for the reef into the garage this was the next logical step lol. Just finished the rough plbing under the house for a new sink addition into this cabinet that was already in place in my garage. I will be mounting a bar sink with an RO faucet along with my RO/DI filters to a water storage container. I also will add a container for mixing saltwater in the same cabinet.

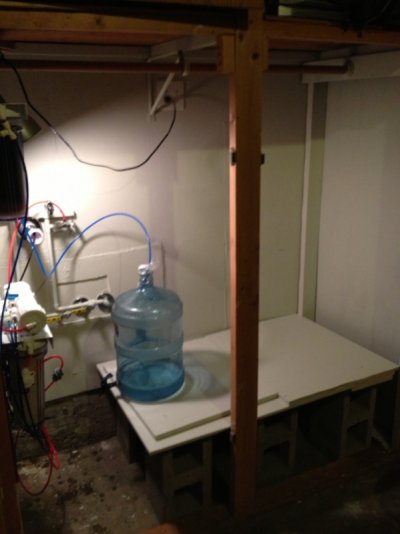
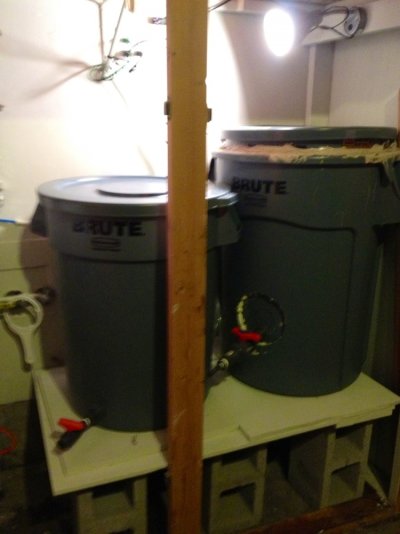
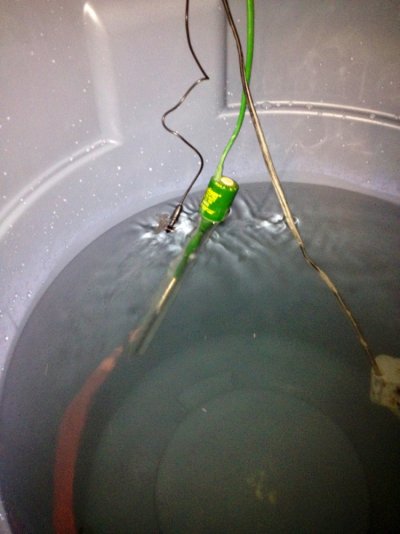
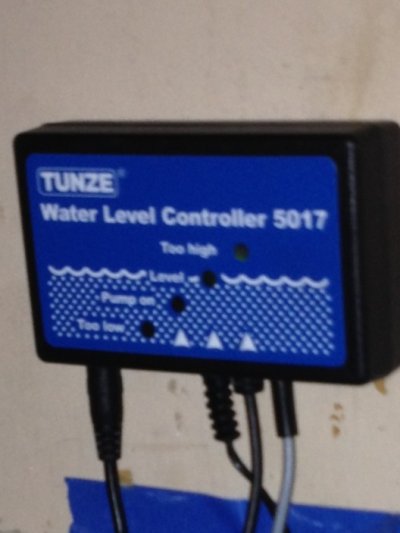
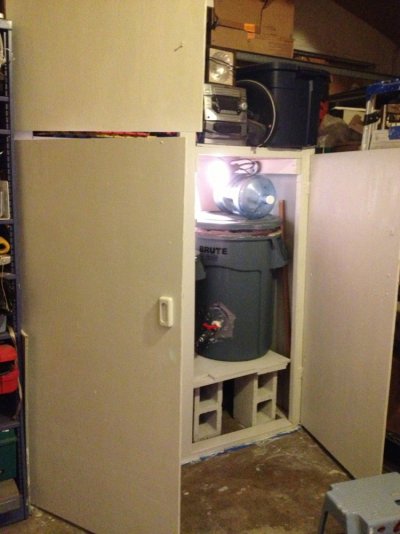
Will take some time. I still need to run electrical, frame up the storage containers shelf as I want to raise them a foot off the floor to slow for gravity draining when desired. Also need to install float in sump and ATO to SW container in a sort of automatic water change system. Will update pics with progress.
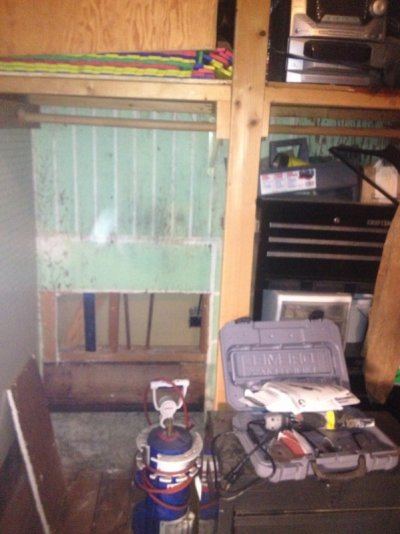
Btw these are almost all materials already acquired over time and the only purchased equipment so far will be the storage containers so as to explain the rustic look lol
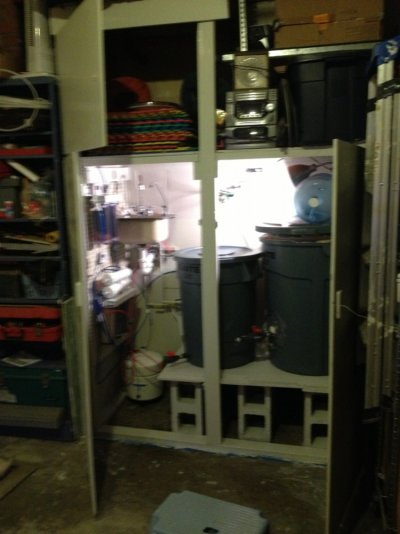
 
Forgot first pics hehe
 

Attachments

  • image-1868994737.jpg
    image-1868994737.jpg
    124.3 KB · Views: 210
  • image-2566394716.jpg
    image-2566394716.jpg
    150.1 KB · Views: 221
Finished VTR and now I will mount sink up high, frame floor to raise containers, have the electrical run next weekend, patch walls, and start installation if my RO/DI.
 

Attachments

  • image-3687283510.jpg
    image-3687283510.jpg
    108.7 KB · Views: 215
  • image-1971686152.jpg
    image-1971686152.jpg
    138.3 KB · Views: 210
  • image-364325695.jpg
    image-364325695.jpg
    132.3 KB · Views: 188
So had to take off time for several other projects lol so got back to this one for a few today.

Ran electrical outlet to cabinet, finished rough plumbing and first stages of sheetrock & panel repair. Ran two cold lines for sink & RO cuz I had two valves on hand so I didn't have to buy a 3 way angle stop lol. Pic is with RO line running into drain to flush out the new flux and solder residues.

Still need to frame up floor for storage containers, mount and connect sink (with RO spout), mount RO/DI filters & pressurized tank, paint, and run ATO.

Due to it being in the garage and the weather I decided to put one rubbermaid container inside another one and insulate in between with expandable foam and styrofoam for the bottom in order to create an insulated ice chest type container. Still need to install bulkheads, plumbing, electrical, and such on containers themselves.
 

Attachments

  • image-2651716872.jpg
    image-2651716872.jpg
    154.3 KB · Views: 226
  • image-2175178420.jpg
    image-2175178420.jpg
    128.7 KB · Views: 185
  • image-530478105.jpg
    image-530478105.jpg
    136.6 KB · Views: 300
  • image-266517156.jpg
    image-266517156.jpg
    146.4 KB · Views: 194
  • image-3666237231.jpg
    image-3666237231.jpg
    105.9 KB · Views: 203
Good job. Looks good I cant wait to see it complete. The trash can idea is nice. Keep up the good work
 
So to update my slow progress lol I got the shelf for two storage containers in, painted, & hung RO/DI filters. Still have sink to install (hopefully this weekend), RO dispenser with pressurized tank (for drinking water & washing), and start with plumbing storage containers for ATO and such. Received my Tunze Osmolator 3155 setup and due to fact I had the topoff water in the cabinet and that is going to be too far away from my sump I now am going add a secondary RO/DI top off container actuated with a secondary float closer to the D,T but still on the other (garage) side of the wall. Have preliminary plumbing for auto water change system in planning stage. I am going to pump mixed saltwater from the cabinet to the sump with a on switch (hopefully) located under the DT so I can monitor how fast water is added. Correspondingly, I plan on possibly teeing off one of my overflow lines and running a gravity drain line so future PWC will be as simple as push a button and hold to add water while opening a ball valve to remove old tank water.

As usual pic has RO/DI water being made for pose lol.
 

Attachments

  • image-1798694352.jpg
    image-1798694352.jpg
    110.3 KB · Views: 210
  • image-2757732949.jpg
    image-2757732949.jpg
    105.1 KB · Views: 175
So sink is in place. RO faucet and pressurized tank up and running! Going to add a second RO membrane to double output and cut waste water down in the next week or so. Now to start on storage tanks and ATO!
 

Attachments

  • image-590446359.jpg
    image-590446359.jpg
    217.2 KB · Views: 183
  • image-92108834.jpg
    image-92108834.jpg
    239 KB · Views: 175
Got storage tanks valved and in place. Installed second RO membrane to increase output and reduce waste water. Got the RO/DI tank fitted with float for auto shut off. Ran secondary RO/DI line to 5 gallon bucket with same style auto shut off float and ran my Tunze Osmolator ATO from that bucket to the sump. Everything seems to be working as planned so far. Including pics of other equipment (CO2, chiller, secondary skimmer, and skimmer drain storage container) that are also ran to other (garage) side of display tank wall. Needless to say still have more wall patching and cosmetic placement of hoses, wires, pipes, etc. Next on the list is work on auto water changer from SW storage to sump and auto drain!
 

Attachments

  • image-1788869593.jpg
    image-1788869593.jpg
    196.7 KB · Views: 147
  • image-3279933967.jpg
    image-3279933967.jpg
    181.2 KB · Views: 148
  • image-2118239345.jpg
    image-2118239345.jpg
    211.3 KB · Views: 148
  • image-2844213094.jpg
    image-2844213094.jpg
    215.8 KB · Views: 174
  • image-1499419835.jpg
    image-1499419835.jpg
    228.9 KB · Views: 146
  • image-1345740950.jpg
    image-1345740950.jpg
    190.9 KB · Views: 162
  • image-2095570280.jpg
    image-2095570280.jpg
    183 KB · Views: 154
  • image-611876128.jpg
    image-611876128.jpg
    194.9 KB · Views: 169
  • image-2925169588.jpg
    image-2925169588.jpg
    238.1 KB · Views: 159
Last edited:
So today all I got done was more painting lol.
 

Attachments

  • image-3051284871.jpg
    image-3051284871.jpg
    235 KB · Views: 182
  • image-1287476654.jpg
    image-1287476654.jpg
    192 KB · Views: 165
I only insulated the can for SW. Seeing is the RO/DI is just top off water in small amounts I felt no need to insulate that one. But it's working great do far. I loose a degree or two a day (after its been heated & turned off) and that depends on the weather here. I also leave the garage side door open for the dog often do it gets the full on night air. By comparison the non insulated container I don't have a thermometer on yet but for this weeks PWC when I added new freshwater to the leftover SW it dropped the temp 10 degrees. So its doing its job. First few days I set it up I found it drops temp so slow I only heat it for a little before my PWC.
 
Back
Top Bottom