Hex Hood

The friendliest place on the web for anyone with an interest in aquariums or fish keeping!
If you have answers, please help by responding to the unanswered posts.

ORayRay

Aquarium Advice Regular
Joined
Apr 27, 2009
Messages
63
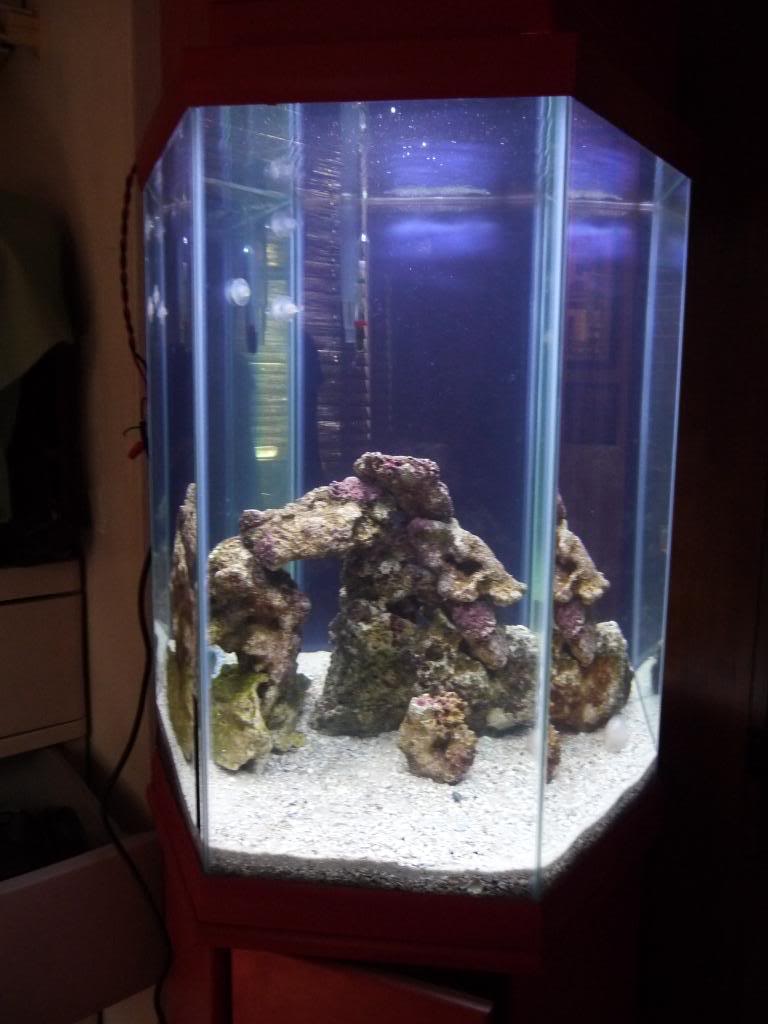
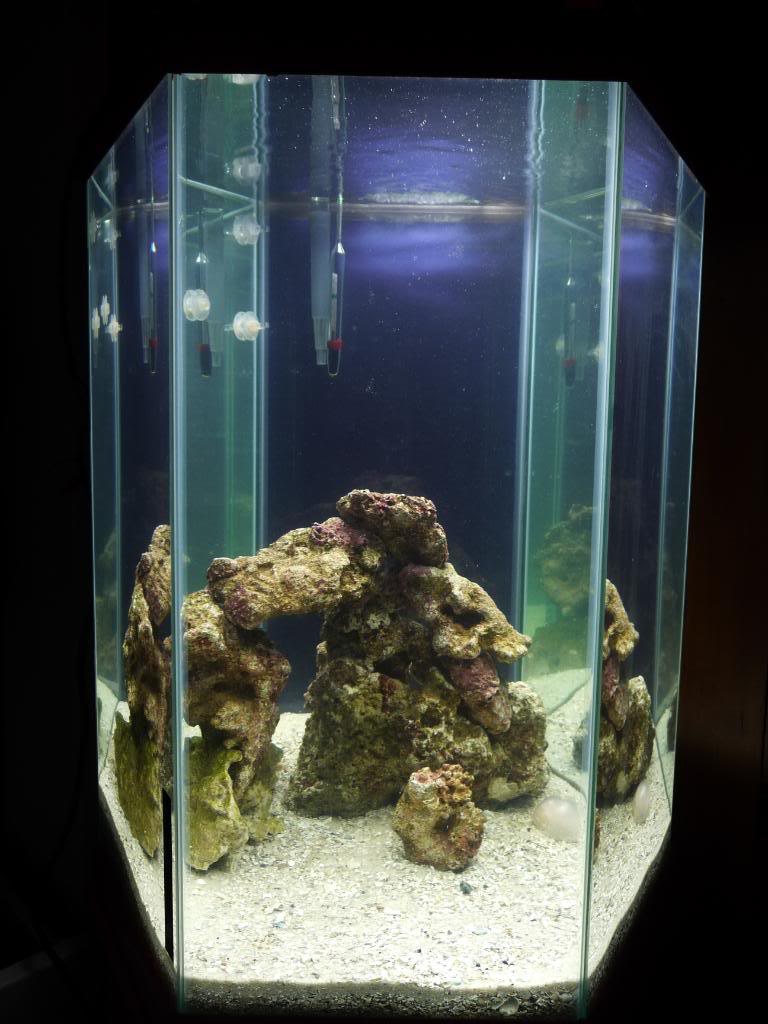
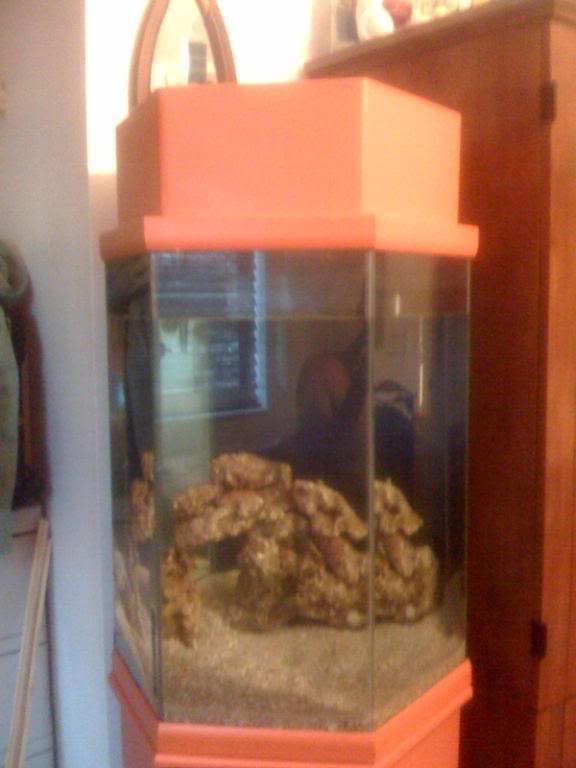
I looked but its kinda hard to find decent lighting that is 16", so hey why not diy, but i figured if i was gonna do it might as well make a whole hood.
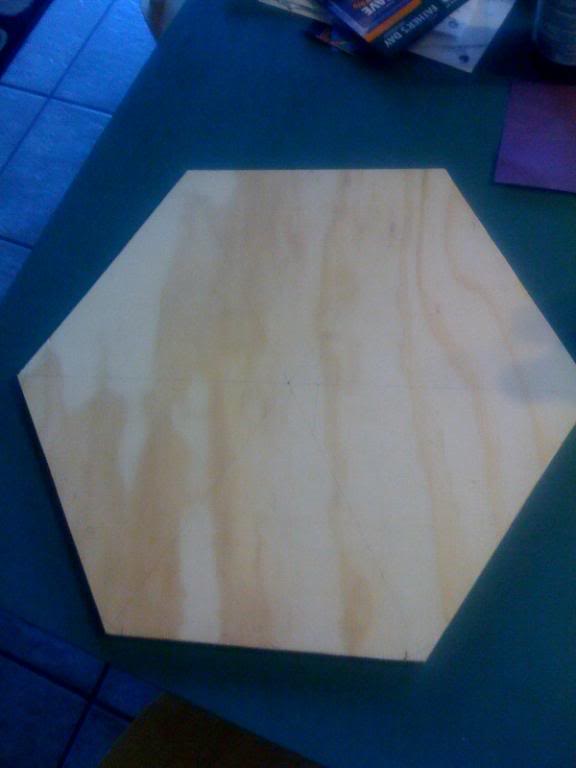
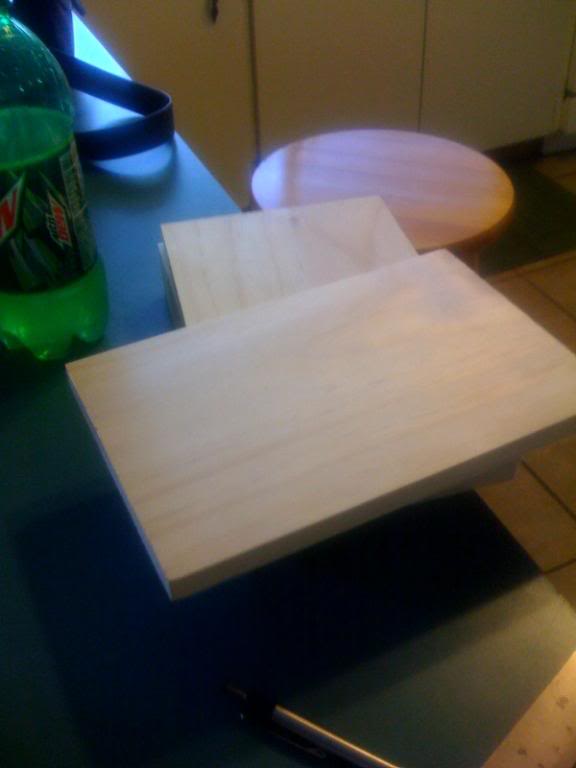
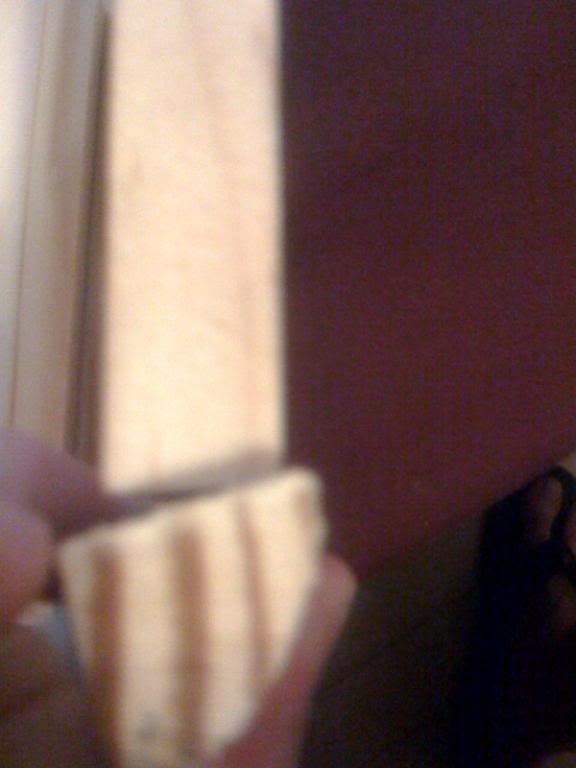
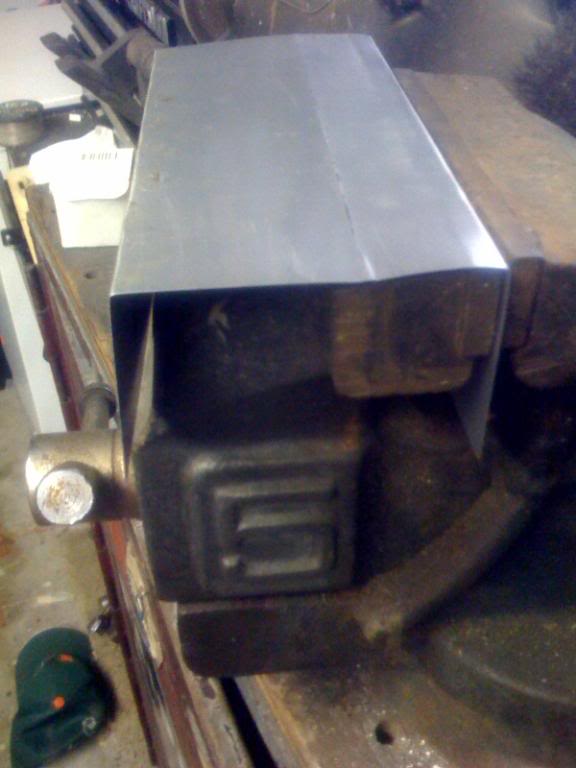
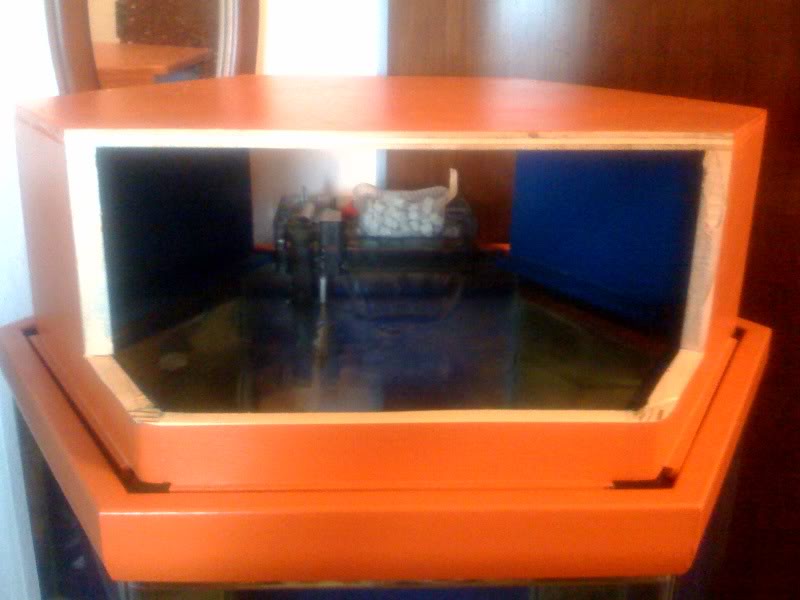
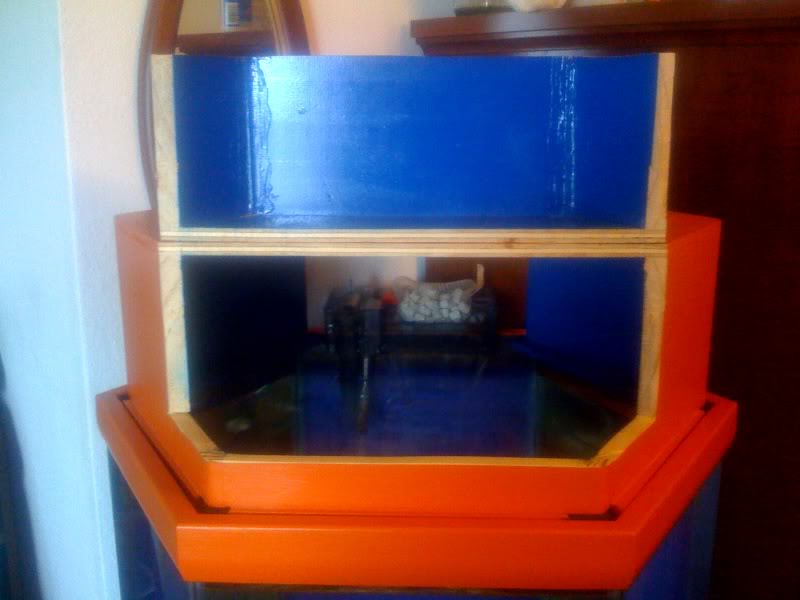
started out with a 2' by 2' by 3/8 piece of plywood from hardware store for $3 cut it to the size of the rim in my tank, then got 2 pieces of 1/2"x6"x4' and had it cut into 8 1/2" pieces.
img_987190_0_6d316ac7d197fb822e12bd869b8de5a1.jpg

img_987190_1_9ef74a93cc050577efff8a98deb4532e.jpg

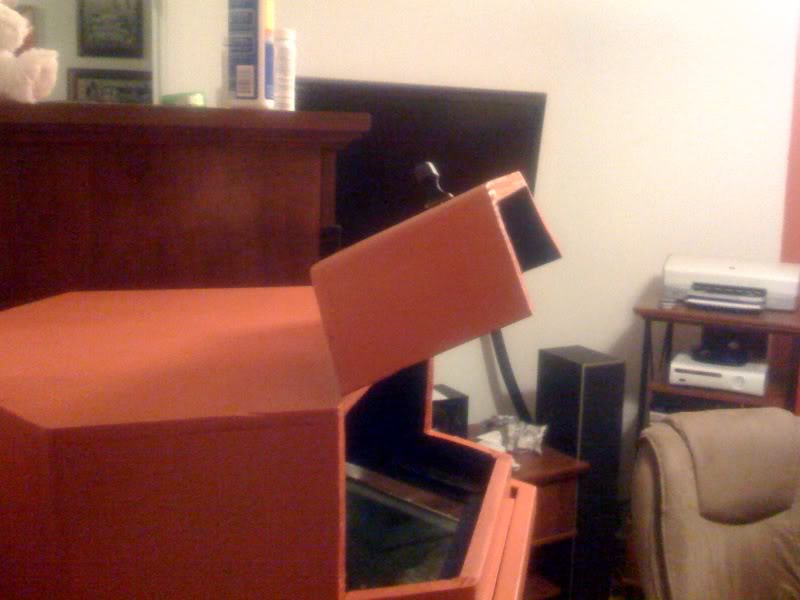
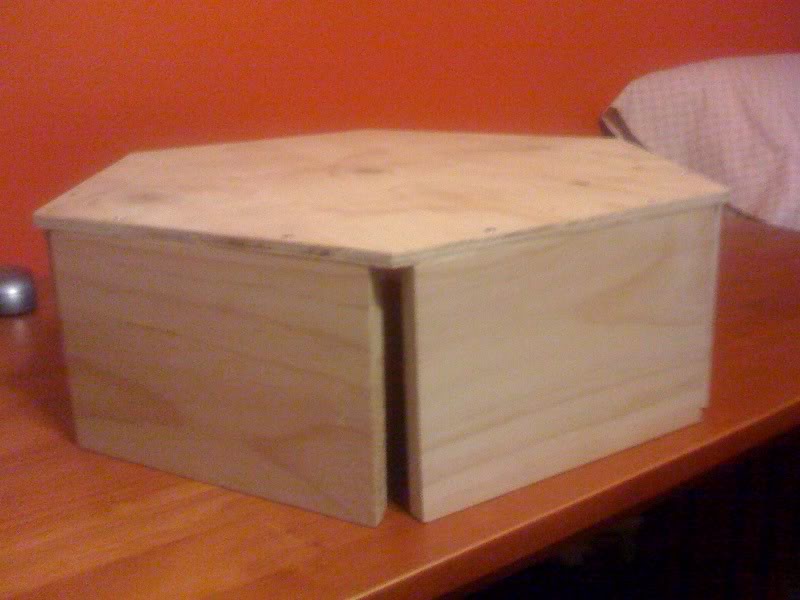
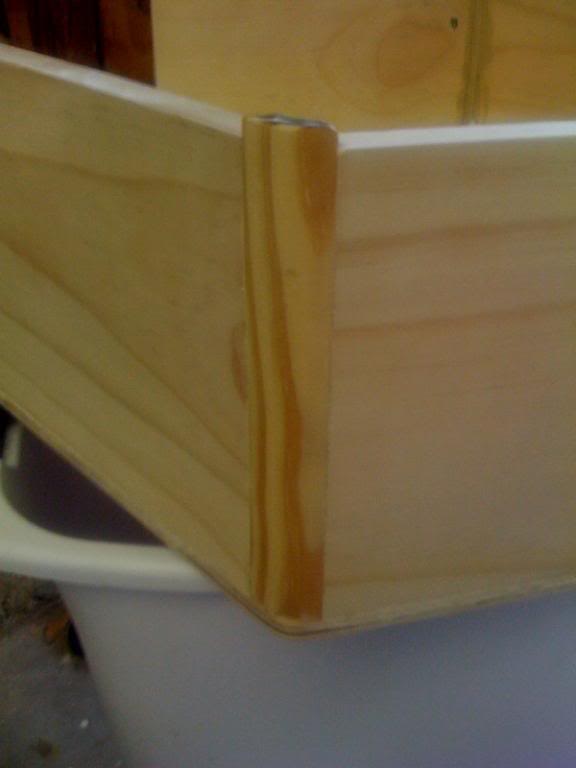
Then I screwed the 8 1/2 pieces vertical to the edges of the hex piece of ply making a hood
img_987190_2_60f00c2f0b74c21845f386beea08a773.jpg

img_987190_3_3d0d66311ef6c0ad428746d406cdfb3f.jpg

img_987190_4_6aff38a5f10d803d7820097a1093e736.jpg

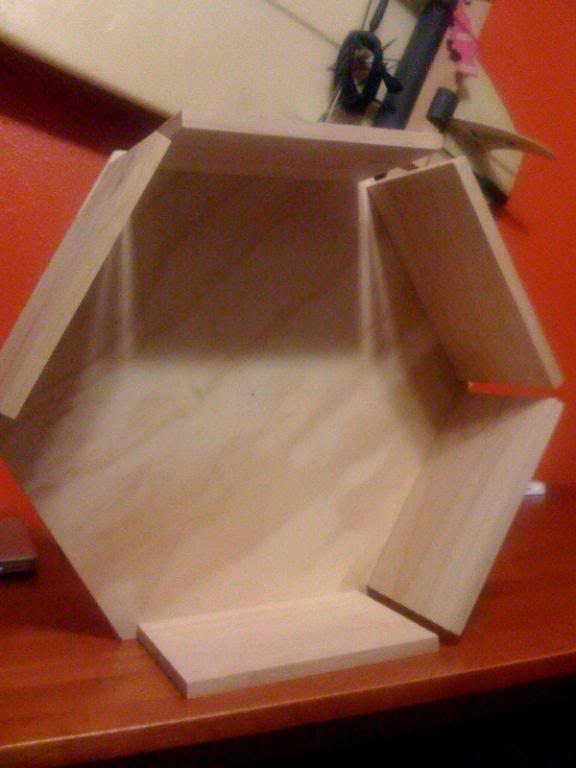
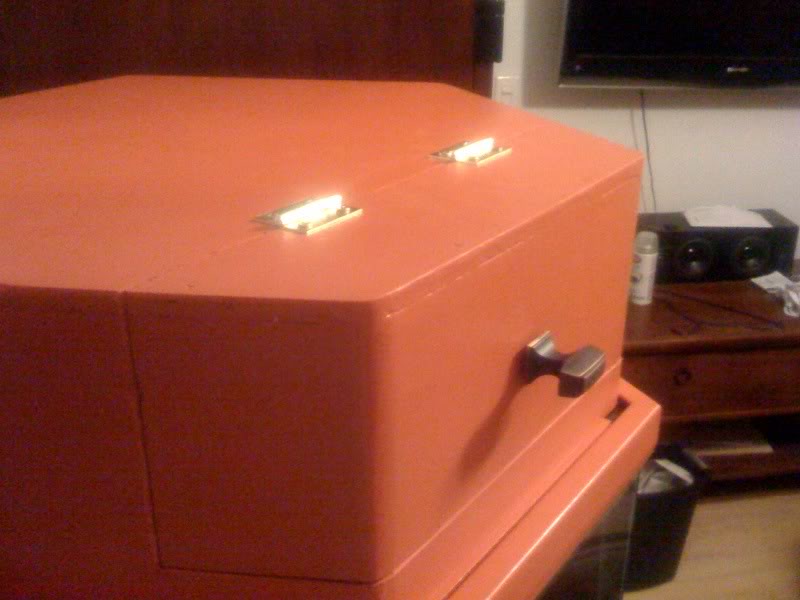
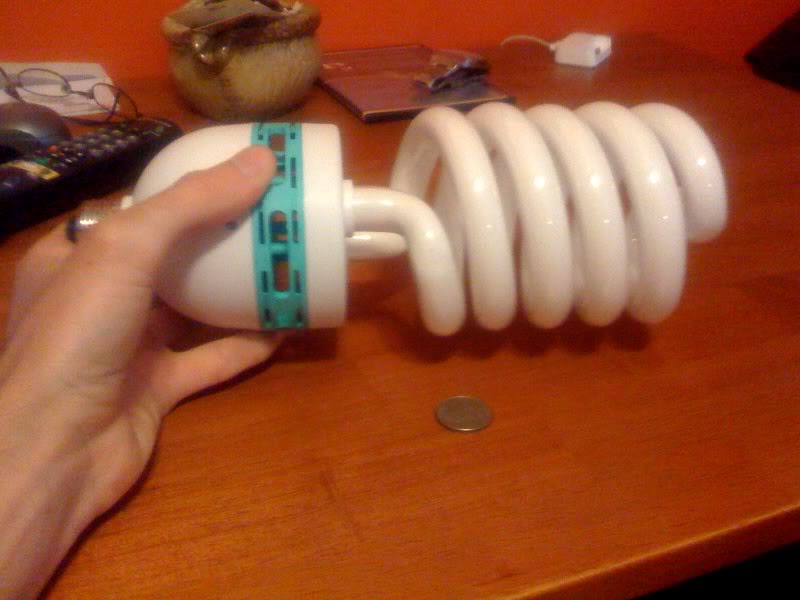
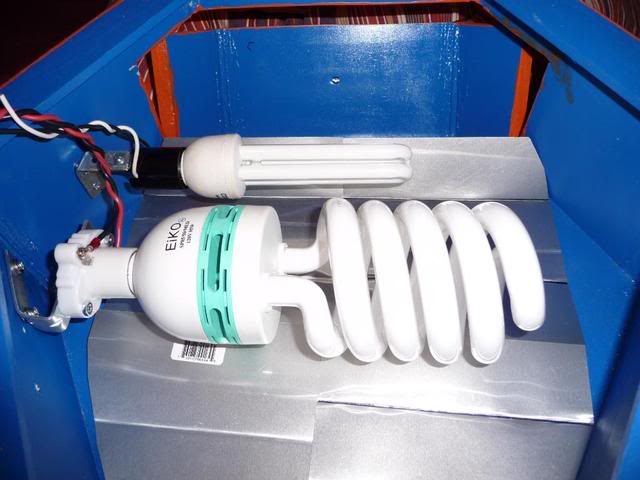
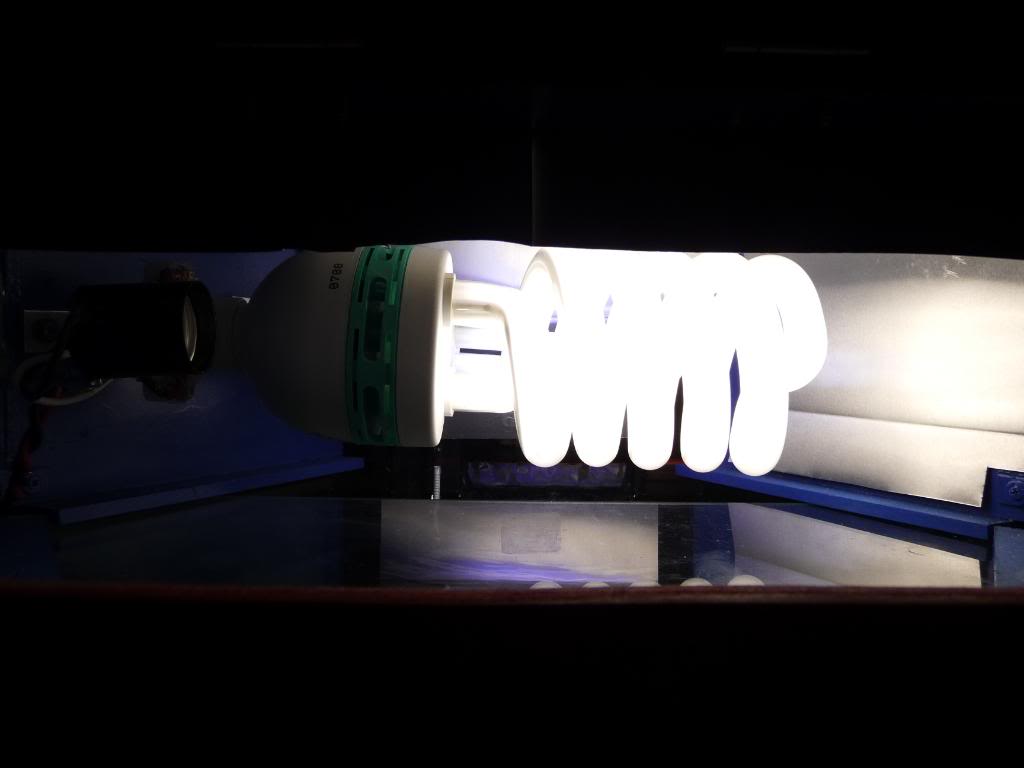
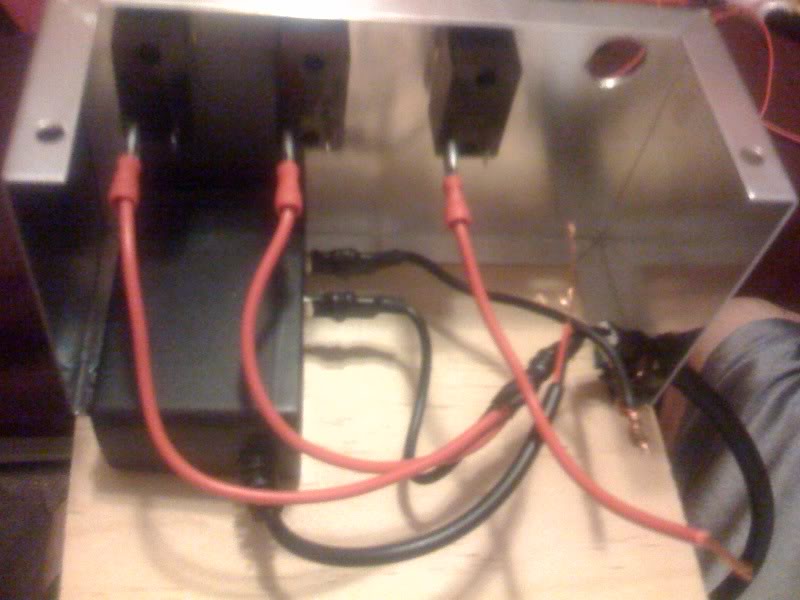
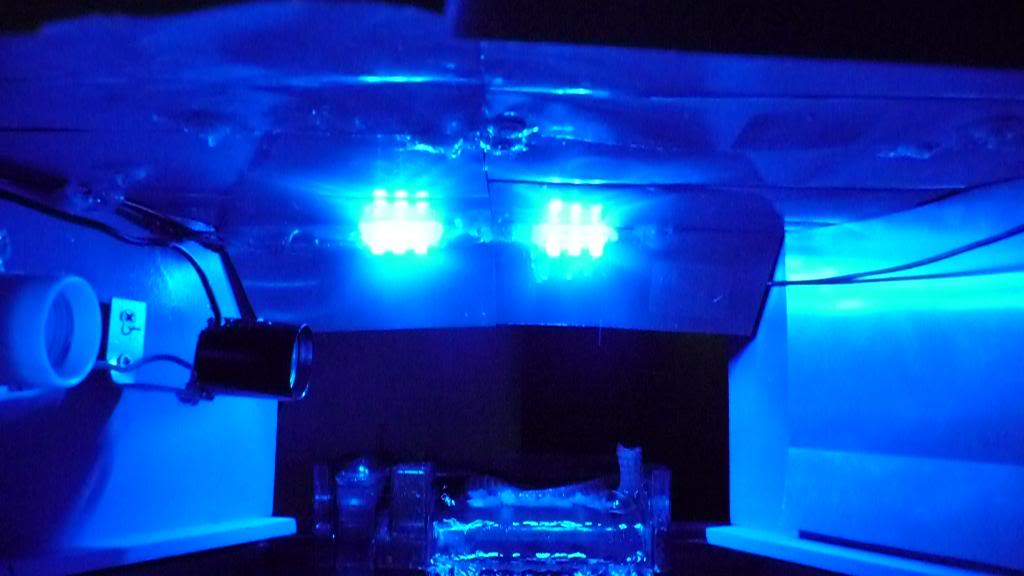
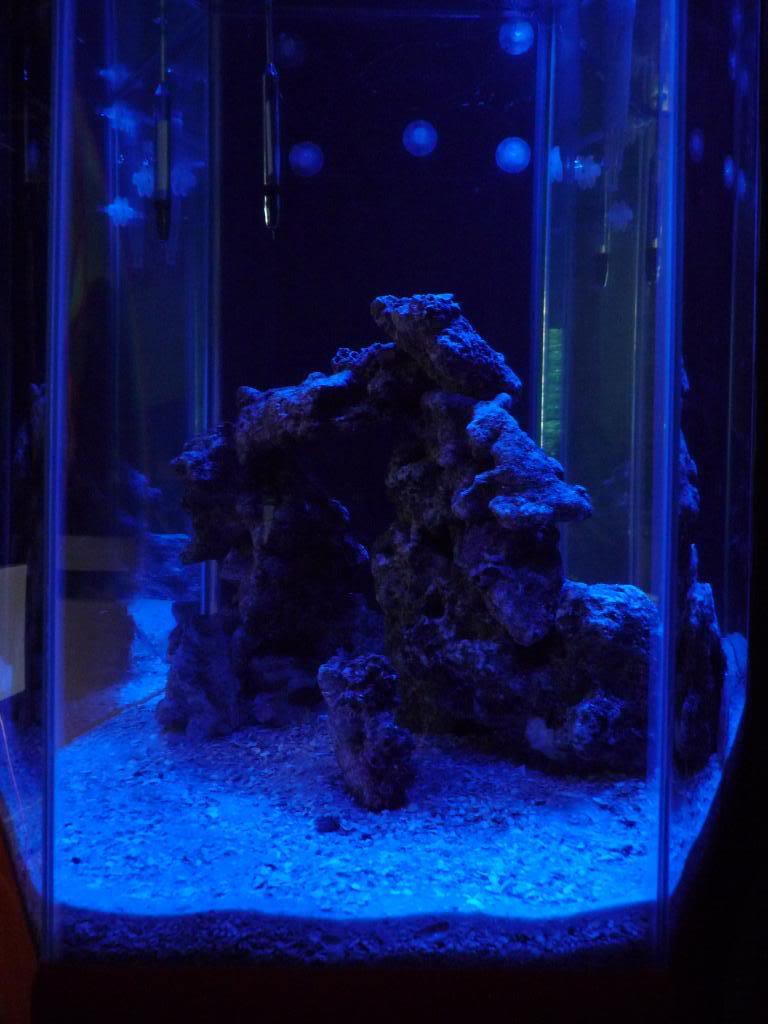
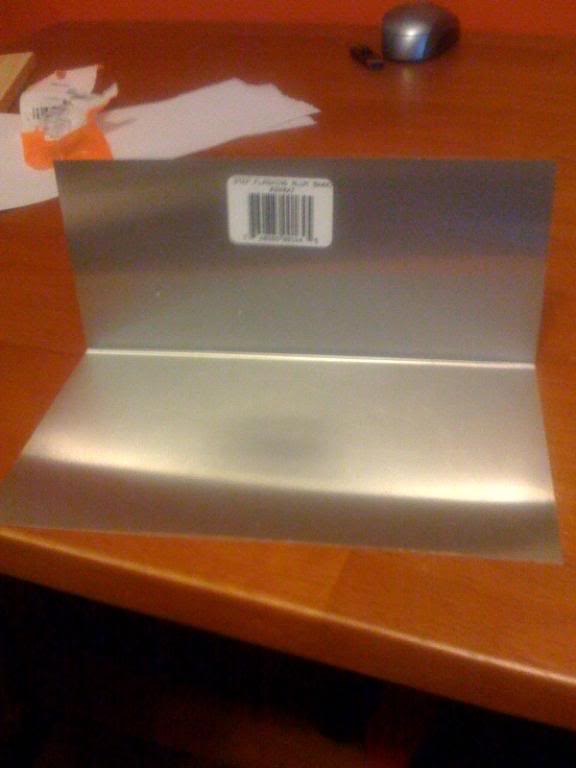
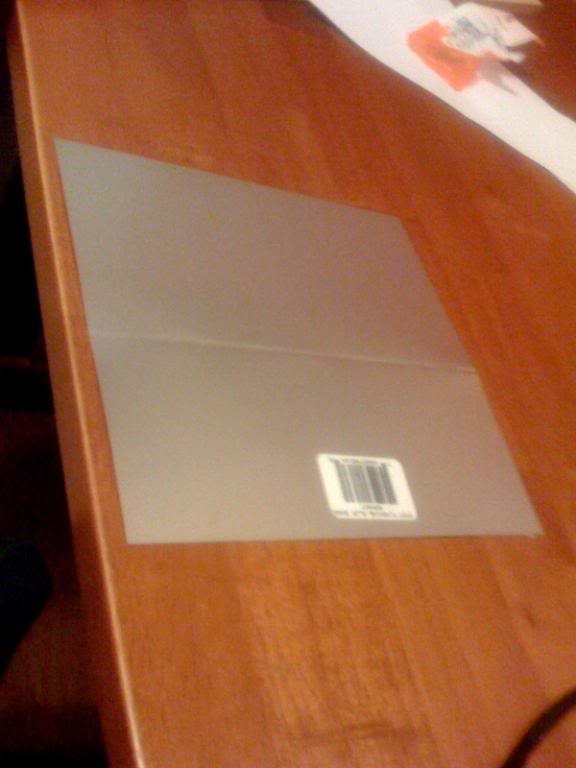
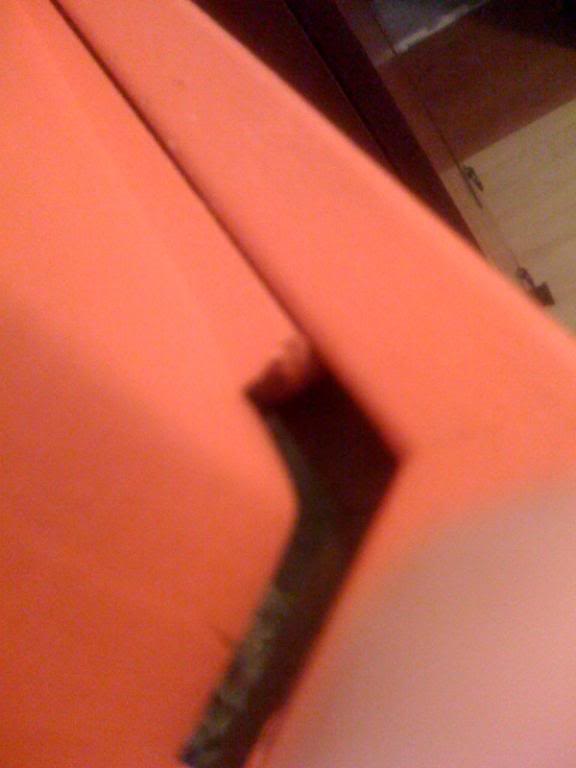
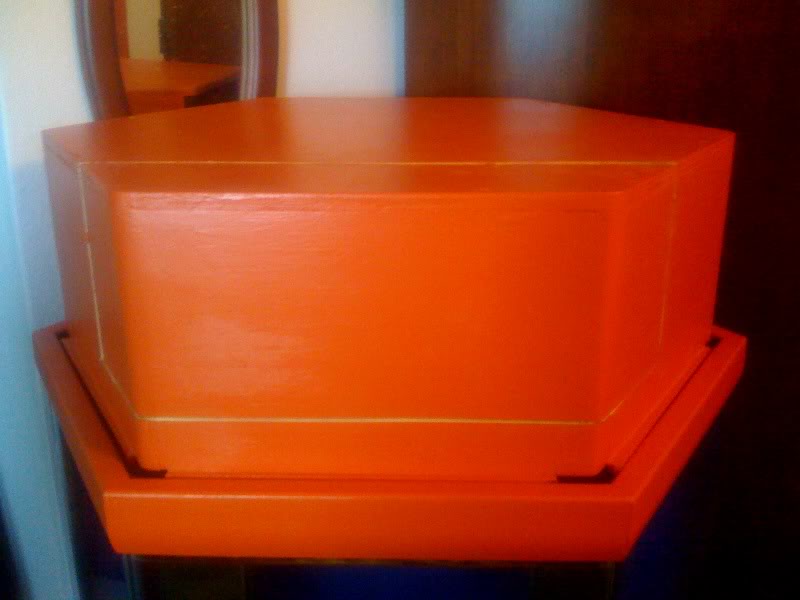
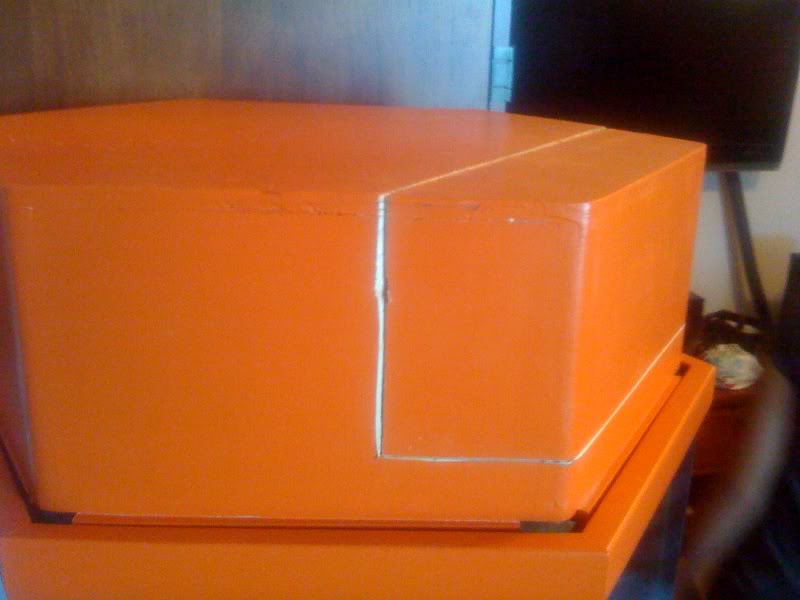
Now i have to get some molding to fill in the corners, and attach my lights and some led for moon lights, then paint it to match my tank.
 
alright got a little work done today, so far so good. i brought some quarter round to cover the edges, also got some aluminum for my lights.
before I could glue on the quarter round i had to make sure it was all straight, which is wasn't so i had to make some brackets for it
started with a 45
img_987516_0_b30d89380ac24809c713a7573936dc6b.jpg

then bent it to 120
img_987516_1_6fadcfb9ecf17092d4dc2680ac419744.jpg

and screwed it onto the hood
img_987516_2_2634ba0767eeb92d007e44f9d427cb29.jpg

got the 1/4 round, good fit but not perfect
img_987516_3_ce18fdae20d0baf8e35bd49486dd9e74.jpg

glued it in place and sanded it to a smooth edge
img_987516_4_87bcb0f445891883d7475be6319e64a8.jpg

then i needed something to reflect some light off the roof of the hood so i bought this L shaped piece of aluminum
img_987516_5_78b7a929431cbaffed8884b6d9031852.jpg

then flattened it out
img_987516_6_db4f11ac7e66fb0bab8c623817f323ec.jpg

put in a vise and bent a new shape into it
img_987516_7_02bc8446d938b0cd95dea071a74f2d74.jpg
 
bent it to a shape i wanted
img_987517_0_a81f3ca85f9883d89871f2be364ebabb.jpg

remember kids thin sheets can be a little sharp
img_987517_1_2d3b36d0aa106fc3cc29d7ace4c60440.jpg
 
well i got it almost done now, painted it and cut an opening in the hood.
This is how is sits on the lip of the tank, o so snug
img_988947_0_1ca92d192fab74a7093b46eb4c0da729.jpg

Heres a pic of it on the tank
img_988947_1_e7918433ebd4ff22fc042da295bdd172.jpg

Looking at it from the front, seeing the opening i cut
img_988947_2_dabe0f3c75defb086c94c38f142107c2.jpg

from the side
img_988947_3_9fb5f6817c9c017b4a7e5aa2bf73da46.jpg

with the cover off
img_988947_4_4718ac6a9c81e6b2538438bc16d44907.jpg

and with the cover flipped back like it will be when i attach the hinges
img_988947_5_c36abc3308654869c18a91472162f5d3.jpg

came out pretty good i think, just need to touch up the paint, attach the hinges, and then work on my lighting
 
thanks, i pretty close to wrapping things up, put on the hinges, and a knob
img_989627_0_4d3a8296edb5a61f467987b141a3407b.jpg

img_989627_1_05da115a1657c681ad5fcd6b2b58285c.jpg

Here is my main light, its an 85w CFL, and I will be complimenting the 85w with 2 20w coralife 50/50 CFL
img_989627_2_650a58026b3d88ecf0603838251c736c.jpg

13w CFL Vs 85w CFL
img_989627_3_939bc99146db5bf121e233533a67ec72.jpg

Made brackets for my lights and so far put in 2
img_989627_4_209faadb59d264d83fc70c9018171119.jpg

its going good so far, just need to finish mounting the last coralife
 
believe me it was pretty easy, i am in no way good working with wood, but if you take your time, it comes together a little easier
 
nice job! i had to make my own hood once also ( a 65 corner hex) just make sure u line the wood with either plexi-glass or some type of moistue barrier cause all ur nice wood work will bend and warp eventually......
 
thanks, i have taken that in to cosideration, so i put down the reflectors, and wired it all up roughly for now. and she works, I'm down one bulb at the moment, so I'm running a 85w CFL and a 20W coralife 50/50, I will add another coralife sometime in the next week, and ill be swapping out the 85w for a 105w, with the bulbs im gonna get it will bring me close to 5w per gallon :)
heres a pic of just one 50/50
img_990069_0_9e5e91a81d8fb359a3a8b3ed3c721b88.jpg

and running he 85w and one 50/50
img_990069_1_3ee45447a51ba54c030485485fdedb21.jpg

and a pic with the lip open
img_990069_2_4ec03e9cb6e875b0ea2a31fd0ff6a9f3.jpg
 
I picked up a project box from radioshack, im goin to use it to house the switches and wiring. Ive decided to use 4 switches.
1- main 105w
2- 2 20w 50/50
3- led moon lights "they are on there way"
4- cooling fans "still need to find out where to mount them, open to advice"
since my moonlights and the fans fun of 12v i will run a adapter to go from 120-12v and will hardwire it in the project box, here is a diagram of how im gonna wire it up
img_990119_0_e10512a842d37f2980281d95ed2644f3.png
 
That looks great! Be careful with that thermometer tho, they can break and spill lead in to your tank, this happened to me once.
 
That looks great! Be careful with that thermometer tho, they can break and spill lead in to your tank, this happened to me once.
Thanks, and really hmm, looks like ill leave it out of the tank
 
Wow. Okay the girlfriend wants a seahorse tank so I'll be making one of these setups too soon! I'm really impressed!
 
thanks, I've almost got all of the wiring done, I've been taking my time heat shrinking all the connections, but so far so good, what is is then pic are 3 of my 4 switches, the 2 on the left are my 120v controlling the main light and 50/50, the 1 on the right next to the hole is my 12v for the moonlight and the empty hole is missing a switch for my cooling fan. and the black box on the bottom left is my 12v adapter going from 120v down to 12v for my moonlights and fan. the switch box will be mounted remotely under the tank in the cabinet.
img_990829_0_94a0518b7416c15254d780847347bab8.jpg

and here is what it wil look like mounted
img_990829_1_aec726937b80555a135887a4ef940c9e.jpg
 
All I can say is OMG!! It looks FANTASTIC!! As a fellow hex tank owner I know how impossible it is to find a hood - and when you do it costs a mint! You have inspired me to try my own!! Thank you so much!!

Great job!!
 
Thanks Kee. You should build one, but try to plan it out, i kinda winged it and hit some bumps, but got over all of them so far, and need any help just pm me and ill be happy to help any way i can.

Im almost finished with it all, only thing left is to mount the switchbox and add a cooling fan. Got my moonlights up and running, $12 on ebay for 6 lights pre-wired in waterproof pvc strip and an adapter to run them.
img_991280_0_1e84424cd7b384d84d2038a999cb488e.jpg

img_991280_1_bd23b5a972d192f8457948441d8988ca.jpg
 
that is simply awesome!! Believe it or not, I don't want the lighting built in (at least I don't think so lol- if I do it myself) but I want the canopy to in essense sit on top of everything- (like a hat lol). I do have one question- wee you able to get the wood cut at the store? Or did you cut it yourself? I just want the pieces cut in advance (I will pay the price- I nor my husband have tools - nor do we want any ;) ) so I want everything cut and then I put it together and paint it.

Thanks so much for your help!!

kee
 
they only thing i had to cut was the top, the hex piece of plywood, it wasnt fun, the rest was cut at Lowes, it would have been a lot easier if it was all cut at the same time and i used a miter saw to cut the corners, if you wanted someone else to cut it i would call a local cabinet shop and ask them if they could cut it for you, just make sure all the measurements are correct
 
Back
Top Bottom