Sump/Refugium Project 09

The friendliest place on the web for anyone with an interest in aquariums or fish keeping!
If you have answers, please help by responding to the unanswered posts.

Tank2379

Aquarium Advice Addict
Joined
Jul 16, 2008
Messages
2,890
Location
Chicago,IL
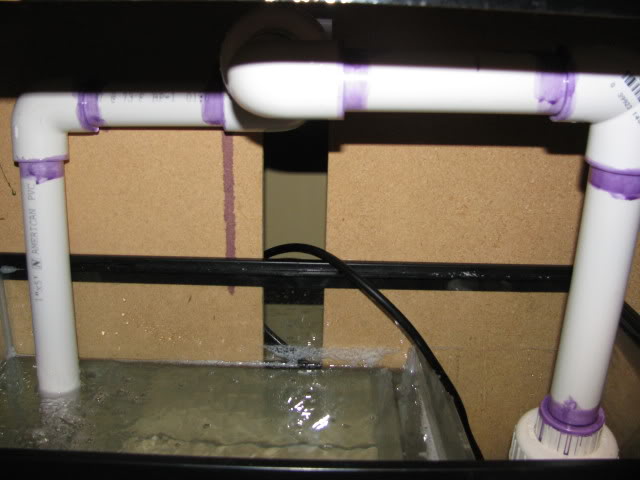
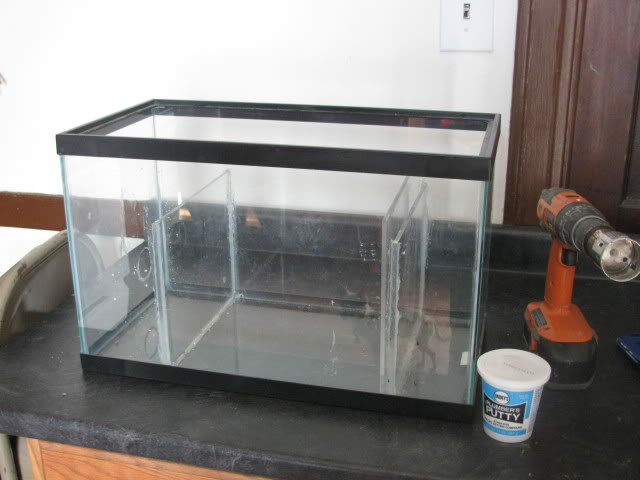
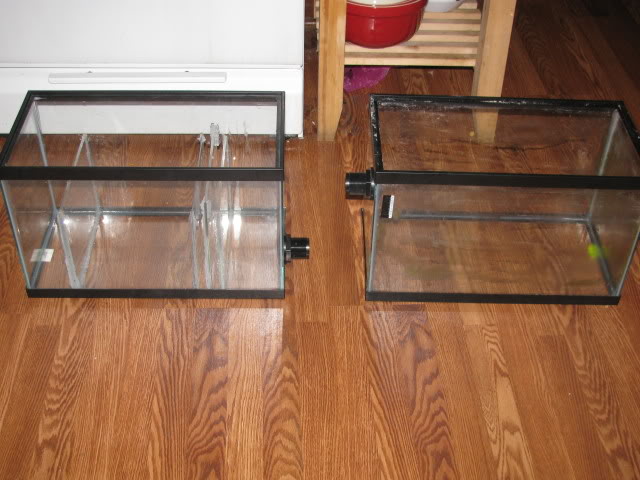
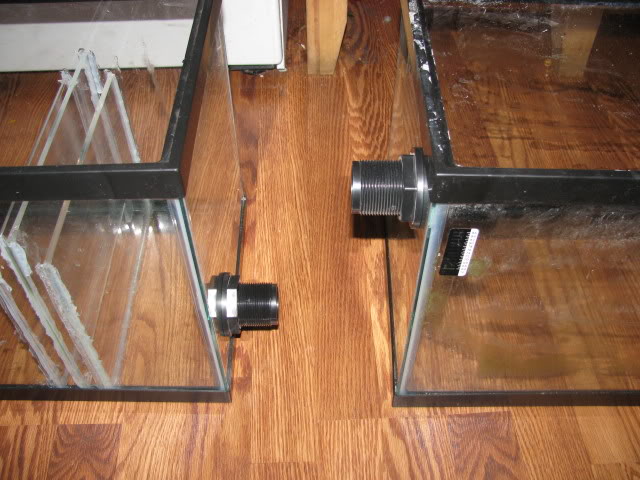
Alright I have started my Sump/Refugium. I have my OverFlow Box (Eshopps). I am waiting for my Mag 7. I ordered a 45mm Glass Drill bit which I already received from BRS. I have already put only 2 baffles in for now I will get 2 more put in for my bubble trap. I also have cut a 45mm hole to connect the other 10 gallon which will be my Fuge.... For now just a few pictures I got so you can see some progress I got so far....

img_973665_0_8c00302436f03bb52b7139edc8434e43.jpg

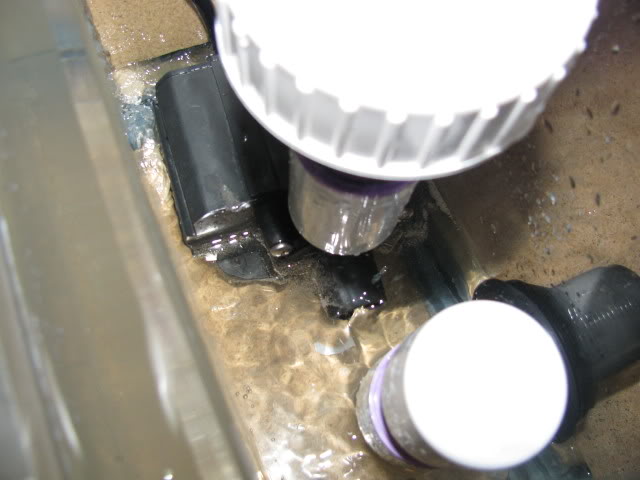
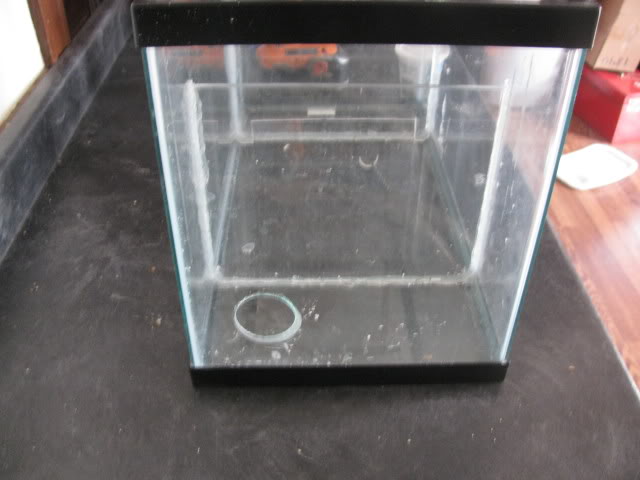
My first glass cut hole by me...
img_973665_1_62cf98a71895bae6634a9a8eb39252d8.jpg

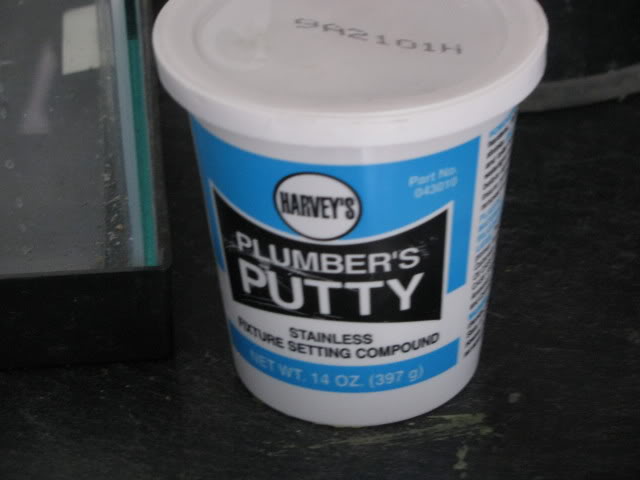
Plumbers Putty I used
img_973665_2_5ba95a7fdd33cc6c407180932c5b1c35.jpg

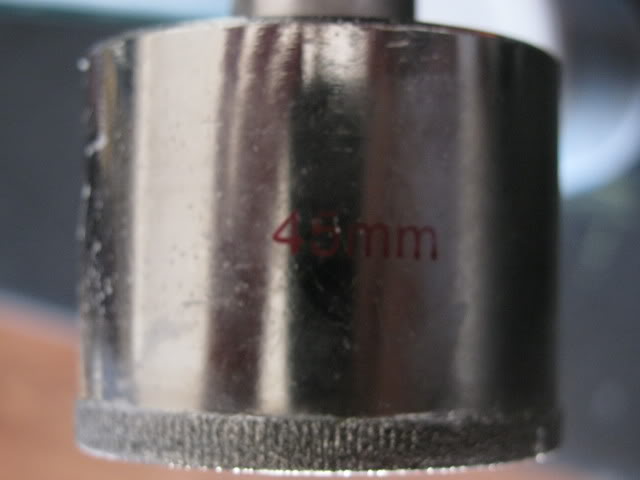
and the Drill bit...
img_973665_3_7529bcf6eed24bc01855215def9ef2d9.jpg
 
Yes. I Practice on a couple old pieces of glass first before I did the actual tank... So far so good... The only hard part now is cutting the other hole in the Fuge that I got already setup for awhile now....
 
I will post pictures from Time to Time to see my Progress hopefully this will help someone else out with doing a 10 Gallon Sump/Refugium...
 
Well today I got the second 10 gallon Tank drilled... This was a Piece of cake.... I got the rest of the plumbing supplies. Still waiting for the Return Pump to come in.... I Just hope I don't get screw off of RC.... But here are a few more Pictures of the other 10 gallon.... I got in 2 Bulkheads from BRS....

img_974721_0_4068047439a5b32277c88926d20afbc9.jpg

The tank on your Right will be the Fuge of Course. Water will travel back down into the Sump....
img_974721_1_8e4b2297ce6b37c0f7e09b0d3d364eb7.jpg

Eshopps Overflow Box...
img_974721_2_df1eeb96073ff4f283885a6e65007145.jpg

A Little bit of Plumbing work...
img_974721_3_65d930a535416938694469cbd7f479c6.jpg
 
Well I guess back to the Drawing board.... I will post a Picture on what I am talking about later... I finally had everything ready to get Plumbed and low in behold I went to put the first tank under my 55 and.... DANG IT... It did not fit. You would of think I would check something like this, I figured it would fit because of the Size the door is look big enough to fit a 10 gallon at least.... But I guess you live and you learn.... Now I am going to re think about that I am going to do and go from there.... Looks like my project is on hold for now.... Any ideas I will take to help me out...
 
Well since that day I was able to get both tanks to fit under the Tank. I had gotten it all plumbed up and low in behold there was a leak in one of the PVC going into the return. So I had to saw most of it apart and redo it, but on the way to redo everything and taking everything apart CRACK:peace: 
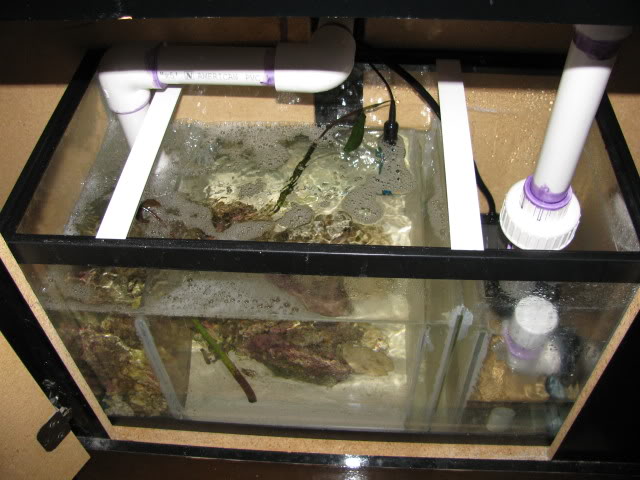
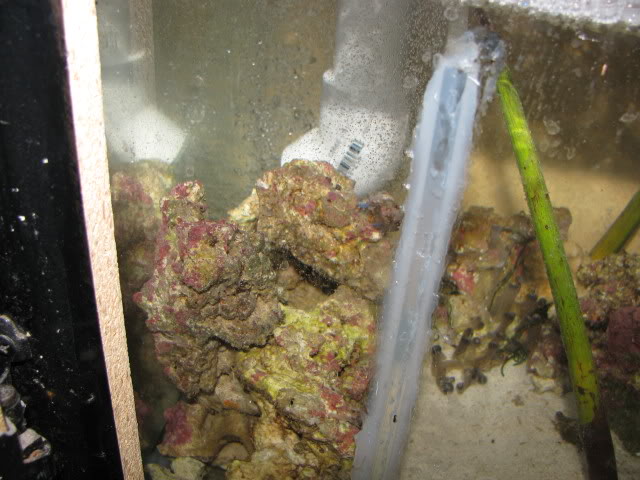
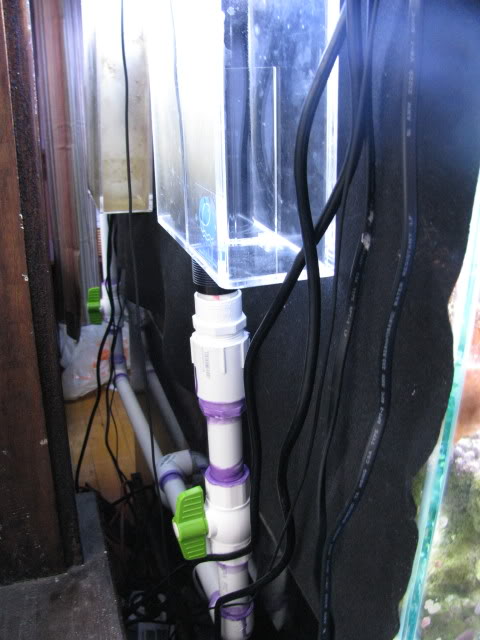
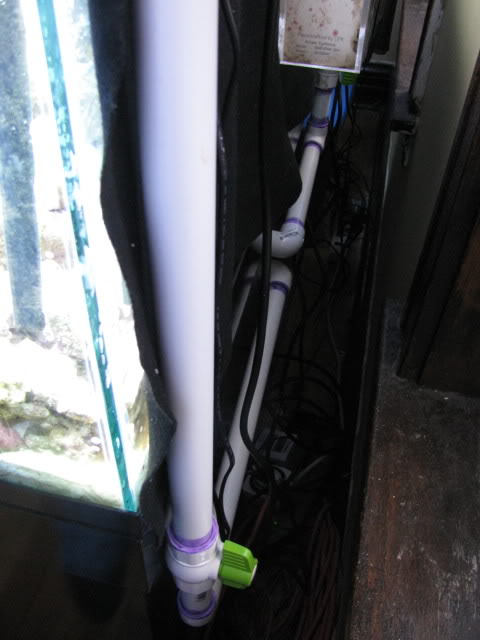
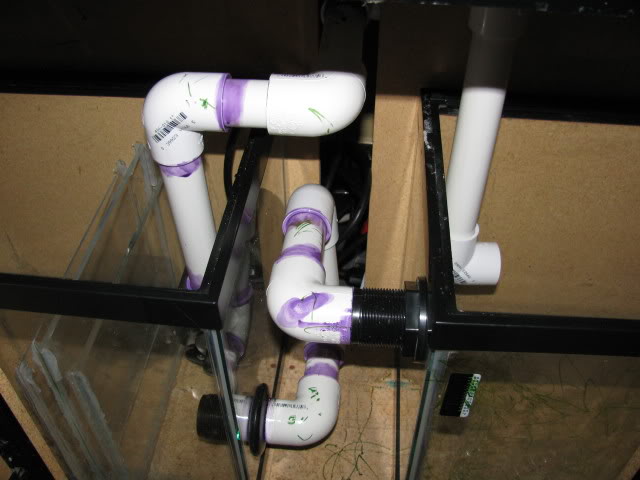
one of the 10 gallons cracked on me. So now instead of having both 10 gallons I ended up with just one. So I re-plumbed that one and made a Small Refugium out of what I had with that one. So now I think it may have turned out pretty good... Here are a few pictures of my work.

img_978821_0_042d245ebb952f3ad11054b43b9e7bee.jpg

At first it was sucking up to much air but I fix that problem.
img_978821_1_39a360dba69f6f088ce0c0a3c251100f.jpg

Here is my completed work. A lot of bubbles that because of no Filter Sock yet. But i'll fix that problem soon enough. I can't get every picture up Photobucket has been acting weird with uploading multiple pictures in a row.
img_978821_2_46eff1b4be0af44b30c6e23097042a51.jpg

LR Rubble in the first Chamber
img_978821_3_2c87f1bed7ab7d3db64ee06855e39bcd.jpg

My Little Fuge Area.
img_978821_4_02aed6d620869ed23706c1ab39a460e9.jpg

My Return Area
img_978821_5_80276a5a4b0f8b1d5adf7922b5c9ac60.jpg


That's all for now.... Wasn't a big project but should be good for now....

Hope you guys like it.
 
This was the first set initially.

The overflow
img_978823_0_887136e5241f366123fb52747b4cbe59.jpg

The return
img_978823_1_3aa339a2e3f112f1e51826839ce41905.jpg

Here is what I was taking about when I Plumb them together it was a tight fit. The tank to you right was the one that cracked. The one on the Left the bottom where the it goes back into the retun was leaking.
img_978823_2_9ec40d8b9ba58e25156ebc1d94684826.jpg

The is how the whole thing was set before the other tank was cracked.

Lesson learn never put to much pressure on a Tank that has thin glass and has a cut out whole in it...LOL....
 
Back
Top Bottom