Harry Muscle
Aquarium Advice Activist
- Joined
- Jun 22, 2015
- Messages
- 160
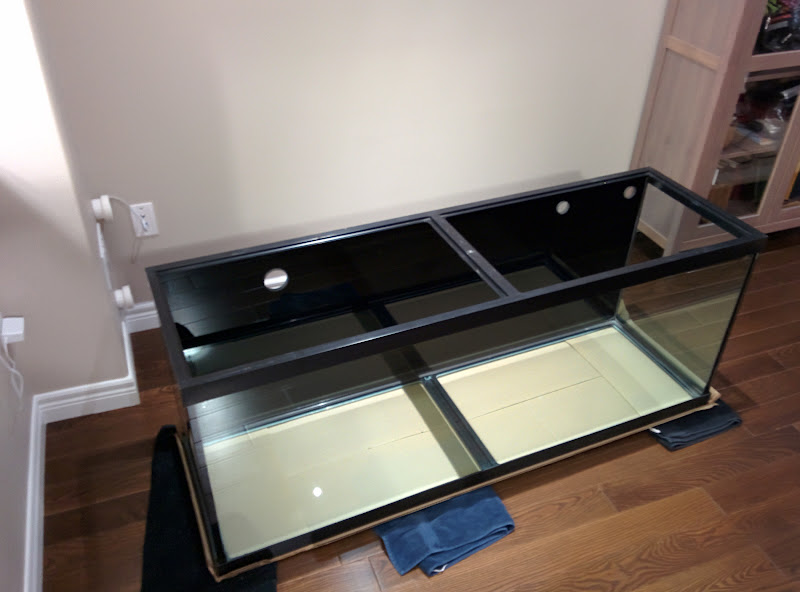
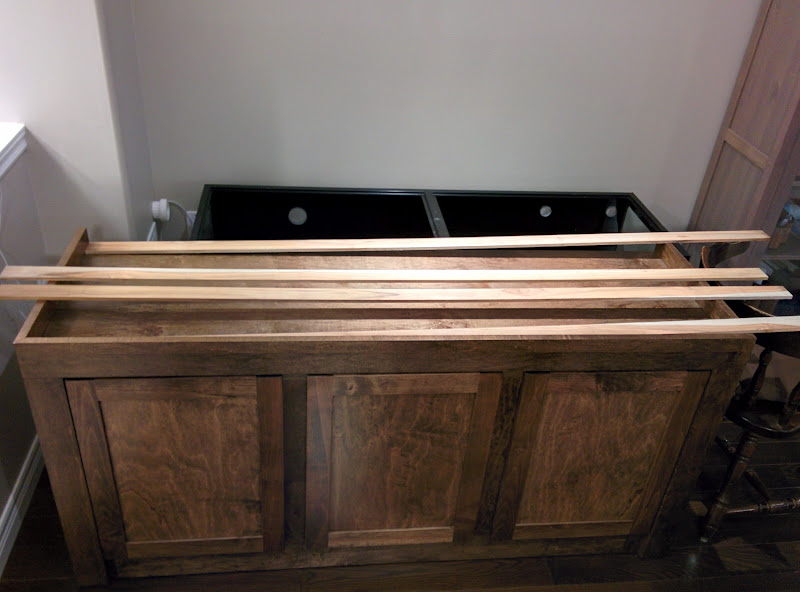
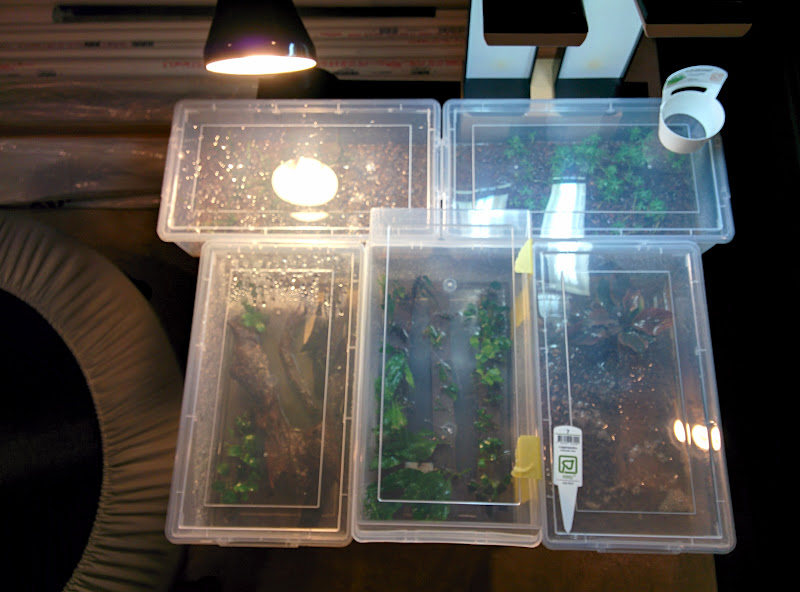
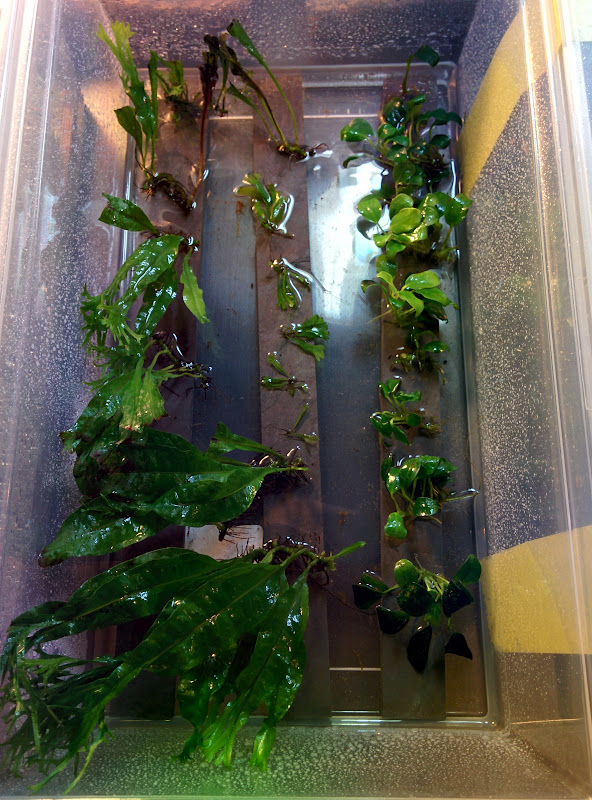
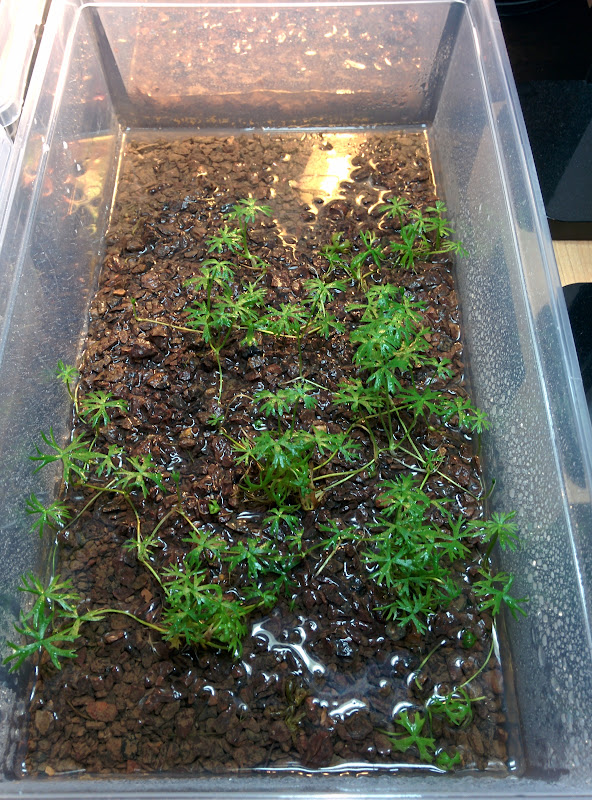
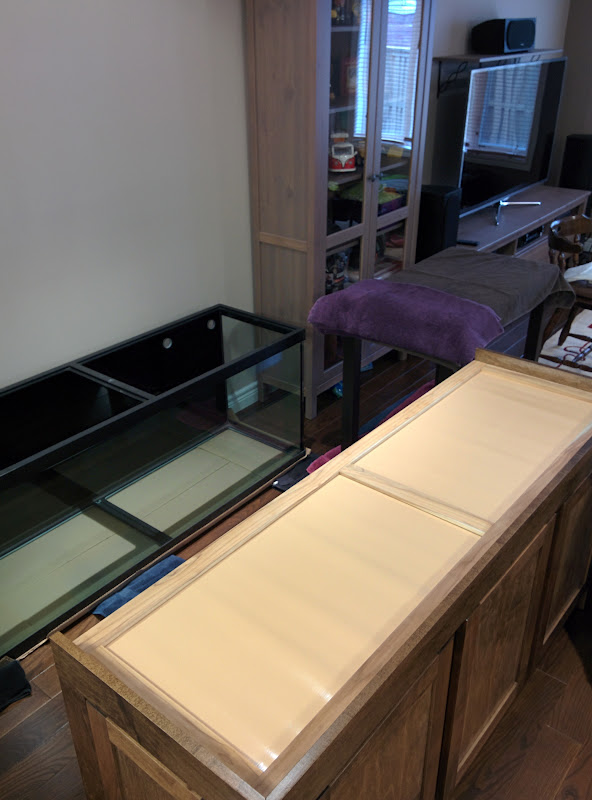
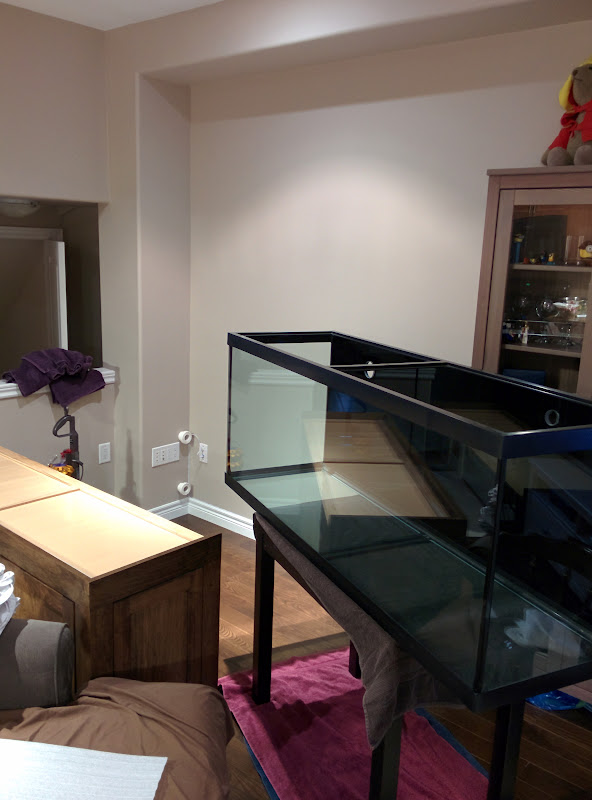
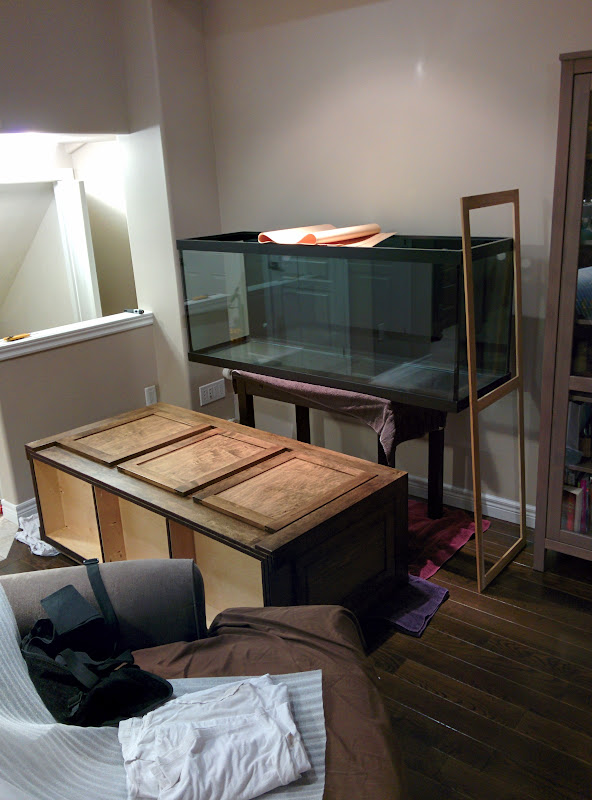
It's looking like I've got several months to go still until I actually have plants in the tank, but I decided to start preparing. I figure it's going to cost several hundred dollars to fill the tank heavily with plants, so I've started growing some of them emersed. That way hopefully I can start with smaller cheaper portions. Or at the very least scratch the plant growing itch.
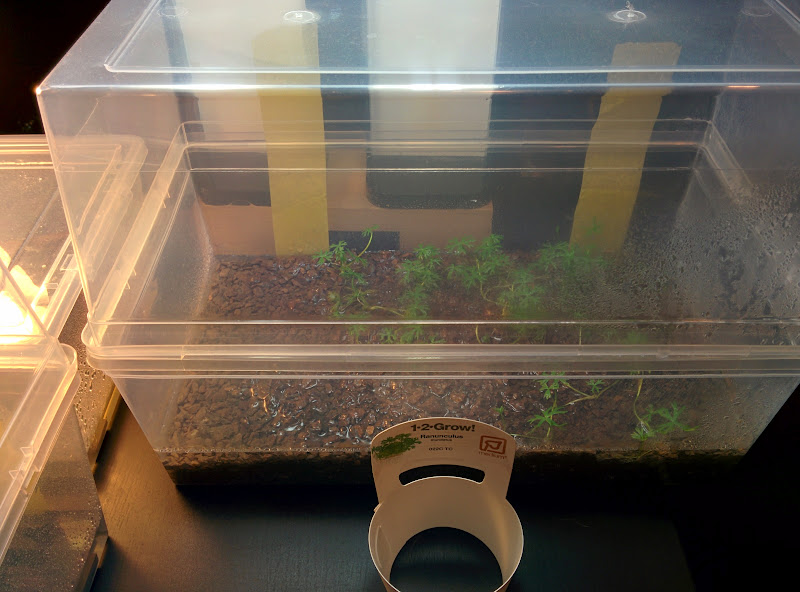
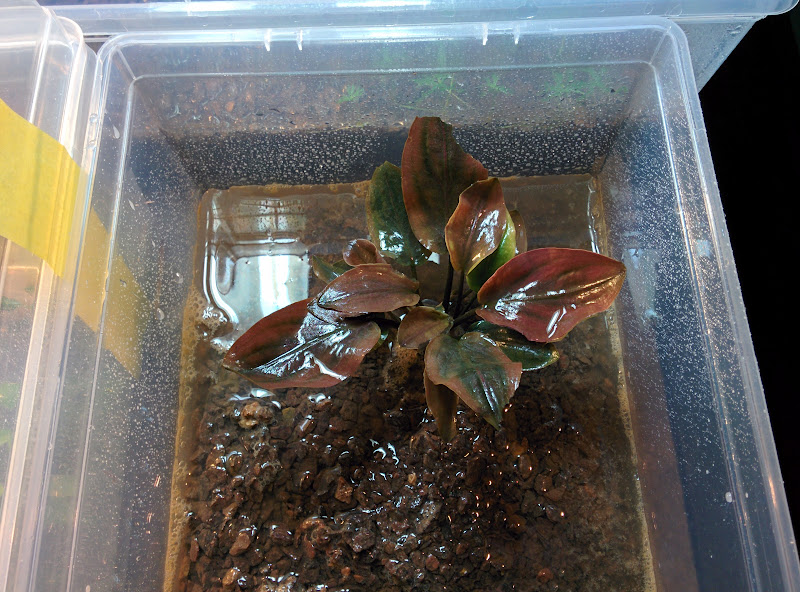
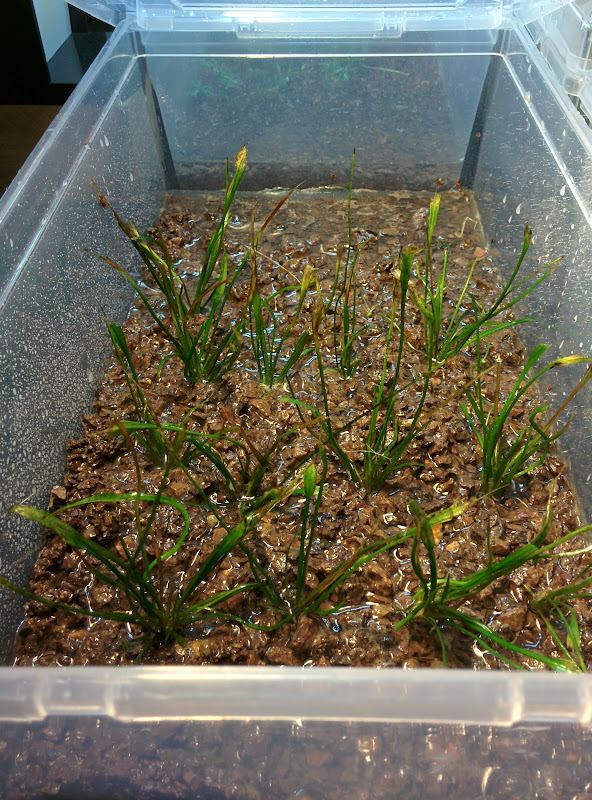
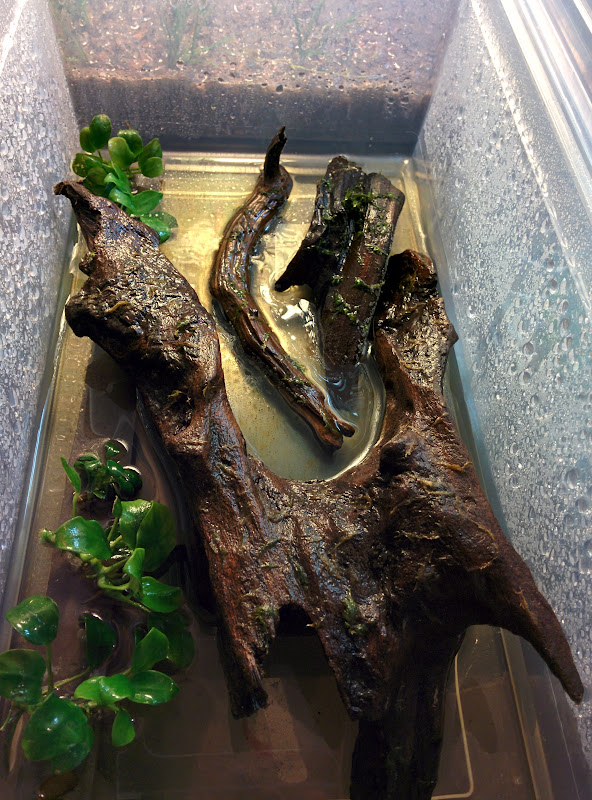
Here's what I setup today:
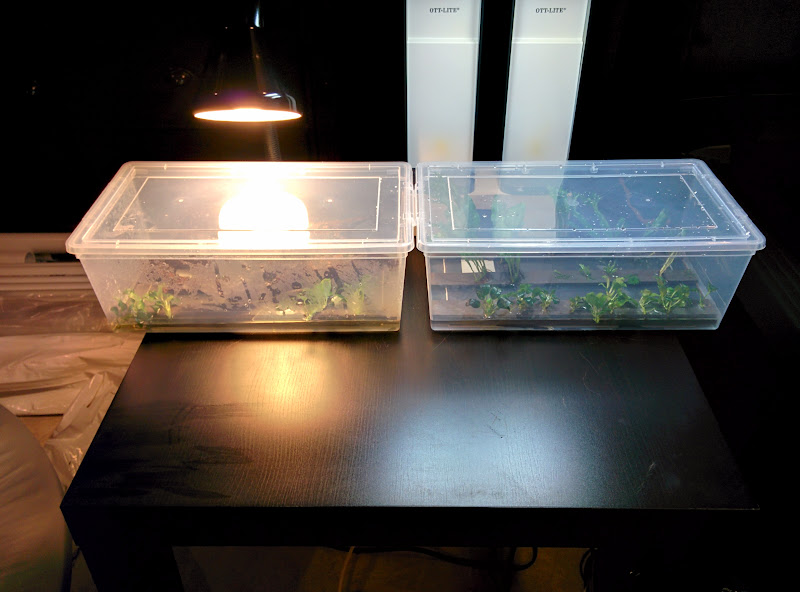
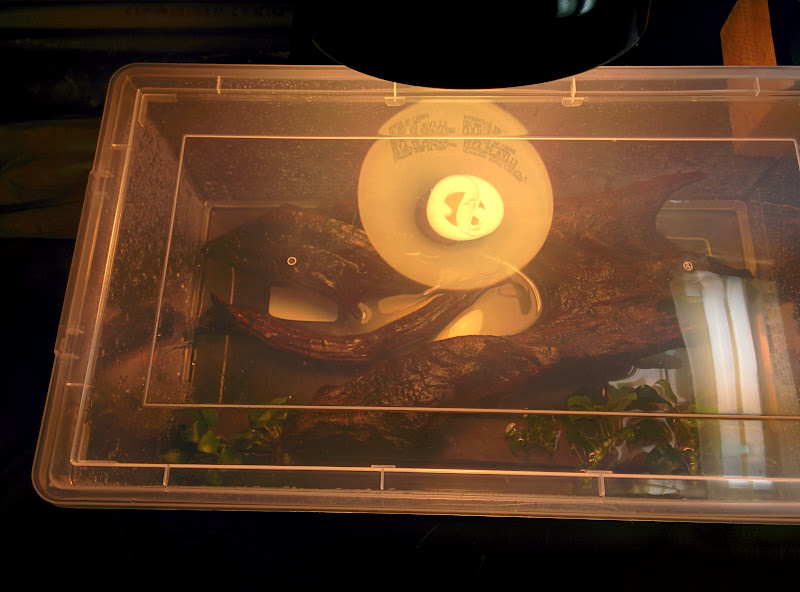
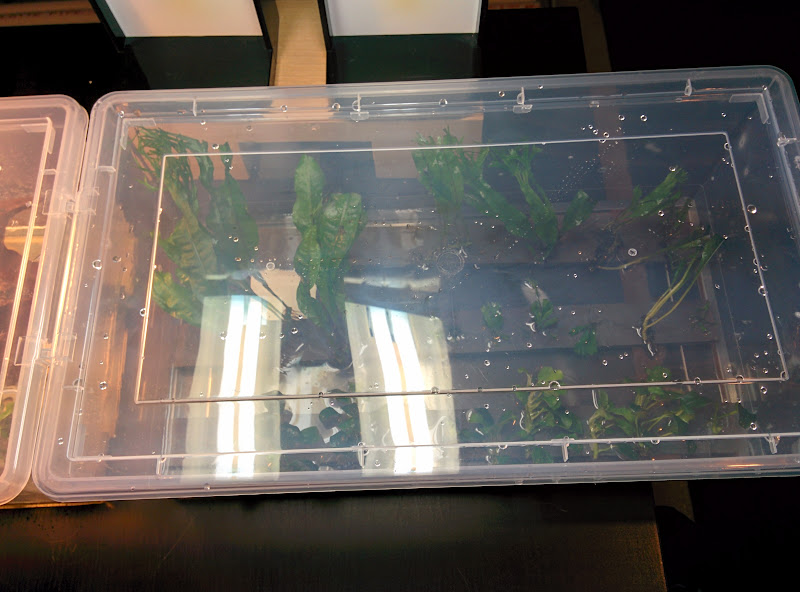
So far I have some fissidens moss, windolev java fern, and micro anubias. We'll see how this works out.
Thanks,
Harry
Here's what I setup today:
So far I have some fissidens moss, windolev java fern, and micro anubias. We'll see how this works out.
Thanks,
Harry
")