Mcfly
Aquarium Advice Regular
First... Why an evaporative cooling system? Experienced Aquarists will know that a 'chiller' for any larger aquarium is very pricey (at the time of this post, holiday prices were starting at about $375). These units are big/bulky, costly to run, and take up valuable cabinet space, space that I don't have. That doesn't mean I can't cool my water from summer heat without remortgaging. I was left with two choices, a DIY mechanical chiller, or evaporative cooling. Evaporative cooling was cheaper, and took up a LOT less space.
"Cooling" the water in your tank through evaporation is quite simple. Agitate the surface of the water, then pass air over the agitated water. I've seen some setups as simple as a table fan blowing across an open top tank. My aquarium is in the living room, and needs to look nice, so the table fan thing is out. There are other things that can be done to assist the process.
1) Remove lighting that generates heat. Incandescent bulbs burn very hot, and fluorescent ballasts generate heat also. Using LED lighting is the 'coolest' choice, and these days readily available.
2) Ventilate your tank hood. Most hoods are designed to keep fish in, and also effectively lock in heat. By ventilating the top, heat can escape as well as saturated air.
3) Agitate the surface of the tank water. Aiming a canister filter's wand slightly upward will ripple the water, so will power heads, and air bubbles breaking the surface. All will increase the evaporation rate, and cool the water more effectively.
Just doing these things could lower temps 2-3* F (or more). Keep in mind that evaporation is effected by the air around the tank. Humid air will lessen evaporation. So very humid climates may not show the same results as a dry climate.... Having said all that....
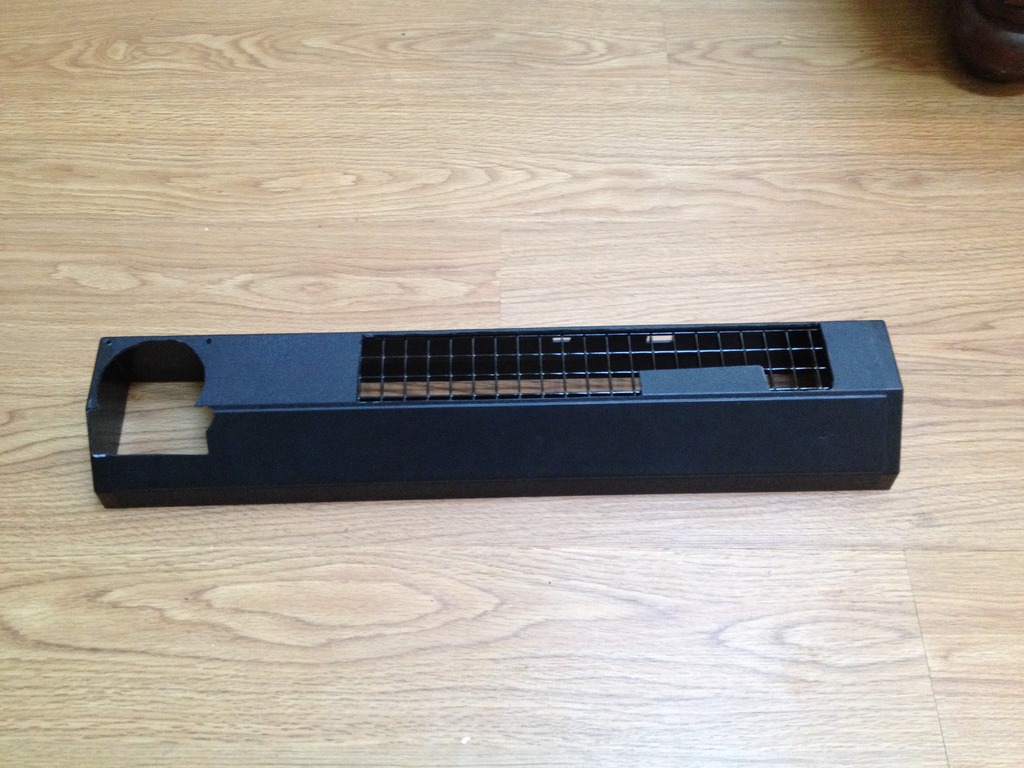
I started with a 'typical' flourescent tank hood (2x24" hoods) First, I had to eliminate existing hardware inside the fluorescent light fixtures. I cut a hole to put the 80mm fan in.

Then I cut the top out to create venting. Some drop ceiling grate to cover the hole will keep the fishys in.
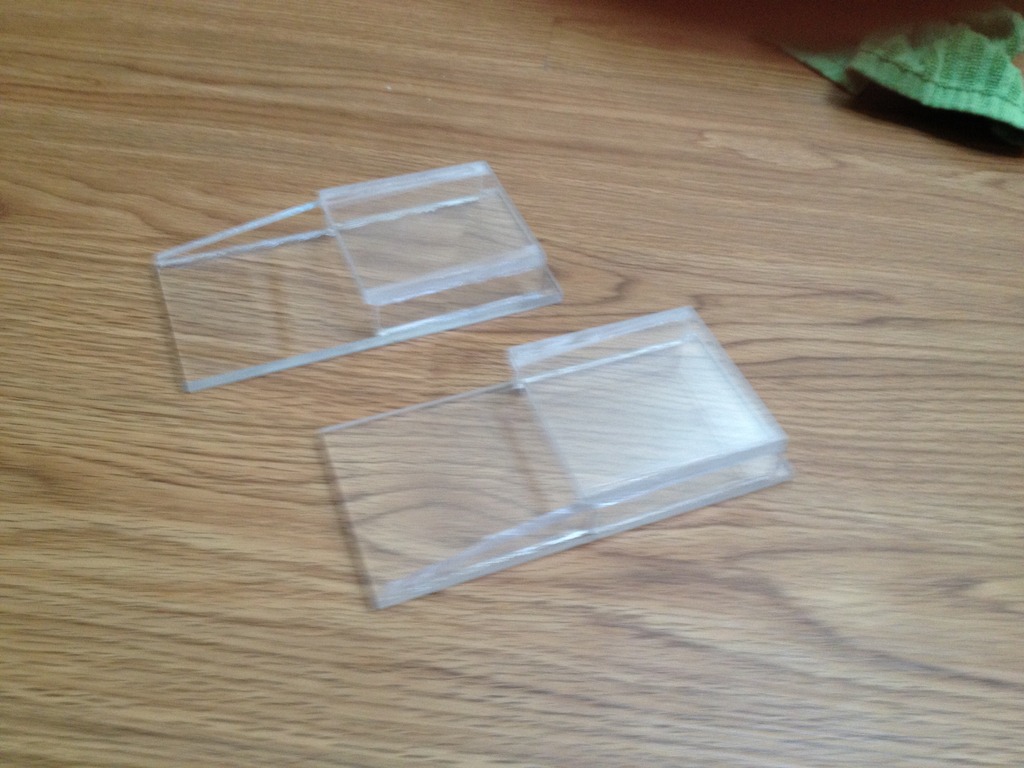
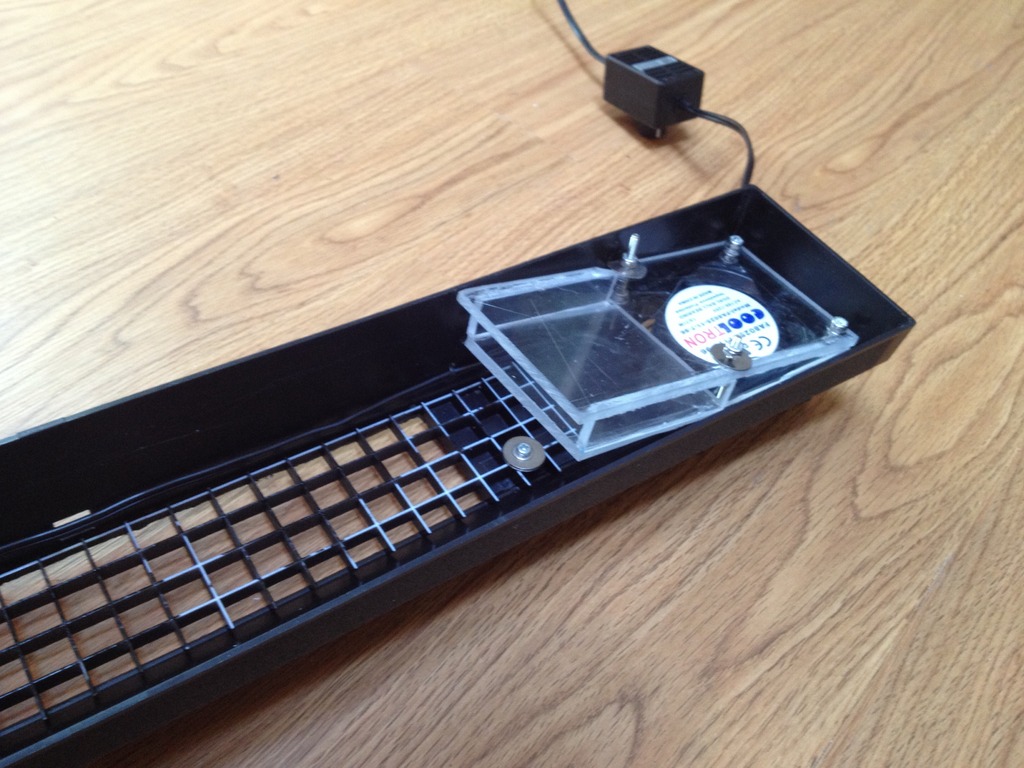
The fan would blow straight down into the water if I left it like this, so I made some ducting to direct the air across the water using polycarbonate and super glue. This duct will also protect the fans from water splashing up.
The two hoods sitting on top of the tank look much more 'finished'...
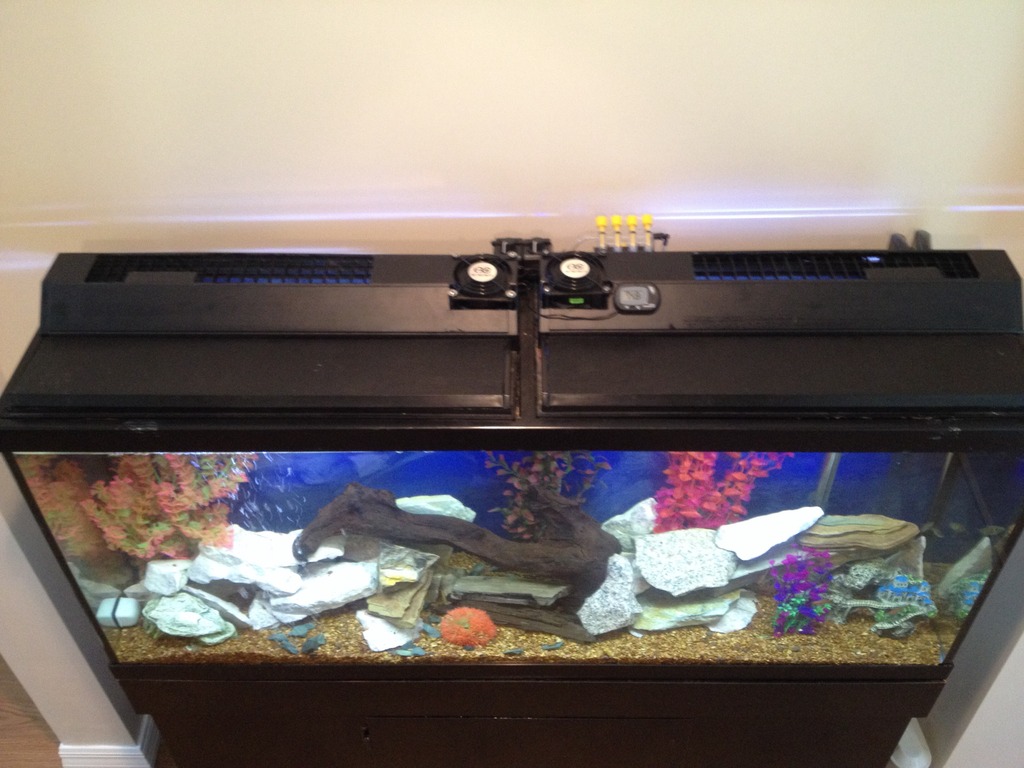
Lastly, I made a temperature control switch for the fans to turn them off at 77*F, and turn them on at 79*F. The heater set at 75*F gives the tank a 4*F variance in temps, which is pretty stable. Working like a charm so far.
As far as effectiveness goes, I've achieved 76*F with an ambient room temperature of 83*F (an uncomfortable testing day).
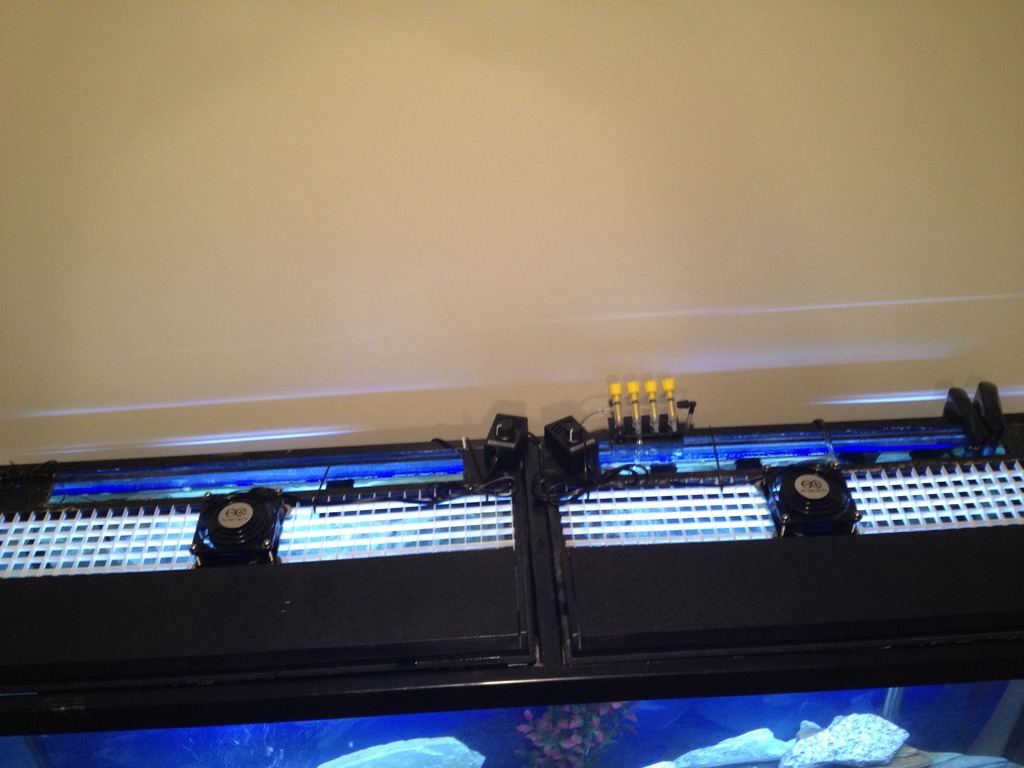
Here's a pic of the 1st version, which was canned due to water hitting the fans... A bit tacky looking to boot.
"Cooling" the water in your tank through evaporation is quite simple. Agitate the surface of the water, then pass air over the agitated water. I've seen some setups as simple as a table fan blowing across an open top tank. My aquarium is in the living room, and needs to look nice, so the table fan thing is out. There are other things that can be done to assist the process.
1) Remove lighting that generates heat. Incandescent bulbs burn very hot, and fluorescent ballasts generate heat also. Using LED lighting is the 'coolest' choice, and these days readily available.
2) Ventilate your tank hood. Most hoods are designed to keep fish in, and also effectively lock in heat. By ventilating the top, heat can escape as well as saturated air.
3) Agitate the surface of the tank water. Aiming a canister filter's wand slightly upward will ripple the water, so will power heads, and air bubbles breaking the surface. All will increase the evaporation rate, and cool the water more effectively.
Just doing these things could lower temps 2-3* F (or more). Keep in mind that evaporation is effected by the air around the tank. Humid air will lessen evaporation. So very humid climates may not show the same results as a dry climate.... Having said all that....
I started with a 'typical' flourescent tank hood (2x24" hoods) First, I had to eliminate existing hardware inside the fluorescent light fixtures. I cut a hole to put the 80mm fan in.
Then I cut the top out to create venting. Some drop ceiling grate to cover the hole will keep the fishys in.
The fan would blow straight down into the water if I left it like this, so I made some ducting to direct the air across the water using polycarbonate and super glue. This duct will also protect the fans from water splashing up.
The two hoods sitting on top of the tank look much more 'finished'...
Lastly, I made a temperature control switch for the fans to turn them off at 77*F, and turn them on at 79*F. The heater set at 75*F gives the tank a 4*F variance in temps, which is pretty stable. Working like a charm so far.
As far as effectiveness goes, I've achieved 76*F with an ambient room temperature of 83*F (an uncomfortable testing day).
Here's a pic of the 1st version, which was canned due to water hitting the fans... A bit tacky looking to boot.