Ive had a lot of comments and questions on how I built my 3D background. How do you do it? How do you stack those rocks so high? Aren’t you scared they will fall? These are just a few of the questions that I have been asked. So here is everyone’s chance to get your answers. I would also like to add you could be saving a ton of money with this project. I saved around $350.00+ making these myself.
When purchasing these online it can cost anywhere from $100-$400 maybe even more. I made the whole thing for under $50.00 and had enough supplies left to build another. By doing it yourself you can make it personal or different than you would be able to find it in the stores. Usually, if you buy one from a local fish store or online, you’ll just get one that covers the whole back. I made my first one to look like a rock mountain where it comes down in the middle of my tank. The one I’m doing now will be on the other side as a cave. The nice thing about building it this way is you can carve holes in it for hiding places or make it any shape or depth. The store bought or online backgrounds are not like this.
 After joining www.aquariumadvice.com and seeing some of the great and stunning photos I decided that I needed to do something more that would take my aquarium over and beyond at least I hoped. As I sat around the house for a few days rearranging my tank trying to figure out what I wanted to do it finally hit me; I’m going to build another 3D background but this time as an underwater cave. At that point I went online and started searching for pictures of underwater freshwater caves and finally I found one I like, so I started the process of building one.
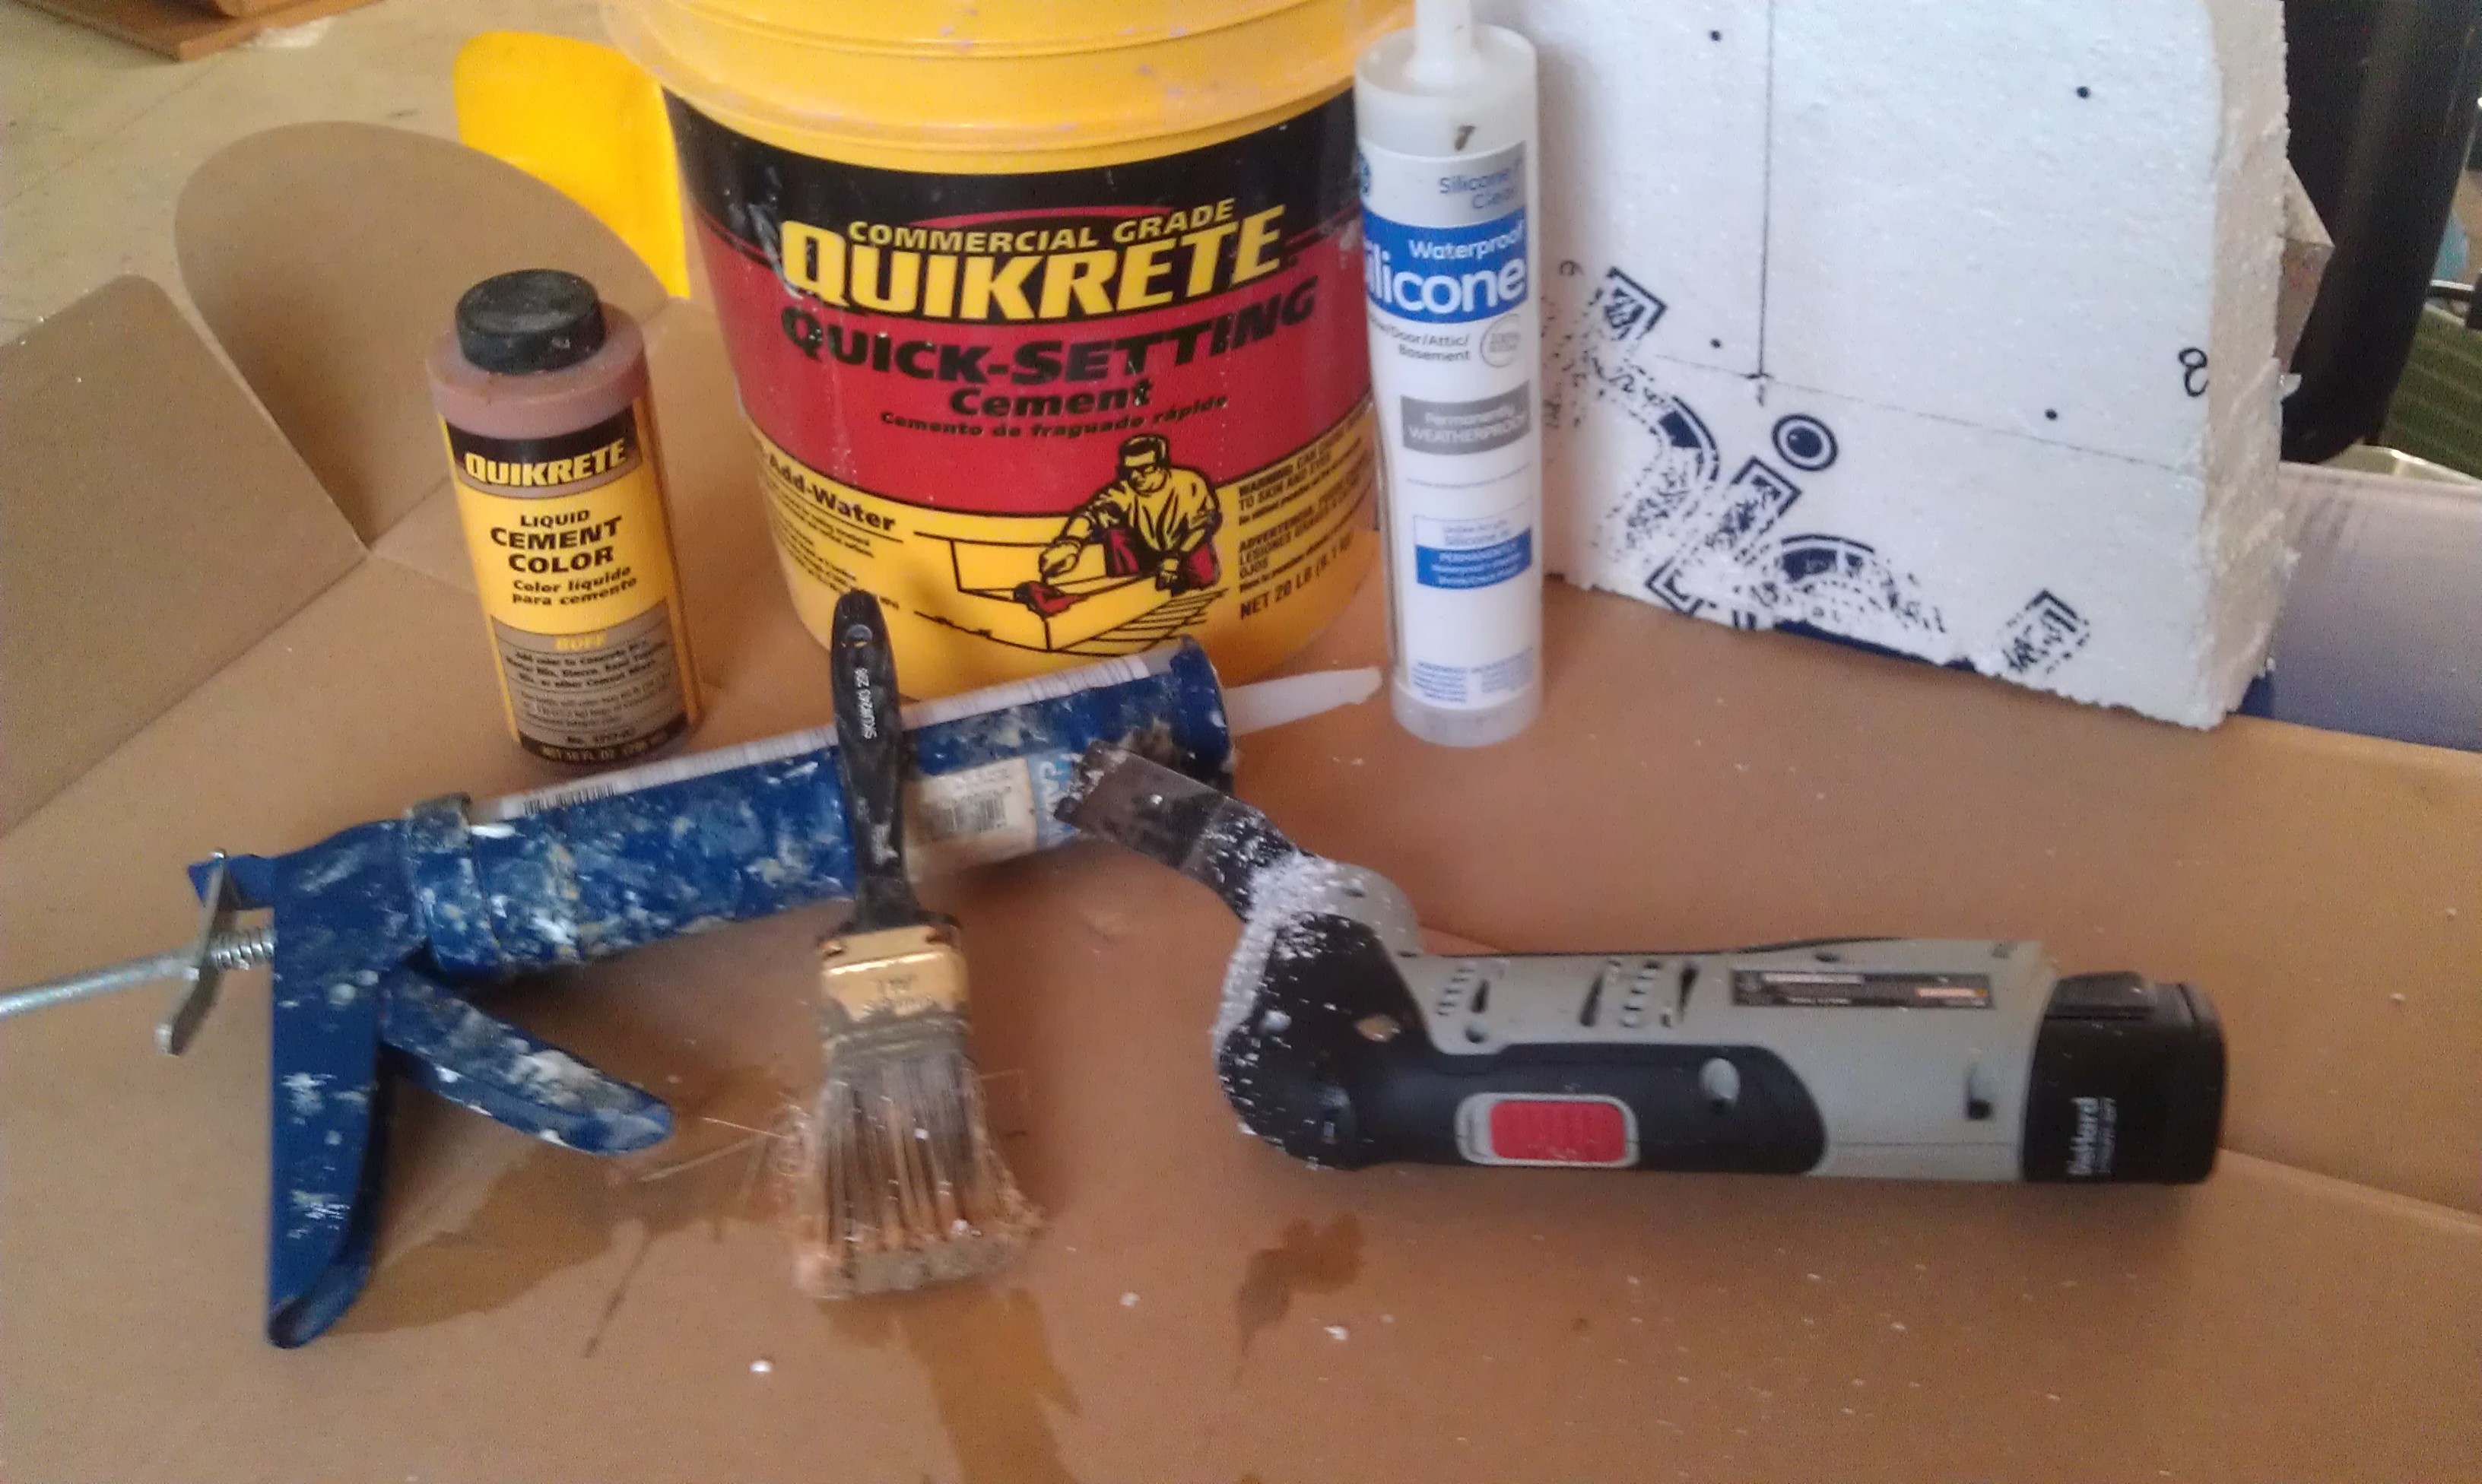
In the processes I used you will need:
– Quickrete, it comes in a yellow bucket at your local hardware store
– 2″ Styrofoam
– aquarium safe silicon (I used GE silicon 1 for windows and doors)
– a sharpie marker
– quickrete color, optional
– different sized paint brushes (I just bought the cheapest)
– Multi-tool, optional
– a Box knife
– a knife with a 5-7″ blade
– a cup of water

There are different ways to build a 3D background and I will cover two of the ones that I have used.
The build
step 1: draw out on paper the design you want to do, even if you have a picture of what it is.
step2: figure out how big you want it to look, meaning height, width and depth and then take the measurements inside your tank. For example, if you’re going to take up the entire back glass, measure it from the bottom glass to the lip on top. You will want to write these measurements down on your drawing.
step 3: Next you’ll want to get out the sharpie and Styrofoam. Draw an outline (whatever shape its going to be) of what you have on paper to the measurements you took of your aquarium on the Styrofoam. Then cut that section (shape) out. This will be the backer sheet. make sure you take into consideration your tanks top braces when cutting this piece and leave lots of wiggle room. note: if you need or want a lot of depth this is when the other process comes in handy. for directions see the bottom section, my cave build
step 4: trace the backer sheet onto another sheet of Styrofoam and draw the rocks on it to whatever size you would like them. then cut out each individual rock.
step 5: shape all the Styrofoam rocks you cut out in the last step to look like real rocks using knives, your fingers or a Multi-tool and please be safe. When I do mine, I try to make every piece of rock at 3 different thicknesses
note: when giving the rocks some detail you’ll have to make it deep because when you cover it with quickrete it will fill part of it in and will not be as pronounced.
 step 6: silicon each rock where you want it on the backer sheet. Follow the directions on the back of the silicone for drying time.
step 7: mix up some of the quickrete and if you are using color do it now to get the hang of it. Follow the directions on those packages as well.
step 8: Paint your Styrofoam rocks, remember not to cover the areas that will be siliconed to the glass
note: when I did mine I mixed the color and quickrete and dipped the brush in the color to add in places. The color will show better if done this way.
step 9: Wait until fully dry then repeat steps 7 and 8 two or three more times.
note : you can get an aquarium safe epoxy to cover the entire thing such as loctite marine epoxy but I didn’t do it and I have had no problems.

installing
step 1: cover all the glass with something, such as a blanket or towel so you don’t scratch it.
step 2: put it all in to make sure it fits
step 3: put silicon all over the parts that will touch the glass. Seal all around it and add sand to if it you want to try to make it blend in with the things you already have in your tank.
note: do not be shy with the silicon. Styrofoam floats so you’ll need a lot to hold it down. if you think you are going to need two tubes of silicone then I would get four.
step 4: Double check that you didn’t chip the concrete anywhere because this is the time to fix it.
step 5: wait at least 24 hours for it to dry before filling the tank.
my cave build
when I built my cave, in a way, I did both options. I have never seen it done both ways before; i have only seen it done one way or the other.
step 1: figure out how highth, width & depth
step 2: cut the styrofoam to how long and tall and as many pieces you need to cut, to get the thickness you want for depth.
step 3: silicon all pieces together and wait to dry depending on the directions on the silicone package.
step 4: carve it down to the angles and depth you want in each spot
step 5: carve rocks into the pieces
note: this is where I did both types. I carved rocks and made some rocks and siliconed them on
install this one the same way you would the other build.
