Fort's 12 Gallon Long Rimless Reef Tank

The friendliest place on the web for anyone with an interest in aquariums or fish keeping!
If you have answers, please help by responding to the unanswered posts.
never under stood the wave things
they look awesome but a bit rich for my blood
so I'll just sit back and enjoy yours lol on your future video's
can't wait to see it with coral
bad enough I just spent almost $700 on stuff I needed for my sps build and still have a ways to go
and to top it off I have surgery on mon to cut a lump out of my neck , bad part is they think my cancer is coming back
so all the goodies I just ordered just may have to sit a little while
just hope not to long
 
The tanks coming together nicely fort.

Good luck with your surgery seaweed
 
Looks great, as usual! You didn't plan on a wave pool?? LOL. Lured me to the SW side with the title, had to check you didn't tear down the planted 12g. ;)

Edit: Do yourself a favor and get a good soldering iron and appropriate tips. The right tools make all the difference. I'm spoiled with awesome setups at work. It really makes a huge difference in quality.
 
Last edited:
Thanks Steve. I just picked up a new tip today and I have a nice soldering station. If there is an issue I think it will be user error :)

This is formerly the 12l planted. I am officially on hiatus from FW.
 
fort384 said:
This is formerly the 12l planted. I am officially on hiatus from FW.

3/17/13 Never Forget.

Joking aside, good luck with the tank! Sounds like you got a plan, and there's nothing more dangerous than that!
 
Ok, LEDs arrived.

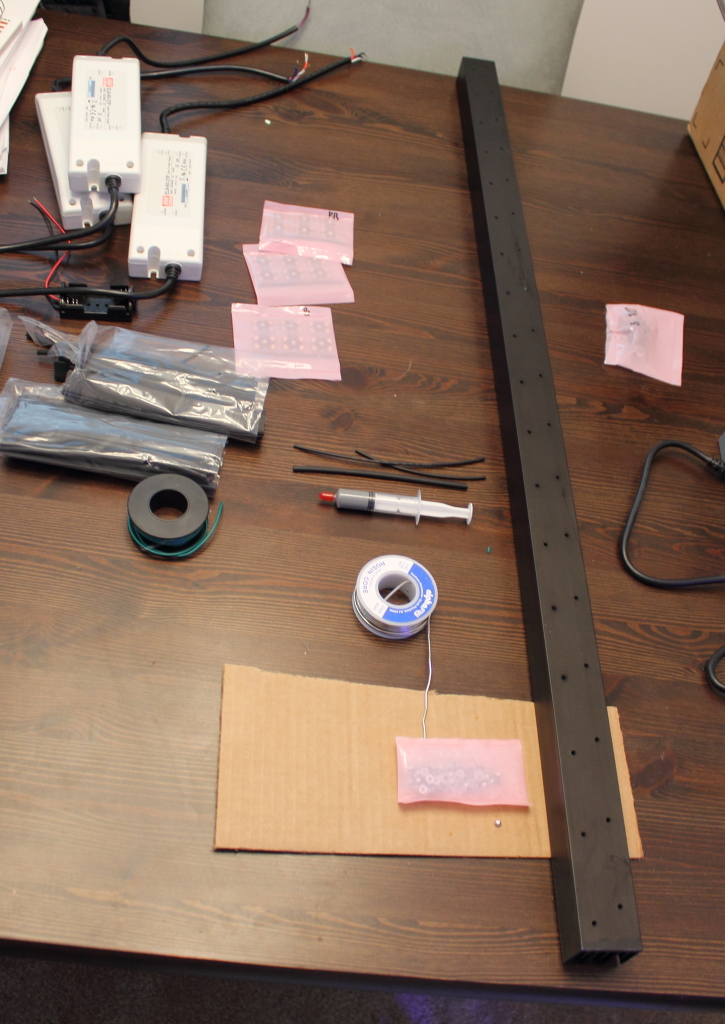
Here is the tapped heat sink:
img_2399025_0_2b0e6546c88a2adbe49edb635cbd56ee.jpg


And with all the LED stars mounted:
img_2399025_1_70f507a95e630246b0d16f5aeafd1990.jpg


And the 3 strings wired up, with lenses installed:
img_2399025_2_2f24f447c56bde6400dc7d420d461721.jpg


I got the SVR2's all cranked down, and ready to hook the drivers up, but the arduino controller has yet to arrive, so I can't put power to anything at this point. Also will be waiting awhile yet to get the parts to make my frame to hold the light over the tank.
 
Fort, I'm always jealous of how clean your builds are. Keep us posted on your mp10, I've read how much kick they have and still want some of my own at some point.
 
It is doing great. I run 2 of them on the 57 too. Would have trouble going with a different brand.
 
Thanks Allen, with your tips and advice, it was a breeze. I hope the dang controller gets here early next week. It is going to be fun looking at this thing without power to it for the next several days.

I still need to get power cords for the drivers... just radioshack I presume?
 
fort384 said:
I still need to get power cords for the drivers... just radioshack I presume?

Is it hardwired or plug in like a PC? If it's hardwired, any old plug could be cut up as long as it has a ground prong. If you want to buy ones new they call them suicide cords, just pre-stripped ends and a 3 prong plug on the other end. I'd think home depot or Lowes would be cheaper than radio shack, at least in my area.
 
Cool. Off to HD in the morning. They are just bare wires. No plug on the other end. I have some good beefy shrink sleeves to throw on them was well. But I can't connect them anyway until the stand is complete since I want to feed the wire into the t channel before adding the plug.
 
Too bad you're not local, I could give you as many as you'd need in your lifetime. Don't think it'd be practical to ship either.

The solder job looks great! Very clean looking. Looking forward to seeing it powered up.
 
We are only talking about 1.3 amps max per driver so this can be a pretty light duty cord right?


Anyone ever just wire all drivers to the same cord? Would that make sense?
 
We are only talking about 1.3 amps max per driver so this can be a pretty light duty cord right?


Anyone ever just wire all drivers to the same cord? Would that make sense?

I used old power cords from a computer for mine. I had several so it was easy.
 
Very clean build, I'm following along. I like the glass top stand, you can see the sandbed from underneath lol!
 
Ok power cords are taken care of. I don't know what I was thinkin- the led wires need to go through the stand but not the power cords. So they are ready to go.

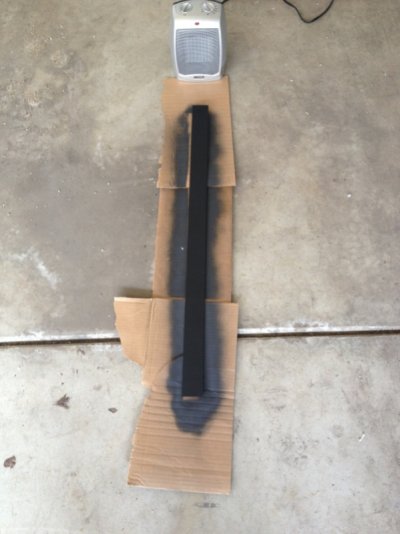
I am just going to epoxy a piece of stock aluminum to the front of the heat sink to shield the LEDs from the room. I painted it flat black and it is drying now. Should match the fixture nicely and hide the wiring job.
 

Attachments

  • image-1878576173.jpg
    image-1878576173.jpg
    122.7 KB · Views: 137
Back
Top Bottom