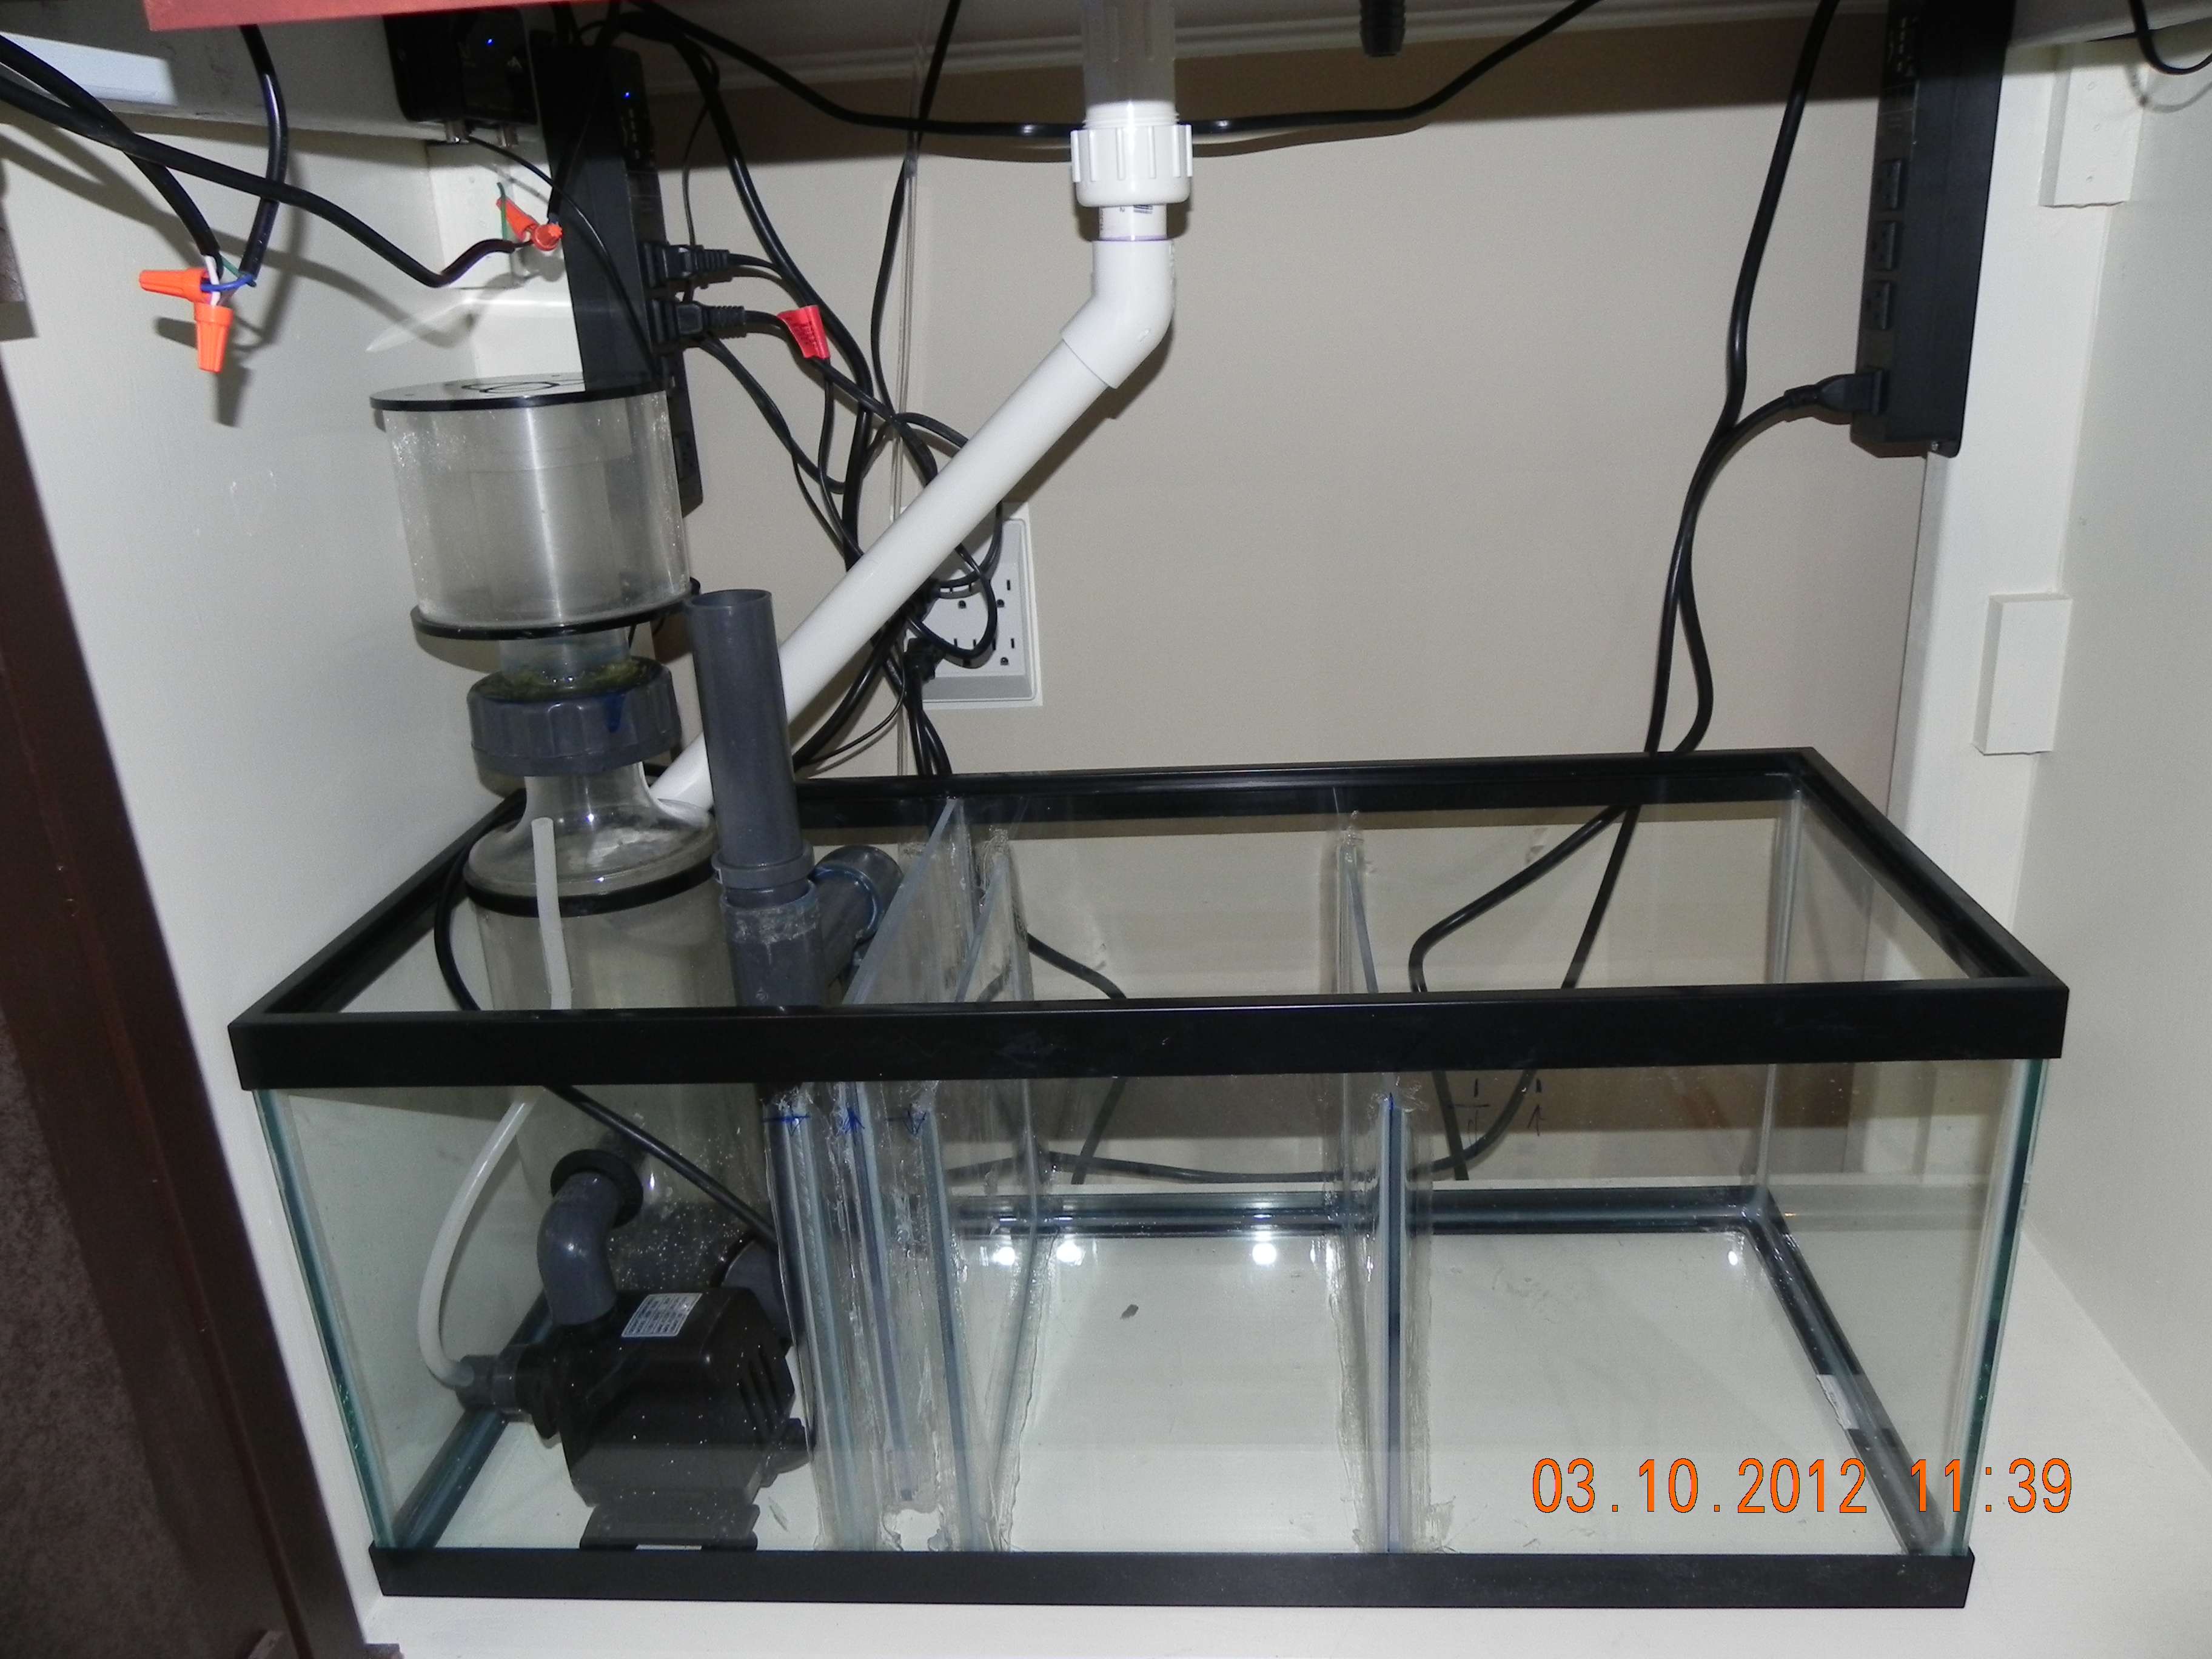
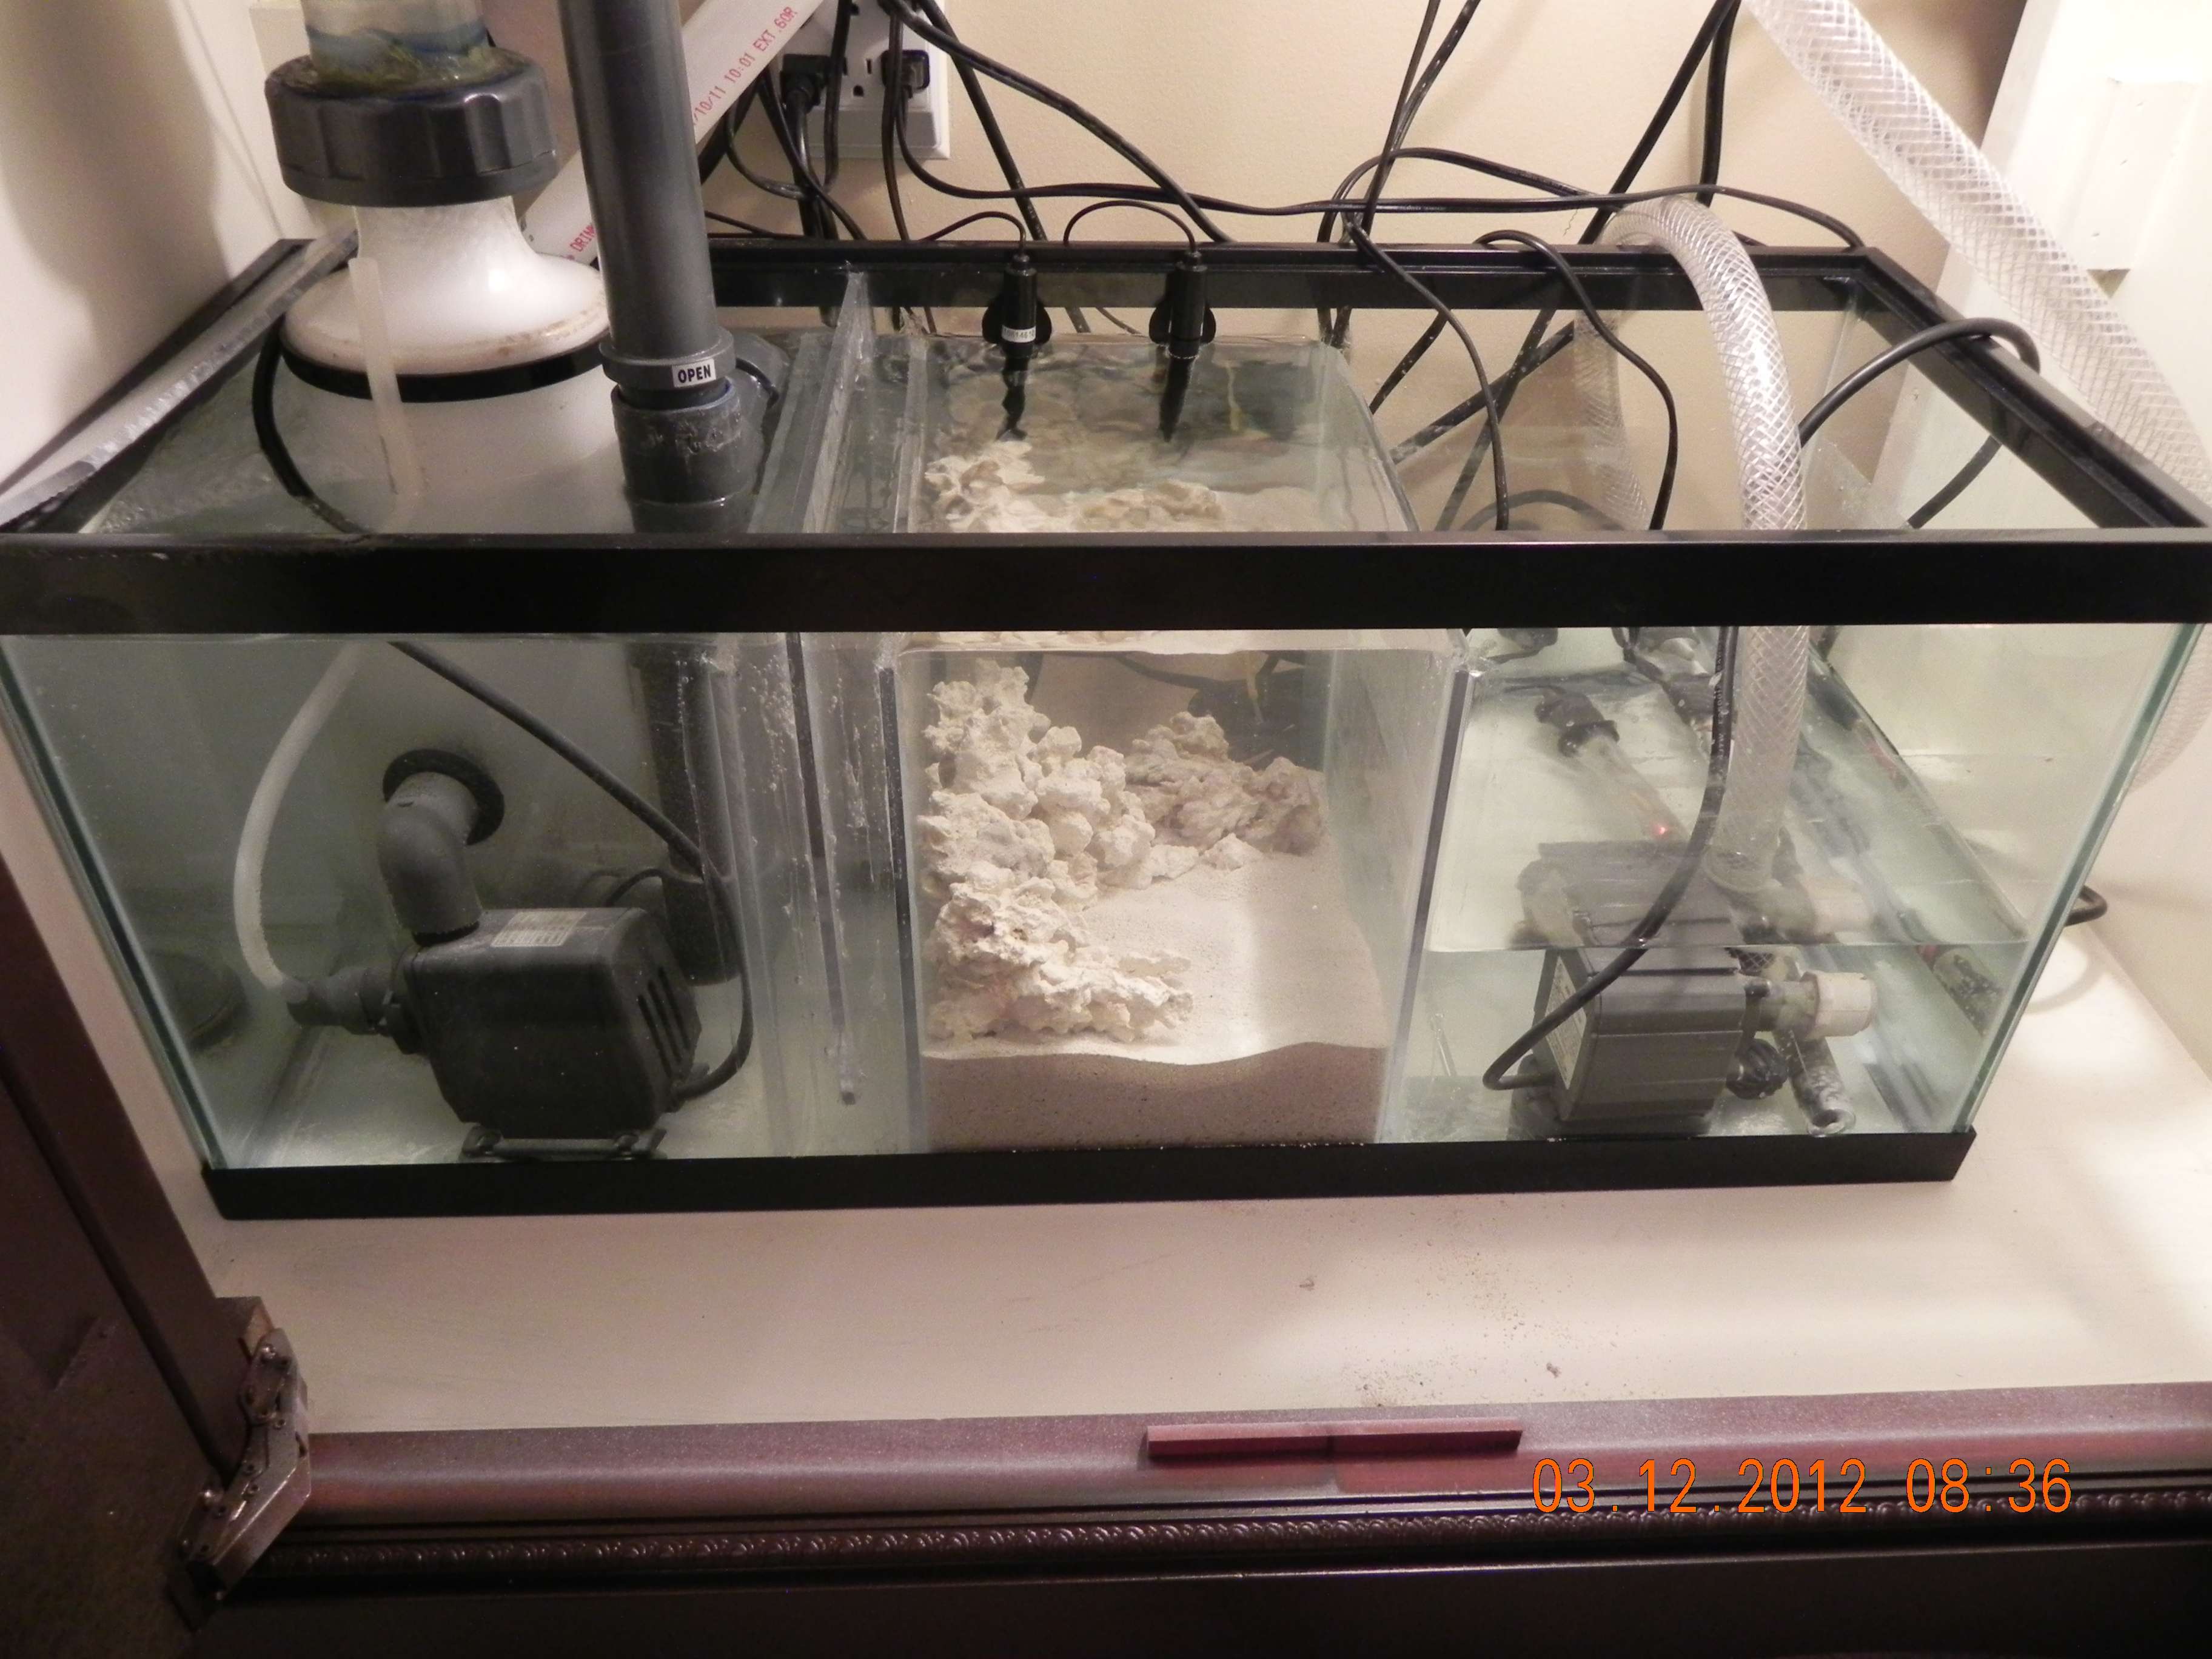
1st 10 gallon sump

The friendliest place on the web for anyone with an interest in aquariums or fish keeping!
If you have answers, please help by responding to the unanswered posts.

paul87

Aquarium Advice Addict
Joined
May 1, 2012
Messages
4,269
Location
Tennessee
So I'm making my first sump out of an extra 10 gallon I have laying around. My plans is to put both my hob Skinner and my hob filter on it. Here's my plans. Look OK?

ForumRunner_20121006_133957.jpg
 
Any reason for having 3 chambers to it? There isn't alot of room in a 10 to work with, I would just have 2 chambers to provide any additional space you might need in the future unless you are planning on having a very tiny fuge.

And you have the bubble trap in the wrong side. You want it going into your return chamber to avoid microbubbles getting into your DT.
 
OK gotcha. The reason I made the first chamber seperate was so I could have the water level high do my hob Skimmer don't splash water. I would make the water level in the entire fuge high but I'm worried if the power goes out how much water will drain into the sump and maybe flood.
 
How much water drains into your sump depends on the overflow and the output pipes. For example, if they are faced all the way down there will be a lot going into the sump. If they are pointed all the way towards the surface, then not much will go to the sump. I don't know how your plumbing is set up, but that's how it is for me and other people. Test the level out and if the sump looks like it's going to overflow put the pump back on and adjust whatever that needs to be and try it again.
 
Is not set up yet. I haven't even drilled the hole yet. I just ordered a 1 3/4" diamond hole bit and 2" bulkhead. Its an established tank so in still planning on how to drill it.
 
Will a 264 gph pump with 4.6 ft. Head lift be good for my sump return? I can get a REALLY good deal on one.
 
So 264 gph should be good for a 35 gallon tank? The next size up I can get a good deal on is 600 gph.
 
So I just finished siliconing my sump. Got the glass cut yesterday and they cut it a hair to wide so I angled them a bit. No a big deal I don't believe. All the baffle high measurements are spot on. I'm still thinking of drilling the sump too for the intake. I ordered 2 bulkheads invade I do decide too. Here is a pic of it. Tell me how I did and what I did wrong! Lol

ForumRunner_20121007_093835.jpg
 
Looks pretty good.

What is the flow direction? Is the far right your return section? If so you will have to keep the water level kind of low in that section to allow for water to back-flush when your pump is off.

Here is a pic of my sump. Mine is a 20long so a little different but you get the idea

004urz.jpg


Here is a pic of it running with water in it
005spt.jpg
 
Water goes in on the right and goes out on the left. The bubble trap is right before the return pump. I'd like to have a 20! Bur the 10 was Laying around and fits nicely under my 35 hex flat back.
 
Now I need some plumbing plans. The drain pipe will be 1" PVC and the return pipe will be 3/4" PVC. I know I need a ball valve and check valve on the return. What else do I need? I'm gonna make a stand pipe with elbows for the drain pipe.
 
I water tested the sump today. None of the baffles leaked! ....now if the rest of it goes this smoothly.
 
paul87 said:
Now I need some plumbing plans. The drain pipe will be 1" PVC and the return pipe will be 3/4" PVC. I know I need a ball valve and check valve on the return. What else do I need? I'm gonna make a stand pipe with elbows for the drain pipe.

I wouldn't count on the check valve, all it takes is one little piece of debris or a little build up in the return line and that check valve will fail and it's more likely to do so slow and sneaky so that it's harder to check for
 
So what should I do? Just make a hang over return to the tank instead of drilling it?
 
I'm sorry for asking this dumb question but what is a bubble trap
 
Its a trap for the water to flow through to get rid of the micro bubbles so they don't get into your display tank. Its the 3 pieces of glad close together on my pics above.
 
Back
Top Bottom