Bageezus's 125 Gallon Tank Build

The friendliest place on the web for anyone with an interest in aquariums or fish keeping!
If you have answers, please help by responding to the unanswered posts.

Bageezus

Aquarium Advice Regular
Joined
Jul 14, 2013
Messages
51
Location
Wheatfield IN
So I just wanted to give some information on my current build. I bought a 125G Reef Ready tank for my new freshwater tank. The drain is 1" and the return is 3/4". They were capped and the chambers were filled to test my bulkheads for leaks. All good!
 

Attachments

  • 998817_10200293693800683_892766186_n.jpg
    998817_10200293693800683_892766186_n.jpg
    44.7 KB · Views: 98
  • 1000486_10200293693840684_1301687432_n.jpg
    1000486_10200293693840684_1301687432_n.jpg
    44.8 KB · Views: 99
Configuring and gluing my plumbing.

So I set my plumbing in place and test fit everything. I added these valves with barbs to hook directly up to my canister filters. The left side has an addition wye and valve for water changes. Everything was glued in place and ready for water testing.
 

Attachments

  • 1016916_10200293694800708_2090949724_n.jpg
    1016916_10200293694800708_2090949724_n.jpg
    92 KB · Views: 86
  • 968833_10200293697720781_779479567_n.jpg
    968833_10200293697720781_779479567_n.jpg
    36.5 KB · Views: 84
  • 1069900_10200293694960712_615292725_n.jpg
    1069900_10200293694960712_615292725_n.jpg
    38.6 KB · Views: 73
Filling my back overflows and testing for leaks.

After the plumbing set, I filled both chambers with water and let them sit for a few hours to make sure I had no leaks. The valves are leak free and work great. I can fill a 5 gallon bucket with the left valve in about 10 seconds. This should make my water changed much easier.
 

Attachments

  • 996497_10200293695960737_912807739_n.jpg
    996497_10200293695960737_912807739_n.jpg
    36.8 KB · Views: 96
  • 993626_10200293698240794_974297395_n.jpg
    993626_10200293698240794_974297395_n.jpg
    54.7 KB · Views: 83
Building my intake and return lines.

I then picked up a few more pvc fittings, including two 1" repair fittings. These will slide up and down allowing me to pull the 1" drain above my water level and stop any flow. This also lets me fine tune my overflows when the canister is running. This way if I ever had a leak in a canister filter, I may only see a few gallons of water on my floor and not the entire back chamber of water. Just a little extra security.
 

Attachments

  • 1003091_10200293698720806_1483014419_n.jpg
    1003091_10200293698720806_1483014419_n.jpg
    70.8 KB · Views: 80
  • 994818_10200293699320821_821620421_n.jpg
    994818_10200293699320821_821620421_n.jpg
    38.9 KB · Views: 82
  • 969512_10200293699960837_1310402023_n.jpg
    969512_10200293699960837_1310402023_n.jpg
    83.2 KB · Views: 85
Adding 100 pounds of sand!

So I decided to use sand in my new tank. I went to Menards and picked up two 50lb bags of pool filter sand. I have used this sand before and my buddy who owns a pet shop uses this in almost all of his tanks. I cleaned the sand in a 5 gallon bucket. It took around 20 minutes a bag to get the sand clean. So I added 100lbs to the tank and it turned out to be perfect.
 

Attachments

  • 1012807_10200294373657679_1202129177_n.jpg
    1012807_10200294373657679_1202129177_n.jpg
    48 KB · Views: 103
  • 1013594_10200294373697680_1780146582_n.jpg
    1013594_10200294373697680_1780146582_n.jpg
    44.1 KB · Views: 104
  • 1069928_10200294373857684_2072398040_n.jpg
    1069928_10200294373857684_2072398040_n.jpg
    99.7 KB · Views: 94
Time to fill the tank.

I started filling the tank. I had it filled in roughly 30 mins. I used tap water with a carbon inline filter to help. I added stress coat and a few wave makers. I just ordered an Aquatop cv400uv canister filter. This is one of the two I will be using. I am not going to be looking into decorating the tank and deciding on weather to go with live plants or plastic plants. I know with live plants I will be upgrading my lights. I do not want to get into Co2 injection, so not sure about plants yet. As for fish... Either larger oddball fish or smaller community fish. I would love your guys opinions on the build so far and stocking ideas. Thanks. I will continue to update as soon as my canister filter comes in.
 

Attachments

  • 969333_10200294374937711_2106847220_n.jpg
    969333_10200294374937711_2106847220_n.jpg
    50.1 KB · Views: 94
  • 580238_10200294375217718_1286837350_n.jpg
    580238_10200294375217718_1286837350_n.jpg
    46.9 KB · Views: 88
  • 1043979_10200294386097990_291374018_n.jpg
    1043979_10200294386097990_291374018_n.jpg
    38 KB · Views: 94
  • 1069407_10200294386177992_1183413166_n.jpg
    1069407_10200294386177992_1183413166_n.jpg
    51.4 KB · Views: 89
I think you should do a community type tank....but it would be cool to get a ghost knife or some type of weird fish like that to lolol...but I just think you would have a bigger selection of fish if you went with a community
 
Nice job! Will be fun to watch it progress. I really like community tanks, my new 55g just has 2 Koi Angels & 6 Golden Zebra Loaches.
Would def do low-med lite plants, really adds to the tank IMO.
 
Great build so far -- looking forward to more updates! Personally I'm fond of peaceful community tanks. You could do some large schools of rainbows, Congo tetras, cories and also some dwarf cichlids like German blue rams and apistos. You could also throw in an oddball like a leopard ctenopoma too. If you don't want to get into co2 you could still do a lowtech planted tank with low maintenance plants. Another fun option if you want to skip the plants is a African cichlid tank with a big rock hardscape.
 
Thanks! I def keep leaning towards a community tank. I have looked into a African tank also. Good thing about the African tank is cheep decor. I can get some nice slate rock from a local nursery for a few bucks a pound. I also have a friend that breeds cichlids so that would make things a little easier too. I just checked my tracking information and my new canister filter should be arriving on Thursday.
 
If I had that tank I'd do a cichlids :) but then again I would love a huge heavily planted community. Sooo many options :) I'll subscribe since I want to see what you choose
 
Wow, they have some amazing tanks on there site. I can't imagine the amount of work put into these. I keep leaning towards a planted tank. Maybe I should look into some CO2 options. I think the first thing I need to start looking for is some large driftwood.
 
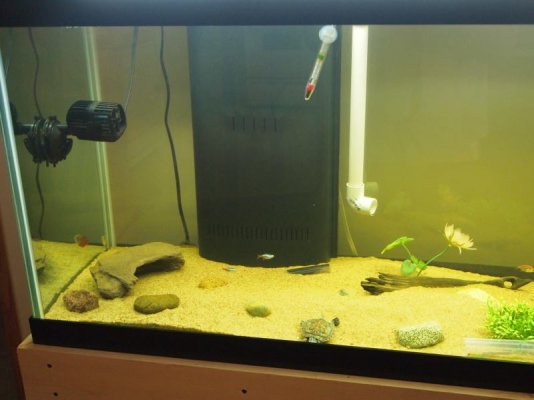
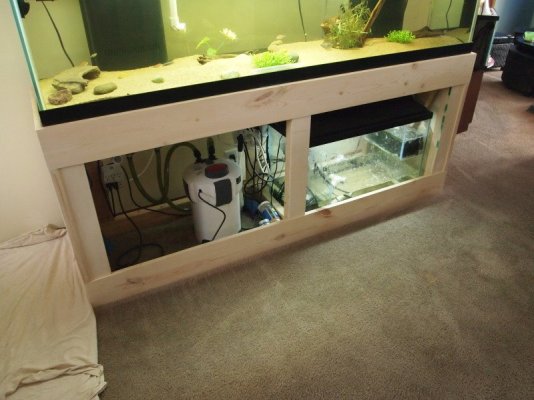
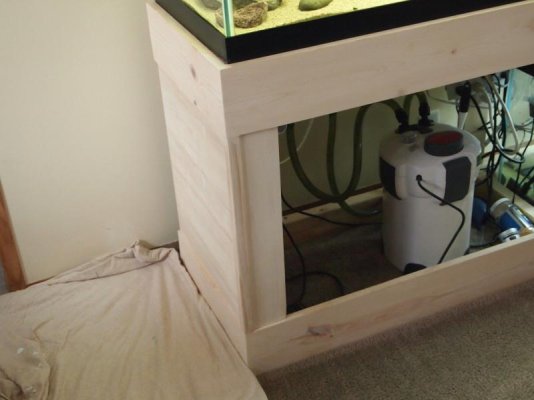
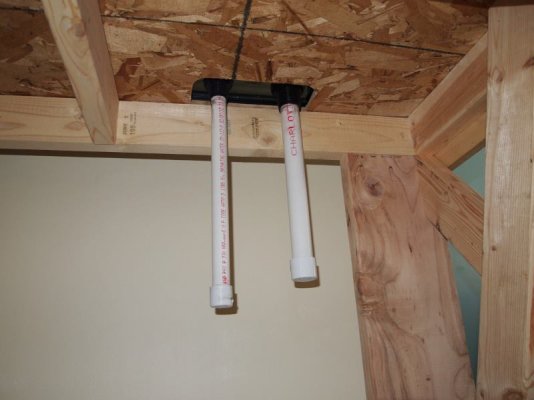
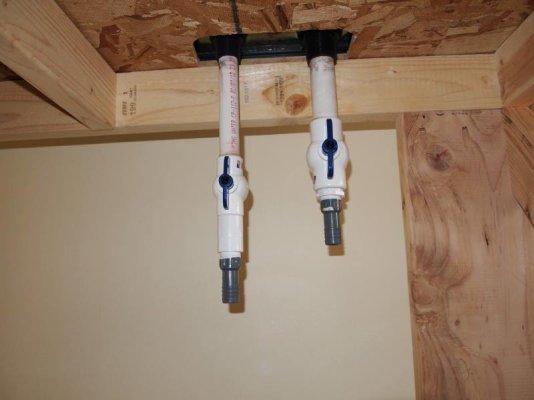
Canister filter installed.

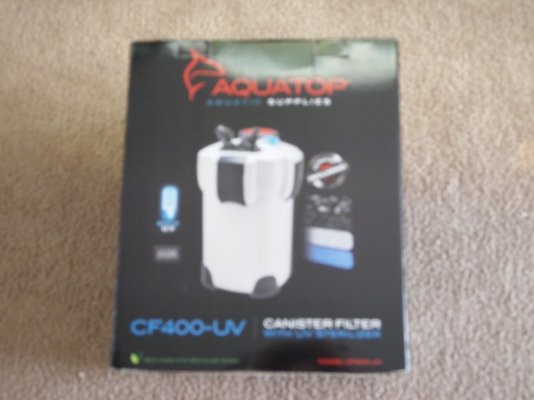
So I got my canister filter in a few days ago and got it installed. I have to say it works great. I have worked with Aquatop canister filters before, but have never owned one yet. I got it from my buddies fish shop for $99.00. I will be eventually be adding another one to my other overflow chamber.

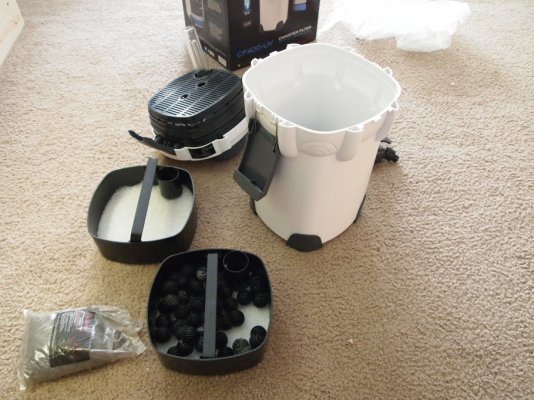
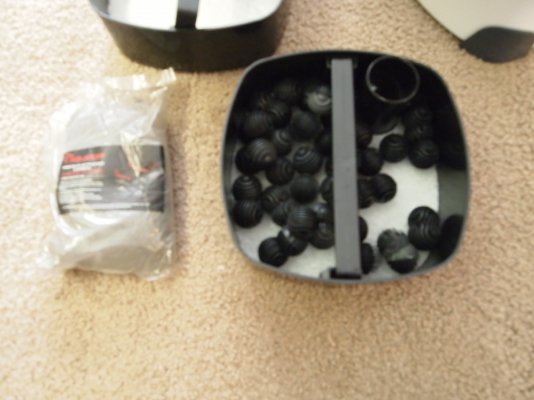
I got the filter opened up and rinsed out. These filters usually don't come with media, but for some reason mine came with bioballs and a nice big bag of carbon. I plan on ordering some ceramic rings and another bag of bio balls. This canister filter has tons for different types of media. I plan on running carbon, purigen, ceramic rings, and bioballs.

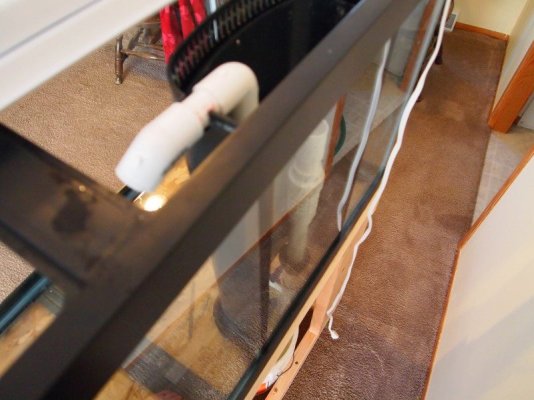
Of coarse the hoses measured different than what the company had told me, but I made them work until I can get to the nearest Menards. I had no problems priming the unit with the water filling the unit as soon as I opened the valves.

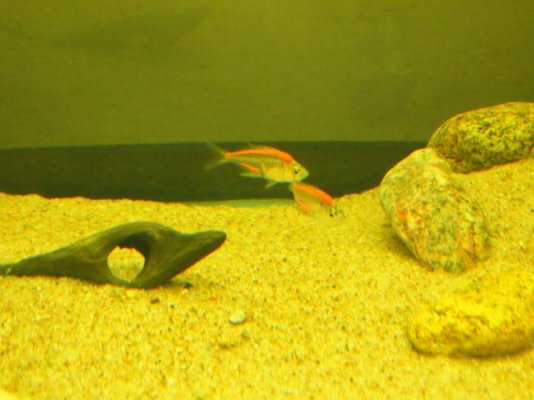
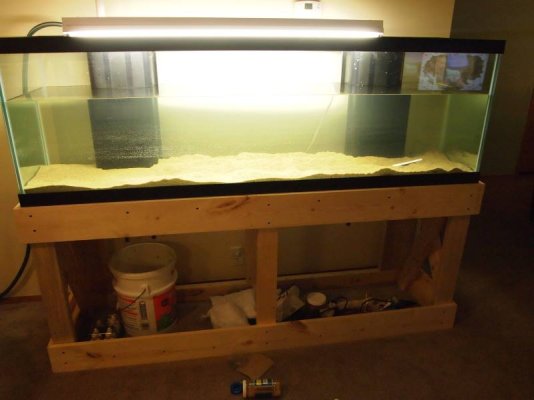
So I have had the unit running for a few days and I have to say its doing a really nice job. The little haze I had from filling the tank and kicking a little sand around is gone. The unit does have a built in 9W uv. I am sure the water is moving a little to quick to really clean the water with uv, but In the case of a outbreak, I could always slow the flow going out of the unit to slow the water down.

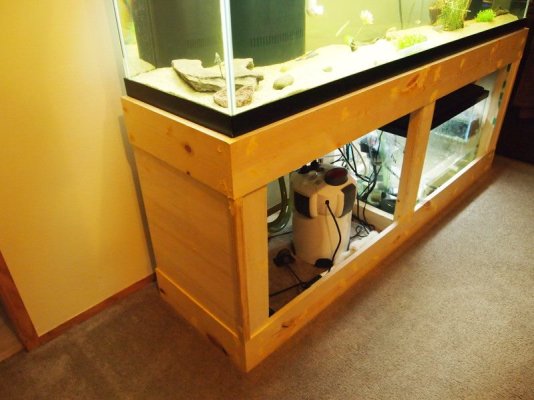
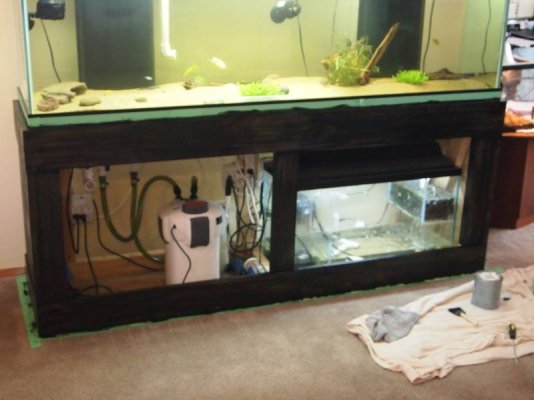
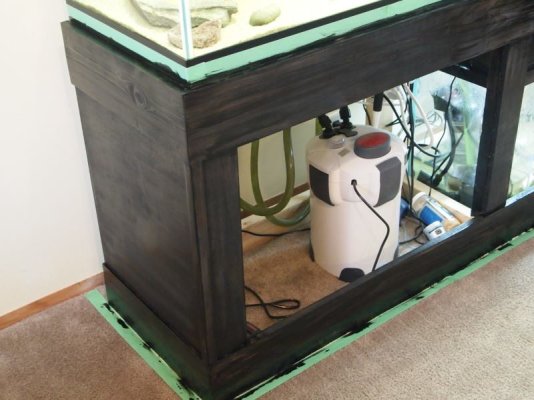
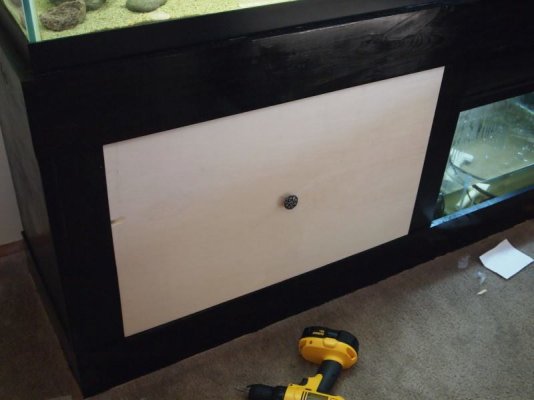
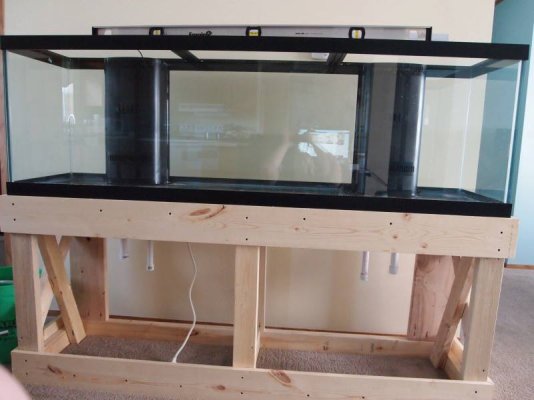
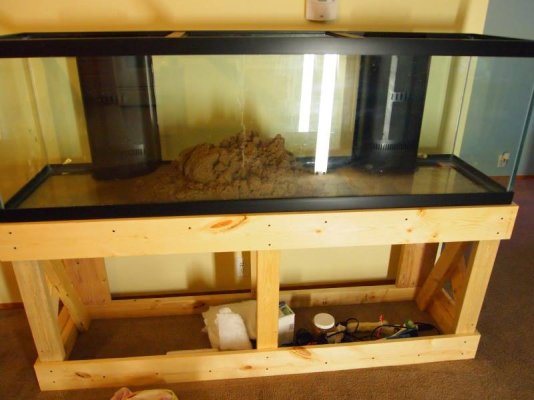
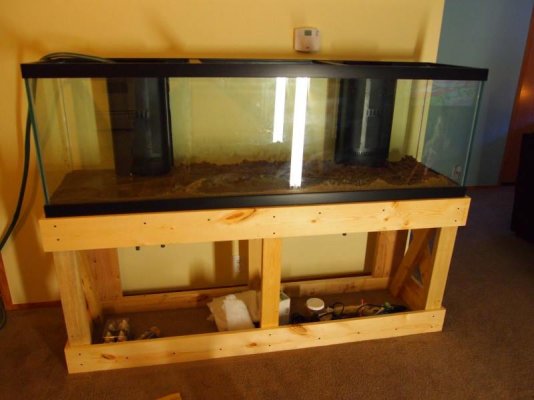
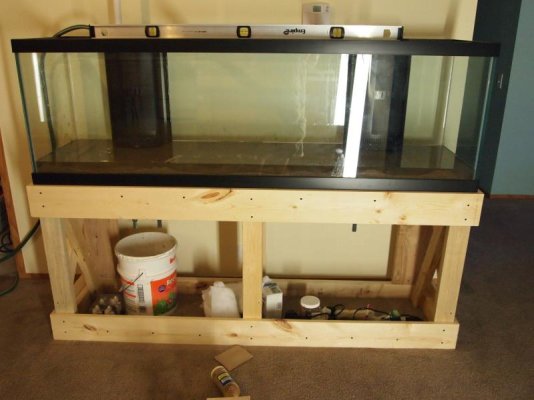
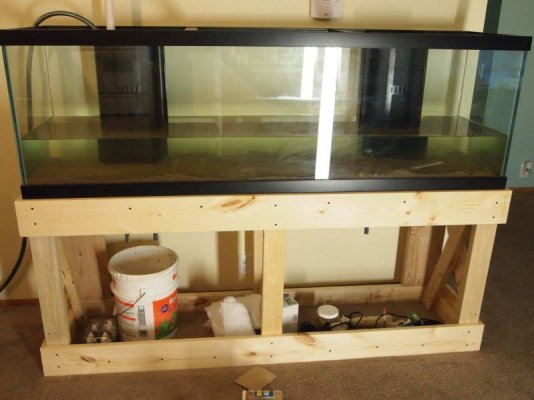
I think the next thing I am going to grab is a nice long shop power strip. Something I can mount on the stand and nicely hide the majority of my wires. My wife and I are still trying to figure out how we want to finish the stand and hood.
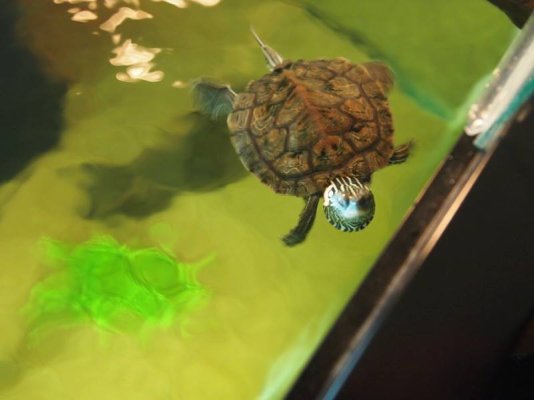
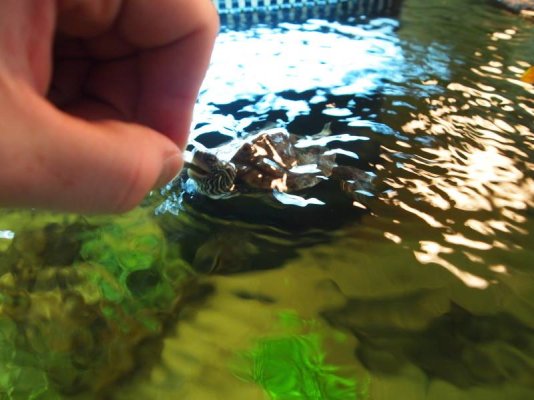
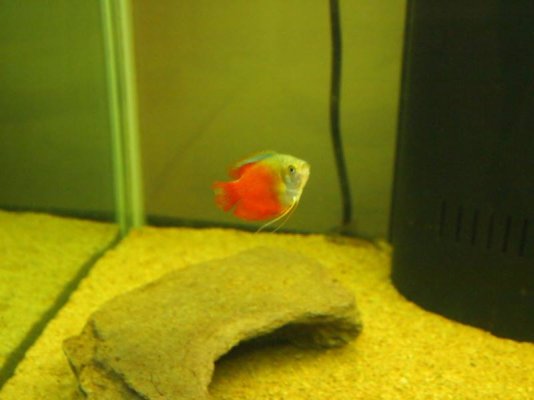
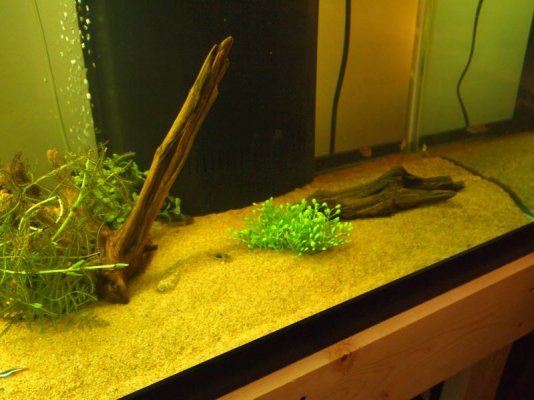
 

Attachments

  • P7181559.jpg
    P7181559.jpg
    154 KB · Views: 61
  • P7181560.jpg
    P7181560.jpg
    259.3 KB · Views: 60
  • P7181561.jpg
    P7181561.jpg
    170.5 KB · Views: 84
  • P7211588.jpg
    P7211588.jpg
    197.3 KB · Views: 77
Okay so back to choosing the fish. This is still undecided, but the kids were against any type of fish that would eat another fish... So I think my larger predator fish are out of the picture. The kids want me to stock it will community fish so here is a small list I have put together.

Golden White Clouds
Celestial Pearl Danios
Sterbai Corys
Panda Corys
Flame Dwarf Gouramis
Neon Blue Gouramis
Green Cobra Guppies/Purple Snowflake Guppies
Marble/Silver Hatchets
Clown Killifish
Synodontis Zebra Hybrid Catfish (Not sure on him yet)
Clown Loaches (????)
Black Kuhii Loachs
Tiger Pleco
Chinese Algae Eaters
Cardinal Tetras
True Rummynose Tetras

Just trying to get an idea. I need to decide what I want to do for decor. I will most likely start with plastic plants for now as I read and research into the world of co2.
 
Driftwood!

So I took the wife and kids to the Kankakee River today. It is only about 4 miles from the house. We parked to the side and went to to the water. Within 5 minutes I noticed this nice piece of driftwood just sitting on the edge of the water. I grabbed it and we headed home. I spent an hour or so power washing it and getting it clean. I ended up cutting it down a little so it would fit into my tank. I tossed it in there real quick to get an idea of what it was going to look like. I then filled a small blow up pool up and filled it with water. I tossed a few resin weights from my bench on them to hold it down. Now to just give it a few days and let it soak up some water.
 

Attachments

  • P7261598.jpg
    P7261598.jpg
    102.9 KB · Views: 69
Its been awhile. But here are some updates.

So I have been working non stop and just haven't had the time to log on and update my build. So here is a good amount of pics. I made a custom sump out of a 29 gallon tank. I built a bin for my drain line that runs into a bio balls chamber and also built a bubble trap. I placed both my heaters in my sump along with a ton of baby guppies from the couple females and males we have. I have since decided to make a community tank. We also got a Miss Map Turtle and a painted turtle.
 

Attachments

  • 9743_10200604918021094_3166285_n.jpg
    9743_10200604918021094_3166285_n.jpg
    46.2 KB · Views: 62
  • 24299_10200604918901116_1564980258_n.jpg
    24299_10200604918901116_1564980258_n.jpg
    32.9 KB · Views: 61
  • 562342_10200612821938687_2136952838_n.jpg
    562342_10200612821938687_2136952838_n.jpg
    57.8 KB · Views: 58
  • 969681_10200604919861140_941774097_n.jpg
    969681_10200604919861140_941774097_n.jpg
    55 KB · Views: 54
Here are a few more shots of the tank and the current basking area for the turtles. I cut some glass and placed it into the corner. I plan on buying some acrylic and building a nicer enclosure to keep the turtles from escaping.
 

Attachments

  • 1236853_10200604916741062_1747093180_n.jpg
    1236853_10200604916741062_1747093180_n.jpg
    45.8 KB · Views: 52
  • 1240298_10200604916981068_985175191_n.jpg
    1240298_10200604916981068_985175191_n.jpg
    30.9 KB · Views: 61
  • 1175084_10200604918501106_168176531_n.jpg
    1175084_10200604918501106_168176531_n.jpg
    66.5 KB · Views: 54
  • 1001268_10200636774457485_1434498884_n.jpg
    1001268_10200636774457485_1434498884_n.jpg
    57.7 KB · Views: 56
I have also began working on the stand.
 

Attachments

  • 1175232_10200624692075433_1432131615_n.jpg
    1175232_10200624692075433_1432131615_n.jpg
    95.2 KB · Views: 49
  • 1184803_10200612822018689_1625034509_n.jpg
    1184803_10200612822018689_1625034509_n.jpg
    76.8 KB · Views: 56
  • 1231083_10200624691675423_1278515532_n.jpg
    1231083_10200624691675423_1278515532_n.jpg
    39.7 KB · Views: 58
  • 1235091_10200624693275463_1277474099_n.jpg
    1235091_10200624693275463_1277474099_n.jpg
    44.7 KB · Views: 54
I got the stand stained with two coats and began working on the doors. The doors are held in place by cabinet catches. If you want some picture of how it works let me know and I can post some. I just finished filling the smalls holes in the doors and will stain them tom. Next comes my new light and some other decor.
 

Attachments

  • 1186347_10200624695035507_1846683089_n.jpg
    1186347_10200624695035507_1846683089_n.jpg
    42.1 KB · Views: 51
  • 1175576_10200624693435467_755091509_n.jpg
    1175576_10200624693435467_755091509_n.jpg
    62 KB · Views: 51
  • 1238766_10200636774617489_15763030_n.jpg
    1238766_10200636774617489_15763030_n.jpg
    39.3 KB · Views: 43
  • 1237067_10200637430153877_2082592050_n.jpg
    1237067_10200637430153877_2082592050_n.jpg
    43.6 KB · Views: 54
Back
Top Bottom