Welp, i finally settled on a design - Thanks to everyone for your feedback. I ended up incorporating a few of the suggestions and tweaked the overall design.
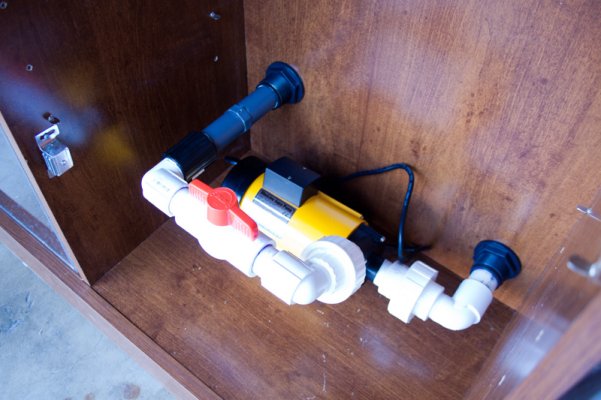
Primarily, i moved the pump to below the water line and simplified the sump designs a little bit.
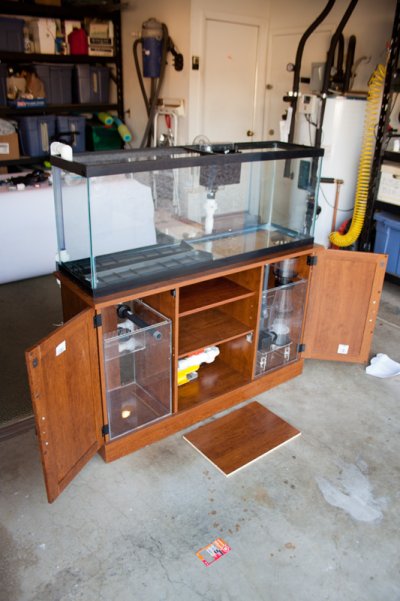
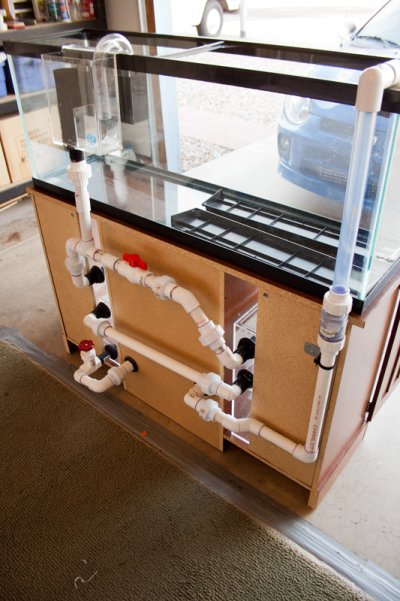
I sent the design off to get built a few weeks ago, and received my new sump tanks on Friday. Over the weekend, i did a "Dry-run" run by mocking-up the system on a workbench with a small 8 gallon tank to serve as a stand-in for the actual tank.
I ran the system for about 2 hours and everytning seems to work as expected - you can see the video here:
Custom Split Sump & Refugium System (First Test) - YouTube
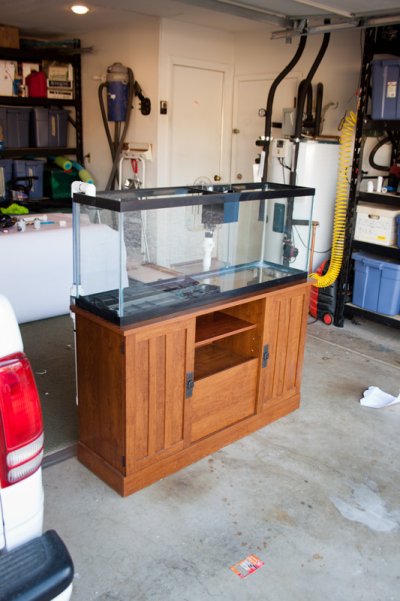
The position of everything is placed and measured according to how they will fit inside the stand with the exception of the sumps, which are flopped (they'll face the other direction when actually installed).
All the plumbing is only dry fit for now - I'll be gluing the pieces later in the week and may actually add water and start cycling it by the end of next weekend .