Hmmmmm....
Ok. Here's exactly what I did:
Open the Camera app and select "Options".
Set the HDR to ON and select "Done".
Turn off the flash.
Place the phone right against the side of the aquarium and use the aquarium's side to steady the phone as you hold it with one hand.
Move the phone around, lining up and snapping photos as you go.
A few hints
Allow the camera to focus before shooting. To prompt the camera to focus where you want, tap the area on the phone screen where you want the focus to be (the fish, a plant, decorations, etc.) and wait for the box with the crosshairs to 'lock in' and then fade away. The camera is now focused on that area.
Due to there being no macro setting the subject needs to be a few inches away to get optimal focus.
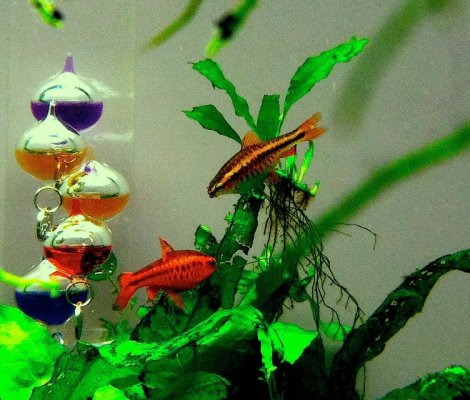
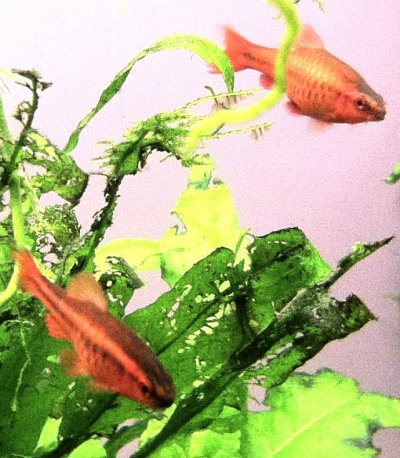
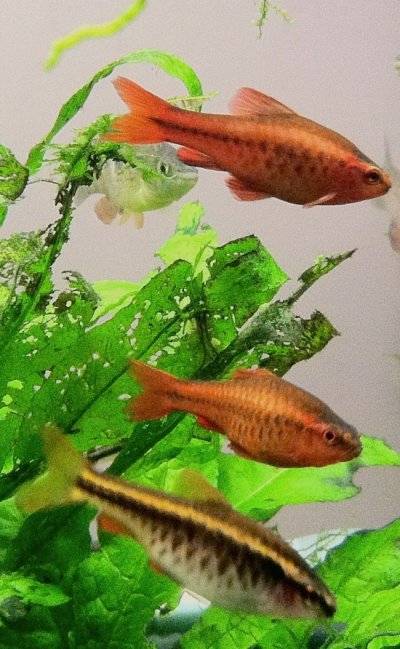
Be patient. In the image with the Cherry Barb I focused on the female because she was sitting there quietly and I waited quite a bit for a male to come in frame to check on her before I took the shot.
OR...

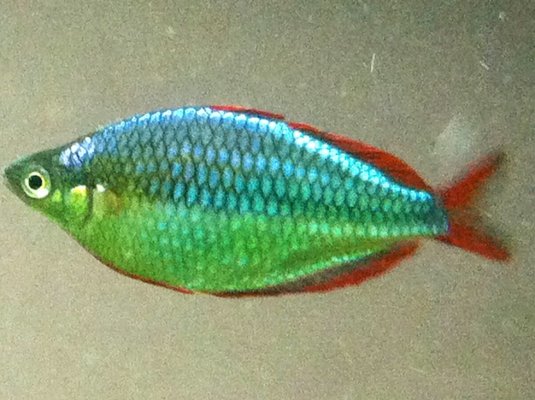
Be quick. In the attached image of the Praecox I followed the fish around with the camera and when the opportunity arose, quickly tapped the focus and shot ASAP when the little booger was momentarily motionless.

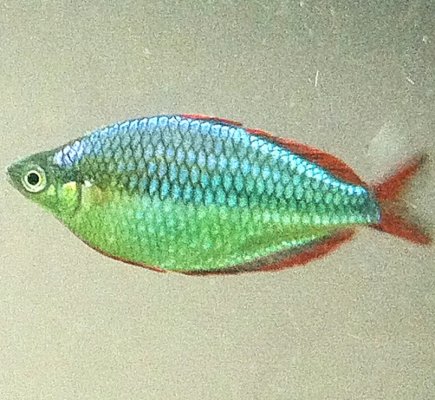
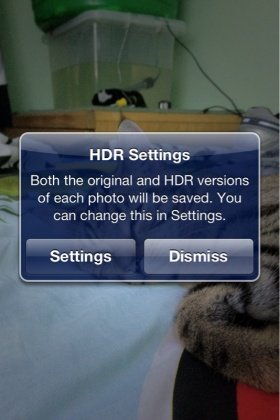
Once the image is in the Camera Roll you may find you have two of them. I think it saves one in HD and the other as a normal resolution image. If you have trouble telling the difference between the two, there is a faded out "HDR" right under the "Camera Roll" back arrow on the HD version.
Press "Edit" and use the magic wand to set the Auto-Enhance On then use the crop tool and select an area you find to be a pleasing composition. Cropping is done by the same pinching motion used to zoom in the Camera app.
Once you're happy with the way it looks, hit the gold colored "Save" button.
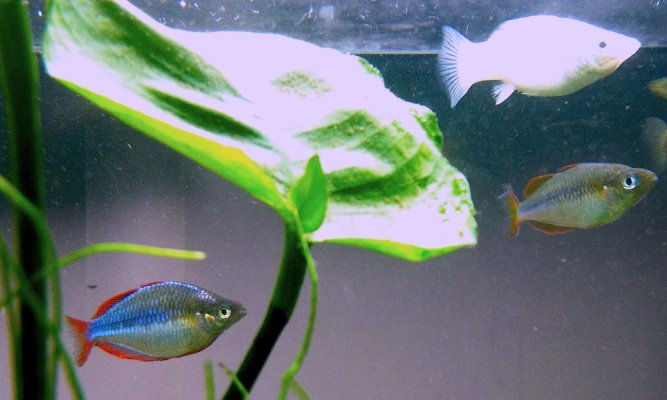
The first picture is the normal resolution image and the second is the HD version that I just took of a male Praecox Rainbow Fish to make sure I got all the steps listed on here that I used to take the photos in the correct sequence.
GOOD LUCK!