Pizentios
Aquarium Advice Regular
Well i figure it's time i posted my build process for a (roughly) 15 gal hexagon shaped tank.
As the people that have read my member introduction thread i am in the process of getting back into the hobby. As with most things in my life i tend to jump fully into it. So this (for me) naturally means building all my own hardware etc....don't ask me why, i just like it that way. Plus i learn piles along the way about various things.
This tank will be roughly 15 gals. (likely a little bit less) and is 24" tall. In hind sight i should have likely went with a regular shaped tank (rectangle) as it would provide better space for the fish to swim. But this is why i build my own stuff, as the next tank will be better!
I've chosen 1/8 inch acrylic for the build....yes i know it's a little on the thin side, but i have incorporated a few things in the build process to help re-enforce it and hopefully make it stronger.

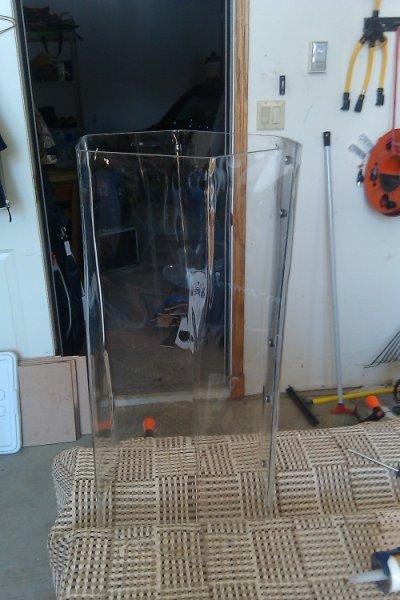
This is a pic of the tank after the basic shape had been made. It's made out of one chunk of material and the seam where the ends meet has been sealed with aquarium grade silicone. I also re-enforced the joint with machine screws and water tight washers. As i talked about above, it's all made with 1/8 inch material, so I've been trying to make things as strong as i can.I think by only having one seam and reenforcing said seam i should be ok.

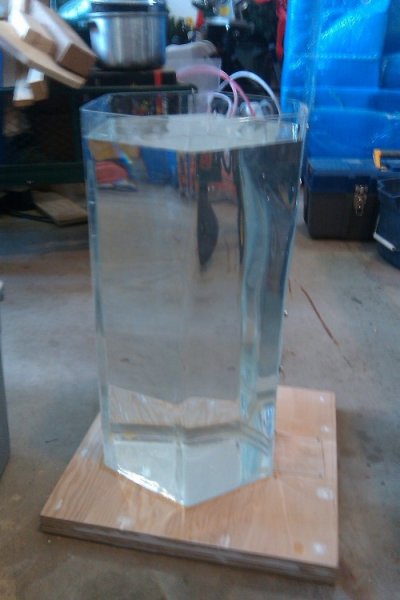
This is a pic of the tank actually holding water (Yay!). The base for the tank is made from two chunks of 3/4 inch plywood with a square chunk of acrylic sandwiched in between them. I routered out 1/8 inch so that there is no gaps between the plywood and the acrylic sits nice and neat inside the base. The actual tank sits down 3/4 inch down into the base and meets up with the acrylic inside. It's been siliconed to the base and holds water just fine. I left the tank filled for 48 hours to pressure test it a bit before i continued on with the build. Believe it or not, the machine screws did not need any silicone at all as the water tight washers did their job. I will likely still give em a bit of silicone to ensure there are no issues with rust or anything like that.

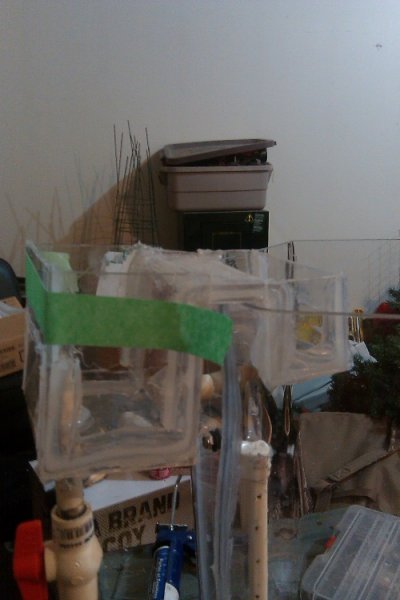
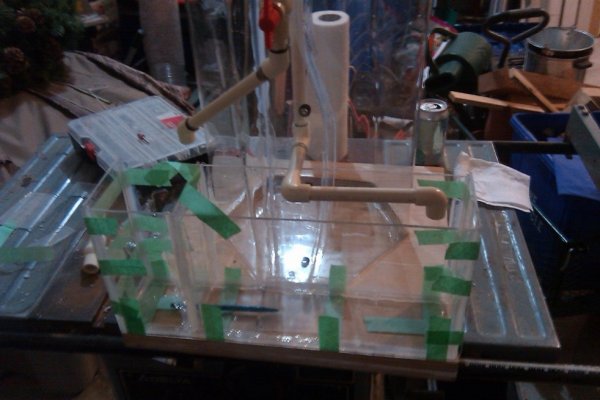
Here's a picture of some of the plumbing dry fitted. I have built a weir for the tank to drain into a sump. I have also dry fitted the pump return.

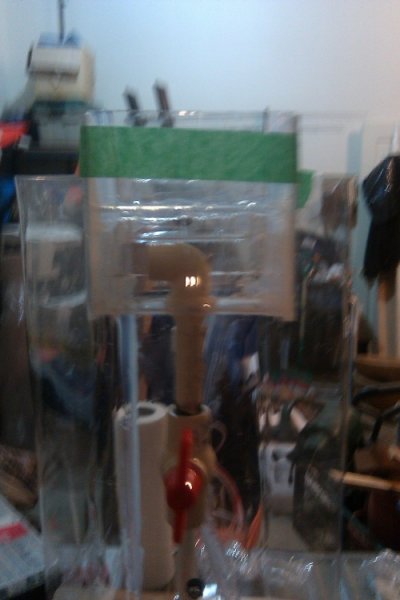
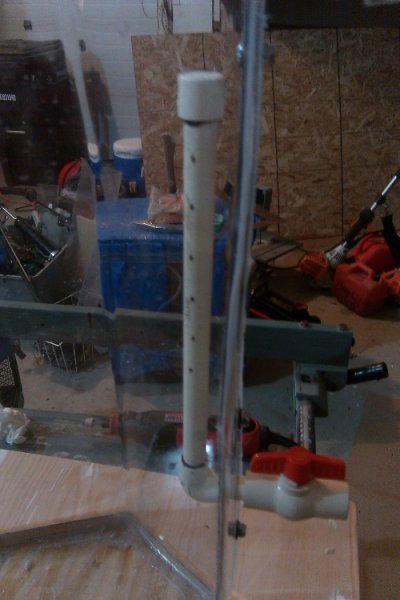
Here's a close up of the weir. Green painters tape is there to hold it together while the silicone cures up. I clearly need to work on my silicone skills, looks a little messy, might end up building another one once i have the project completed.
Post continued in next post as i used up the picture upload limit for this post.
As the people that have read my member introduction thread i am in the process of getting back into the hobby. As with most things in my life i tend to jump fully into it. So this (for me) naturally means building all my own hardware etc....don't ask me why, i just like it that way. Plus i learn piles along the way about various things.
This tank will be roughly 15 gals. (likely a little bit less) and is 24" tall. In hind sight i should have likely went with a regular shaped tank (rectangle) as it would provide better space for the fish to swim. But this is why i build my own stuff, as the next tank will be better!
I've chosen 1/8 inch acrylic for the build....yes i know it's a little on the thin side, but i have incorporated a few things in the build process to help re-enforce it and hopefully make it stronger.
This is a pic of the tank after the basic shape had been made. It's made out of one chunk of material and the seam where the ends meet has been sealed with aquarium grade silicone. I also re-enforced the joint with machine screws and water tight washers. As i talked about above, it's all made with 1/8 inch material, so I've been trying to make things as strong as i can.I think by only having one seam and reenforcing said seam i should be ok.
This is a pic of the tank actually holding water (Yay!). The base for the tank is made from two chunks of 3/4 inch plywood with a square chunk of acrylic sandwiched in between them. I routered out 1/8 inch so that there is no gaps between the plywood and the acrylic sits nice and neat inside the base. The actual tank sits down 3/4 inch down into the base and meets up with the acrylic inside. It's been siliconed to the base and holds water just fine. I left the tank filled for 48 hours to pressure test it a bit before i continued on with the build. Believe it or not, the machine screws did not need any silicone at all as the water tight washers did their job. I will likely still give em a bit of silicone to ensure there are no issues with rust or anything like that.
Here's a picture of some of the plumbing dry fitted. I have built a weir for the tank to drain into a sump. I have also dry fitted the pump return.
Here's a close up of the weir. Green painters tape is there to hold it together while the silicone cures up. I clearly need to work on my silicone skills, looks a little messy, might end up building another one once i have the project completed.
Post continued in next post as i used up the picture upload limit for this post.

")