ok...it seems pretty easy but i dont have all those tools...lol...i have a circular saw a hammer and nails some glue...lol...And good old elbow grease and a drill...lol...its a great look stand..did you usethe inside measurements to match the tank or the frame measurement
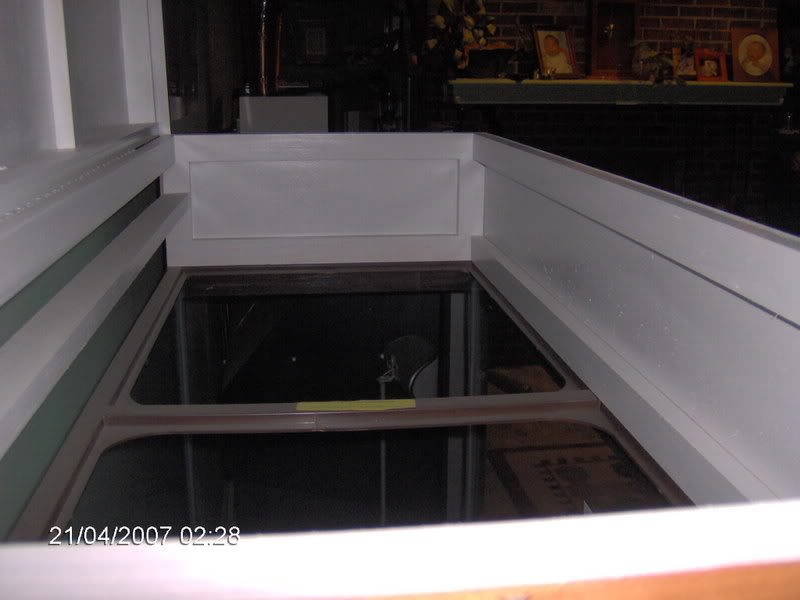
DIY Canopy
- Thread starter dhemp34
- Start date
The friendliest place on the web for anyone with an interest in aquariums or fish keeping!
If you have answers, please help by responding to the unanswered posts.
If you have answers, please help by responding to the unanswered posts.
")