You are using an out of date browser. It may not display this or other websites correctly.
You should upgrade or use an alternative browser.
You should upgrade or use an alternative browser.
DIY sump and stand
- Thread starter erichm20
- Start date
The friendliest place on the web for anyone with an interest in aquariums or fish keeping!
If you have answers, please help by responding to the unanswered posts.
If you have answers, please help by responding to the unanswered posts.
erichm20
Aquarium Advice FINatic
Turns out this tank is already drilled and there is some sort of a stained glass background that the previous owner glued on. The guy I talked to said there really hasn't been any interest in it and he wants it gone so I think I might be able to get it for 50. I'm going to check it out on thursday I'll see if he'll do a leak test for me and I'll check out the back glass situation.
I have a new question. Now assuming I go with this 75 I should get a bigger return pump correct?
I have a new question. Now assuming I go with this 75 I should get a bigger return pump correct?
MikeWidd
Aquarium Advice Activist
following
erichm20
Aquarium Advice FINatic
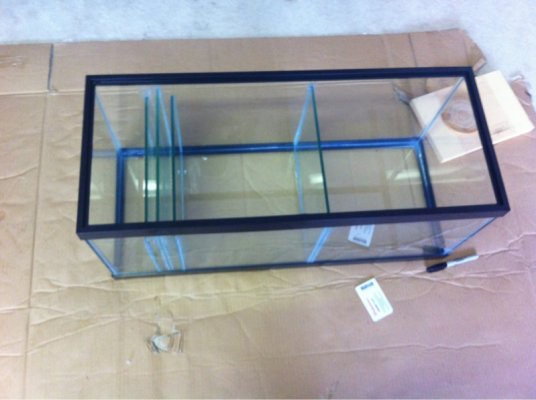
All the baffles are glued in
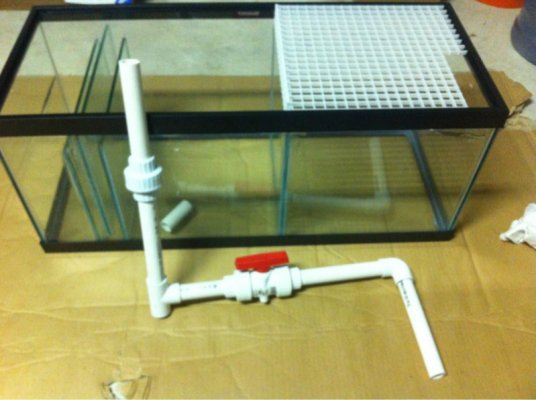
Started working on the plumbing, this is the setup I was talking about with a t and a ball valve to feed the refugium
Now I just have to go check out this other tank to see what I'm dealing with. I think I decided to return the mag 7 for a 12. With the larger tank, headloss, and the T to the fuge I just don't think the 7 will cut it.
On a side note Craig's list is dangerous I checked today and there is a 150 setup with lights rocks sump stand skimmer... Listed for $700 obo. Pretty sure I could sell my current setup for 4-500 but not too sure about pulling the trigger on that- would be a lot more work than I'm used to. But it seems like a great deal.

Started working on the plumbing, this is the setup I was talking about with a t and a ball valve to feed the refugium

Now I just have to go check out this other tank to see what I'm dealing with. I think I decided to return the mag 7 for a 12. With the larger tank, headloss, and the T to the fuge I just don't think the 7 will cut it.
On a side note Craig's list is dangerous I checked today and there is a 150 setup with lights rocks sump stand skimmer... Listed for $700 obo. Pretty sure I could sell my current setup for 4-500 but not too sure about pulling the trigger on that- would be a lot more work than I'm used to. But it seems like a great deal.
erichm20
Aquarium Advice FINatic
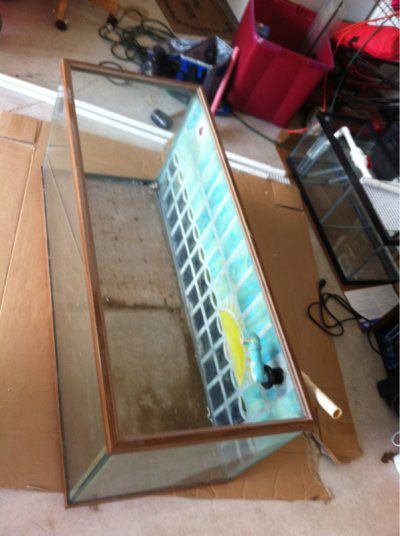
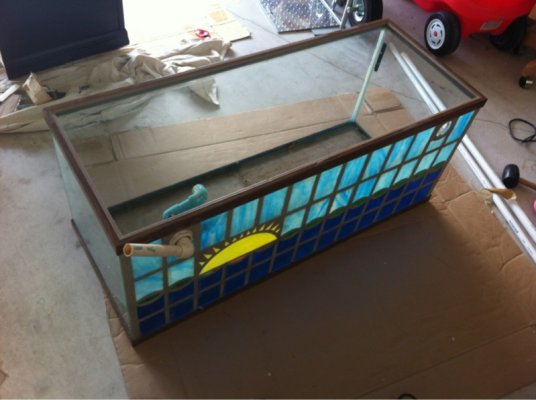
Just picked up this drilled 75 for $50! Needs a good cleaning and I'm going to re seal it as the silicone is peeling in some spots.
As for this background it is stained glass tiles glued on the back so I'm not sure what I'm going to do about that yet. The guy I bought it from said I should be able to "chip" it off but I'm not so sure about that. I really might just not do anything and just pile rocks up the back wall to hide it an let the coralline do the rest.
Now I'm going to return the hob overflow and the mag 7 to upgrade to a mag 12.
Next question- should I run dual overflows and come back over the top w the return or use 1 hole for overflow an the other hole for return?
As for this background it is stained glass tiles glued on the back so I'm not sure what I'm going to do about that yet. The guy I bought it from said I should be able to "chip" it off but I'm not so sure about that. I really might just not do anything and just pile rocks up the back wall to hide it an let the coralline do the rest.


Now I'm going to return the hob overflow and the mag 7 to upgrade to a mag 12.
Next question- should I run dual overflows and come back over the top w the return or use 1 hole for overflow an the other hole for return?
erichm20
Aquarium Advice FINatic
The background came off pretty easily actually just using a wide putty knife. The silicone on the other hand was a major pain in the *** to remove but it is almost completely off. Now I just have to put on the new silicone an paint the back.
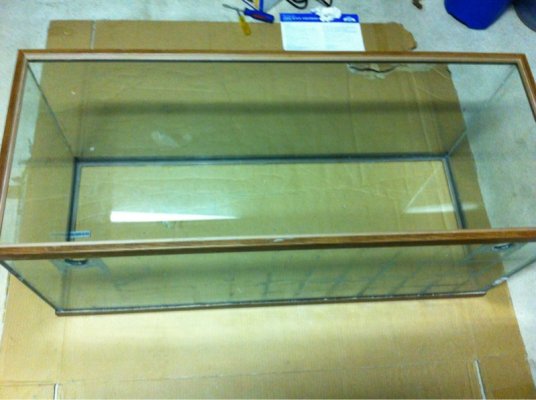
I have decided to run both holes as overflows w a sort of modified bean animal configuration with the return coming back over the top.

I have decided to run both holes as overflows w a sort of modified bean animal configuration with the return coming back over the top.
erichm20
Aquarium Advice FINatic
Finally removed all the old silicone and put on the tape for the new silicone.
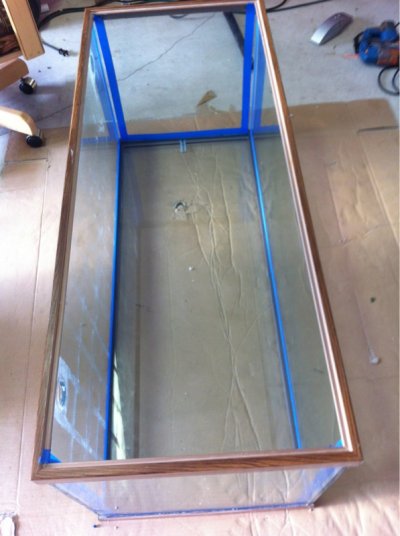
And went at it with the silicone GE1.
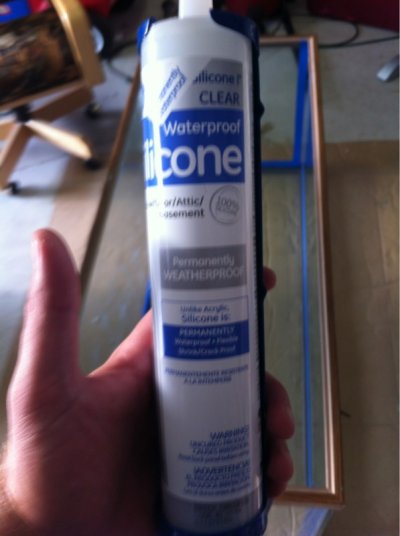
Well it didn't go as smooth as I hoped and I'm pretty sure I'm going to need to re do it. First off i didnt use enough for some of the joints and I didn't pull the tape off soon enough on one of the front seams and it had already set a little so I tried to go back over it freehand and oh man it looks bad...I'm hoping since it is brand new it will come off easy. The next time I have a better idea on how to go about it.

And went at it with the silicone GE1.

Well it didn't go as smooth as I hoped and I'm pretty sure I'm going to need to re do it. First off i didnt use enough for some of the joints and I didn't pull the tape off soon enough on one of the front seams and it had already set a little so I tried to go back over it freehand and oh man it looks bad...I'm hoping since it is brand new it will come off easy. The next time I have a better idea on how to go about it.
Similar threads
- Replies
- 3
- Views
- 285
- Replies
- 3
- Views
- 365
- Replies
- 14
- Views
- 1K
Latest posts
-
-
-
-
-
-
-
Nitrates up, pH and total alkalinity down
- Latest: Airborne 82nd
-
