thehitmaker
Aquarium Advice Newbie
- Joined
- Sep 1, 2014
- Messages
- 3
Hi Everyone, I first came across this site when i was searching for information on the fishless cycle; eco23 had written an article which has proved really useful to me. With this in mind i thought it may be helpful to create this post because in spite of extensive searches i was unable to find any examples of building a permanent slope in an aquarium except for those which were created from substrate used in planted tanks. I have only been keeping fish for 18 months and the included pictures are snaps from my camera phone but hopefully the basis of the article will prove useful to someone!
Aims: To create a hard, permanent slope in the bottom of the aquarium from zero at front to approx 75mm at rear whilst allowing for a gravel substrate that would not slip forward.
Out of interest my tank is 36" x 15" x 18" 120 uk ltrs but scale is unimportant other than the amount of materials you would require.
1. Materials required: Polystyrene, plastic glass, aquarium silicone sealant, gravel to cover, knife, ruler, saw.
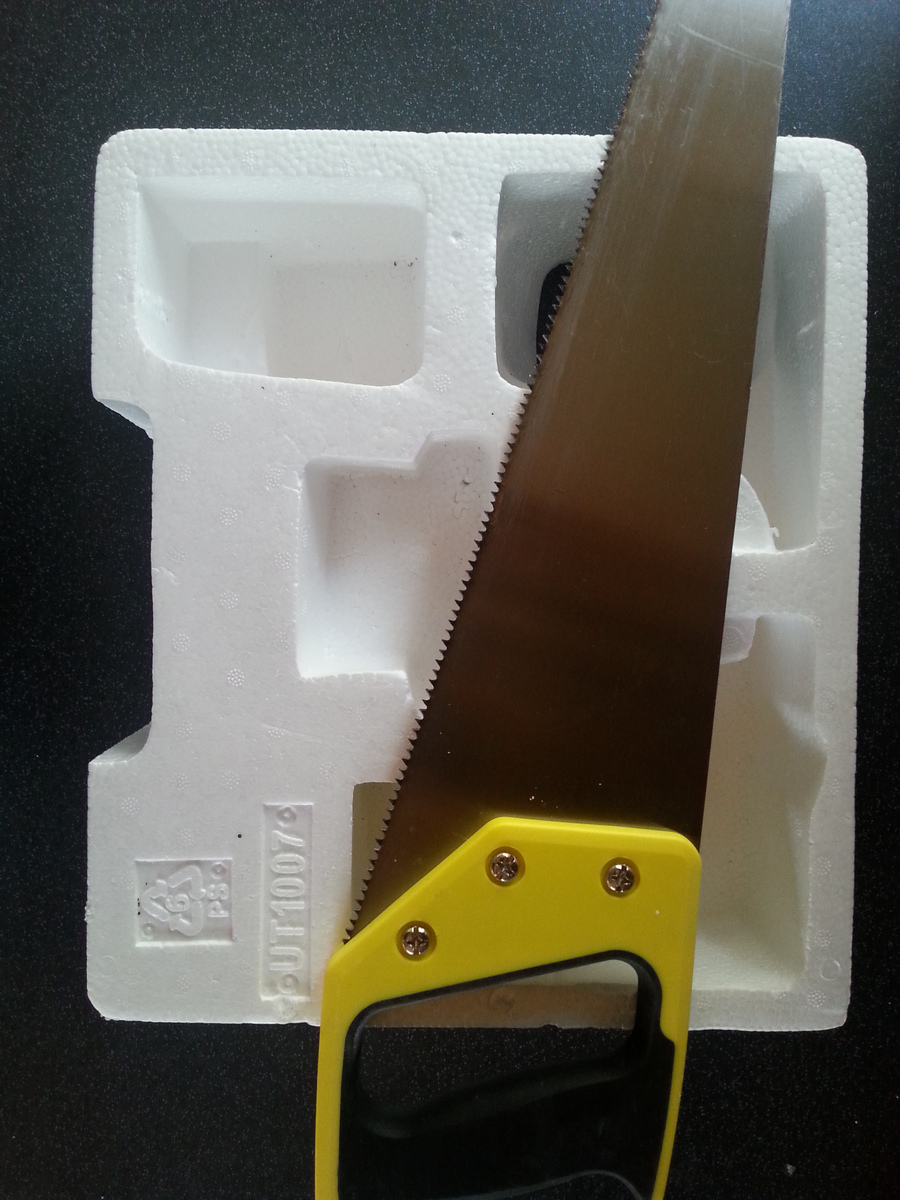
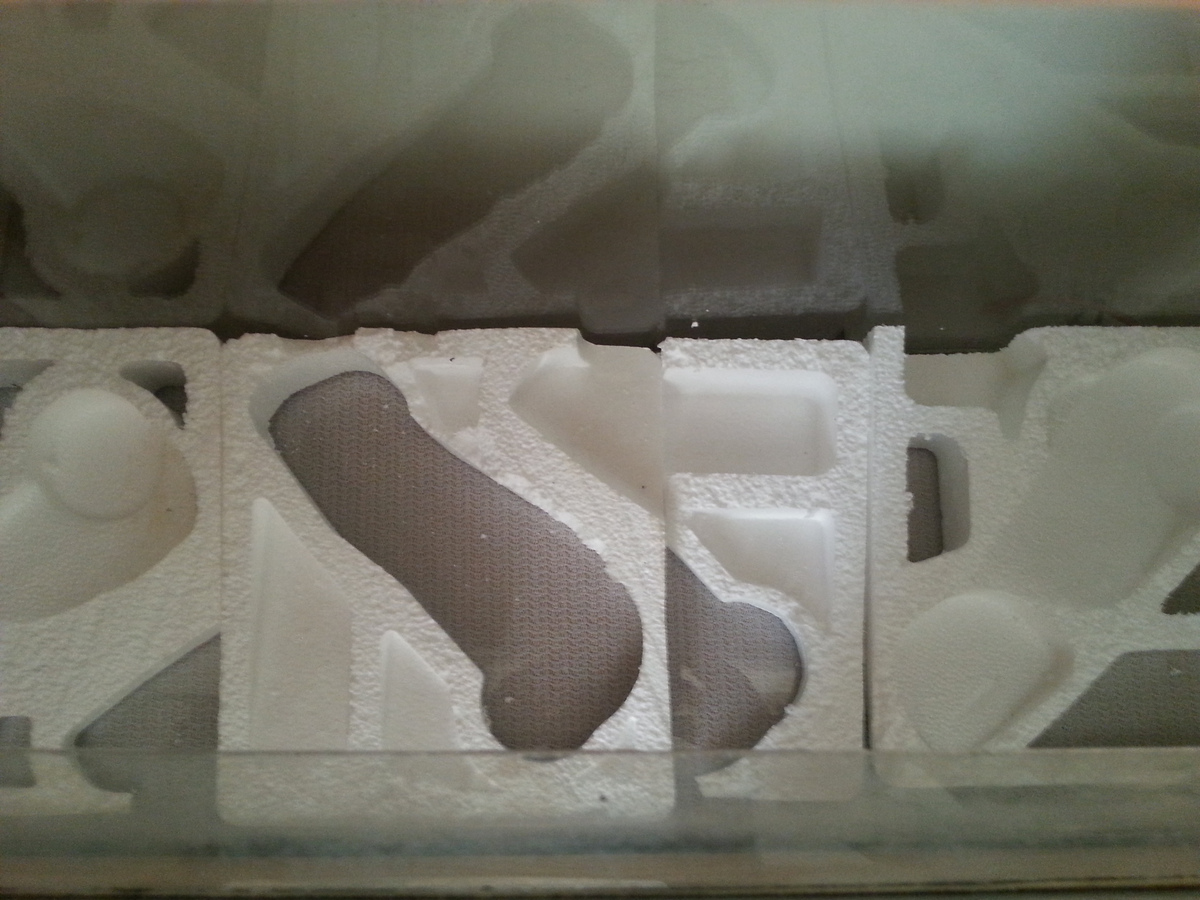
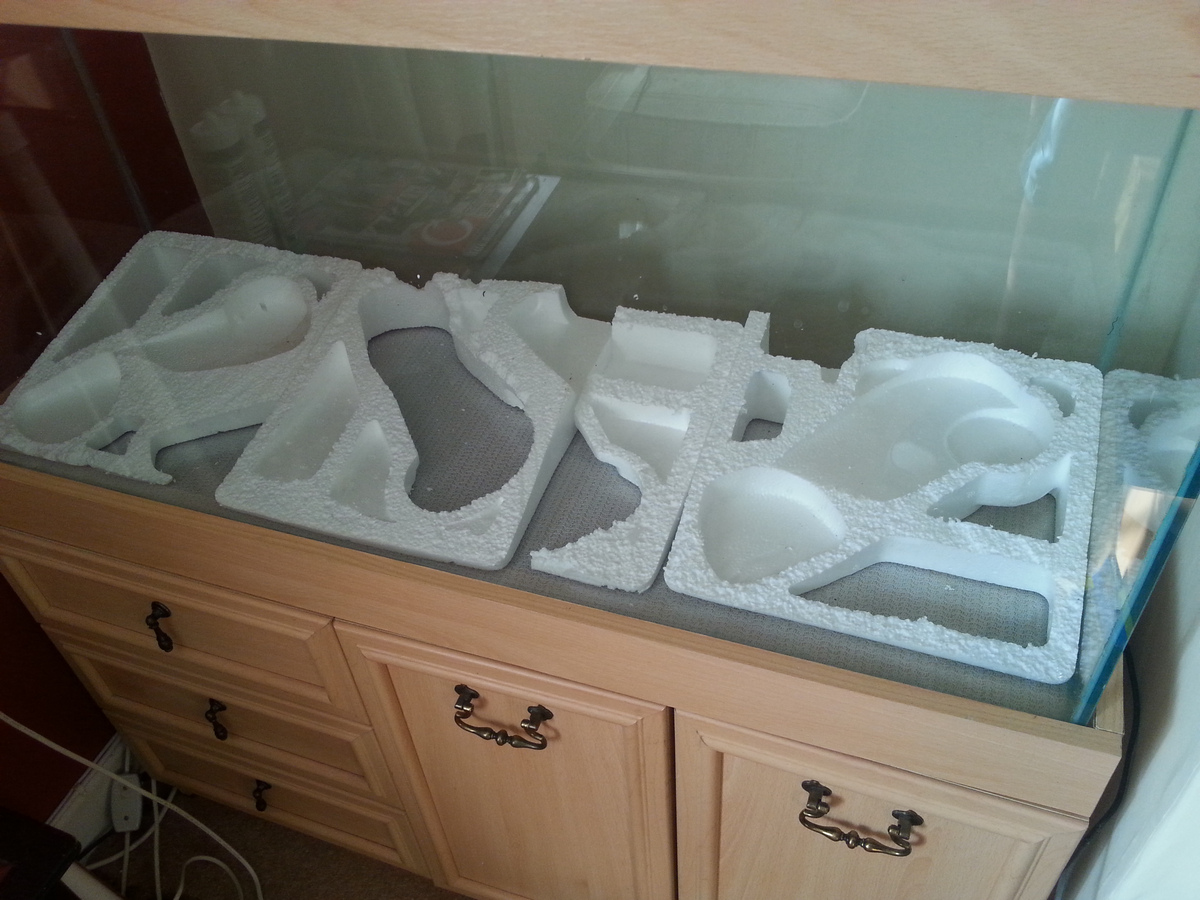
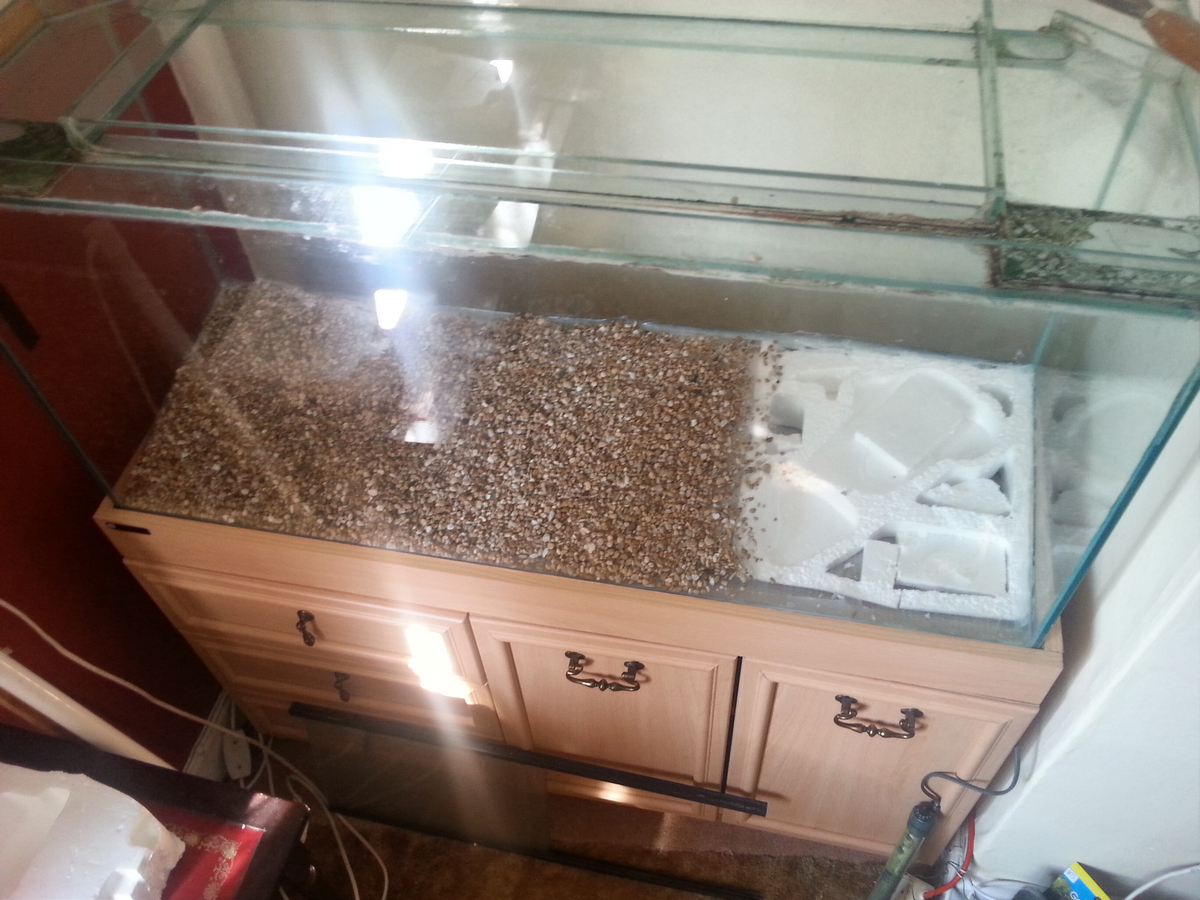
2. Any polystyrene can be used; packing material is perfect, it's purpose is to take the weight of the slope which will effectively be a new bottom to the aquarium. The polystyrene will not be in contact with the water so even though it is a fairly inert material there is no need to worry about it affecting water quality. Shape the polystyrene - it's easier to use multiple pieces - to create the desired slope. This doesn't need to be perfect as you can see from the pictures, its just acts as a support so as long as the majority of the base is covered any gaps really aren't important. Arrange them in the tank and it should look similar to the pictures below:
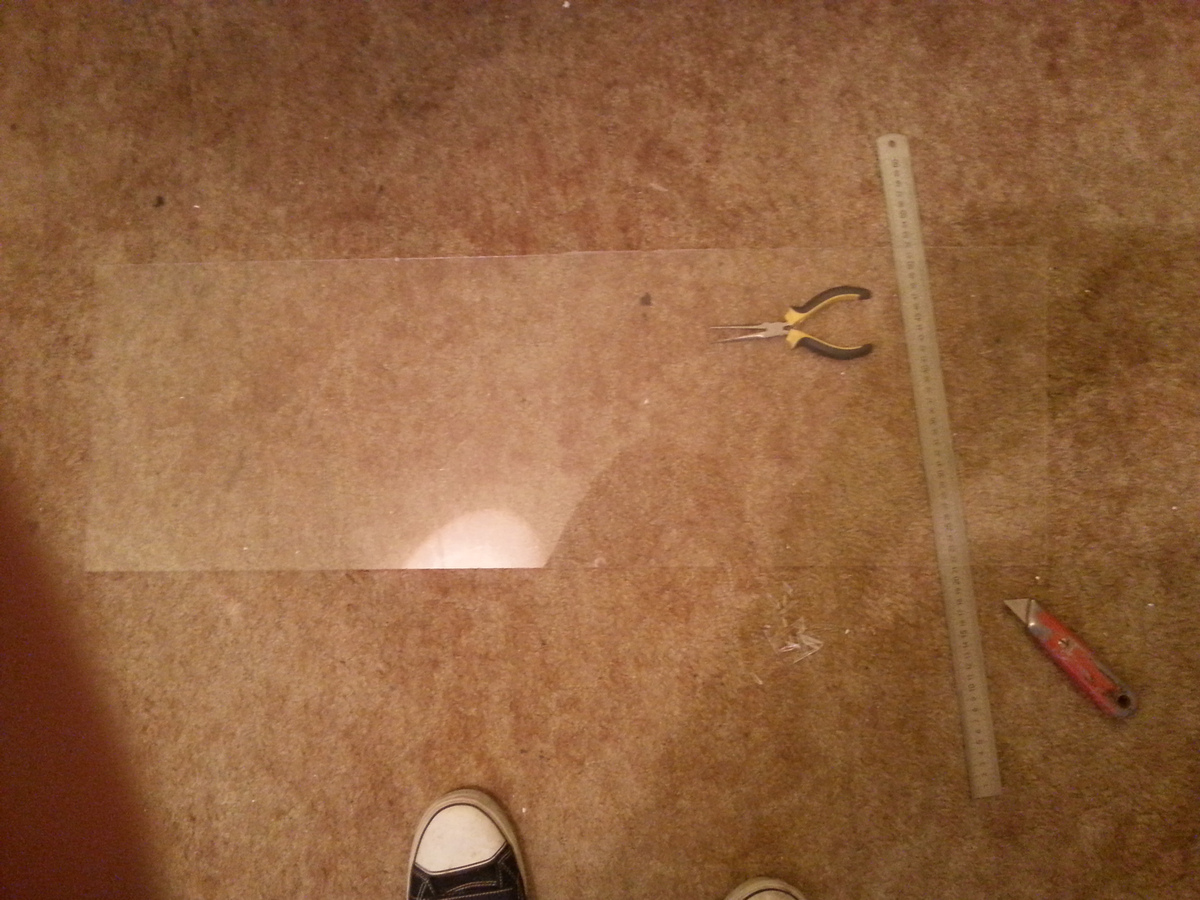
3. Cut a piece of plastic glass ( I'm calling it 'plastic glass' by this i mean acrylic perspex of some kind ) the correct lenght for the internal measurement of the tank. Next you need to cut it to the correct depth, because you're creating a diagonal it will be more than the normal front to back measurement of the tank so a cardboard template makes good sense rather than trying to cut plastic 3 times instead of once!
4. When you're happy that you have a good fit it's time to glue the plastic in place. Rest it on top of your polystyrene and then find something reasonably weighty that wont get in the way; pop this on top and using aquarium silicon, seal around the four edges of the plastic. Make sure you dont leave any gaps, you don't want water penetrating the new base, so wet your finger, squeeze the silicon down and whilst it's still wet apply a little more. Leave to set for at least 24 hours...48 if you're patient...36 if you're an angel!
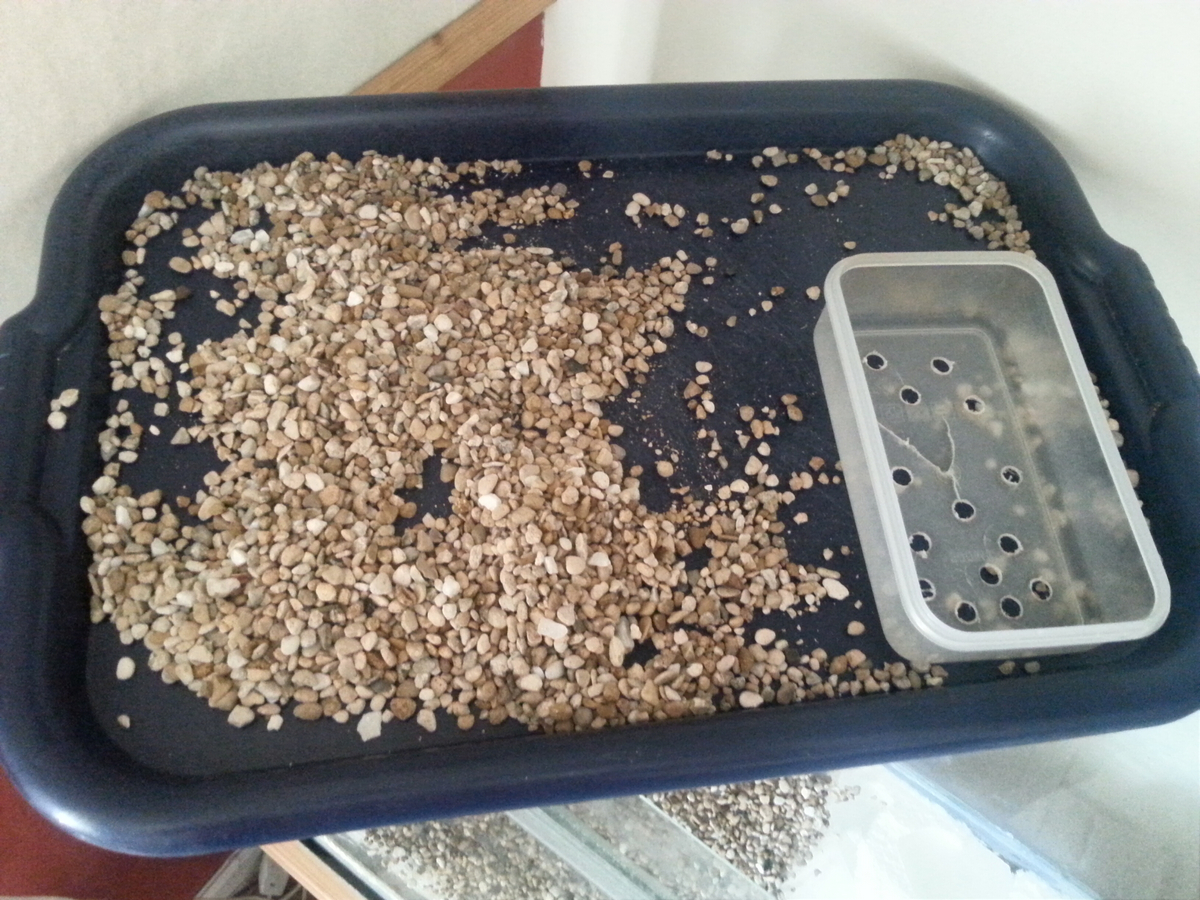
5. Once the silicon is completely dry your tank now has a sloping bottom that is solid, permanent.. but unfortunately akin to a skating rink and any gravel placed in the tank will quickly find its way to the front of the tank as gravity takes its course. For this step i wanted the smaller gravel from what i had so i drilled a few holes in a lunchbox and sieved the gravel to select the smaller stuff:
6. To stop the gravel shifting forward: Using a piece of card spread silicon sealant over the first part of the slope. I found it best to do this part in small stages as a thin(ish) layer of sealant loses its take quite quickly. Cover the silicon in a fine layer of gravel, pat it down a bit to make sure it adheres to the silicon. Continue until the whole of the slope is completely covered in a single fine layer of gravel. The purpose of this layer is to act as a gripper for your moveable aquarium gravel. Wait another 'however many hours' until everything is dry.
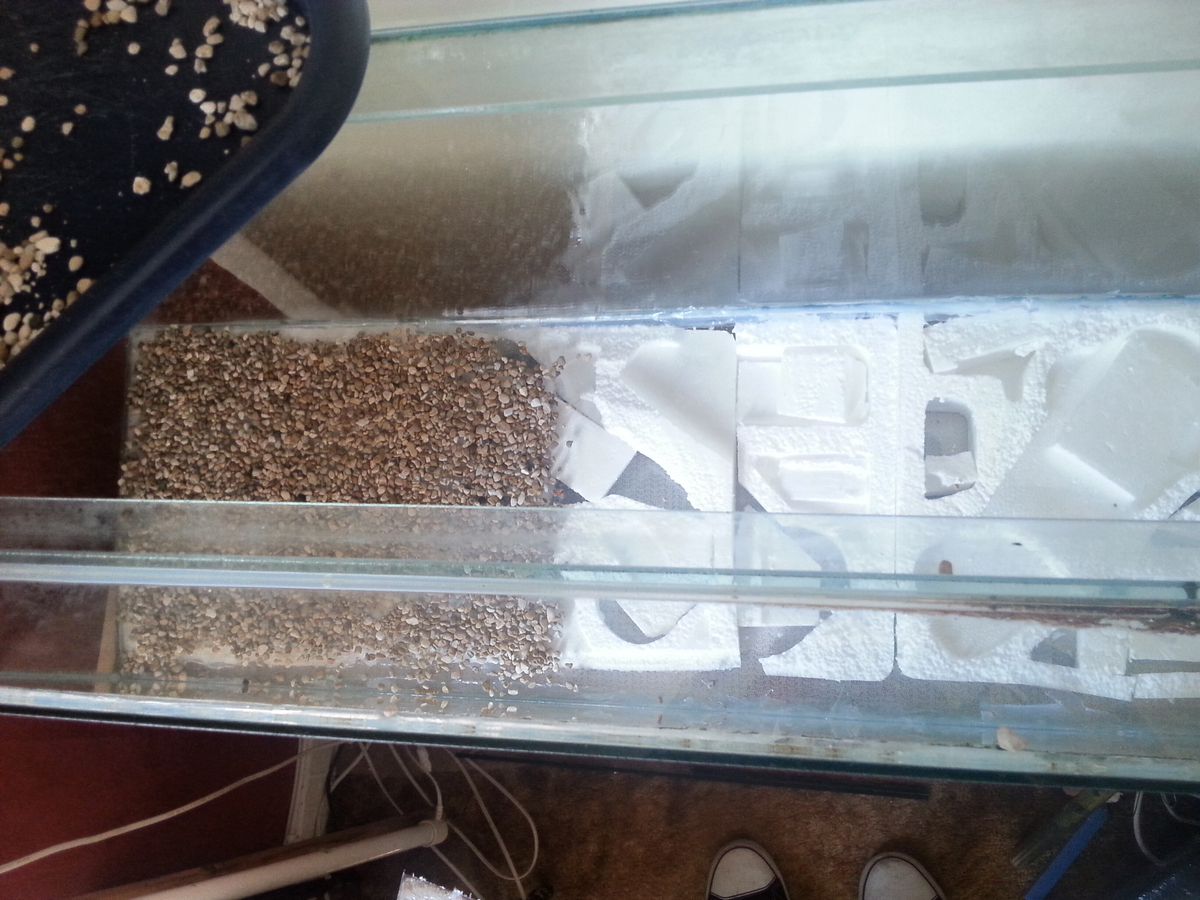


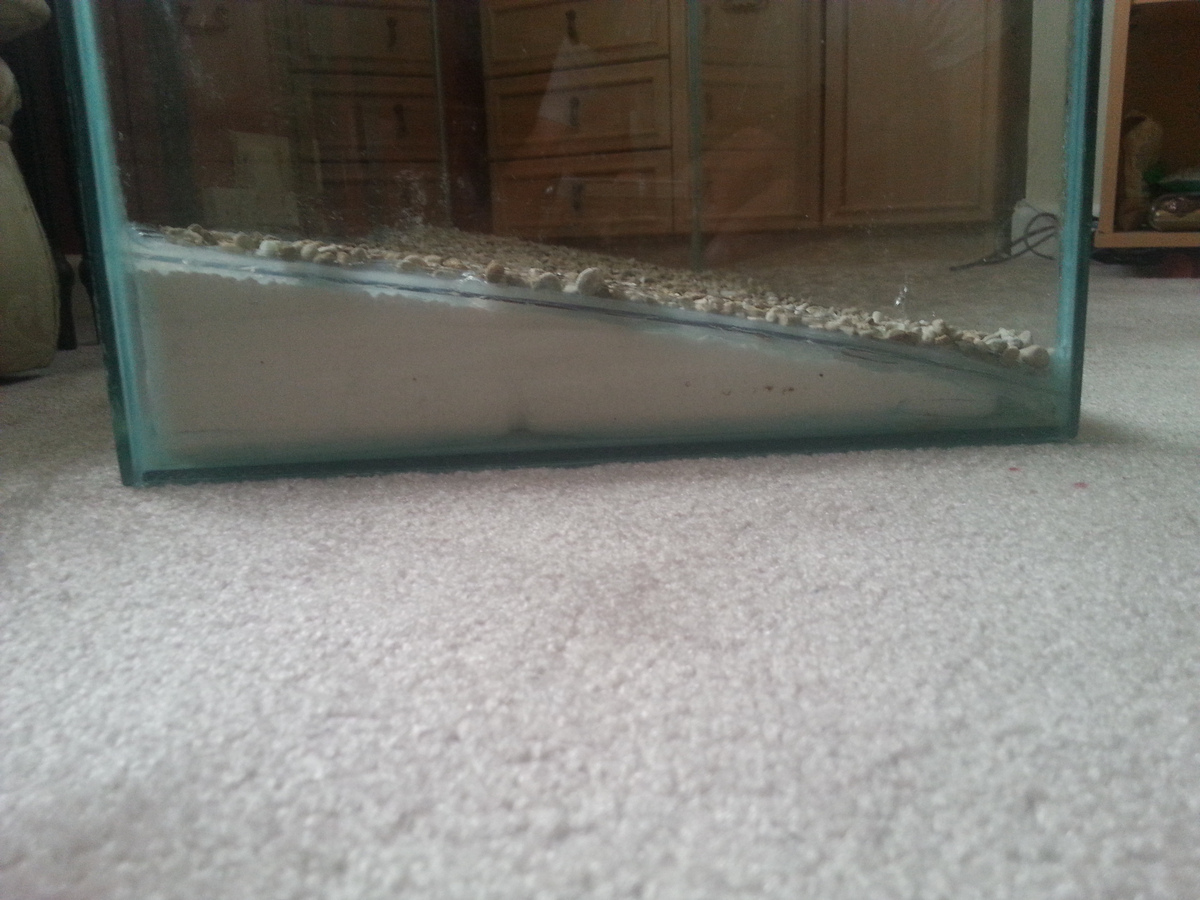
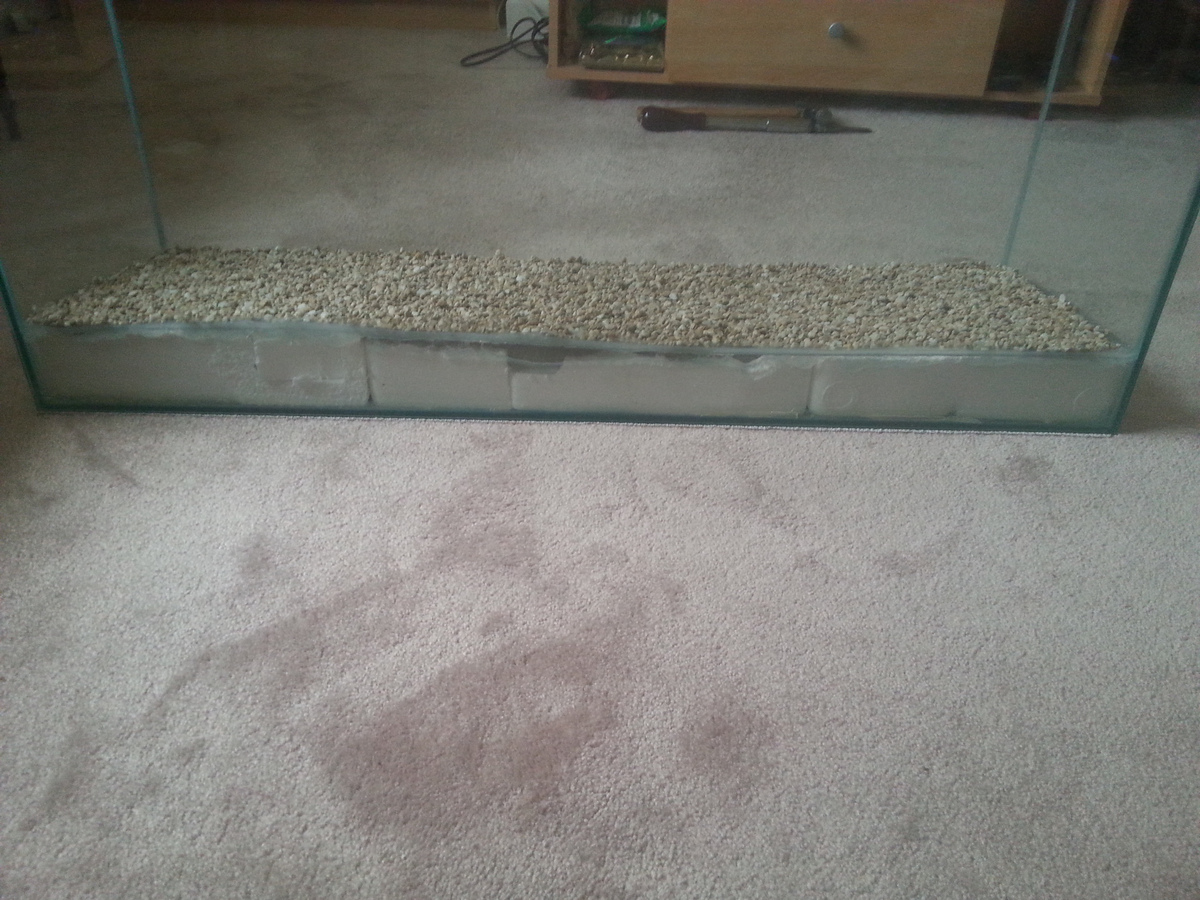
7. When everything is set your slope with layer of gravel attached should look something like this from the side and back of the tank; you can clearly see that you now have a natural permanent slope as a base for your tank.


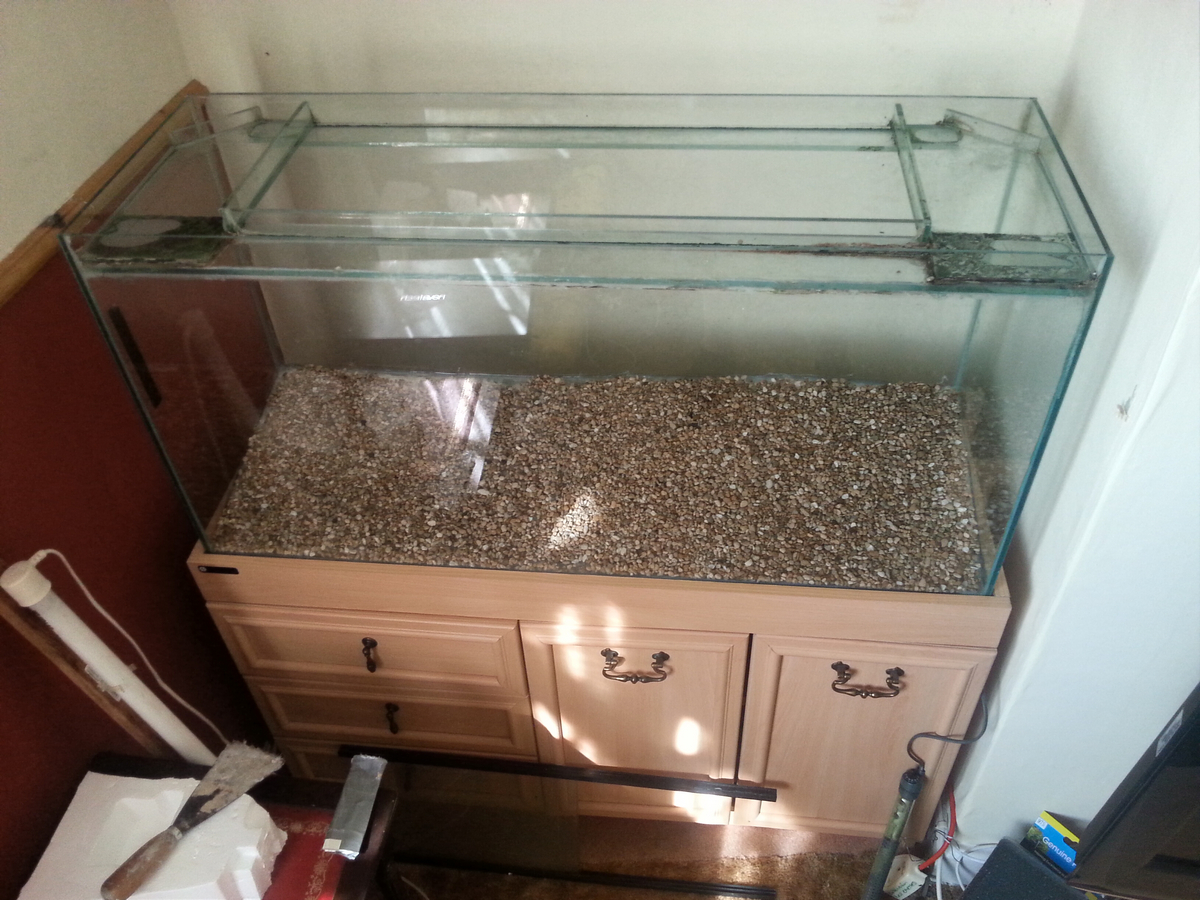
8. Now you can add your normal layer of gravel the the fish can poke around in, this will naturally adhere to the gravel you stuck down.

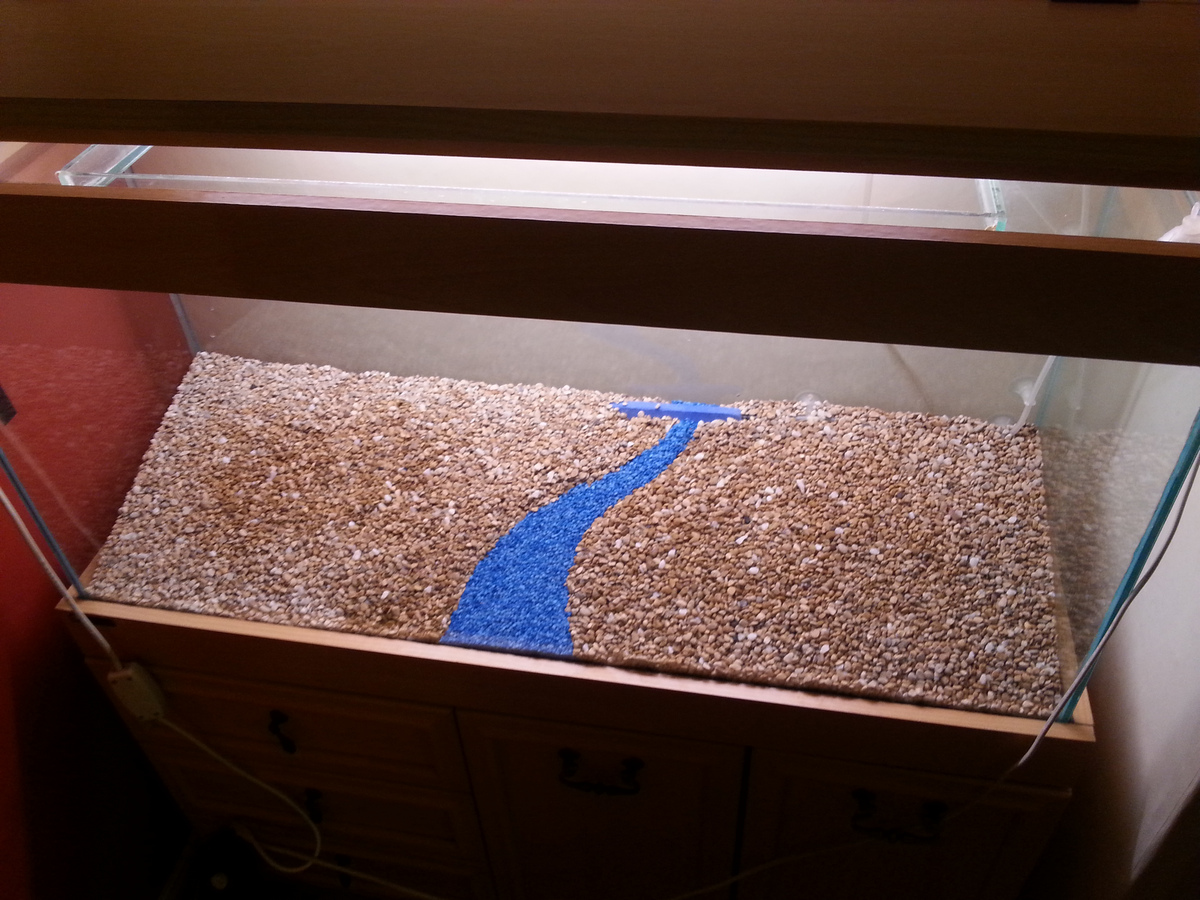
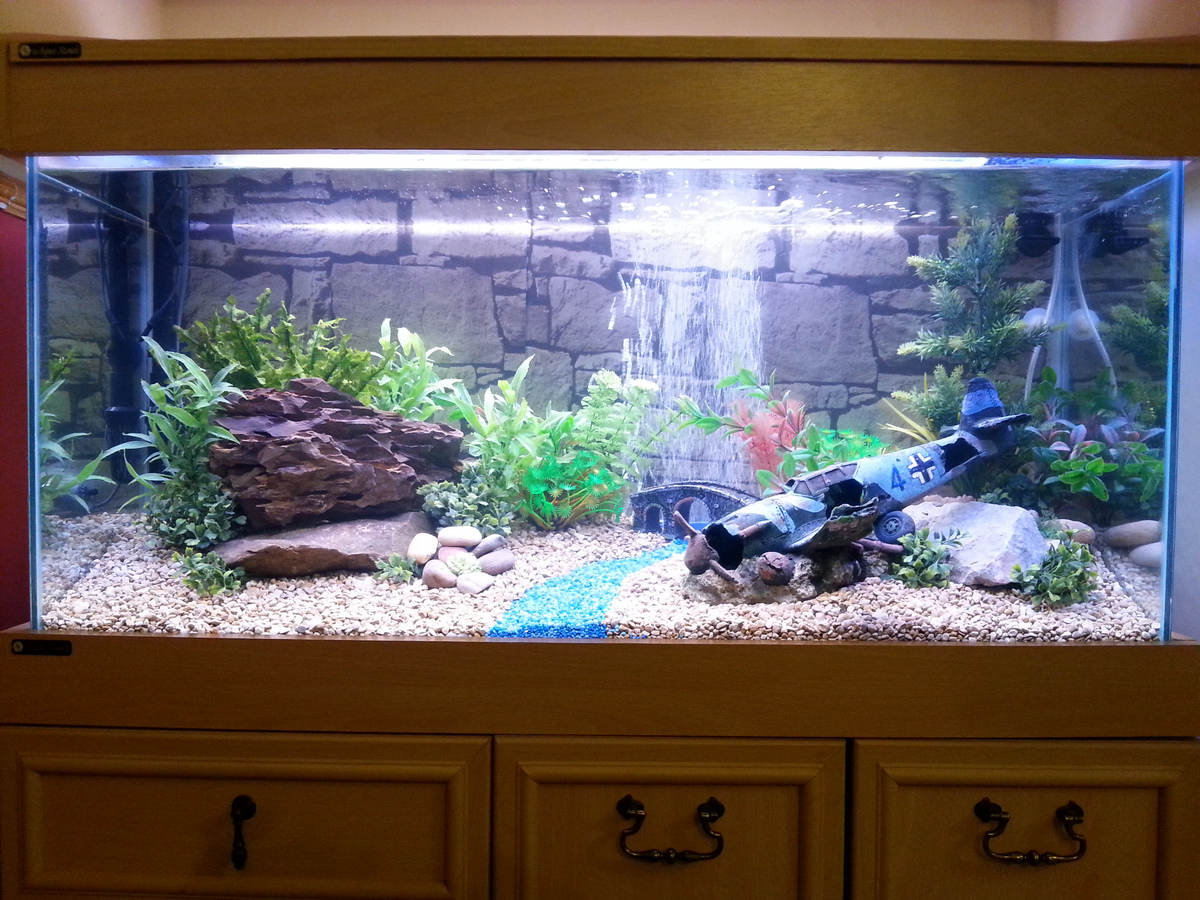
9. All that's left to do is add your other decor and equipment. Now decor is a matter of personal taste so my little layout and ornaments might not be to your taste but don't slate me for it!
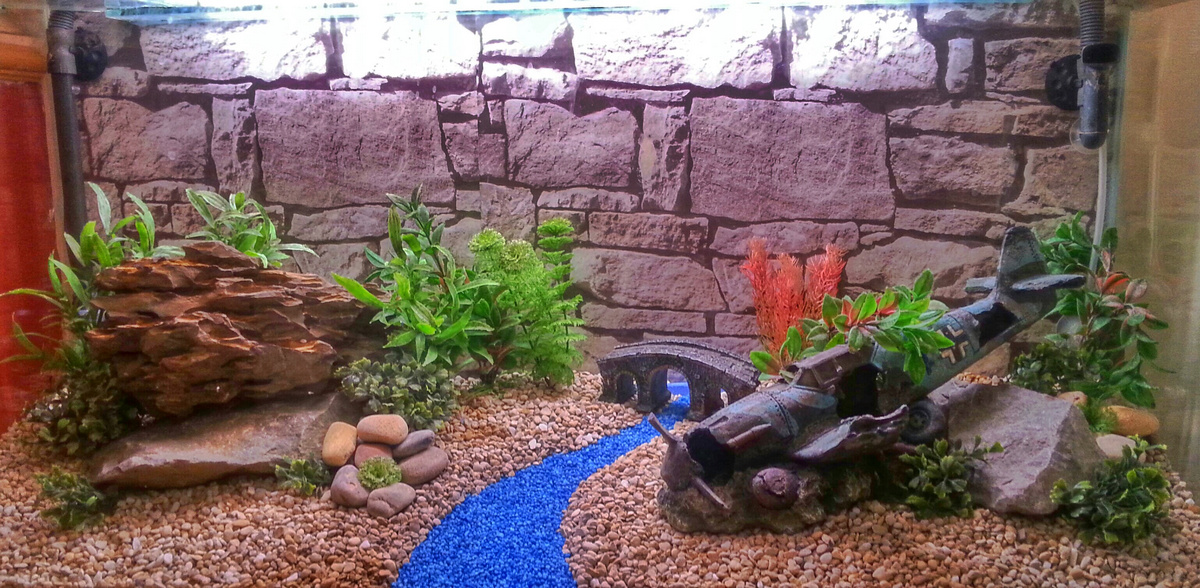

And there we have it. I hope that will be of interest to a few of you. A slope in the bottom of the aquarium adds front to back depth and looks more like a natural space; I think it's much better to do it this way than using a huge bank of gravel, i don't know why they don't sell tanks pre-made like this.
Comments and/or questions are welcome
Aims: To create a hard, permanent slope in the bottom of the aquarium from zero at front to approx 75mm at rear whilst allowing for a gravel substrate that would not slip forward.
Out of interest my tank is 36" x 15" x 18" 120 uk ltrs but scale is unimportant other than the amount of materials you would require.
1. Materials required: Polystyrene, plastic glass, aquarium silicone sealant, gravel to cover, knife, ruler, saw.
2. Any polystyrene can be used; packing material is perfect, it's purpose is to take the weight of the slope which will effectively be a new bottom to the aquarium. The polystyrene will not be in contact with the water so even though it is a fairly inert material there is no need to worry about it affecting water quality. Shape the polystyrene - it's easier to use multiple pieces - to create the desired slope. This doesn't need to be perfect as you can see from the pictures, its just acts as a support so as long as the majority of the base is covered any gaps really aren't important. Arrange them in the tank and it should look similar to the pictures below:
3. Cut a piece of plastic glass ( I'm calling it 'plastic glass' by this i mean acrylic perspex of some kind ) the correct lenght for the internal measurement of the tank. Next you need to cut it to the correct depth, because you're creating a diagonal it will be more than the normal front to back measurement of the tank so a cardboard template makes good sense rather than trying to cut plastic 3 times instead of once!
4. When you're happy that you have a good fit it's time to glue the plastic in place. Rest it on top of your polystyrene and then find something reasonably weighty that wont get in the way; pop this on top and using aquarium silicon, seal around the four edges of the plastic. Make sure you dont leave any gaps, you don't want water penetrating the new base, so wet your finger, squeeze the silicon down and whilst it's still wet apply a little more. Leave to set for at least 24 hours...48 if you're patient...36 if you're an angel!
5. Once the silicon is completely dry your tank now has a sloping bottom that is solid, permanent.. but unfortunately akin to a skating rink and any gravel placed in the tank will quickly find its way to the front of the tank as gravity takes its course. For this step i wanted the smaller gravel from what i had so i drilled a few holes in a lunchbox and sieved the gravel to select the smaller stuff:
6. To stop the gravel shifting forward: Using a piece of card spread silicon sealant over the first part of the slope. I found it best to do this part in small stages as a thin(ish) layer of sealant loses its take quite quickly. Cover the silicon in a fine layer of gravel, pat it down a bit to make sure it adheres to the silicon. Continue until the whole of the slope is completely covered in a single fine layer of gravel. The purpose of this layer is to act as a gripper for your moveable aquarium gravel. Wait another 'however many hours' until everything is dry.
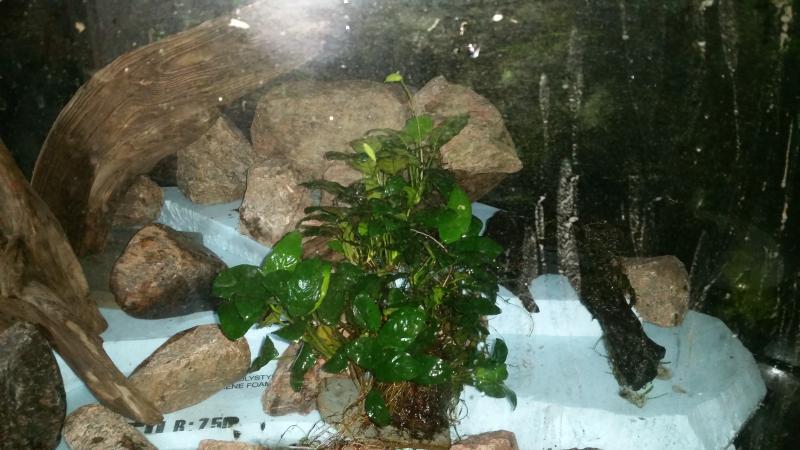
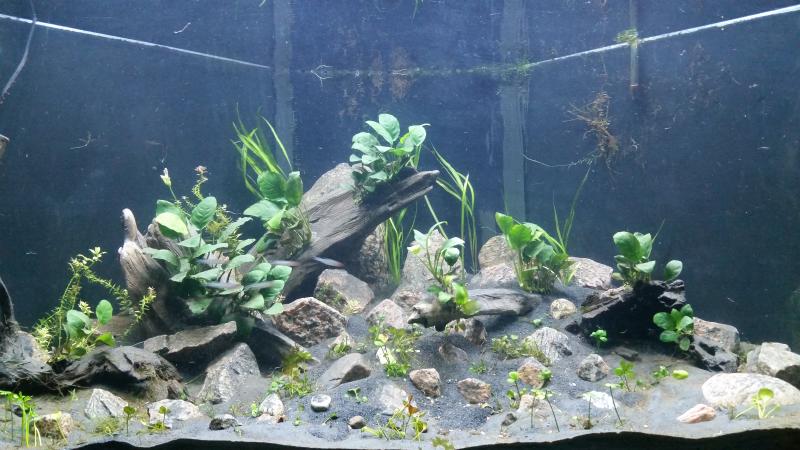
7. When everything is set your slope with layer of gravel attached should look something like this from the side and back of the tank; you can clearly see that you now have a natural permanent slope as a base for your tank.
8. Now you can add your normal layer of gravel the the fish can poke around in, this will naturally adhere to the gravel you stuck down.
9. All that's left to do is add your other decor and equipment. Now decor is a matter of personal taste so my little layout and ornaments might not be to your taste but don't slate me for it!
And there we have it. I hope that will be of interest to a few of you. A slope in the bottom of the aquarium adds front to back depth and looks more like a natural space; I think it's much better to do it this way than using a huge bank of gravel, i don't know why they don't sell tanks pre-made like this.
Comments and/or questions are welcome


")