Iwagami style planted 3g Picotope Journal

The friendliest place on the web for anyone with an interest in aquariums or fish keeping!
If you have answers, please help by responding to the unanswered posts.

Jnam

Aquarium Advice FINatic
Joined
Sep 3, 2008
Messages
757
Location
Boise ID
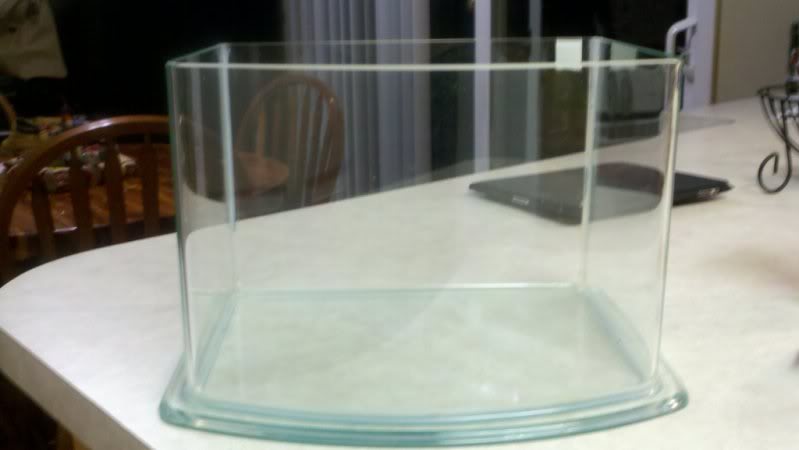
We moved recently so I had to downsize to just one tank which left me with a 36 gallon bowfront reef. Well MTS has bit and I have recieved clearance from the boss to set up a tank at work.

Formerly this picotope was a pico reef and I loved it but the location I will be setting this tank up in can experience large temp swings. A reef tank just doesnt seem plausible. So I have opted to do a very simple Iwagami layout.

The plan:
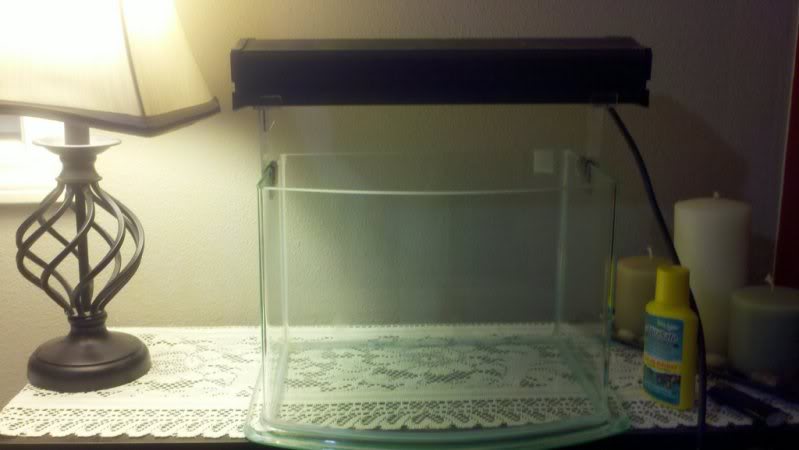
Lighting : 13" 24w power compact light 10000K bulb for now
Eventually ill get something closer to 8000K but
I like the crisp white of a 10000K bulb so I may stick
with that. I plan on upgrading to an LED lighting for
a more elegant look. DIY in the future.
Question #1: LEDs anyone try them or use them
with success?

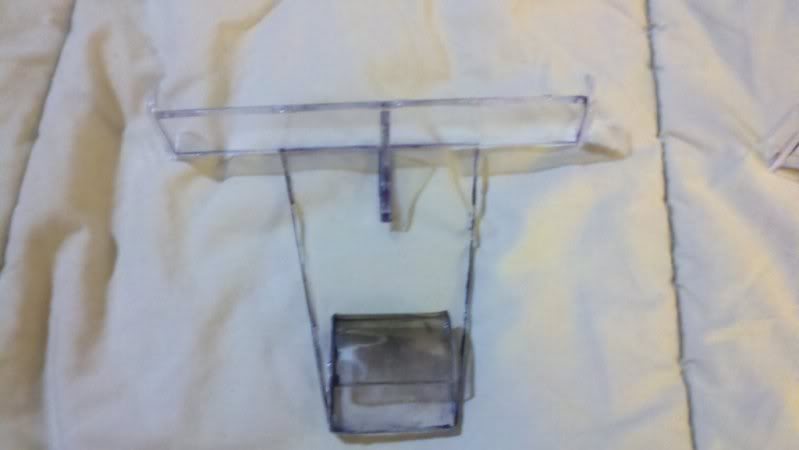
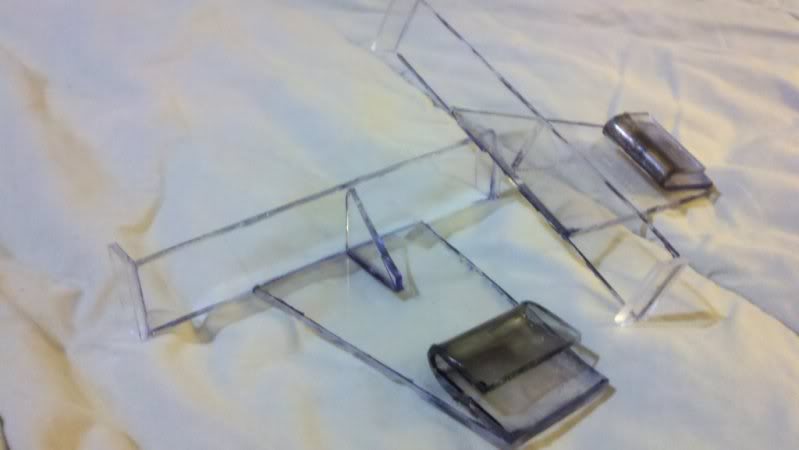
Filter: AC50 that had previously been the fuge for my picoreef.
I will be hiding my heater and CO2 gear inside of the filter
as well. Question #2 so this is a HOB filter I was reading
on elwaines thread that he had trouble with the CO2
diffuser being in the tank because the bubbles werent
Suspended long enough in the water coloumn to properly
dissolve? But wont the turbulance of the HOB cause the
Co2 to gas off? Opinions please.

Substrate: ADA Aquasoil Amazonia. Havent used it before but I have
heard great things. This the normal blend in black.
Plants: I plan on doing a background of microswords and a
foreground of HC or babytears.
Question #3: What plants would everyone else suggest?

CO2: Paintball style DIY or a box set from Peirce I cant decide.
I am going to give the DIY a try though first to see what
Kind of levels I can maintain.

Ferts: EI dosing method(i plan on outodosing DIY to come)

Inverts: A couple of Ramshorns. I know they will spoil the clean look
of the Iwagami but I hate algae on glass.
RCS for the hardyness. OR endlers I can decide.

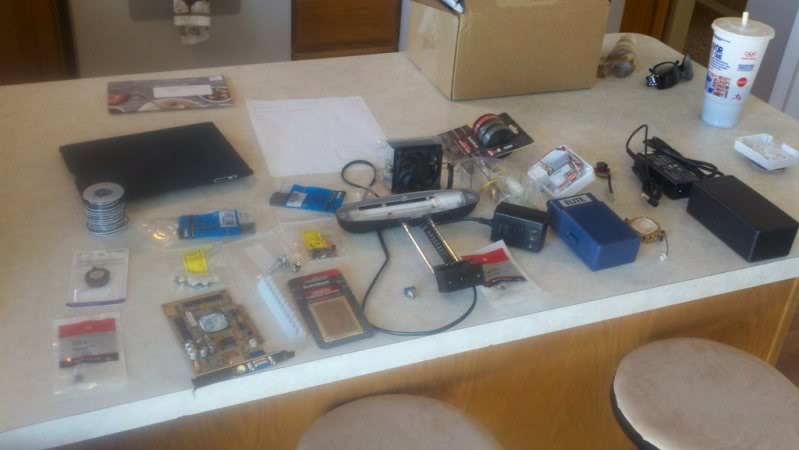
So thats the plan peeps. I will get pictures up but I just ordered the bulk of everything today.
 
:popcorn: I looove these tanks. I found a whole lot when trying to figure out what to do with my fluval edge. Can't wait. :)

I don't know a whole lot about CO2 systems, but in my searching, mentioned above, people seemed to have trouble finding fittings for the paintball tanks.
 
I found a few adapters on ebay for refilling the co2 tanks that will work. The problem is the regulator. I'm worried about the pressure at the needle valve... I may just go with the pierce version or the one for ADA... or DIY if it works =)

Anyways

PICTURES!!


DIRTY AS ALL GET OUT!! nasty smelling saltwater death and decay...

img_1211347_0_fd5760ba501b9fb9d509b437d0dbc963.jpg


img_1211347_1_a43ba5c383a4181bb8376e6625209ec5.jpg


All clean!!
img_1211347_2_9fb70f13686ca6fbc19cda615af704ef.jpg
 
Question #1: LEDs anyone try them or use them
with success?

No, but I've seen some success stories. LED isn't big in FW. It's far cheaper to use CFL or strip lights.

Question #3: What plants would everyone else suggest?
Looks good to me. By microswords you mean E. Tenellum right?
I would suggest something with slightly finer leaves but this is fine.
L. Brasiliensis would be my suggestion.


Question #2 so this is a HOB filter I was reading
on elwaines thread that he had trouble with the CO2
diffuser being in the tank because the bubbles werent
Suspended long enough in the water coloumn to properly
dissolve? But wont the turbulance of the HOB cause the
Co2 to gas off? Opinions please.

If you keep the lid on the HOB and tape up the vents on it, keep the water level above the overflow...thing..ramp? er...the place where the water comes out, you will limit the amount of CO2 outgassed. If you're worried just get a tiny canister. The canister is the route I would choose.
 
where would you get the canister from or what type? I want to avoid as much clutter in the tank as possible... hence the HOB will house the heater
 
Most canisters for a 3gallon are made in asia so they are available online , especially eBay. I don't think a hob will make such a large difference in a small tank though and hiding the heater in the filter is a smart move in such a small tank.It is really up to you. If you go the HOB route just make sure you keep the water above the bottom of the overflow lip.
 
Sounds like a plan, I will be using an auto top off to combat evap I like to keep the water level as high as possible.
 
good deal, and i know hydor makes a nice small plate-like heater for a 3G, no temp control though
 
More pics

The 24wPC light on the custom mounting legs I made
img_1212160_0_aa21a69a7605da53763dd11fd2cdd9ff.jpg


DIY Legs
img_1212160_1_c0d9a434fda8b7b9303ff3a8280071f9.jpg


Again
img_1212160_2_e10ca2cacd8fda5460eb953e81260bfc.jpg


legs on the tank
img_1212160_3_c5f4a5bd86c46b9bfbf875a94cd621dc.jpg


Ordered all my LED stuff today. I will do a build on it in case anyone is interested. Now i am waiting on my aquasoil and some stones for the tank... Now where do i get the rocks i want...
 
Ok so far I have recieved my CO2 Diffuser my HOB a few components for my LED build some prime. I am waiting on my Aquasoild from ADA my heatsink and LEDS for my light. Postage is taking a really long time. Oh and I just found my rocks from a member of a different forum, they look just like the Ohko rocks on the ADA website... Cant wait to start putting this together.
 
Ok so I have made some headway, I now have everything in but my stone.

I started the LED build yesterday. I decided to create a control box to house the driver for the LED as well as the autotopoff components. I want this thing to be clean and streamlined.

The control box will have two switches one for the LEDS and one to override the ATO for water changes and planting. 3 gree Leds will indicate that status of things for me. I decided to do a control box because my suppply voltage for my LED driver is 19V and my fans are 12v and I didnt want the mess of wires.

Here is how it looked when I started.
img_1222181_0_86ee6f8d5f0ebfcc17acbb7e473a1f07.jpg


This is the light without the LEDs as you can see I have modified a Picotope light to accomidate a heatsink and fan

img_1222181_1_2032cb867704aa3d7c53dafcff2af855.jpg

<p>
img_1222181_2_907f26750c331e39e2c40163086b897a.jpg
 
Looking good. I think you made some good plant choices. I switched from using a small AZOO HOB to the EHEIM 2213 canister filter, with glass inflow/outflow. It is pretty strong, but by using the glass inflow lily-pipe shaped tube, it cuts the current to be very manageable, and the filtration is great. It also keeps the tank very uncluttered.

Following along!
 
Allright the control box is at about 90% complete. I need to wire up my LEDs and get them mounted to the heatsink and get a splash gaurd fabbed up.

So this shot is inside the box the gold fan you see is the heatsink for the LED driver The board at the bottom is the control board for the fans and ATO.
img_1223135_0_52040a9e667c2fff6b299bdf8347d857.jpg


This is the front side switch on the right is for manual on and off of the LEDS center knob is for dimming the LEDs and the the hole to the left is extra for a switch that has no use yet. I am thinking ATO override still but I dont know. Green LEDS on the left indicate if I have power both 19 and 12 and the state of the ATO filling or not and yes the are crooked... stupid drill bit was dull and walked all over the place before biting in. I am redisigning the circuit though with a timer for the ATO 1 minute max on and then it shuts off. Or I will use an ocsilator (555) to only run for 1 minute intervals every hour or so. If the state of the ATO is on then it can run if its off it will just skip that phase.
img_1223135_1_5cc11e242c22c7b0f462b2feb1c14fc3.jpg


This shows the power side of things, left center is 110 for the ATO bottom side 19V(I think :-? i cant find my lableler) and the top is the 12volt. I should have used different size jacks but all I had was the 2.1mms

img_1223135_2_b72fead2a799e363cc30f7edc747a029.jpg


This shot shows the connection for the 110 comming out of the lid. The Rats nest of wires is all the extra that will get trimmed down and cleaned up so please ignore =)

img_1223135_3_e090094dab99bd395b800901eb8618d6.jpg


This little box has been fun but I already have a few changes in mind for the circuit. If you would like a diagram I can post one.
 
Back
Top Bottom