Super_Blueberry
Aquarium Advice FINatic
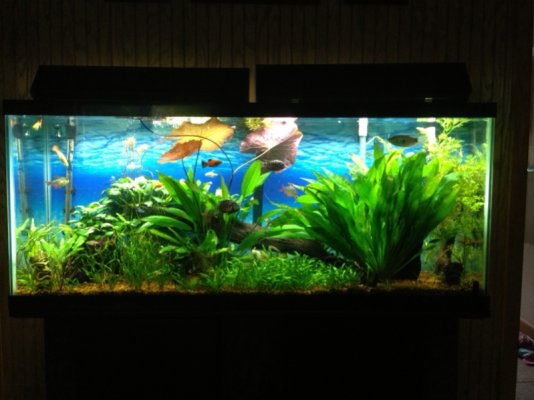
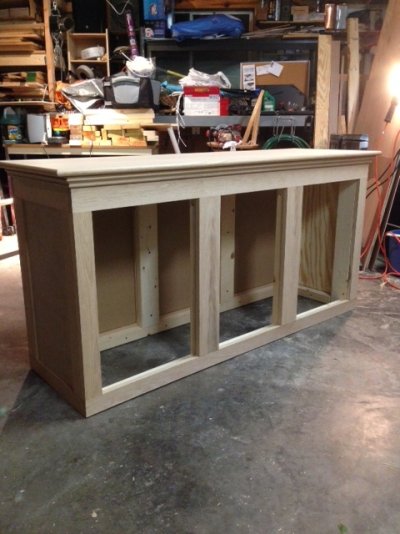
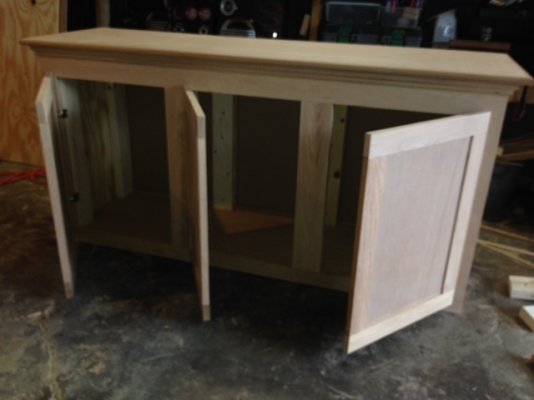
[FONT=.HelveticaNeueUI][FONT=.HelveticaNeueUI]Finally, here is my 100g. Well not quite yet, but it's getting close. I guess I need to curb my enthusiasm a little. Let's start at the beginning. Feel free to skip ahead. Just about a year ago, I was given this 100g tank. <Score!!!>. I had, and still have, a 55g community tank running, but like everyone else on here, it just wasn't enough for me. Problem was, the stand was a piece of garbage and needed to be replaced. I refused to overpay for something I could make myself. That lead to another problem. With 2 small daughters, my free time was limited, so there my tank sat in the garage. All last winter, the whole spring and summer, and into the fall. Came time to clean the garage out for the winter, and I looked at the tank for the 300th time, and I said "It's time." Winter is fast approaching, and I'll have plenty of time to work on it, scape it, add things, change things, yea...this stand needs to get done now. So I spent the next 3-4 weekends working on it. I started with a 2x4 frame to support the 1/2 ton of weight. Then to dress it up I added custom oak panels that would look good stained. (Plus, a 100g tank on a 'nice' looking piece of furniture will get passed the wife a little easier, especially when she thinks the 55g I have is already too big. She just doesn't get it.)
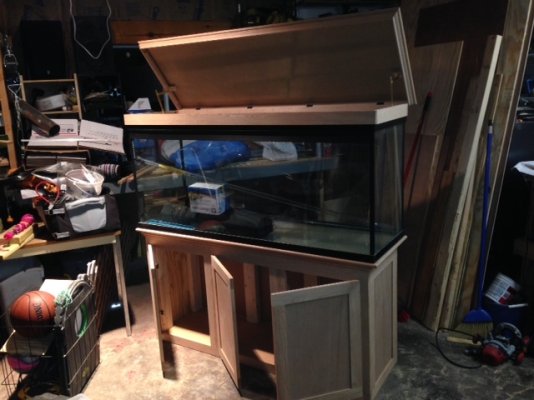
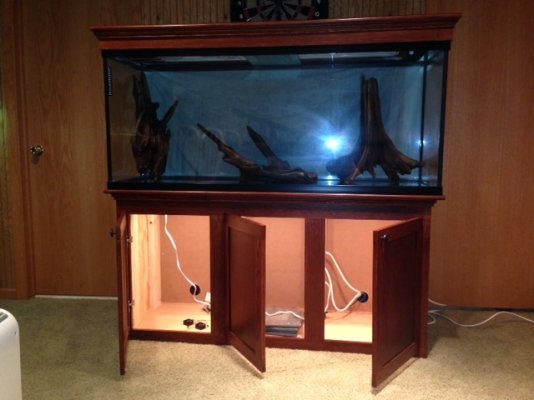
I decided that between the limited time I had to work in an unheated garage before it got to be a typical northern Minnesota autumn day (colder then heck) and quite frankly my lack of superb woodworking skills, the simpler the design, the better. It took a while for me to figure out exactly how to do the lid where it would still be fully functional for my needs, yet not look too awkwardly large. This is what I came up with:
[/FONT] [/FONT]


[FONT=.HelveticaNeueUI]
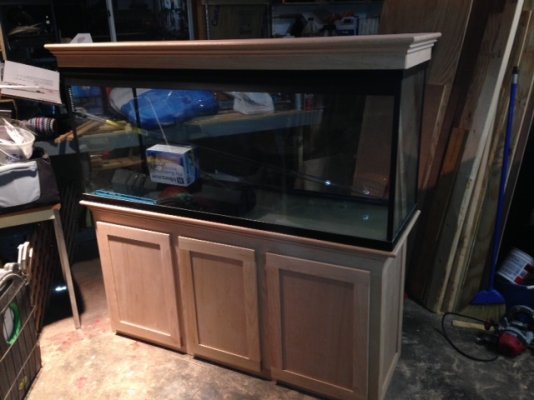
Not too bad, 'eh?
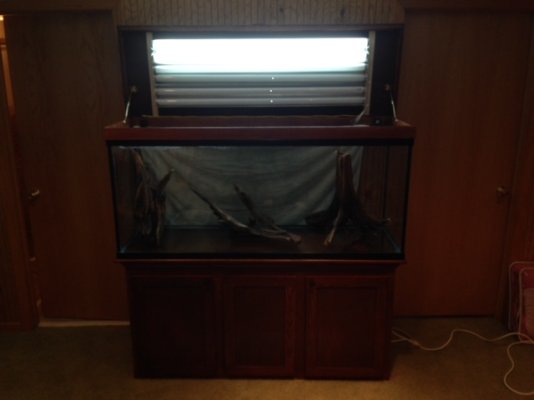
Now it was time for finish and lighting. After running various ideas and thoughts past the gurus on here, and knowing more or less what type of plants I have and might want, and knowing I had to keep it cheap, I settled on 3 shop light fixtures. Each runs two 4' 40W T12NO bulbs, totaling 240 total watts, or 2.4 watts per gallon. I'm hoping that it will be sufficient to sustain the plants I currently have in my 55g at roughly 1.75 wpg, even though the new tank is 6" taller. I'll be following up on that later in my little story here. I also splurged and got some under cabinet lighting for inside the stand because I hate the lack of lighting in my current stand and not being able to find things without a flashlight sometimes.
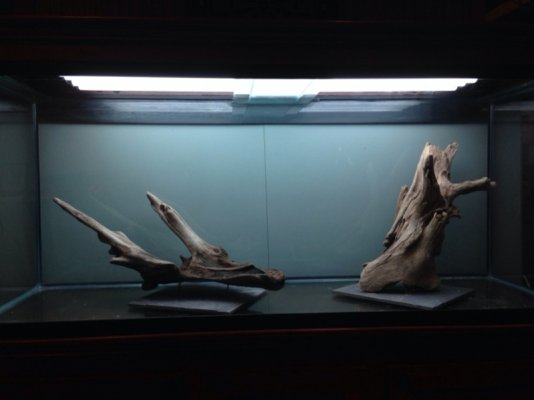
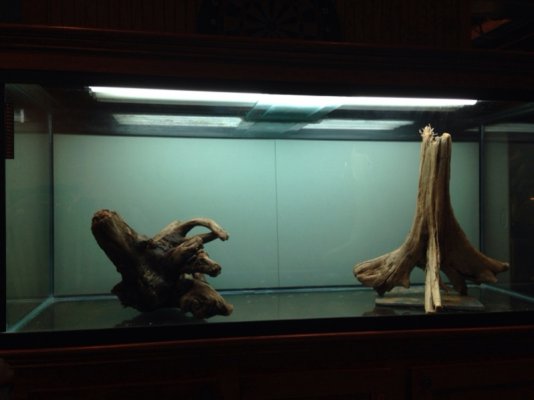
Anyway, I just got the tank inside and on the stand now, and this is how it looks: Forgive my towel background....
[/FONT]


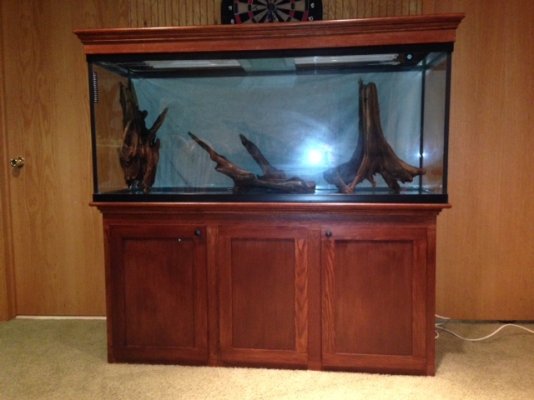
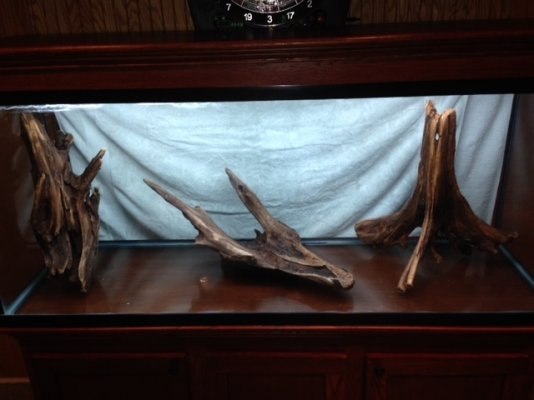
.....And these are the 3 pieces of driftwood I think I'll be using in it. Not 100%, and I've got hundreds to choose from, so we'll see.
Anyway, this is where my tank is as of tonight. I'm hoping this weekend to find time to at least start the process of dirting this tank. My current one is your standard gravel from the pet store for a substrate, and I want to go all out for this new tank. I've got the Miracle Gro Organic Garden Soil, a softball sized clump of red clay to marbleize and scatter across the bottom, and some Osmocote+ to mix with the dirt. I'm thinking that since I have some MTS in my 55g and can use them in my 100, I might take the gravel from the 55 and mix it with the dirt as well as a filler and as a way to easily transfer the little guys over. We'll see if it happens this weekend or not.
So, thanks for reading my post, stay posted for my updates as they happen, and feel free to comment and give me your thoughts with what I should (and shouldn't) do with this project!
PS. I hope my pictures loaded correctly....
I decided that between the limited time I had to work in an unheated garage before it got to be a typical northern Minnesota autumn day (colder then heck) and quite frankly my lack of superb woodworking skills, the simpler the design, the better. It took a while for me to figure out exactly how to do the lid where it would still be fully functional for my needs, yet not look too awkwardly large. This is what I came up with:
[/FONT] [/FONT]
[FONT=.HelveticaNeueUI]
Not too bad, 'eh?
Now it was time for finish and lighting. After running various ideas and thoughts past the gurus on here, and knowing more or less what type of plants I have and might want, and knowing I had to keep it cheap, I settled on 3 shop light fixtures. Each runs two 4' 40W T12NO bulbs, totaling 240 total watts, or 2.4 watts per gallon. I'm hoping that it will be sufficient to sustain the plants I currently have in my 55g at roughly 1.75 wpg, even though the new tank is 6" taller. I'll be following up on that later in my little story here. I also splurged and got some under cabinet lighting for inside the stand because I hate the lack of lighting in my current stand and not being able to find things without a flashlight sometimes.
Anyway, I just got the tank inside and on the stand now, and this is how it looks: Forgive my towel background....
[/FONT]
.....And these are the 3 pieces of driftwood I think I'll be using in it. Not 100%, and I've got hundreds to choose from, so we'll see.
Anyway, this is where my tank is as of tonight. I'm hoping this weekend to find time to at least start the process of dirting this tank. My current one is your standard gravel from the pet store for a substrate, and I want to go all out for this new tank. I've got the Miracle Gro Organic Garden Soil, a softball sized clump of red clay to marbleize and scatter across the bottom, and some Osmocote+ to mix with the dirt. I'm thinking that since I have some MTS in my 55g and can use them in my 100, I might take the gravel from the 55 and mix it with the dirt as well as a filler and as a way to easily transfer the little guys over. We'll see if it happens this weekend or not.
So, thanks for reading my post, stay posted for my updates as they happen, and feel free to comment and give me your thoughts with what I should (and shouldn't) do with this project!
PS. I hope my pictures loaded correctly....
") .
.