Beginner to saltwater aquariums

The friendliest place on the web for anyone with an interest in aquariums or fish keeping!
If you have answers, please help by responding to the unanswered posts.
1491568230973.jpg1491568241232.jpg
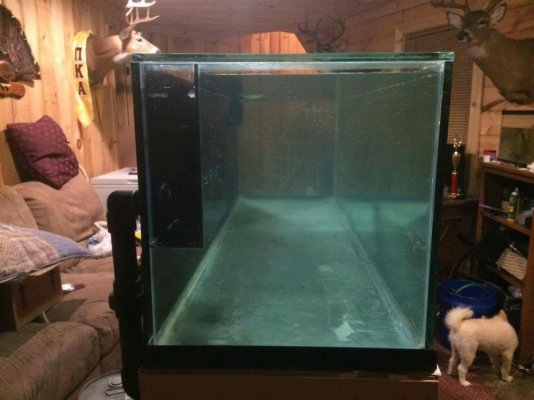
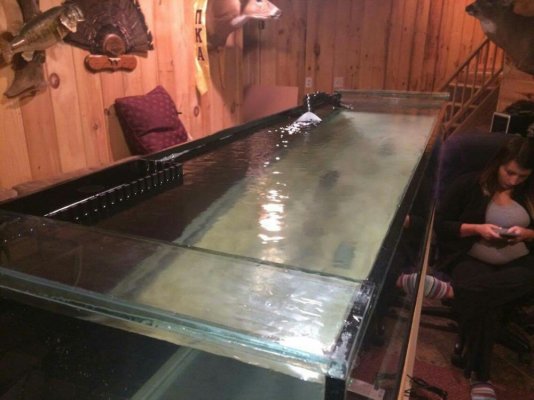
Well, got it filled with fresh for a wet run and NO LEAKS and everything is working perfectly. I got it tuned up and it's dead quite. Very impressed with the herbie method on simplicity and effectiveness. Few issues "not terrible".

I wanted my.water level to be less than 1" from the rim bc I think and 1" level on rimless looks bad. I got my teeth cut 1" expecting a .25" over overflow teeth before spilling over. Well, it's more like .5" before spilling over and my water level is .5" from topping over. I love the look, it's just scary. Not sure if i'mma cut box off and insert it about 3/8" lower of go with it.

My overflow box is 16", which is not near enough surface skimming for a 1.25" drain and the pump I got. I have to set my pump to the he lowest setting. The drain can handle a ton more flow but if I increase the return pump it rides even further up the teeth as the box just ain't big enough to handle that much more flow even though the drain could with ease.

Regardless it's moving water like crazy and I'm excited.

I'm concerned about powerhead intallation. Question I'm asking myself is will my powerheads create water to ride over rim. I bought one jebao PP-8 and plan to get another if I like it. Iv got it just never had time to set it up lastnight.

Me leaving box as is or moving lower depends on water level after powerhead are working.
 
Powerheads can push water like you mentioned, but that isn't what you want them to do anyway. The goal is a gentle ripple up top and a calm yet chaotic flow in the system to ensure food and poop doesn't settle and gets pulled down into your filtration.
 
Powerheads can push water like you mentioned, but that isn't what you want them to do anyway. The goal is a gentle ripple up top and a calm yet chaotic flow in the system to ensure food and poop doesn't settle and gets pulled down into your filtration.
Sniperhawk, thanks for the reply. I had thought everyone had gave up on me hahaha. Yes, I got the flare nozzles on a split loc line at return and it's doing great on surface agitation. I think I'm going to keep it at half inch bc I really like the look and just be extra careful doing maintenance and expect a little water in the floor here and there once my stock gets a little bigger.

Question, do they make something u can add to the rim kinda like a bug guard on a vehicle. Just sticks up and kinda curves inwards towards the tank like a wave. Would work great on high level tanks to prevent spillage
 
Question, do they make something u can add to the rim kinda like a bug guard on a vehicle. Just sticks up and kinda curves inwards towards the tank like a wave. Would work great on high level tanks to prevent spillage

I never seen anything like that but sounds kind of neat , you may want to check with a glass shop some of them work with acrylics and could probably mold something up for you, don't think something like that to be cheap,

I don't think you'll need something like that if you keep your water level about a inch from the top , I keep my 90g tank almost filled to the top and have no issue with overflow from power heads . its more about positioning of the power heads that can help avoid a issue your concerned about.


Yes, I agree. I wanted about 3/4 inch but the water ride further up the overflow teeth before going trough inside the box. My teeth are 1" deep and it's rising up 1/2" so my distance from top of tank is only half inch.

I'm going with it. Tank is braced on the ends and iv had it filled and running for 3 days in my basement and it is working perfectly and tank seems to be holding up great.

I'm moving to permanent spot this evening. Will send pics when it there.
 
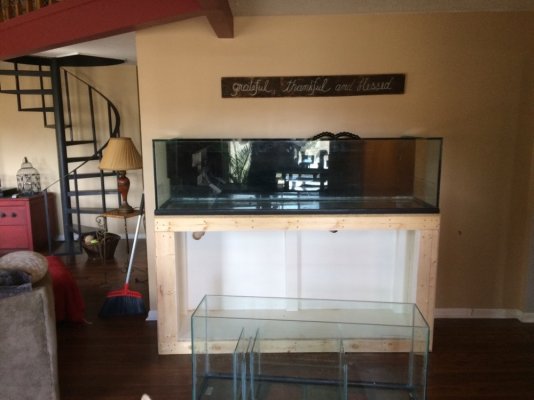
IMG_1618.jpg
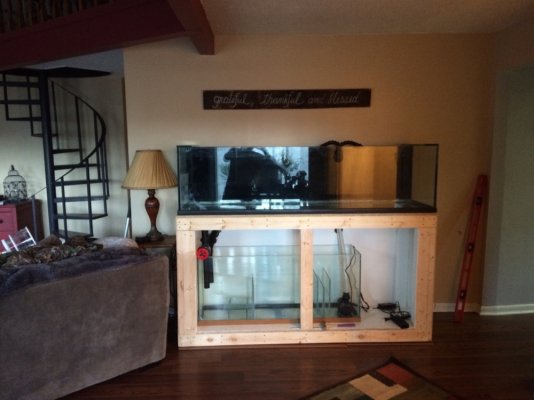
This will be its permanent home. Got to center better and finish the stand. Got all the plumbing hooked back up after I took this pic. Lots of work still left but I'm almost ready to do my rock scape, which I'm pumped about. Been looking forward to that for awhile now.
 
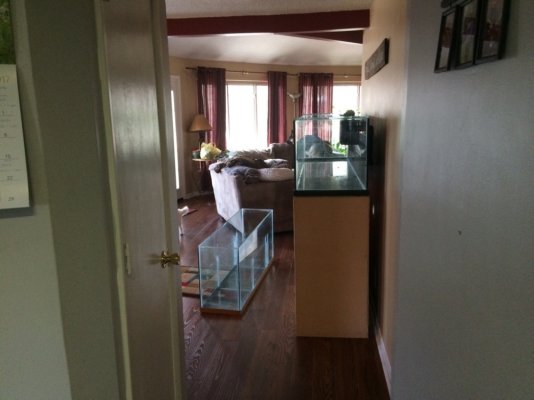
IMG_1617.jpg
Pic from side. Note there will not be this might sunlight in here on a normal day. It's just beautiful out in the mountains right now and I'm taking advantage of it hahah
 
Things look great...is it wrong of the country side of me want it put back into the basement with the knotty pine though?


Hahaha, that would def be the safest place. I'm not down there a lot other than when I do taxonomy work. Really wasn't a lot of room for it either. I would sure feel better regarding the weigh of this thing on the floor down there though but I should be ok. Iv out so much work into it, I want to be able to see it all the time and I'm in the living room much more.

IMG_1622.jpg
 
That sounds pretty solid. As long as the tank is going across several floor joist you shouldn't have any problems. It's too bad you don't have any room down there. That is a lot of great looking stuff...did it all yourself?
 
That sounds pretty solid. As long as the tank is going across several floor joist you shouldn't have any problems. It's too bad you don't have any room down there. That is a lot of great looking stuff...did it all yourself?


Yep. Only thing I didn't build was the tank but I nearly built it lol it's was in very rough shape when I bought it, but i got it really cheap. I did add the corner braces. Everything else, I done myself.

It was a learning process and I done a lot of studying. Hoping to have it cycling by end of the week.
 
IMG_1649.jpg
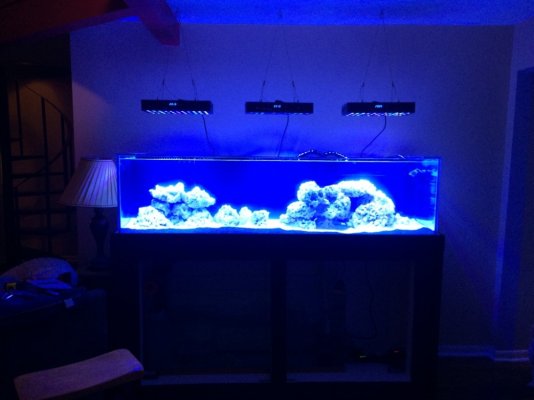
FINALLY adding water to it!

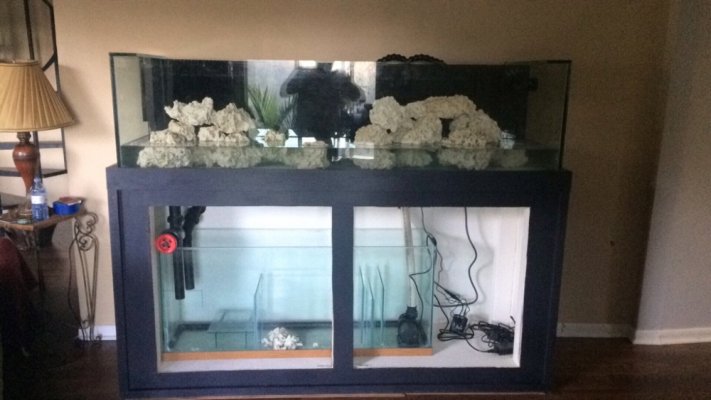
Got the stand finished "minus the doors".

I will keep y'all updated. Making this RODI water is taking a long time. Only getting about 35psi.
 
That is a nice looking sump.
"Hey bud, my tank is up here!" Hehe


Appreciate it! I was very intimidated by the sump but it was really easy. They are just so much stuff to plan building a complete setup from scratch.

What hurt me the most was being in rural East KY. Basically has to order everything from online. U can look at specs but it's not the same as having the piece to design around.

It worked out though.

About messed up today though. I had to go to Frankfort for work and I decided to leave the RODI water to the girlfriend to increase our yield Instead of having it shut down in my absence.

Well
She left at 9am this morning and didn't turn the water off with the line going into a lidded 5 gallon bucket lol. I got
Home at 6PM to
Find a wet kitchen floor. Luckily it was tile and I had two big rugs close to the bucket. The rigs actually soaked up all the water and it never got off the tile. I think my 90lb German Shepard helped a little as well. Hahah he has peed a dozen times since I got home.

Last time I rely on her to turn the water off before leaving [emoji23]
 
Just caught up on this thread, PC. This looks amazing! Looking forward to following you through the cycle and into stocking!
 
Back
Top Bottom