DYI high output moving LED for frag tank

The friendliest place on the web for anyone with an interest in aquariums or fish keeping!
If you have answers, please help by responding to the unanswered posts.

Gregcoyote

Aquarium Advice Addict
Joined
Feb 12, 2011
Messages
8,423
Location
Columbia, Missouri
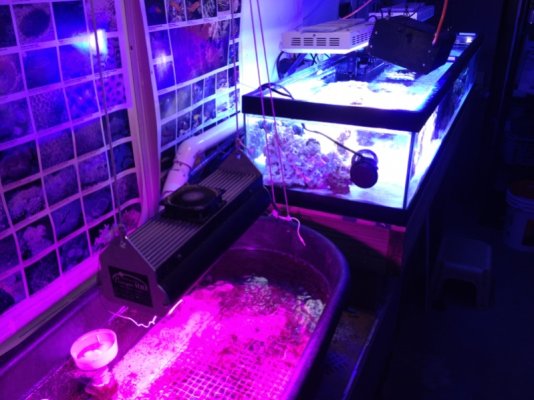
This is the start of a thread to build a specific light for a frag tank I am adding to my system. For those of you that follow my turf algae scrubbing thread, you know this reef system is 20 years old and has about 400 gallons running. It is all led powered for the past 4 years.

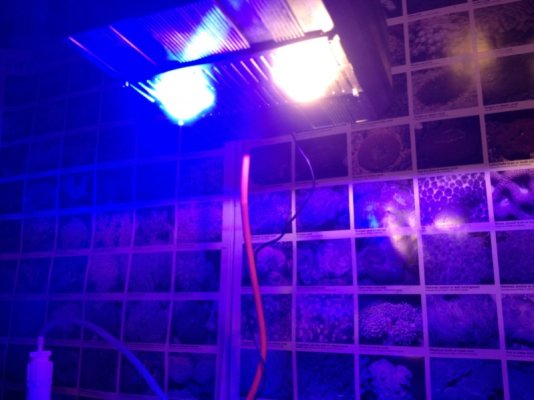
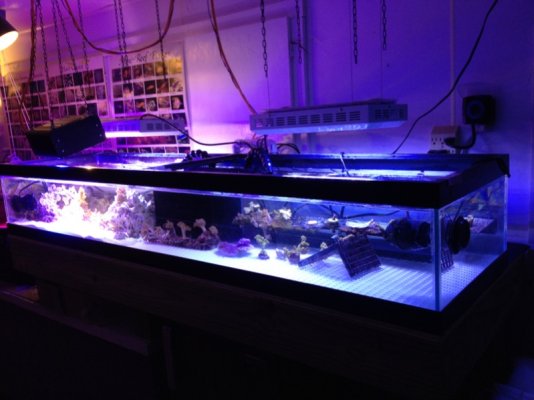
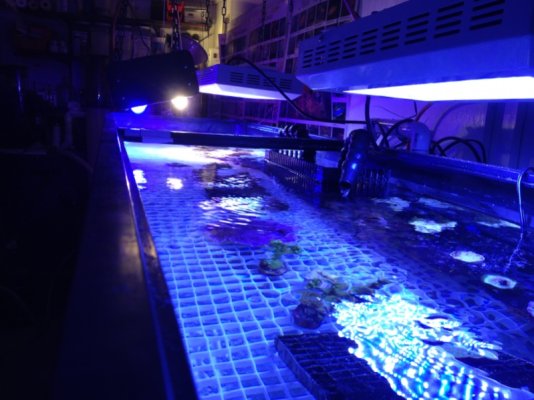
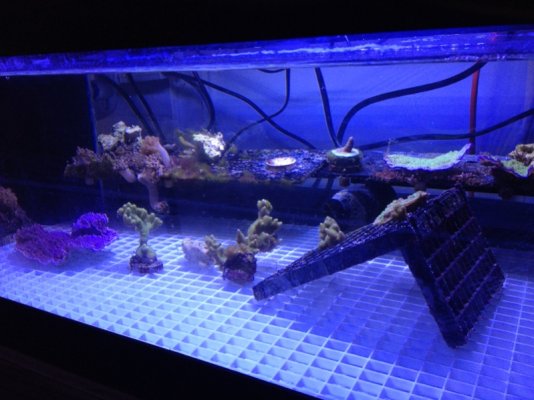
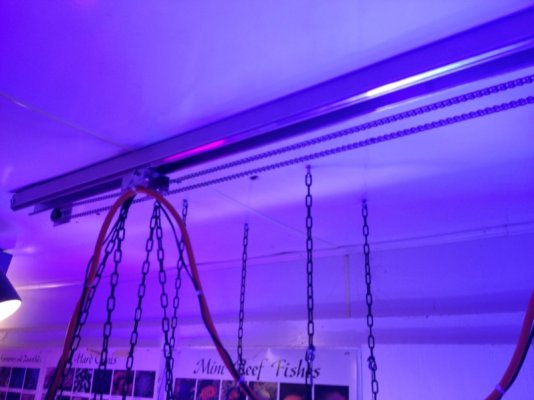
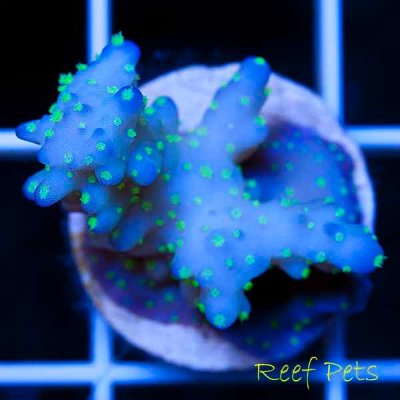
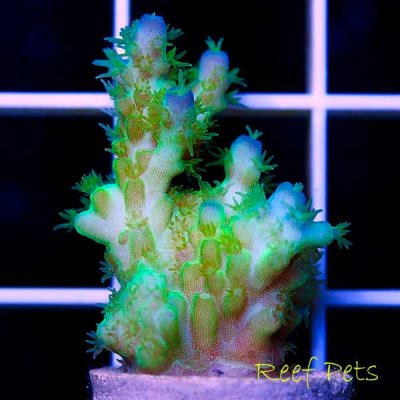
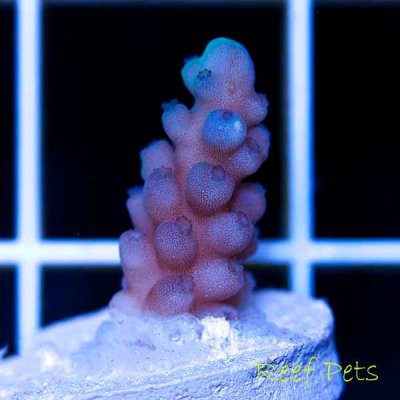
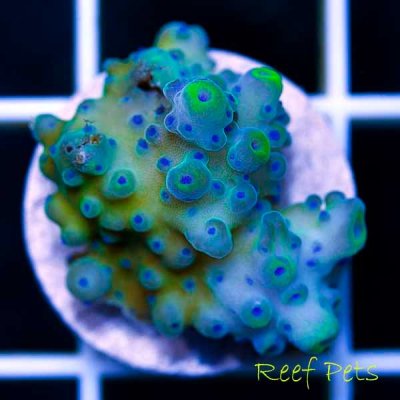
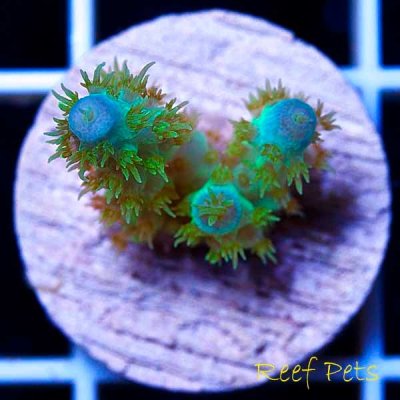
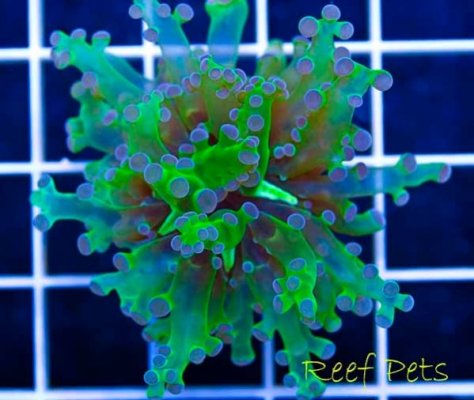
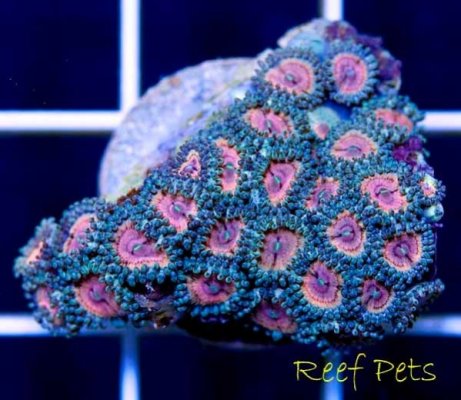
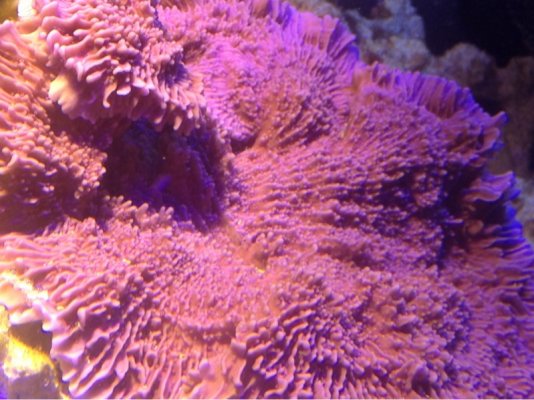
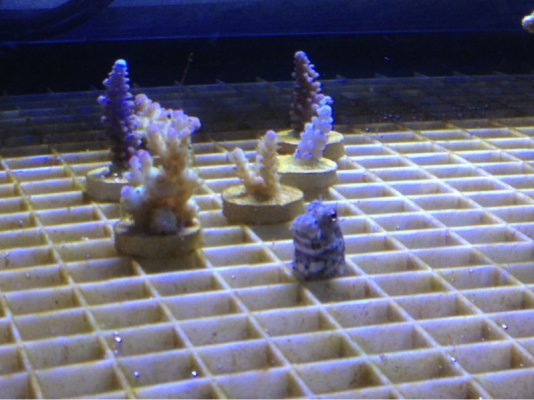
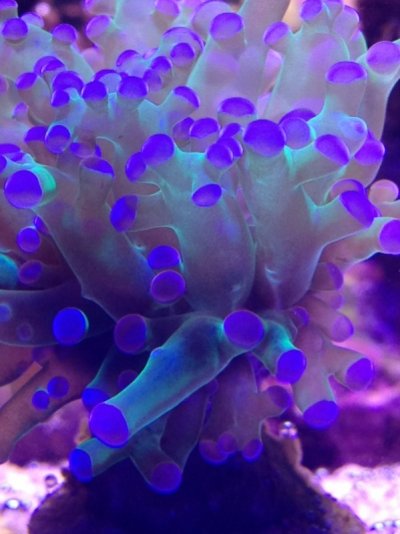
I am adding a 6' long, 18" width, 18" depth tank with egg crate bottom for growing SPS, zoas and mushrooms. The DIY light will be different in two ways. One, it will move the length of the tank every 8 hours on a rail system built for hydro farmers. Two, the LED will be 200 watts and use only two multi segmented LED's seen below.

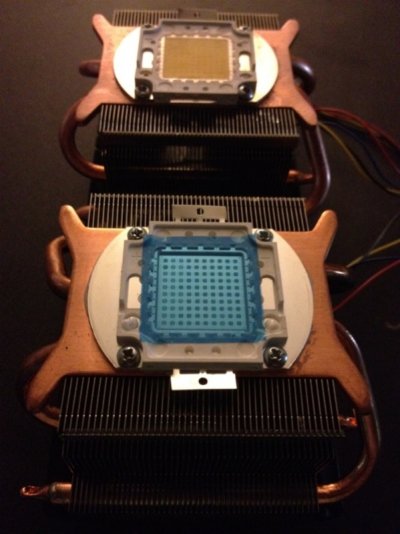
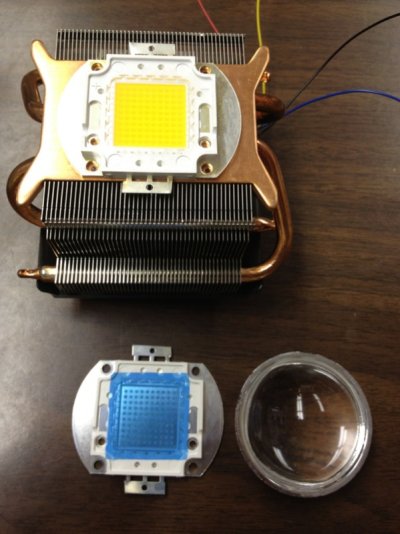
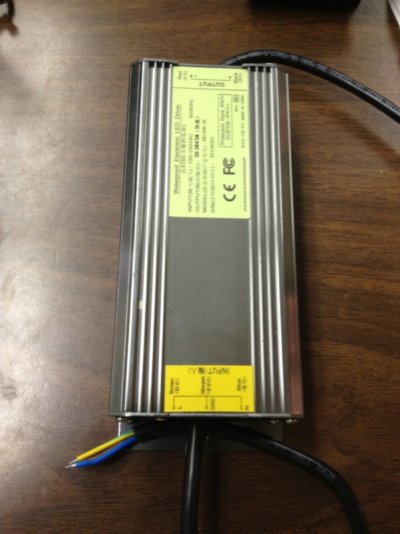
The first shot shows the two LEDs, the one mounted to the heat sink is a 100 watt 20k cool white led. It will be on a fixed output 100 watt driver. The other LED is a actinic (royal blue) 100 watt part that will be mounted on a matching heat sink. One of the 90 degree reflectors and lens is also shown. The driver shown is for the white led, it will be fixed, the driver for the blue led has it's own PCM driver so it can be dimmed.

The philosophy is that the design must be compact (it will be on the move) and I have wanted to use these new parts for months. The trick is keeping them cool. These parts dissipate about as much heat as a modern micro processor, so I am using those computer parts as active heat sinks. Keeps the whole package really small. The reason I am moving it slowly the length of the tank is a system I saw when visiting family in Phoenix. Some of you will know this system with the moving light rail and have seen the shapes the SPS have taken. I am going for a smaller version of that system with my own twists.

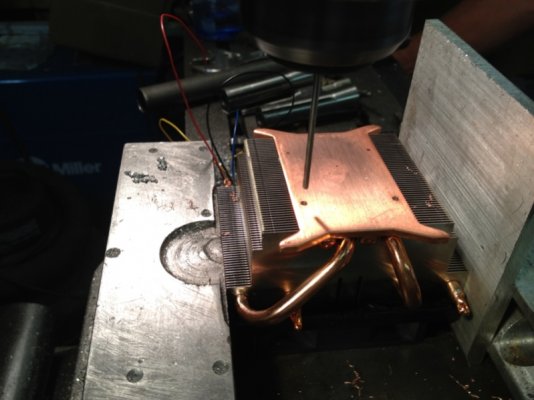
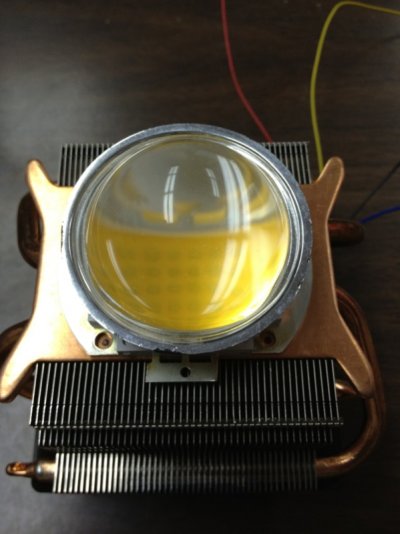
The surface of the copper heat transfer plate is tapped for small screws and the led is held by those and thermal paste applied to transfer the heat from the part to the sink.
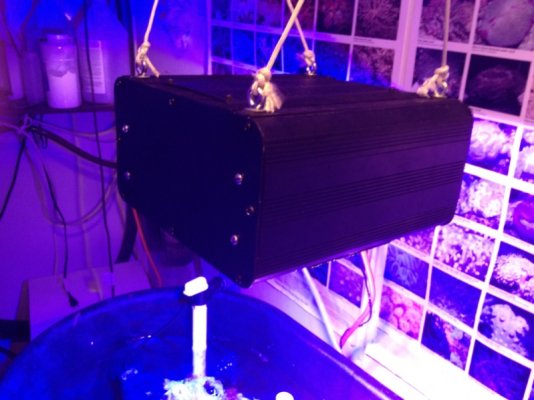
Both heat sinks with lenses will be placed into a small metal box. The drivers will be mounted separately on the wall and a power cable will supply the juice to the moving light. I will post more pictures as we go. Everything seen was bought cheaply on EBay.
 

Attachments

  • image-1391077873.jpg
    image-1391077873.jpg
    142.1 KB · Views: 141
  • image-1916372659.jpg
    image-1916372659.jpg
    121.5 KB · Views: 153
  • image-180771869.jpg
    image-180771869.jpg
    132.1 KB · Views: 156
Last edited:
Wow, that looks awesome! Really excited to see how this turns out.
 
Luckily I have access to a milling machine. So here are the pictures as I drill and tap the copper heat transfer plate to accept 4-40 screws that will hold the LED chips. The second picture is after thermal paste has been added and the LEDs attached. The next step is build a box to hold this, the reflectors and the lenses. The heat sinks are powered by their own 12VDC power supply.
 

Attachments

  • image-1323491854.jpg
    image-1323491854.jpg
    125.3 KB · Views: 144
  • image-1940035242.jpg
    image-1940035242.jpg
    133.3 KB · Views: 151
Last edited:
Just ordered a anodized aluminum case that is 8"x8"x4" that will be perfect to hold the two LEDs, heat sinks, two 100 watt drivers and the 12 v transformer to run the heat sink fans. I will mill out the holes for the lenses next time I shoot photos. I lit the two chips a few minutes ago and they are blindingly powerful. I decided I wanted everything in one compact unit, so everything will be in one box that I will hang on the 6' motorized rail over the tank.
 
Last edited:
So far:

$40 for anodized black aluminum case
$100 for (2) 100 watt multisegment LEDs (blue and white)
$100 for (2) 100 watt PCM drivers
$40 for (2) active fan powered computer heat sinks
Free, 12 VDC transformer (had one in my parts box)
$10 lenses and reflectors
$10 misc. Parts, wire, etc.

$300 so far for a dim-able 200 watt LED

In volume it could be far less, but for a one off, not bad. Could get the drivers for less but went for some nicer waterproof ones.
 
Last edited:
Okay...I just finished the project. Don't have the moving rail in yet, but I am testing the light over a frag tank. With the light 24" above the surface, I had PAR 650, here, about 6" down it is 350 and at the bottom it is 200. That is about right for my setup now, and the light is way up in the air. One thing I don't like is that the blue emitter and white emitter are only inches apart, but one side of the tank is bluer than the other side. Need to work on that.

I went overboard on the machine work on the case, so my budget got smashed. This light cost me almost $500, so nice project, but I didn't save any money.
 

Attachments

  • image-1451154724.jpg
    image-1451154724.jpg
    147.2 KB · Views: 173
  • image-2458030006.jpg
    image-2458030006.jpg
    129.5 KB · Views: 192
  • image-1884142701.jpg
    image-1884142701.jpg
    153.2 KB · Views: 217
Last edited:
48 hours since light was introduced. Capricornus grew 2mm in this short time. Looks like everyone in the frag system is tolerating it fine so far. Will wait a few weeks, maybe a month them lower it about 10" where that will kick PAR up to 400 on the shelves I stock LPS on and a PAR of about 600 at the top for SPS.

One side effect of these multi emitter LED chips in this wattage is it is like looking at a welding torch. Another side effect is getting the colors to mix well when you have just one white lens and one blue one.
 
Last edited:
The pics of your tank are beautiful. I am jealous. Lol. I am new to the sport and hope to have a tank as nice as yours some day.
 
Hey good morning. I was hoping you could help me with my lighting schedule. I have 55 gallon fowlr. I have 80 lbs of Caribbean seas base rock with a 4 or 5 inch live sand bed. My tank is 2 weeks old cycling I hope with 6 blue chromis who are doing excellent. I have a Tom rapids wet dry with a built in protein skimmer. I want to grow coraline on my rock. What should my light schedule be. 2 12000k sea world t5 white bulbs. And 2 t5 actinic blue bulbs. As well as 6 blue led moon lights. Please advise. Thanks
 
mike406 said:
Hey good morning. I was hoping you could help me with my lighting schedule. I have 55 gallon fowlr. I have 80 lbs of Caribbean seas base rock with a 4 or 5 inch live sand bed. My tank is 2 weeks old cycling I hope with 6 blue chromis who are doing excellent. I have a Tom rapids wet dry with a built in protein skimmer. I want to grow coraline on my rock. What should my light schedule be. 2 12000k sea world t5 white bulbs. And 2 t5 actinic blue bulbs. As well as 6 blue led moon lights. Please advise. Thanks

Coraline algae has a very broad range of acceptable light levels. It grows on power heads, under rocks and in areas that get little light. There are different kinds, but in general they are more sensitive to the amount of calcium available than light. I guarantee that if you do nothing but get your Alk and Cal numbers up, the algae will appear and you will be scraping it off of everything soon.

This is about 2 weeks accumulation on my front glass, you can imagine what everything else looks like! Time to get out my scraper.
 

Attachments

  • image-1465968398.jpg
    image-1465968398.jpg
    187.8 KB · Views: 169
Last edited:
Thanks for your advice. I appreciate it. Btw your tank is amazing. My wife and I love it.
 
New pictures of finished frag system.

The concept is to have a very high intensity light in constant motion so a coral only gets illuminated by it for a few minutes per hour.

The tank is 6' long, 12" deep and 18" wide. Average PAR is 250 on the bottom, but as the DIY 200 watt LED travels over the area, it goes to 1200 PAR briefly, thats the hot spot you see in the pictures. This hot spot is meant to act like noonday sun is hitting the coral briefly each day. The light travels the length of the tank every 20 minutes. It and the algae scrubber are timed to work when the main reef tank is in sleep mode. The other two lights are Chinese 120 watt panels. The refuge is sitting next to the frag tank and all of that is plumbed into my main system. Lighting the refuge is a 200 watt LED tuned for algae growth.

One half (left) is set up with some new rock and fine crushed coral for stuff like clams I want on the bed, while the other side is set up with egg crate material to hold frag plugs, note one of the egg crates is setup on an angle to stimulate growth in a different direction. Now the fun begins. Everything either hand made or bought on EBay and Craigslist, about $1500 invested.
 

Attachments

  • image-1163418109.jpg
    image-1163418109.jpg
    161.9 KB · Views: 119
  • image-2074682157.jpg
    image-2074682157.jpg
    122.8 KB · Views: 146
  • image-1383264928.jpg
    image-1383264928.jpg
    137.8 KB · Views: 164
  • image-1095911423.jpg
    image-1095911423.jpg
    167.5 KB · Views: 140
  • image-2488723026.jpg
    image-2488723026.jpg
    163.1 KB · Views: 156
  • image-2929659190.jpg
    image-2929659190.jpg
    162.5 KB · Views: 94
  • image-4108352393.jpg
    image-4108352393.jpg
    119.9 KB · Views: 157
Last edited:
So far so good. Polyp extension has been excellent and I think I can see the caps growing visibly daily. Ordering a selection of tiny acro frags as further test subjects.
 
New shrimp (kind of a big one) is added to the quiet frag tank. He would be toast in the main reef. But here he comes out and cleans my hand while I am fiddling with corals. Used some of that nice quarried base rock and letting the system seed it.
 

Attachments

  • image-2036094081.jpg
    image-2036094081.jpg
    213.1 KB · Views: 148
Okay, bought frags from "Reef Pets" on EBay, with combined shipping got a good deal. Photos of actual frags look pretty small, but IMO, if my conditions are good enough the existing SPS varieties are growing, these should too. Will post actual pictures of the frags when they arrive next week.

Midnight Limeade Acropora
Blueberry Limeade Acropora
Aquamarine Bonsai Acropora
Ultra Blue Tip Plana Acropora
Radiant Blue Limeade Acropora
Ultra Australian Acropora
Blueberry Limeade Acropora
Ultra Blue Tip Plana Acropora
Sour Apple Frogspawn LPS
Rainbow Sherbet Palythoas Palys Zoas
 

Attachments

  • image-1221538997.jpg
    image-1221538997.jpg
    221.1 KB · Views: 126
  • image-1868318245.jpg
    image-1868318245.jpg
    229.5 KB · Views: 134
  • image-4187318964.jpg
    image-4187318964.jpg
    221.7 KB · Views: 109
  • image-888135036.jpg
    image-888135036.jpg
    247.6 KB · Views: 164
  • image-680136676.jpg
    image-680136676.jpg
    231.4 KB · Views: 135
  • image-1287275782.jpg
    image-1287275782.jpg
    194.5 KB · Views: 108
  • image-3142510505.jpg
    image-3142510505.jpg
    237.5 KB · Views: 117
  • image-413477763.jpg
    image-413477763.jpg
    247.9 KB · Views: 147
  • image-51092889.jpg
    image-51092889.jpg
    93.7 KB · Views: 122
  • image-3423205911.jpg
    image-3423205911.jpg
    113.1 KB · Views: 127
Last edited:
New pics from the frag tank. Brightest areas are where the moving light is concentrated to over 1000 PAR.
 

Attachments

  • image-4029530635.jpg
    image-4029530635.jpg
    203.1 KB · Views: 100
  • image-1323928126.jpg
    image-1323928126.jpg
    205.6 KB · Views: 103
  • image-3813596844.jpg
    image-3813596844.jpg
    185.9 KB · Views: 112
  • image-3859881056.jpg
    image-3859881056.jpg
    199.5 KB · Views: 115
  • image-4264689933.jpg
    image-4264689933.jpg
    168.4 KB · Views: 136
  • image-2498159619.jpg
    image-2498159619.jpg
    192.2 KB · Views: 102
  • image-4045926713.jpg
    image-4045926713.jpg
    145 KB · Views: 119
  • image-1191503293.jpg
    image-1191503293.jpg
    198.6 KB · Views: 126
  • image-1145127134.jpg
    image-1145127134.jpg
    159.1 KB · Views: 119
  • image-4234906975.jpg
    image-4234906975.jpg
    138.1 KB · Views: 312
Back
Top Bottom