dynastykid
Aquarium Advice Apprentice
- Joined
- May 23, 2009
- Messages
- 12
Hi all,
I am new to the forum (kinda, I hide under the radar and read all the posts for advice), but have been meaning to fill you guys in on my 75G reef and fish build I am currently in the process of getting started.
I am relatively newer to SW. My experience includes about a years worth of sharing the responsibility of keeping a 24G aquapod while I was up at school with my roommate.
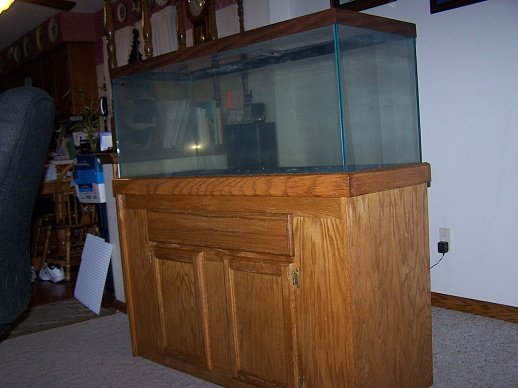
When my family would come and visit they really enjoyed looking at the progress that it had made and wanted to start one at home. One of my friends up at school had a nice 75G aquarium with an oak stand and canopy. He didn't want the hassel of moving the tank, so I offered to take it off his hands... = Free tank and stand!
Knowing I would be working on a budget, this free pick up was the spark to getting a nice tank started at home. The only problem with the free tank/stand/canopy was it all needed a good cleaning and some work on it. After some hard scrubbing, some amatuer carpentry, 2 coats of stain and 4 trys at poly later, I had a good start!
As a kid, I kept a 20G FW with bala sharks in it...perfect sump! I got some glass cut and silicone the baffles in place and now have a sump/fuge setup!
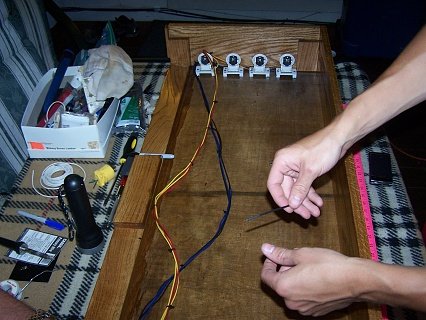
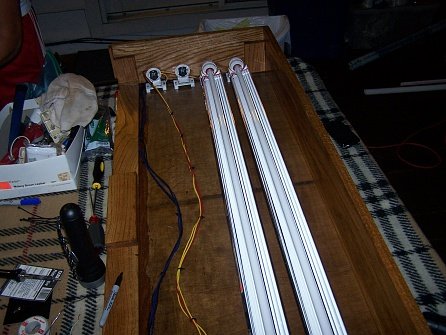
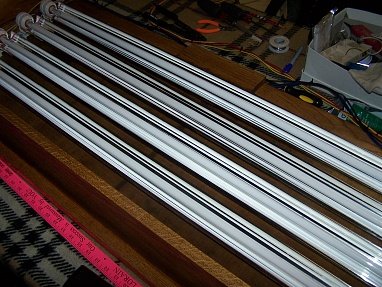
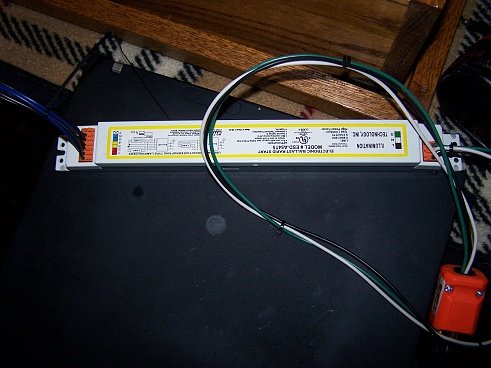
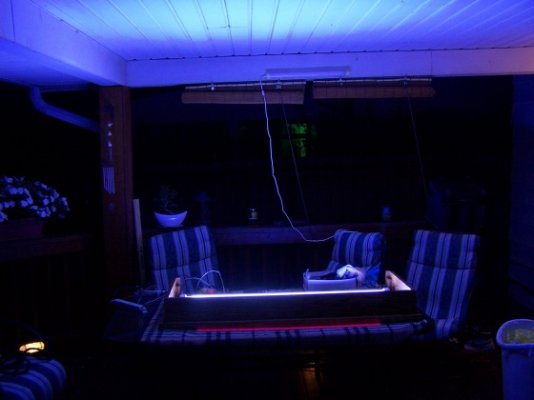
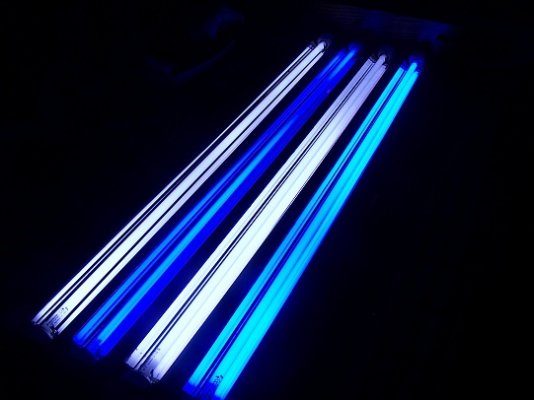
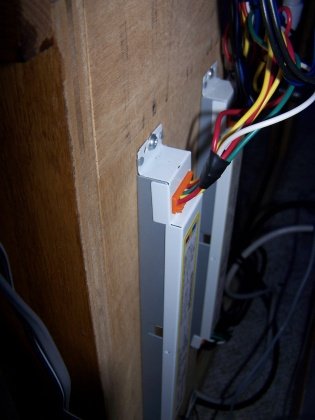
I wanted to keep the canopy on it for the nice oak finish (goes with the house) rather than having an open top with a light fixture on it, so retrofit lighting is the way I am going.
Welp, thats all I can think of right now. I will get some pictures up tonight hopefully of my progress so far because I know everyone loves pictures! Feel free to comment on anything, I appreciate the advice!
-Kyle
I am new to the forum (kinda, I hide under the radar and read all the posts for advice), but have been meaning to fill you guys in on my 75G reef and fish build I am currently in the process of getting started.
I am relatively newer to SW. My experience includes about a years worth of sharing the responsibility of keeping a 24G aquapod while I was up at school with my roommate.
When my family would come and visit they really enjoyed looking at the progress that it had made and wanted to start one at home. One of my friends up at school had a nice 75G aquarium with an oak stand and canopy. He didn't want the hassel of moving the tank, so I offered to take it off his hands... = Free tank and stand!
Knowing I would be working on a budget, this free pick up was the spark to getting a nice tank started at home. The only problem with the free tank/stand/canopy was it all needed a good cleaning and some work on it. After some hard scrubbing, some amatuer carpentry, 2 coats of stain and 4 trys at poly later, I had a good start!
As a kid, I kept a 20G FW with bala sharks in it...perfect sump! I got some glass cut and silicone the baffles in place and now have a sump/fuge setup!
I wanted to keep the canopy on it for the nice oak finish (goes with the house) rather than having an open top with a light fixture on it, so retrofit lighting is the way I am going.
Welp, thats all I can think of right now. I will get some pictures up tonight hopefully of my progress so far because I know everyone loves pictures! Feel free to comment on anything, I appreciate the advice!
-Kyle