DIY Refugium Build

The friendliest place on the web for anyone with an interest in aquariums or fish keeping!
If you have answers, please help by responding to the unanswered posts.

MacDracor

Aquarium Advice Addict
Joined
May 1, 2011
Messages
1,348
Location
Tacoma, WA
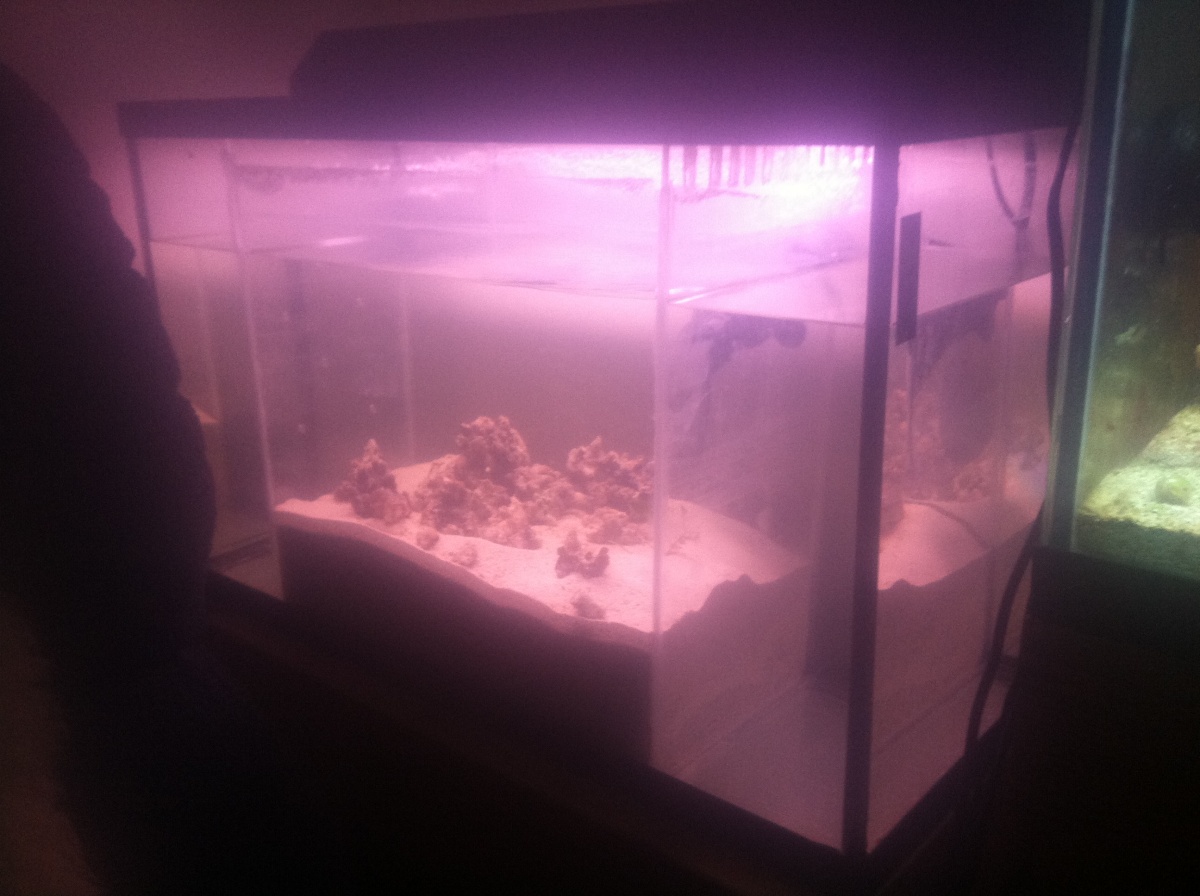
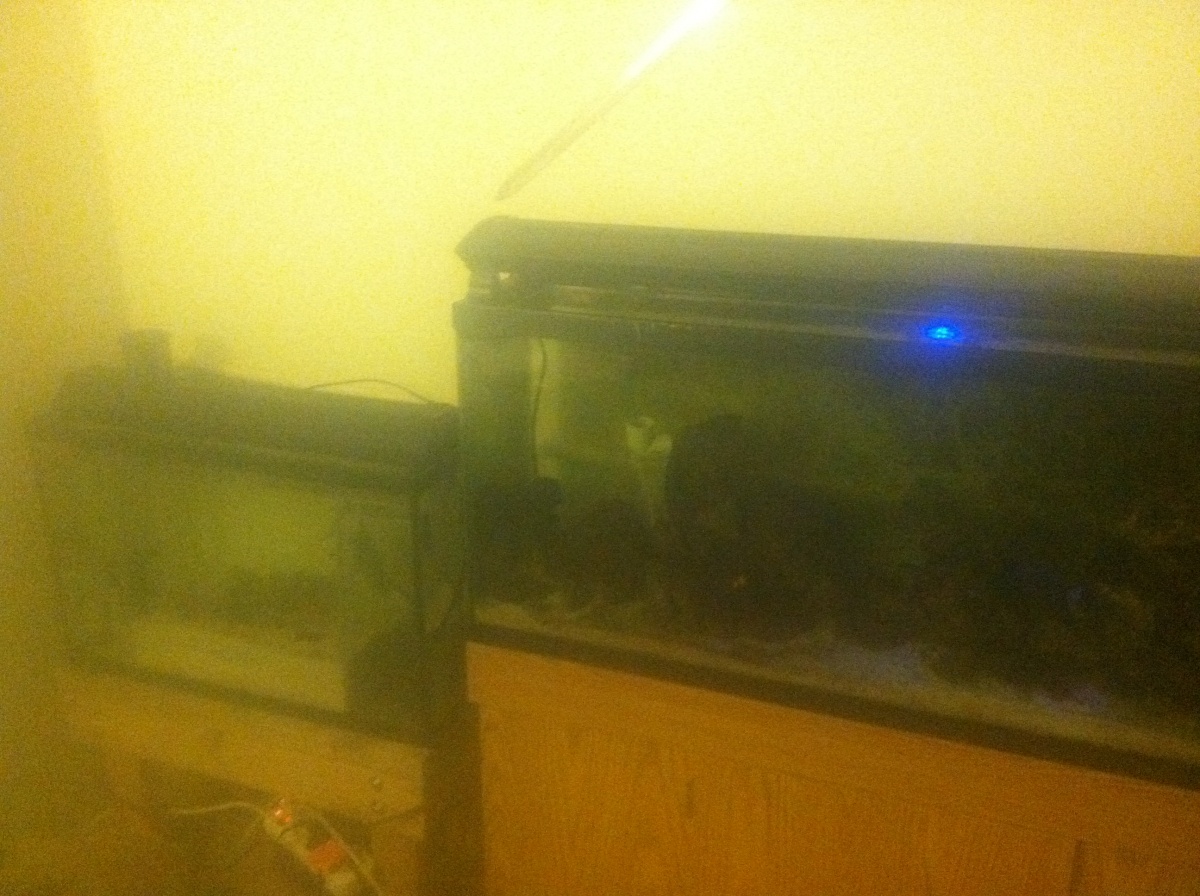
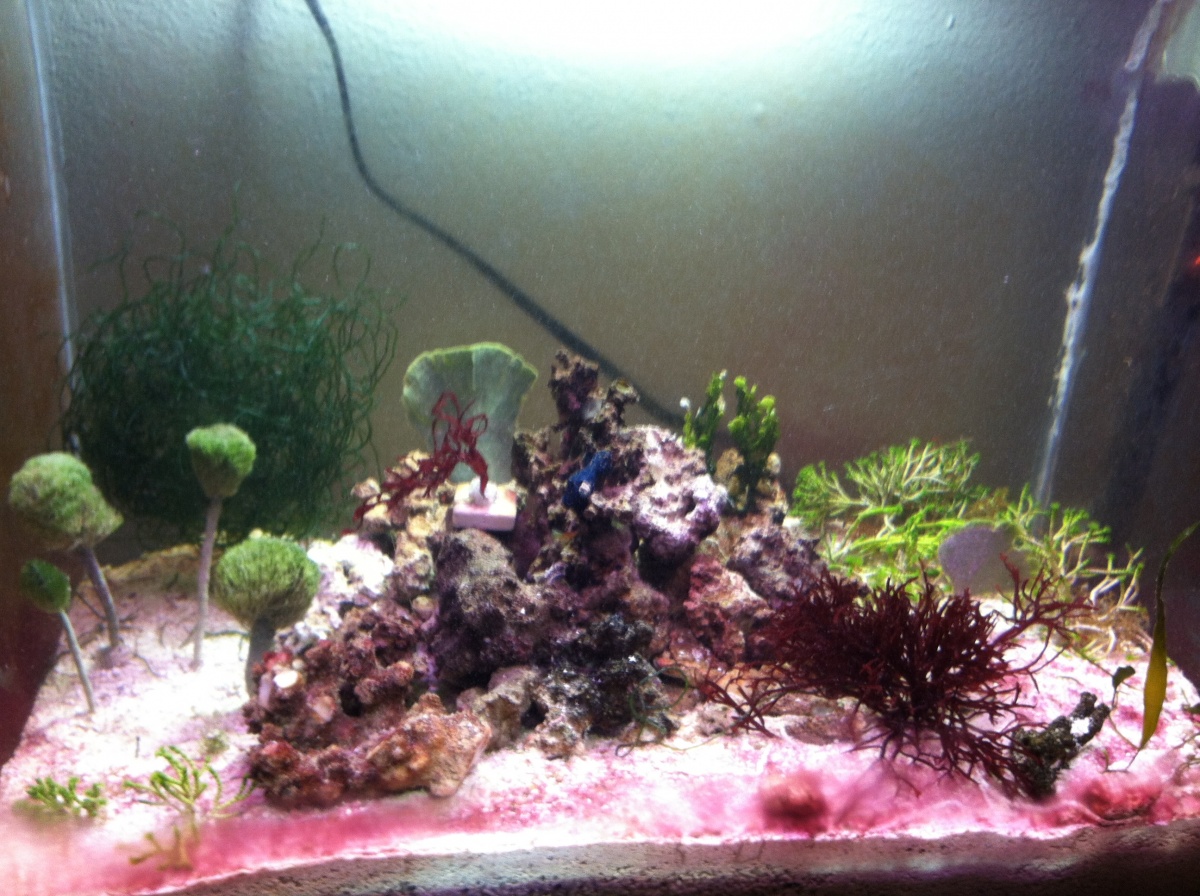
So, when I upgraded from a 29 gallon tank to a 55, I was left with an extra tank. I decided to make a refugium. It's actually built and hooked up as I write this post, but I'm going to detail chronologically my design, process, and most importantly, my mistakes!

Step 1: The Design!
38183-albums8978-picture34616.jpg

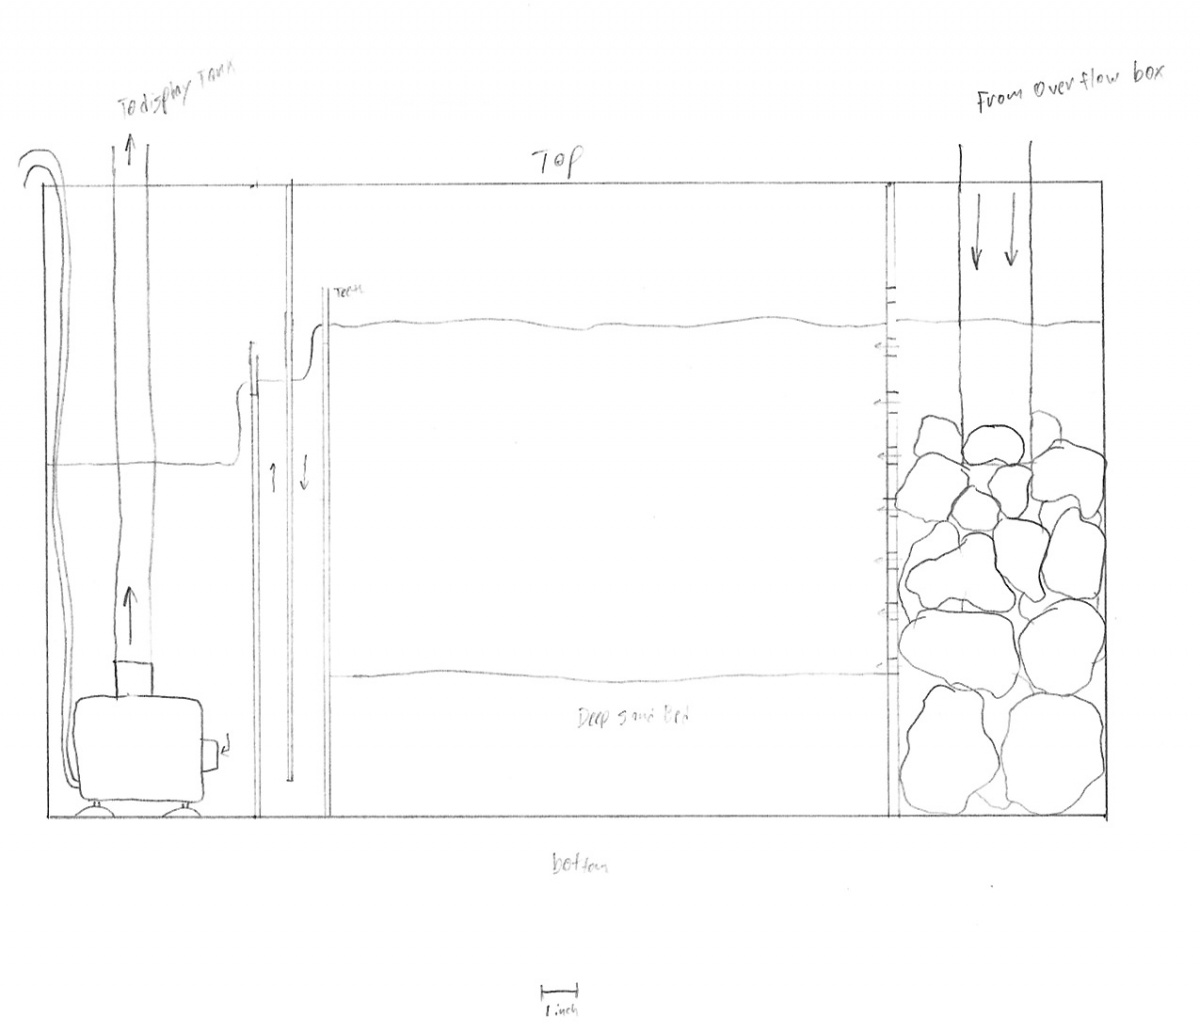
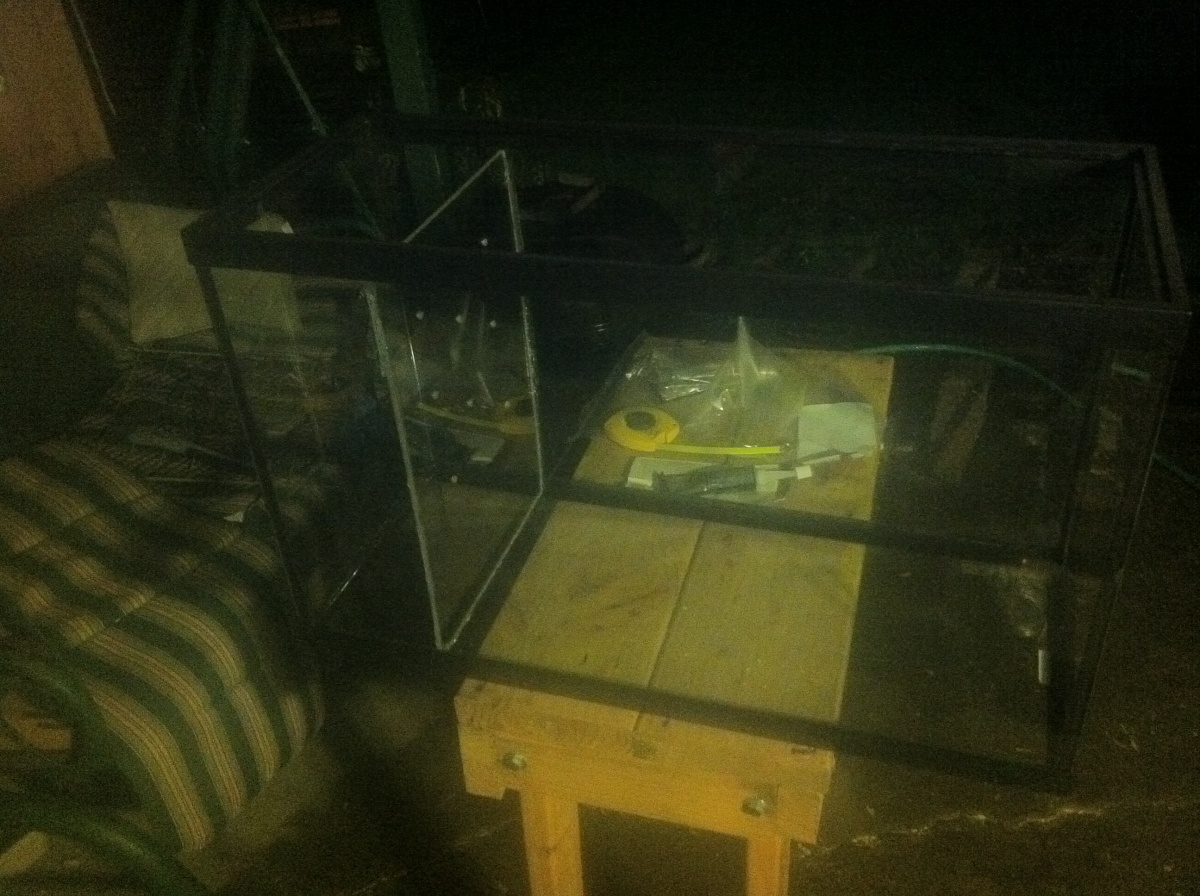
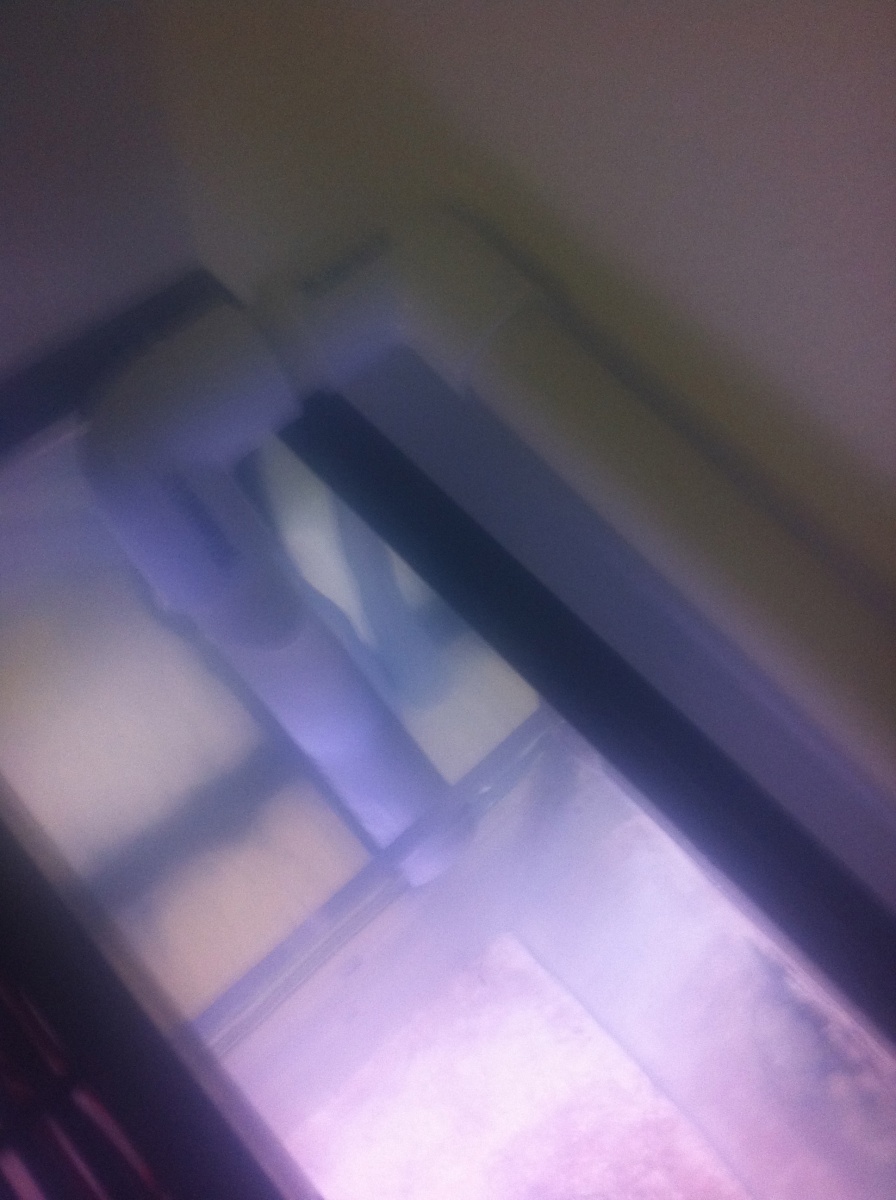
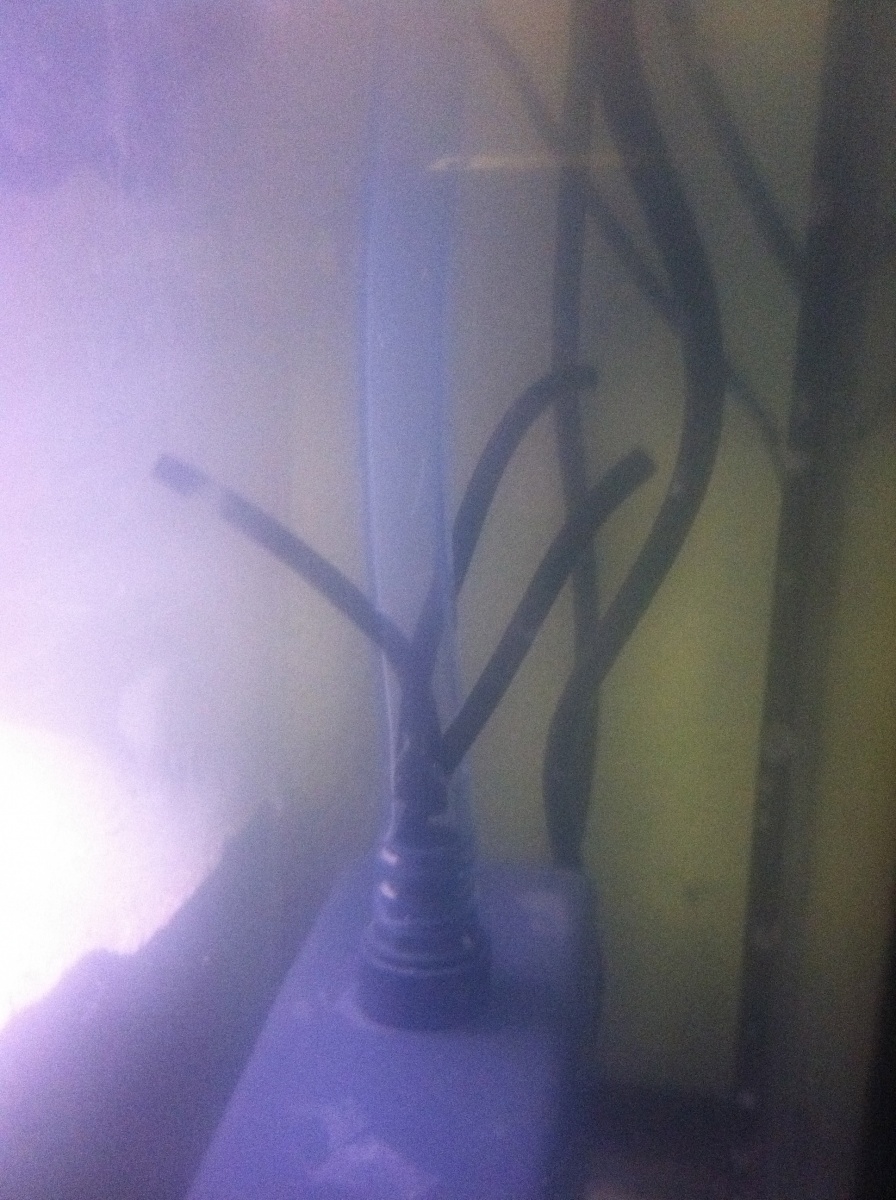
It's a basic design. Intake chamber with holes drilled to allow water to pass through instead of only flow over the top, refugium with Deep Sand Bed, three baffles for bubble trap, return chamber. I used a 29 gallon standard glass aquarium and purchased sheets of acrylic about 1/4 inch thick.
 
Are you putting your heater and skimmer in the middle? If it is going to be relatively empty I would suggest adding chaetomorpha algae. I find that the copepods and my other little critters love living in it. Plus, as an extra bonus it helps to remove nitrates -.^.

By the way...your sketch looks really good ^^
 
Well, The Plan had been for the skimmer and heater to go in the inlet chamber, with the rock rubble just piled up under the inlet itself with the middle chamber as a refugium filled with macro algae and maybe some rock. But that changed after I started building.
I was really tired and in a hurry when I took my measurements and started cutting the acrylic, and I actually completely screwed up two pieces. I was left with just the perforated baffle and the first of the three for the bubble trap. So, I had to simplify it a bit.
I was, quite literally, too broke to buy another sheet of acrylic. So, there are only two dividers. I used aquarium safe silicone sealant to hold the pieces in place. I filled with sand and started it cycling.
Having trouble uploading all of a sudden, will get back to this. And thank you! I've gotten fairly good at sketching to scale since I started doing landscape design.
 
As long as there are no microbubbles in the main tank than you should not worry too much about only have two dividers. Why did you add sand? I usually only add rubble and chaeto in the middle along with my heater.
 
Took some adjusting, but no microbubbles. I went with a DSB in the refugium for denitrification. I know it's not a huge surface area, so the benefit will be minimal, but I wanted to give it a try anyway. Still having issues uploading pics.
 
Ok, pictures while the silicone was curing. As promised, this thread will cover my mistakes as well. Measure twice cut once is not enough when dealing with this sort of thing!
38183-albums8978-picture34617.jpg

Here you can see the holes drilled to allow water to diffuse through the divider rather than simply spill over the top. Though most of the water still spills over the top, I feel this helps avoid dead spots in the fuge.
38183-albums8978-picture34618.jpg

You can clearly see the teeth to help keep the chaeto from spilling into the return section. While I'm sure there are cleaner ways to do this, we drilled 1/4" holes and then used a jigsaw to cut them out. A little sloppy, but it worked.
 
I opted to cycle the tank separately from the main tank. Though I am sure my DT's filtration could handle ammonia from the sand and rock die-off in the fuge, I didn't want to stress the fish. I used a powerhead for circulation until I got the final pump. I used Cycle to speed up the process while adding a couple pieces of krill for ammonia. Took about a week and a half. Then things got tricky.
See, the pump I got was a bit overrated for what I wanted. I wanted nice, gentle flow through the fuge. But the only pump I could find was rated at almost 400 gph. 300 and some change with 3 foot head. Well, that's fine, but my overflow box is rated for 200.
I figured, what the hell, and hooked it up, watching the DT's levels closely. Took under a minute to realize that if I didn't unplug that pump right away, I'd be cleaning the carpets.
So, I had to set about reducing the flow rate somehow. I cut holes in the line from the pump. Wasn't enough. Stupid overpowered pump. I stuck pieces of airline tubing into said holes, and finally got the flow rate to about 200 gph. A little PVC pipe finagling later, and it was all hooked up!
I tossed in scraps of caleurpa that the foxface hadn't decimated yet, a tiny piece of gracilliara he missed, and took a cutting from my Halimeda. Hooked up for just a few days, and I'm seeing lots of amphipods and copepods crawling around in there at night!
I've ordered some more macro algae from LA Reefs. Should be here tomorrow. There will be more pictures then.
 
. But the only pump I could find was rated at almost 400 gph. 300 and some change with 3 foot head. Well, that's fine, but my overflow box is rated for 200.
I figured, what the hell, and hooked it up, watching the DT's levels closely. Took under a minute to realize that if I didn't unplug that pump right away, I'd be cleaning the carpets.


You could put a ball valve on your pump outlet that way you cam completely control the flow to match overflow rate
 
You could put a ball valve on your pump outlet that way you cam completely control the flow to match overflow rate

Yes, I could have. But it was late, the hardware store was closed, and I was determined to win against this stupid inanimate object. LOL

Ultimately, I'll make this setup a bit more streamlined, but for the moment, this is working, and I wanted to share my foibles. MY Chaetomorpha and Halymenia should be arriving today or tomorrow. No tracking number, unfortunately. I'll post pictures when they're in the tank.
 
Okey dokey, pictures.
This is the drain into the sump from the overflow box. In retrospect, I'm not sure why i felt the need to superglue the pvc pieces together. BTW, word of advice. Superglue sets faster on wet, warm, or porous surfaces. That being said, if attempting to get PVC pipe into an elbow as tightly as possible before the glue sets, it WILL set almost instantly while you're trying to twist it into position.
38183-albums8978-picture34671.jpg

My ghetto flow regulator. Nuff said.
38183-albums8978-picture34672.jpg

The DT and sump. I would have liked to be able to put the sump underneath, but the stand's door wouldn't have allowed anything larger than a ten gallon. But, I intend to macro algae the crap out of this with at least three colors! So it'll be pretty enough to look at.
I apologize for the crappy lighting.
38183-albums8978-picture34673.jpg
 
So, today I received my order from Gulf Coast Ecosystems http://www.live-plants.com. I order the "Halimeda Sampler Pack" and while it would be more accuratelt titled "Calcareous Green Algae Sampler Pack", I could not be more pleased.
Since I already have a Halimeda plant, I requested that the 5 specimens be of other species.
Russ responded to my email quickly, and the order shipped out as soon as my Paypal processed.
Imagine my surprise when I open it to find not 5, but 7 plants!
One bag was filled with Cymopolia Barbata (Tufted Green Algae), the other contained two Mermaid's Fan (Udotea sp.) and a mix of shaving brush, christmas tree, and pinecone algaes.
Upon opening the bags, I noticed that there was a fairly unpleasant smell, so I discarded the shipping water and sorted through everything. The C. Barbata was actually numerous small pieces shipped together, so I anchored the best pieces in a corner, tossed a couple into the DT (I just witnessed my foxface deciding he did not like the taste. Lol), and put a few in the skimmer/intake chamber to trade with a friend later.
Everything looks great, and the new shades of green and fun shapes really make the refugium stand out. I couldn't be more pleased!
38183-albums8978-picture35142.jpg
 
Worth noting, this much calcareous algae will cause a fairly dramatic increase in the demand for calcium in my system. I'm going to have to start dosing liquid calcium. Totally worth it, though!
 
Back
Top Bottom