pat8you
Aquarium Advice Addict
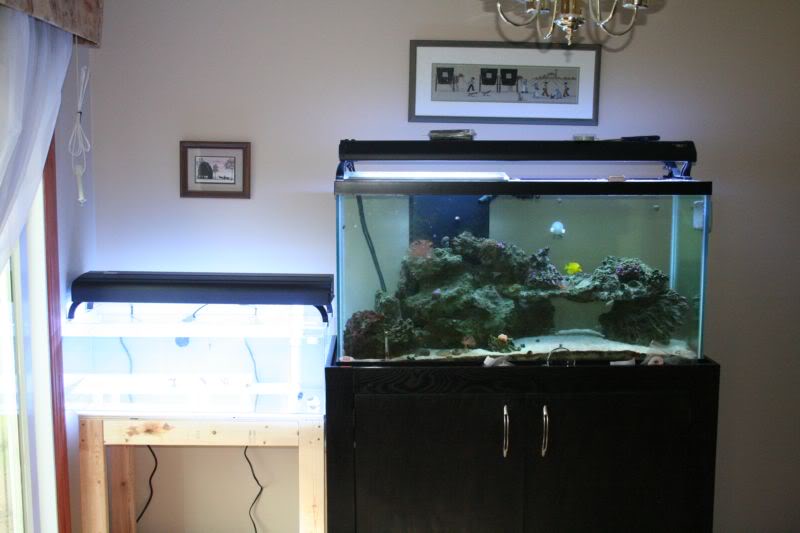
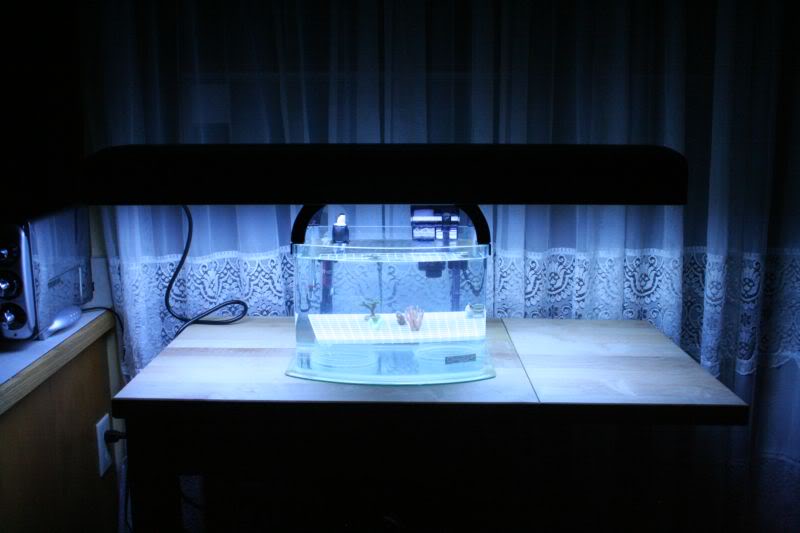
Ok so we wanted to build our own frag tank to go next to our main display. We don't have quite enough lighting on our main to do most sps's the right way so a frag tank seemed interesting and a good learning experience as we have just started keeping corals the last couple months. So here is the build with plenty of pictures.
Before i get started i need to send out a big thanks to Ziggy953 and marc from Melevsreef.com - Welcome!. without their guideance and help this project never would have gotten of the ground. Thanks guys.
Also we researched how to work with acrylic and based our design off of informations on melevsreef so if there are things i'm missing its all there in great detail.
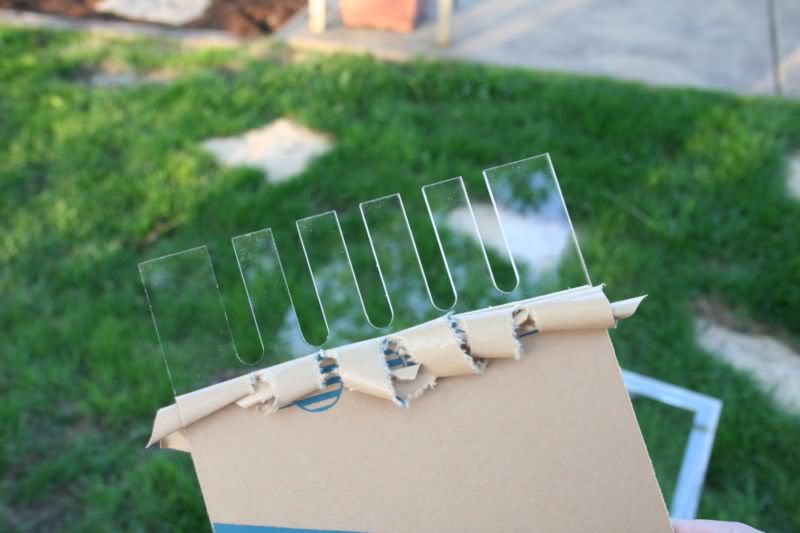
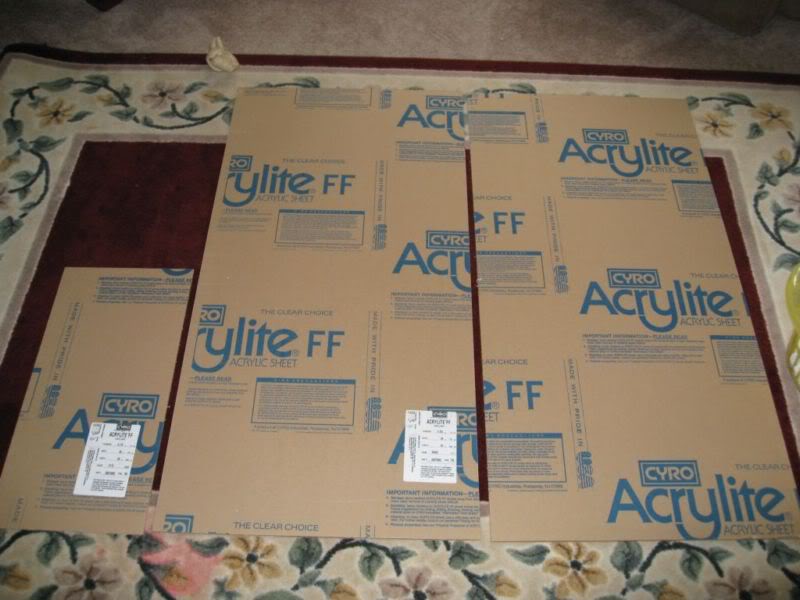
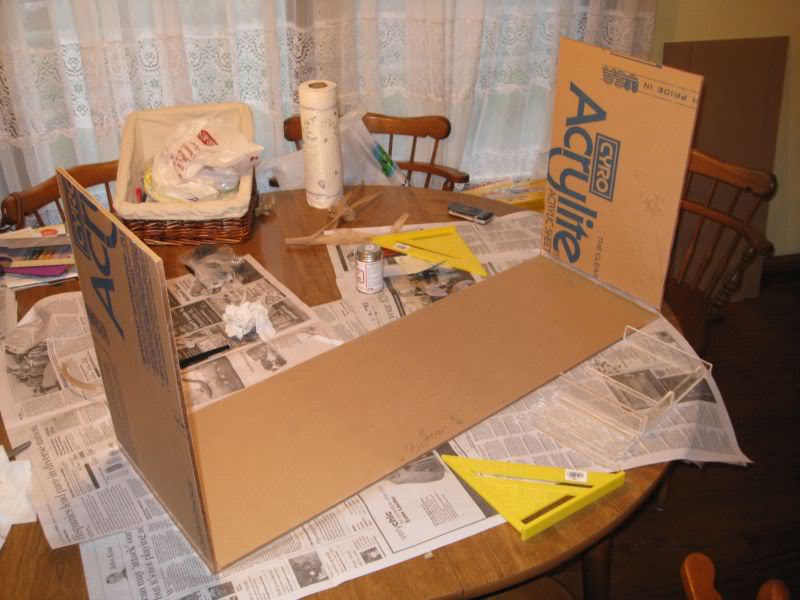
So this is what we started with. 2x 24"x48"x 1/4 and one 12"x24"x 1/16 sheets of acrylic.
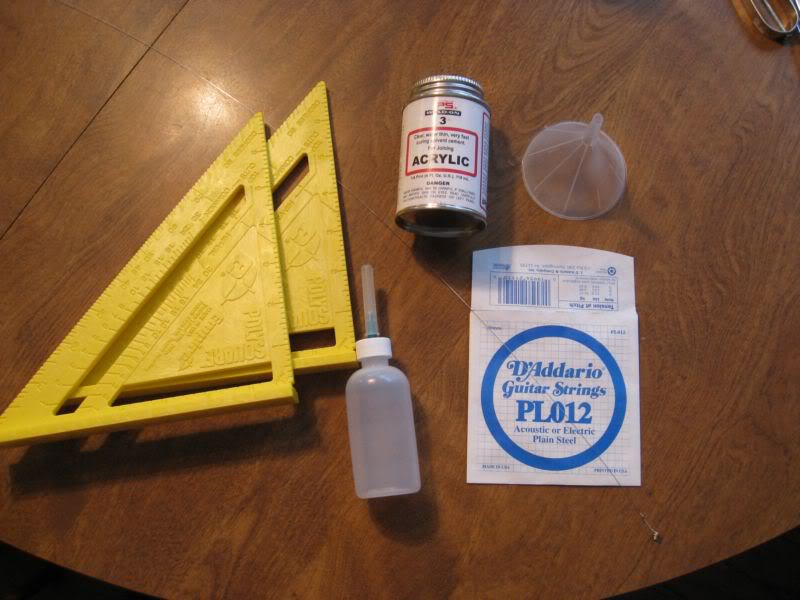
These are all the things we started out with. We also used a 10" table saw, router table, cordless drill, and a miter saw. There are a few other random things but nothing big and you can fill in the blanks.
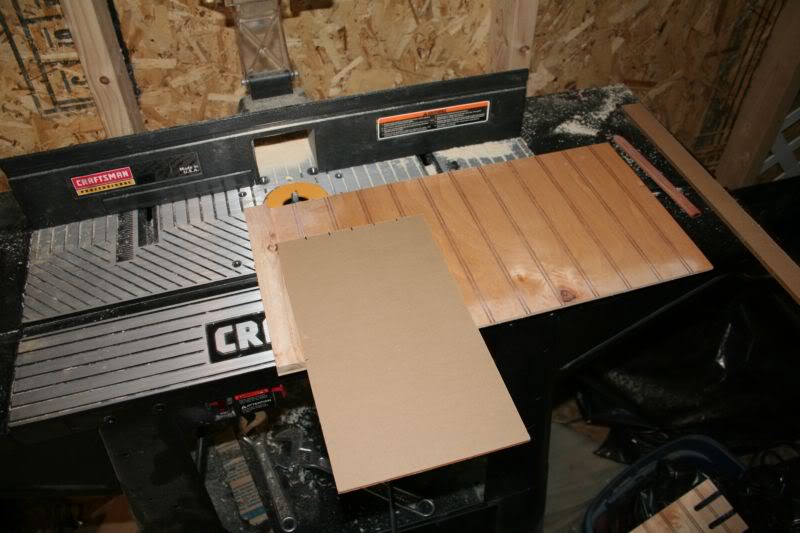
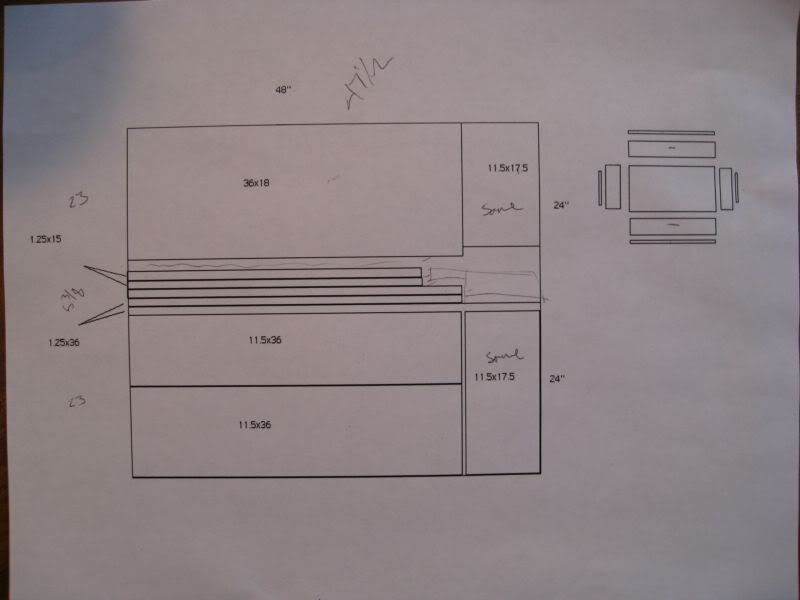
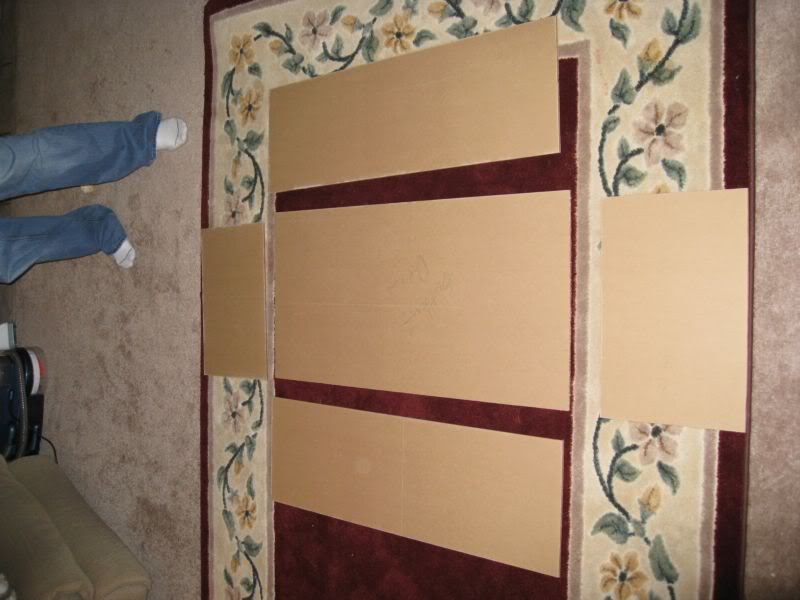
So next step was to lay out all the parts and such which we had done before purchasing the acrylic to make sure we had enough material. I just drew it up in paint to help me visualize it and double check i wasn't screwing things up.
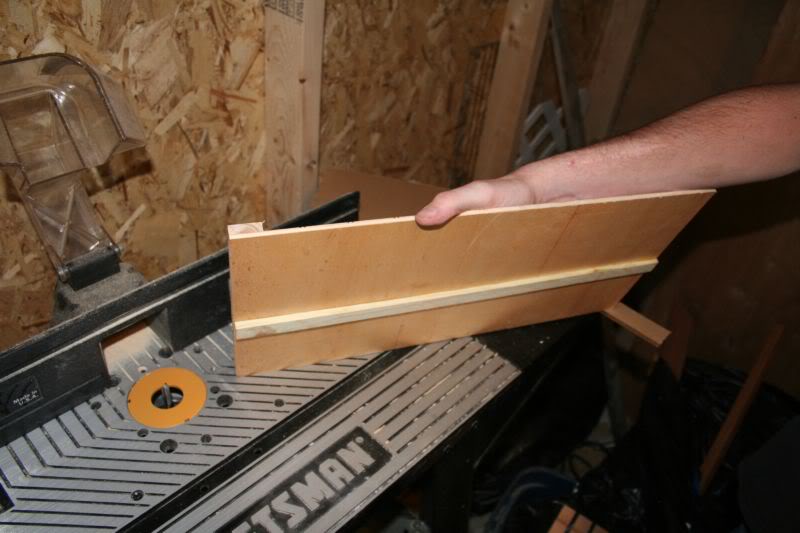
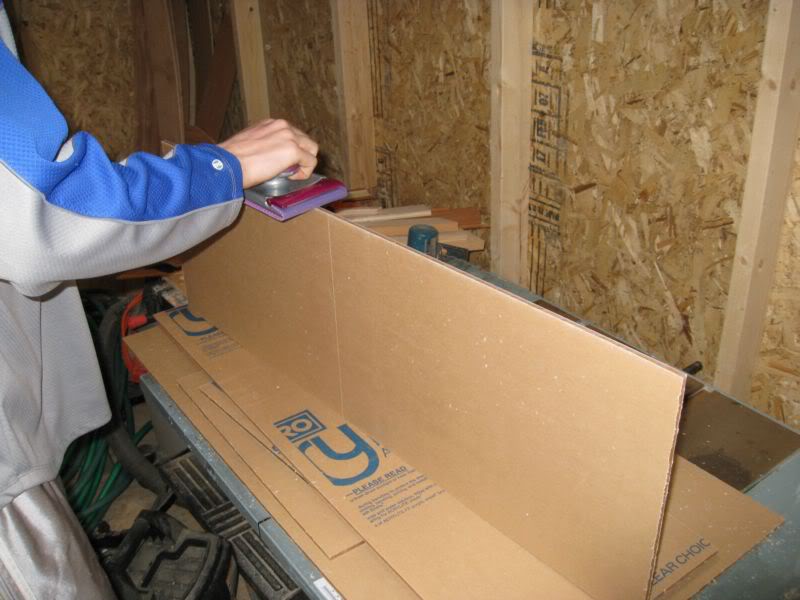
The smaller 1/16 sheet was just for the box that goes around the plumbing. Next step was to go out and cut out all our pieces. This is where we used the table saw. Marc suggests you use a blade with 80 teeth. We couldn't find that and grabbed one with 100 teeth and this worked great. One thing I would do differently next time is to make sure to call all the pieces that make up the sides of the box at once with out moving the guide on the table saw. This would ensure that they are all exactly the same hight will i will talk about later. This picture is after we have cut out all the pieces and my brother (jimbo7) is taking a sanding block with a fairly fine grade sand paper to smooth all the edges. Make sure you don't round the edges or corners when your doing this.
I'm gonna break this up into a couple posts. Give me a minute to write out the next part.
Before i get started i need to send out a big thanks to Ziggy953 and marc from Melevsreef.com - Welcome!. without their guideance and help this project never would have gotten of the ground. Thanks guys.
Also we researched how to work with acrylic and based our design off of informations on melevsreef so if there are things i'm missing its all there in great detail.
So this is what we started with. 2x 24"x48"x 1/4 and one 12"x24"x 1/16 sheets of acrylic.
These are all the things we started out with. We also used a 10" table saw, router table, cordless drill, and a miter saw. There are a few other random things but nothing big and you can fill in the blanks.
So next step was to lay out all the parts and such which we had done before purchasing the acrylic to make sure we had enough material. I just drew it up in paint to help me visualize it and double check i wasn't screwing things up.
The smaller 1/16 sheet was just for the box that goes around the plumbing. Next step was to go out and cut out all our pieces. This is where we used the table saw. Marc suggests you use a blade with 80 teeth. We couldn't find that and grabbed one with 100 teeth and this worked great. One thing I would do differently next time is to make sure to call all the pieces that make up the sides of the box at once with out moving the guide on the table saw. This would ensure that they are all exactly the same hight will i will talk about later. This picture is after we have cut out all the pieces and my brother (jimbo7) is taking a sanding block with a fairly fine grade sand paper to smooth all the edges. Make sure you don't round the edges or corners when your doing this.
I'm gonna break this up into a couple posts. Give me a minute to write out the next part.
Last edited:
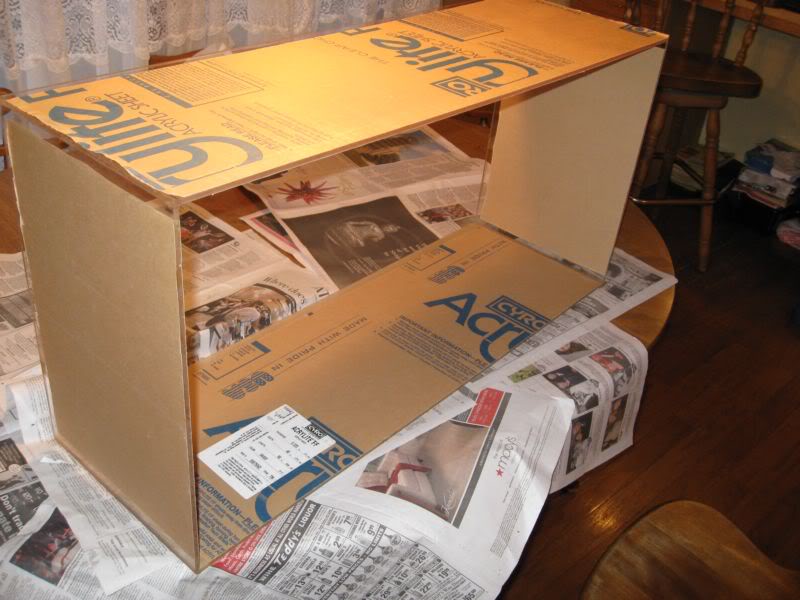
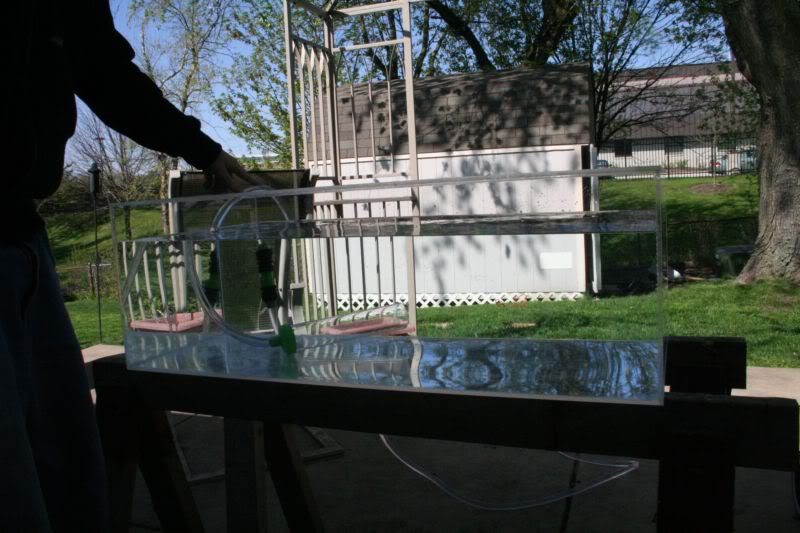
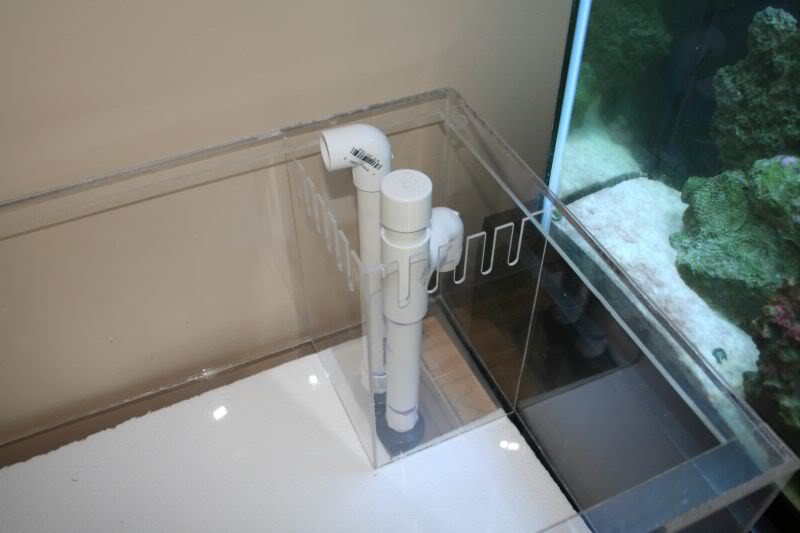
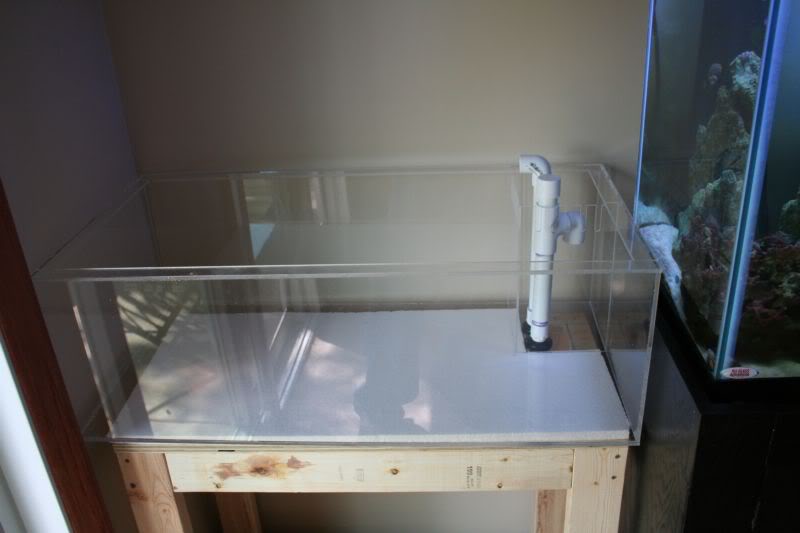
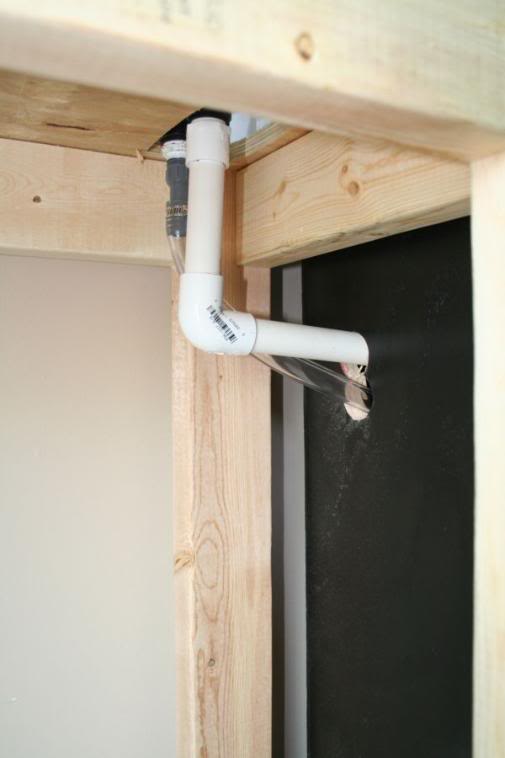
 But it did the job till we got things set up. Ok so next we made a stand out of 2x4 with a piece of 3/4 ply wood on top to support the tank. I'm sorry i forget to take pictures of this part but it should be very simple. You can see pictures of it completed in a bit. After this we needed to cut the acrylic for the bulkheads to go through the bottom. A hole saw bit and our cordless drill did the trick but it actually started to melt the acrylic as we were drilling so we needed to pour some water over it as we were going to keep things cooled off. Be sure to leave enough room that the bottom of the bulkhead fittings won't hit the edges of the stand and you have enough room for your plumbing. Heres things put together with our plumbing just kind sitting in there to show we had enough room with out hitting the sides of the tank.