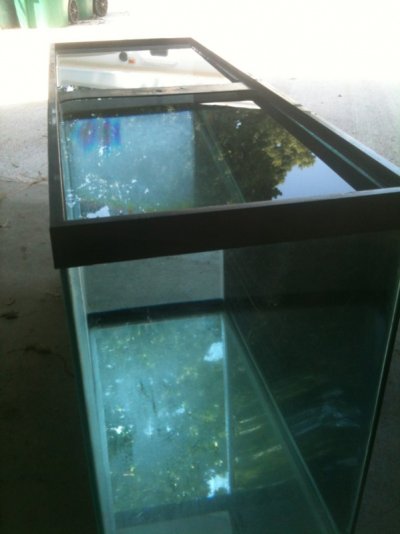
Almost 100% diy 40g build

The friendliest place on the web for anyone with an interest in aquariums or fish keeping!
If you have answers, please help by responding to the unanswered posts.
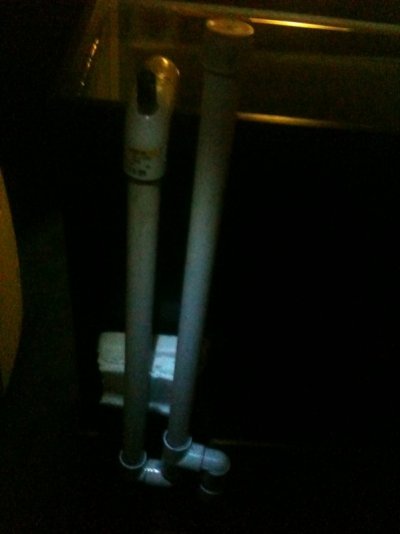
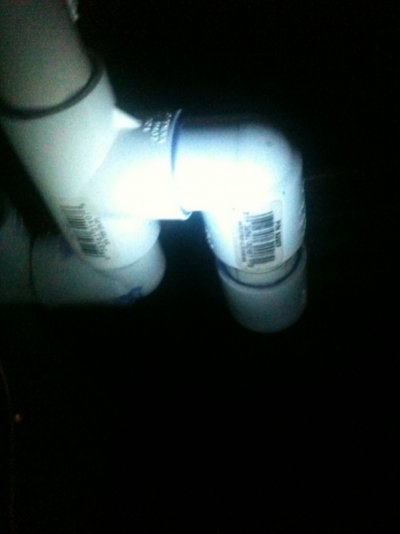
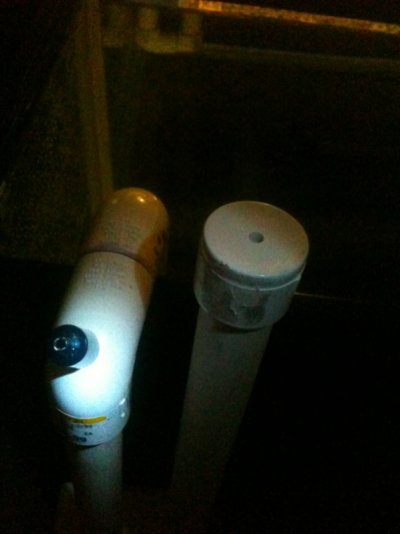
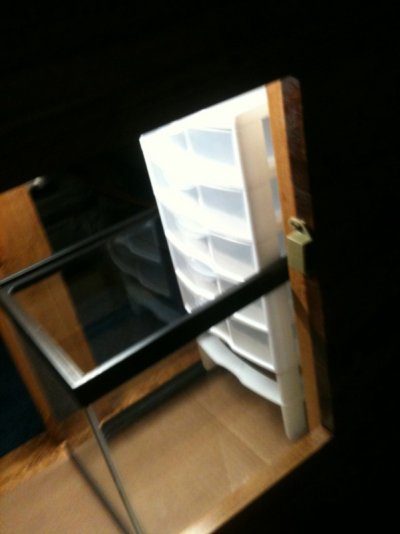
Ok so my first time plumbing skills are no where near my first time carpentry skills haha. I did the best I could though. I'm hoping it will work out. Like I said I won't be able to test it for a few days but here's the pics of it. I may have to shorten the inlet pipe and remove the home made strainer but we will see I guess. Still have to drill the holes in the trickle tower and fill that with media too and I'm waiting for the pump to arrive via mail.

image-1991610741.jpg

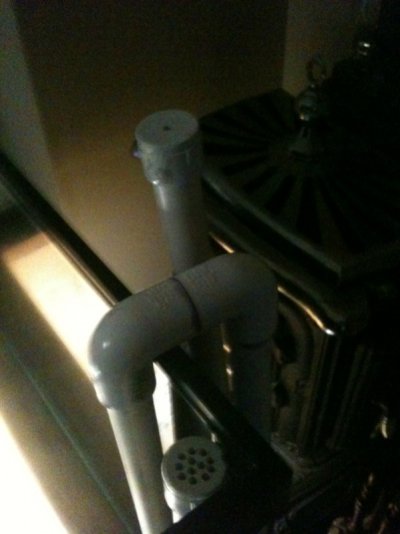
There will be a street elbow attached to the end of this but I didn't have one at the time. Will turn it down into the tower.

image-2282992894.jpg

This is where the pump and heater will go. I may grow floating plants here as well. Not sure yet.

image-4047996469.jpg

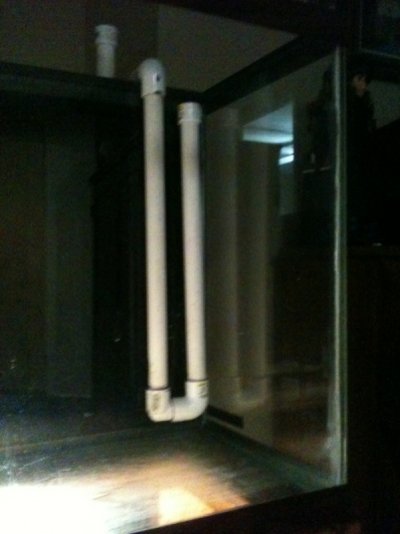
Inlet tube to control water line

image-415063894.jpg

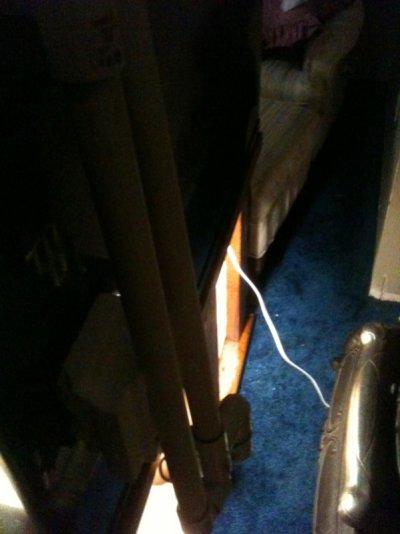
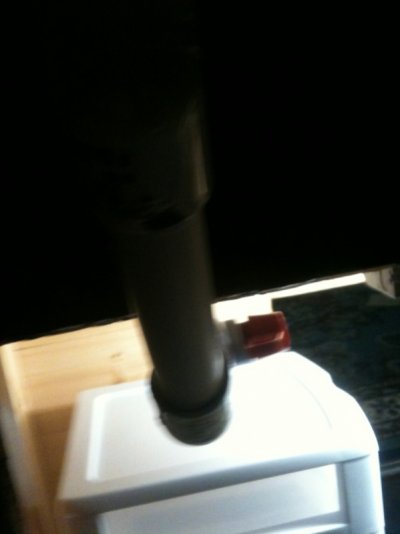
There will be a siphon hose here that I'll add later

image-2995183882.jpg

Had to use foam pieces to hold it in place.

image-1047235952.jpg

Rear view.
 
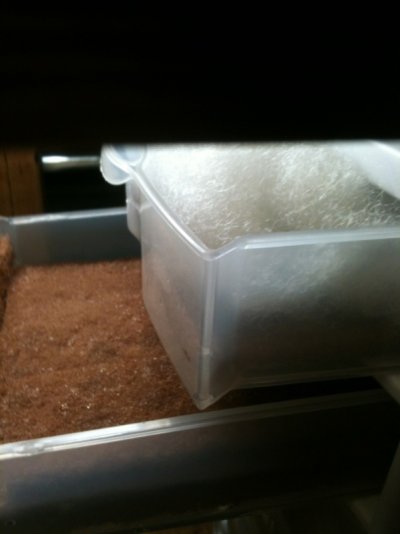
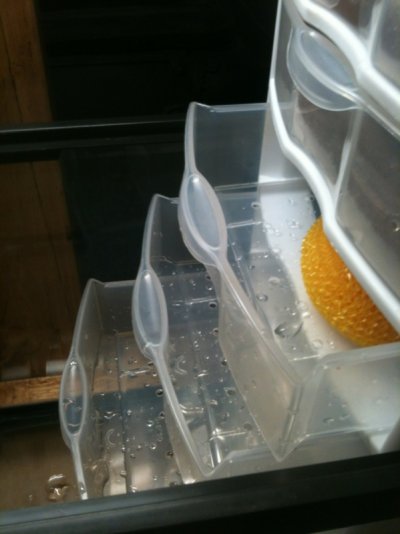
Also I put a little mechanical filter media I found around the house in the tower and I also drilled the holes through the drawers. First two are mechanical the next three will be biological. Idk if I am going to add a drawer to have an optional chem filtration if I use mess or not. Just have to wait and see I guess.
 

Attachments

  • image-2125123308.jpg
    image-2125123308.jpg
    81.8 KB · Views: 135
  • image-3183287908.jpg
    image-3183287908.jpg
    104.3 KB · Views: 142
Great thread. I've always wondered how all these DIY filters/sumps are made. I'm setting up a 150g tank and might possibly follow in your foot steps sort of say. I'd like to build my own sump for it and plumb it all myself with PVC rather then flex tubes and over flow boxes.
 
Thanks and that sounds awesome! When you make the thread lemme know and I'll follow. There are other ways to make the sumps too so u may want to look into that as well. If u have any questions or any DIY projects you want to see then lemme know and I'll see what I can do.
 
Ok sweet I got my pump and heater a day early so I'll get to fill the tank up and see if I spring any leaks in my reseal and in my plumbing for the filter! I'm going to buy some flex tubing for the return bc it's just easier and I think imma make a spray bar out of some leftover PVC. I'll let you all know how it goes!
 
Ok so good news.... And bad news. The good news is my 5g tank is great and the pump is going to work awesome and the trickle tower is awesome and the stand easily holds the weight of the 40g full.

The bad news:

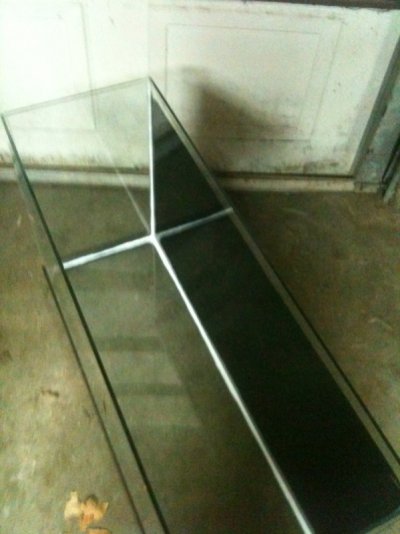
I need to do another complete reseal of the 40g as it still leaks in a few spots. Lesson is don't shortcut your re-seal.

Second is I think I may need to redo the overflow tube as i don't think it will be quick enough of a drain to keep up with the pump on its lowest setting. Lesson is if at first you don't succeed, try try again. With angry expressions lol.

Third is (and this is the biggest of all) never, and I mean NEVER ever test your resealed tank in the basement! Lesson is to grow some brains! It wasn't a big leak but still wasn't my brightest moment.

So all in all I may be back to square one on the overflow tube but I still have to try something else out first and then I'll give up on it and do a rebuild.
 
Ok so I just finished a complete reseal of the 40g. That definately sucked. If it doesn't work this time I'm going to professionals for it. It'll be ready to test again Sunday 5pm central time. Wish me luck!
 
Ok so I just finished a complete reseal of the 40g. That definately sucked. If it doesn't work this time I'm going to professionals for it. It'll be ready to test again Sunday 5pm central time. Wish me luck!

Good Luck!

IMO on Reseals Always Take your time, be generous with the Silcone (you can always trim it) and let it cure for 48 hours at a min.

I have been following and I Love good DIY's. You are doing great if a couple leaks is all that goes wrong you are big time ahead of the game.

Keep up the good work(y)
 
Pton46 said:
Good Luck!

IMO on Reseals Always Take your time, be generous with the Silcone (you can always trim it) and let it cure for 48 hours at a min.

I have been following and I Love good DIY's. You are doing great if a couple leaks is all that goes wrong you are big time ahead of the game.

Keep up the good work(y)

Thanks I appreciate it! And ya most definitely took my time the second time around! Only took me like 4 hours to do lol. I meticulously cleaned it this time making sure everything was clean of debris and also I took the rim off this time so I could get it all the way to the top of the glass. I hope it works!

Also as an update for the thread the overflow pipe I made will filter around 220gph so that's at 5x filtration for the tank so that should work well. I said it wasn't flowing well enough before but I figured out why! I had another brain fart and forgot to add the check valve siphon to the overflow area so it was just trickling instead of full blast lol I hope I have enough holes in my trickle tower to keep up! If not that will be an easy fix tho (thank goodness)! I'll be able to try another test out hopefully on Saturday or Sunday after I make sure the tank won't be leaking anymore. Stay tuned!

Edit: Also still need ideas on new DIY projects to try
 

Attachments

  • image-3006946772.jpg
    image-3006946772.jpg
    131.4 KB · Views: 113
  • image-3784657363.jpg
    image-3784657363.jpg
    156.9 KB · Views: 104
Ok so the silicone still has to dry completely in a few places but it's looking good to go for a water test tomorrow when I get off work so hopefully I was successful in my re sealing endeavors this time. I will be cleaning the top bracing frame tomorrow and just tacking it on for the water test and if successful ill silicone it back on the tank.

Once I'm done with that part I'll continue on to retest my overflow and filter system with a few modifications to the plumbing (aka my forgotten siphon valve). Also I have flex tubing for the return, does anyone know a good way to hold this in place? Ideas on types of returns (spray bar vs dump tube vs waterfall)? I'll give a detailed explanation of how the filter system was made as well as pictures for the steps when I've completed it. I'll provide costs as well.

Finally I looked into a 3D background DIY style and am really liking the idea. I'm going to do more research on it and what types of fish or inverts I may want and plan it accordingly to fit what I want in the tank. This project may or may not be the next DIY I do for this thread, but it most definitely will be done at some point. As always I'm open to more suggestions. Stay tuned.
 
Water test in action! I filled it to the brim bc I wanted it to test with as much pressure as possible even tho the tank won't be this full. No leaks so far. How long do u guys think it should be tested for?
 

Attachments

  • image-2000444760.jpg
    image-2000444760.jpg
    104.4 KB · Views: 114
Just tested out the overflow pipe with the addition of the siphon valve it's working great. Next thing to test is whether or not my trickle tower can handle the gph of the over flow. If not I'll just have to add more holes to the bottoms of the drawers. No big deal on that.
 
Looking good. I'd leave it for 24-48 hours just to be sure, being over cautious about gallons of water on my floor. :) looks good and can't wait to see what you do with it.
 
Nomadu571 said:
Looking good. I'd leave it for 24-48 hours just to be sure, being over cautious about gallons of water on my floor. :) looks good and can't wait to see what you do with it.

Thanks! Yea I figured id leave it for about a day or two but so far so good!

On a side note I tested my water pump out on my trickle tower cuz the pump has about the same gph as the overflow tube and I just let the output of the pump flow into the tower and the tower is raining down perfectly wet/dry style. So that's going to work out thank goodness. Soon to come a detailed explanation of the system and costs. I think I'm going to just do a dump tube for now and make a little DIY project for all three outputs I mentioned earlier. Actually the first one is done lol the dump tube consists of me just setting the output into the tank! Ta-da! Fastest DIY I've done yet! Lol. I'll make the other two for sure tho (waterfall and spray bar) and see which I like better.
 
Ok so I couldn't wait a full day I had to get it in and test it out with the filtration system. It's filled up on its stand and the overflow is running on it now. It's working perfectly! The only things I'm personally worried about is the siphon breaking or getting clogged and me having the main tank overflow cuz I like to keep my water level to the rim so I guess I'll just have to be vigilant about it! But the siphon shouldn't break if I built it right and primed it right. Pictures and explanation of the system to follow once I get back from taking my dog to the vet!

DIY projects to date:
1. Stand build
2. Trickle Tower build
3. Overflow Tube build
4. The Unexpected Tank Reseal

The only one I've explained thoroughly is the stand build. Others to follow soon.
 
Ok so here goes the explanation of the system. First of all the overflow tube only cost like 15$ to make so fairly cheap. I made it by measuring the tank height from the top of the bottom frame to the top of the tank. I cut two pieces of PVC that length, we will call the A1 and A2. Then I added 3 inches to the total length of the PVC and cut a piece that long, called B. Then I measure a piece that was about an inch shorter than my A1&2 pieces and cut it, called C. So now you should have all your necessary cut pieces though you may need to modify them a bit to suit you needs.

To construct it you will need:
The cut pieces A1&2, B, and C
5 street elbows
2 regular elbows
1 T piece
1 end cap
1 check valve
PVC primer
PVC cement

Instructions:
1. Insert piece C into one of your reg. elbows. This piece is important to get to the height u want inside your tank as it will set your water level.
2. Insert a street elbow into the elbow you just connected to C.
3. Insert A1 into the street elbow in step two. At this point all your connections should look like a U shape. These will be the pieces inside the tank.
4. Insert a street elbow onto A1 and face it out of the tank. Then connect your last regular elbow to the street elbow just mentioned and have it face toward the ground.
5. Connect A2 to the last regular elbow in step 4.
6. Connect a street elbow to the bottom of A2. Then connect another street elbow to the one we just connected an face it upward toward the ceiling. These two street elbows should form a U shape as well.
7. Connect your T piece into the last street elbow from step 6 and face it away from the rest of your overflow towards the direction you want your sump to be. The T piece should be connected so it is a T on its side (-I like that. )
8. Connect piece B into the top outlet of the T piece. Your whole overflow should now look like two U shapes connected.
9. Place your final street elbow into the horizontal output of the T (which is now like this -I ), and angle it downward towards the floor.
10. At this point you will drill a hole about 5mm into your endcap piece and put it onto the end of piece B. this will reduce noise level of the overflow. The bigger the hole the more noise.
11. You now have an overflow tube! Congratulations! You can either hard plumb this down to your sump (which is what I did) or you can use flex tubing. Remember to prime and cement your pieces together to avoid leaks!
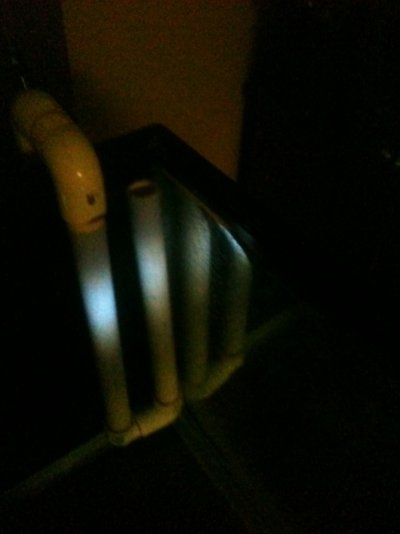
image-1146724416.jpg

Steps 1-4.

image-2599635249.jpg

Steps 5-8

image-4189500011.jpg

Steps 8-9

image-3230182814.jpg

Step 10 also you can see where to put your check valve to do your initial prime of the overflow tube. You should never have to prime this again so long as you don't remove the overflow tube from the tank.
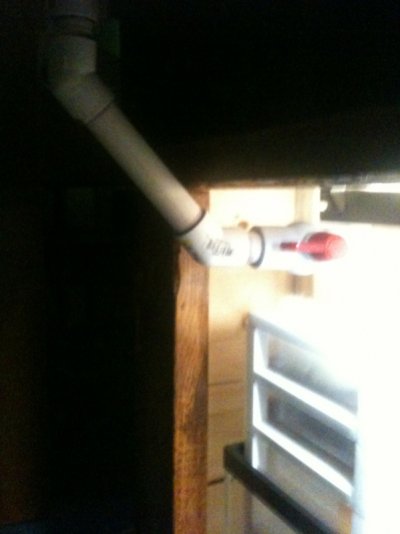
image-3637217801.jpg

Step 11. Optional hard plumb or flex tube plumb to your sump!

Trickle Tower build explanation to come tomorrow. Man that took awhile! Hope all of you who want to build one find this useful!
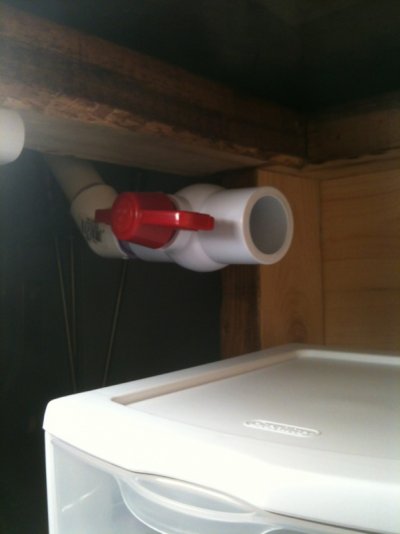
 
Ok so it's a day late but the explanation of the trickle tower is fairly straight forward. The system works because as the water rains down the trickle tower it gets very oxygenated which help the bacteria grow well and that helps it detox your aquarium water. Also the extra o2 is good for the fish.

The tower build:
1. Buy desk storage drawers from walmart that will fit in your filter tank and has at the least 3 drawers
2. Buy an appropriate sized tank for under your main tank.
3. Buy your favorite type of filter media. There are good DIY filter medias that are cheap and work great. Such as plastic pot scrubbers and sponges and such.
4. Drill small holes (about 5mm for my tank drawers) in your storage drawer bottoms. Not too many to start bc you don't want the water to fall immediately through to the next drawer. You want a steady pool in the drawers. If the drawer overflows then drill a few more holes. For example in my drawers I drilled 49 holes or 7x7 and that worked out for me perfectly with my gph flow and filter media and hole size.
5. Buy a pump that is slightly stronger gph flow rate than your overflow. Preferably one with an adjustable flow rate. For example my pump does 294gph and my tube does 220gph about.
6. Test everything out before using it in your tank.

I did this fairly quickly so if you have any questions ask because its possible I forgot to mention something. Next build will come as soon as I recoup some money after my ridiculous vet bill! I will keep you updated on any changes to the tank or system. If u have any ideas feel free to mention them.

Ps. You can also put your heater in the bottom tank! Keeps it looking like a clean environment in ur main tank. Thanks!
 
Back
Top Bottom