D-Fish
Aquarium Advice Freak
- Joined
- Jul 15, 2018
- Messages
- 236
Ever have a past hoby or cool price of furniture that you think [emoji848] man I wish I had a tank instead?
Well I did and I am currently working on a solid oak double bearded dragon enclosure my father built 10-12 years ago. It has been in storage for about 5 years and I know I'm not doing bearded dragons again. But I really liked the enclosure and the fact my dad made it makes it special to me.
Does normal tanks fit inside it? No.
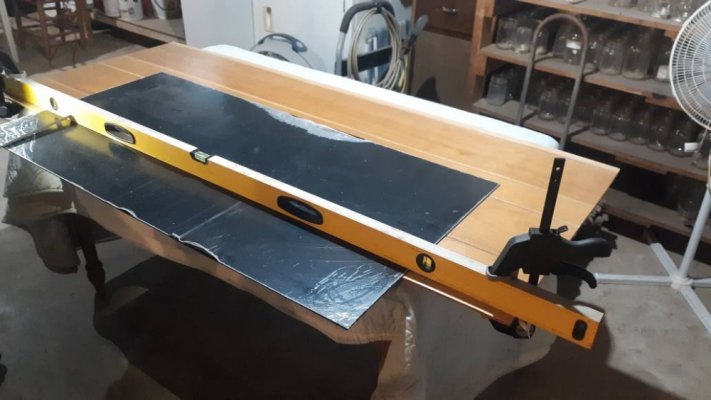
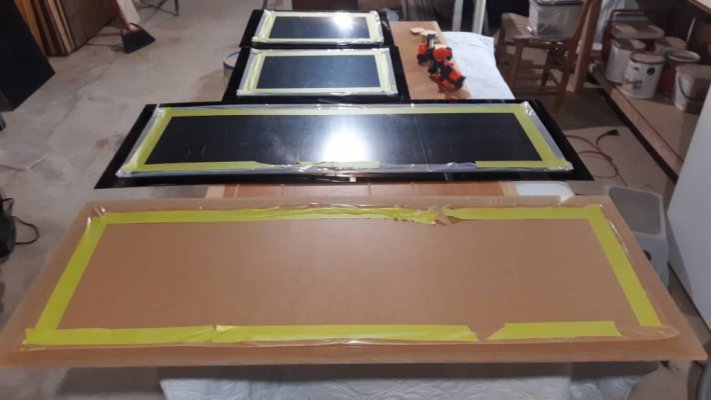
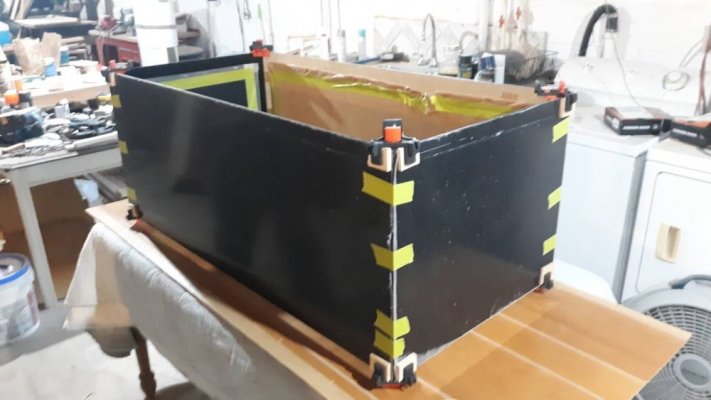
I have to build custom aquariums to fit the openings.
Is this practical? No
It's heavy as sin and a pain to move. Also has to have a lot of work done to even start the project.
Is it cheaper? No
The acrylic will cost twice what two tanks would and that don't count the rest of the modifications I have to make.
Will I beat myself up if I mess up? Yes
It is very sentimental to me as it was something my father built for me a long time ago.
Is it worth it? YES!
I will get to use it again and it's a beautiful piece of furniture. Also I get to make new happy memories.
Now the plan. It will be a double 90 when I am done.
This is what I'm starting with.
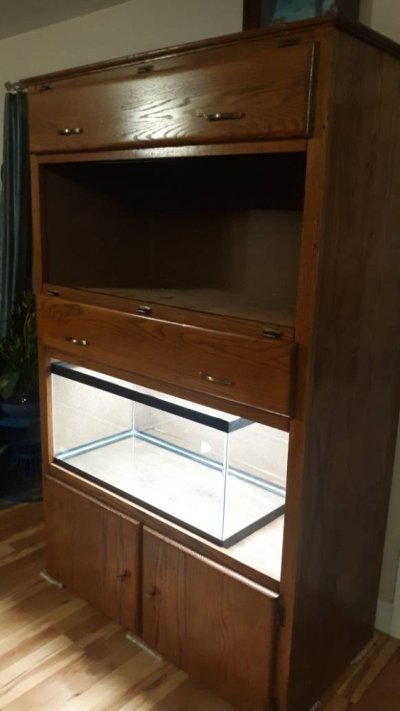
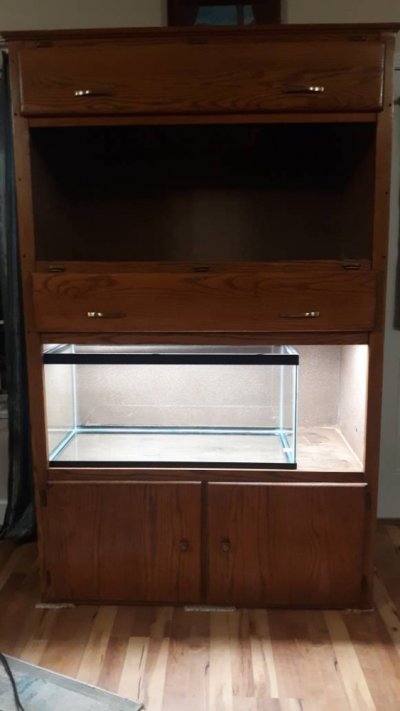
The tank inside is a 40 breeder for reference.
I already took the glass sliding doors out but have a lot more to do before I can get started.
I have to get this wire out and design on how the top of the tanks will be made. And how access will work.
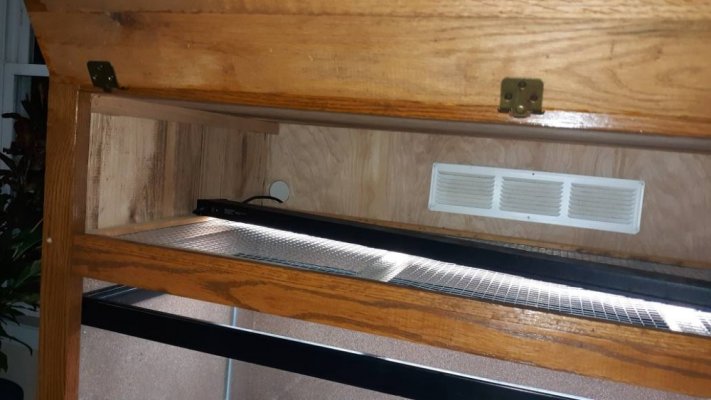
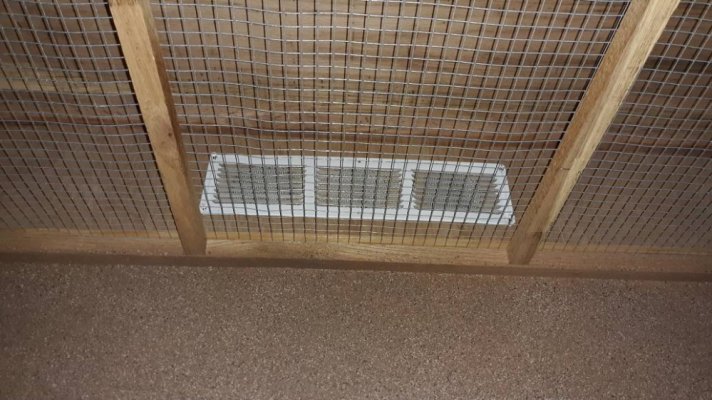
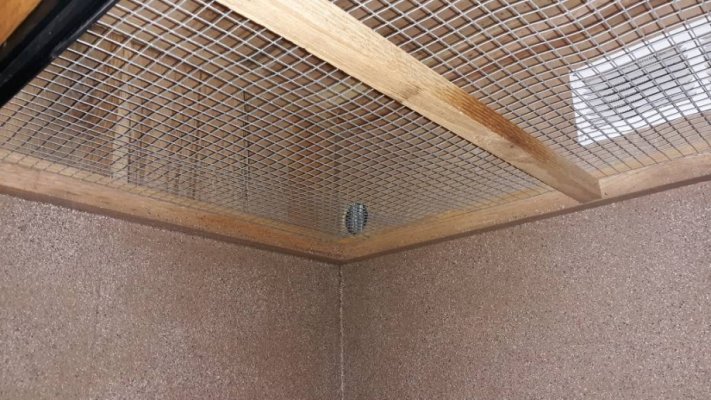
I'm thinking I will keep the framework and just coat it in some water proofing. Maybe clear flex seal. Then I can make a polycarbonate lid to slide in over the frame.
The back will also need to be taken off until the aquariums can be set in place. I also need to reenforce some places a little before it can be put back.
The openings are 46" wide, about 23" deep, and 21" high. The face has an overlap around the openings if about 1-1.5". I am going to keep this and just let the acrylic set against it completely filling the viewing ports.
This will be a slow build but I will update this thread as I make progress. Hope you all enjoy it as I move forward.
Well I did and I am currently working on a solid oak double bearded dragon enclosure my father built 10-12 years ago. It has been in storage for about 5 years and I know I'm not doing bearded dragons again. But I really liked the enclosure and the fact my dad made it makes it special to me.
Does normal tanks fit inside it? No.
I have to build custom aquariums to fit the openings.
Is this practical? No
It's heavy as sin and a pain to move. Also has to have a lot of work done to even start the project.
Is it cheaper? No
The acrylic will cost twice what two tanks would and that don't count the rest of the modifications I have to make.
Will I beat myself up if I mess up? Yes
It is very sentimental to me as it was something my father built for me a long time ago.
Is it worth it? YES!
I will get to use it again and it's a beautiful piece of furniture. Also I get to make new happy memories.
Now the plan. It will be a double 90 when I am done.
This is what I'm starting with.


The tank inside is a 40 breeder for reference.
I already took the glass sliding doors out but have a lot more to do before I can get started.
I have to get this wire out and design on how the top of the tanks will be made. And how access will work.


I'm thinking I will keep the framework and just coat it in some water proofing. Maybe clear flex seal. Then I can make a polycarbonate lid to slide in over the frame.
The back will also need to be taken off until the aquariums can be set in place. I also need to reenforce some places a little before it can be put back.
The openings are 46" wide, about 23" deep, and 21" high. The face has an overlap around the openings if about 1-1.5". I am going to keep this and just let the acrylic set against it completely filling the viewing ports.
This will be a slow build but I will update this thread as I make progress. Hope you all enjoy it as I move forward.

