Hello folks,
The good news: A while ago i managed to get a 50G Tank for free.
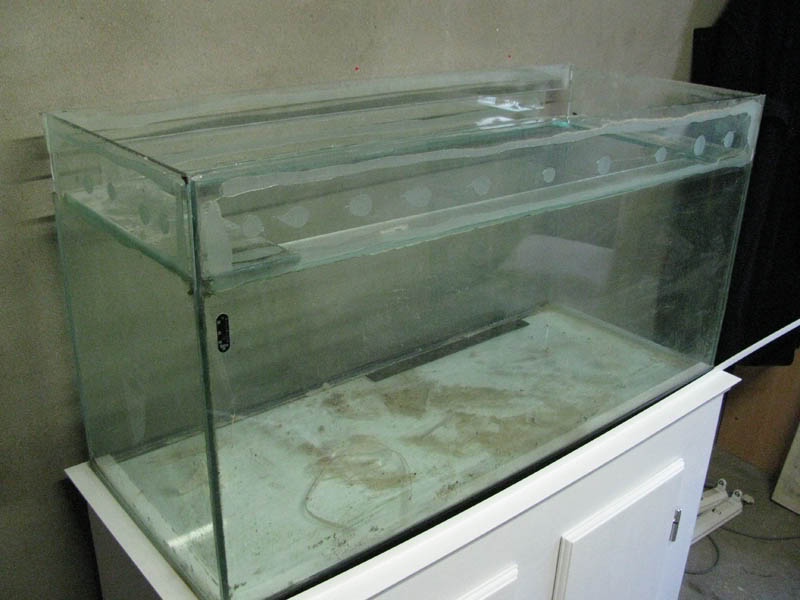
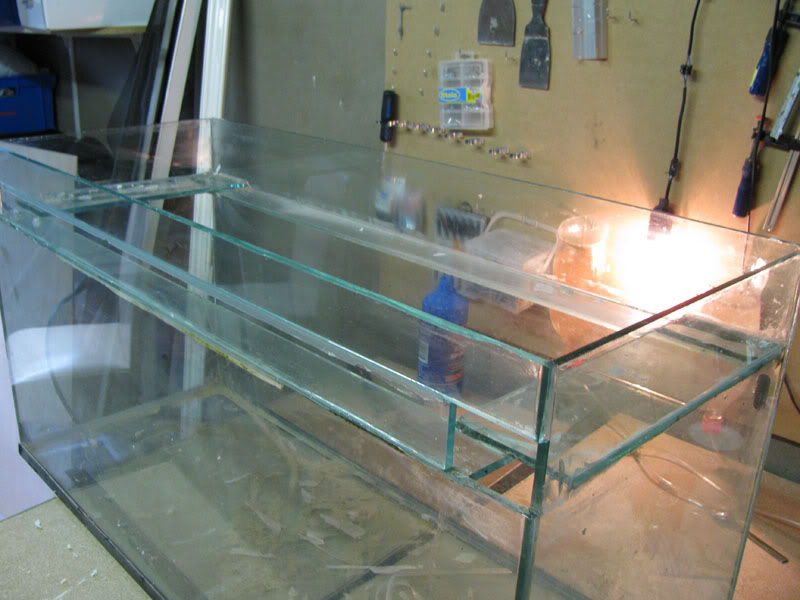
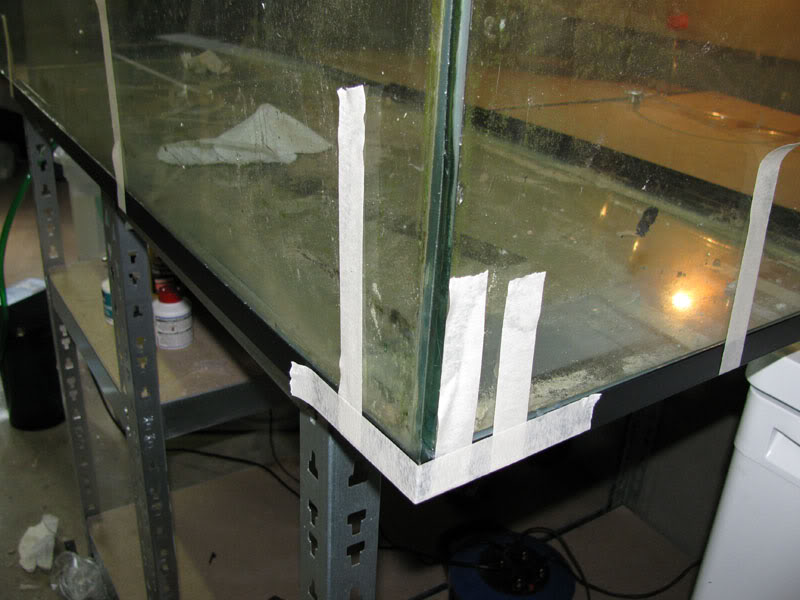
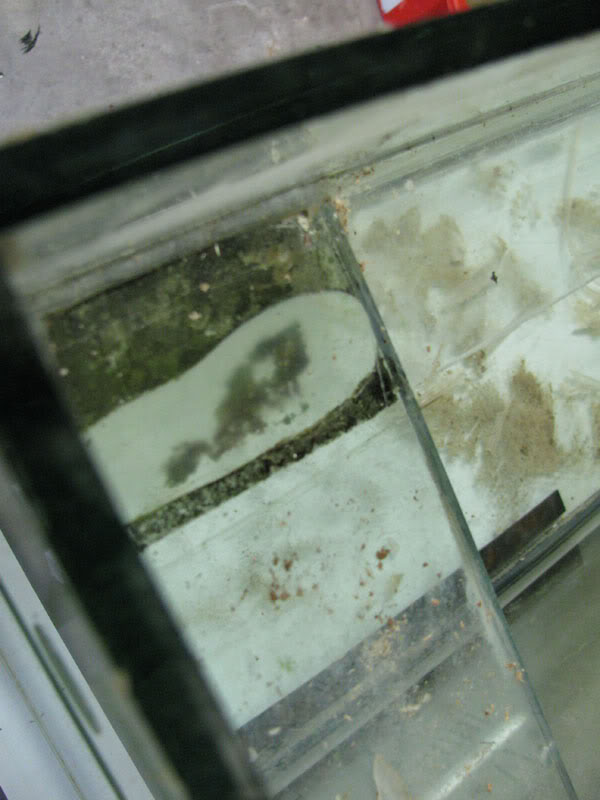
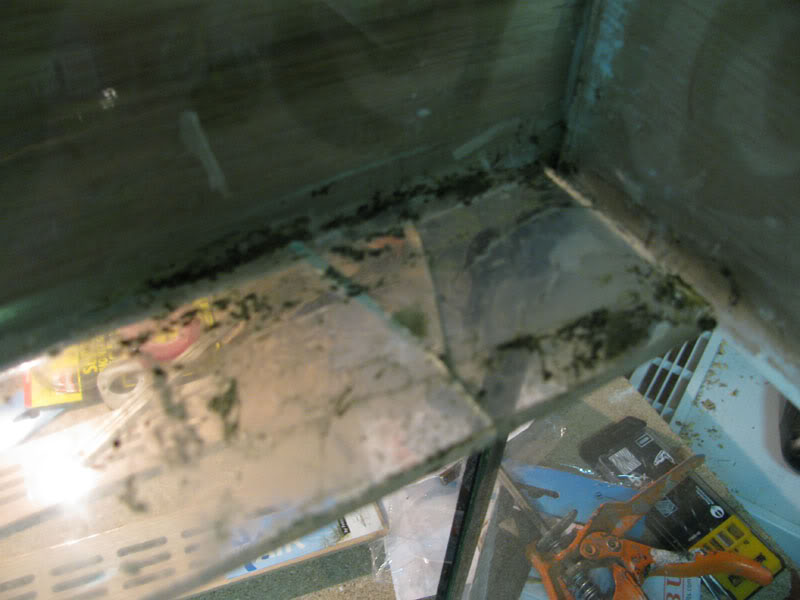
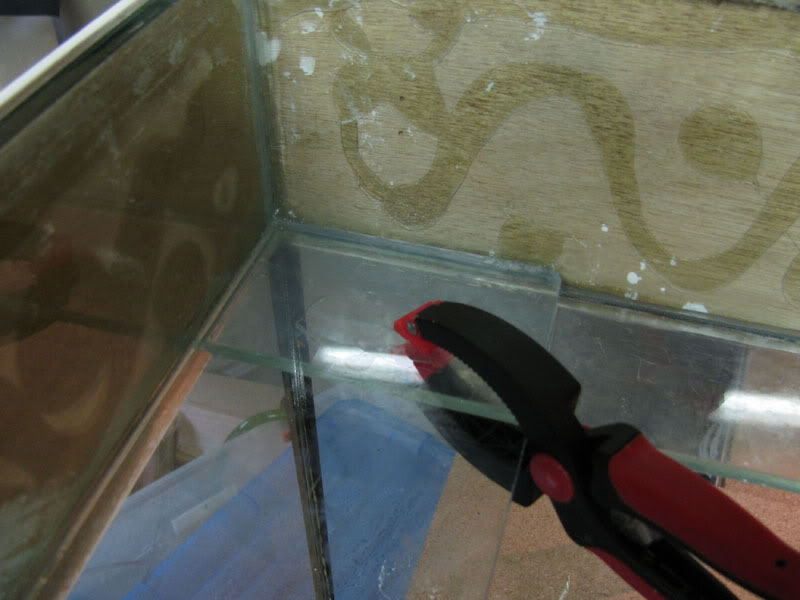
The bad news: It was in awful condition
So i decided to completely restore it, a project which cost me a lot of money already (could have bought a new one), BUT in the end i will have a nice looking tank exactly how i want to look like.
Before the restoration would begin, i decided to make a DIY stand - my first one - as i had nothing to put the aquarium on.
Enough talking, here are the pictures!
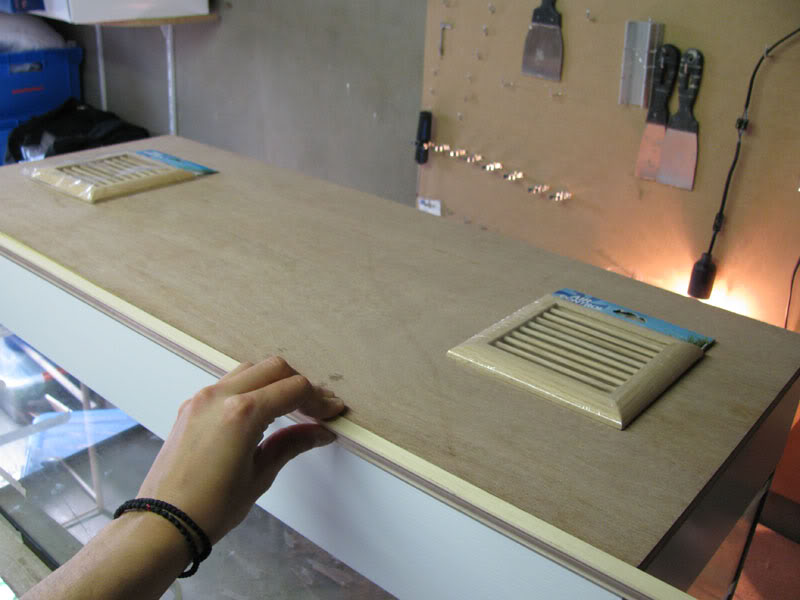
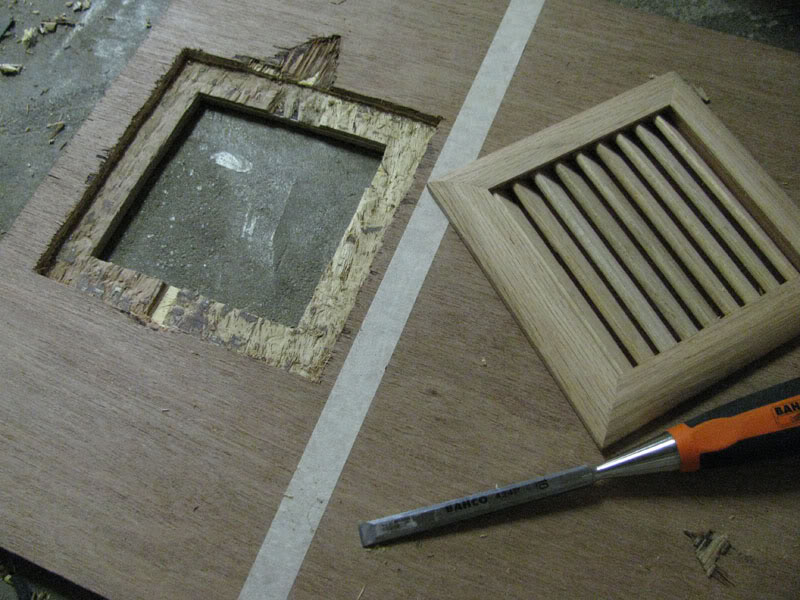
DIY Stand
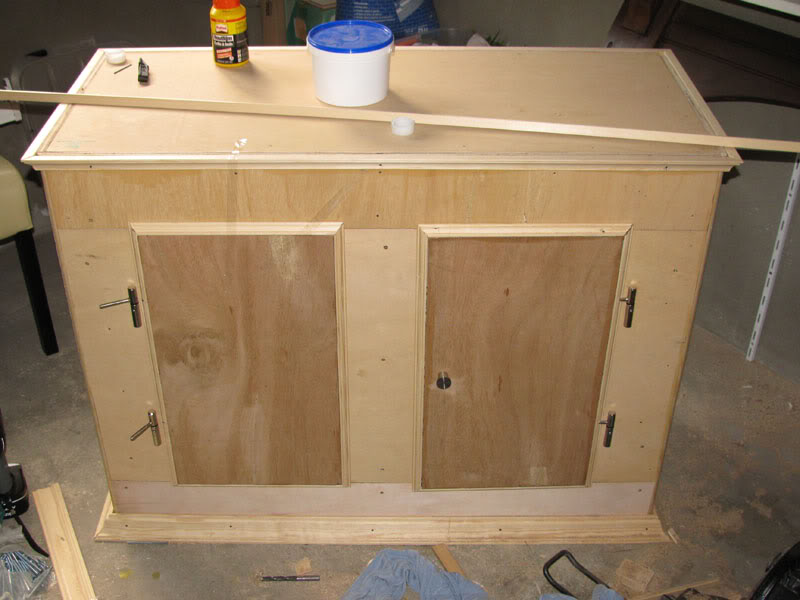
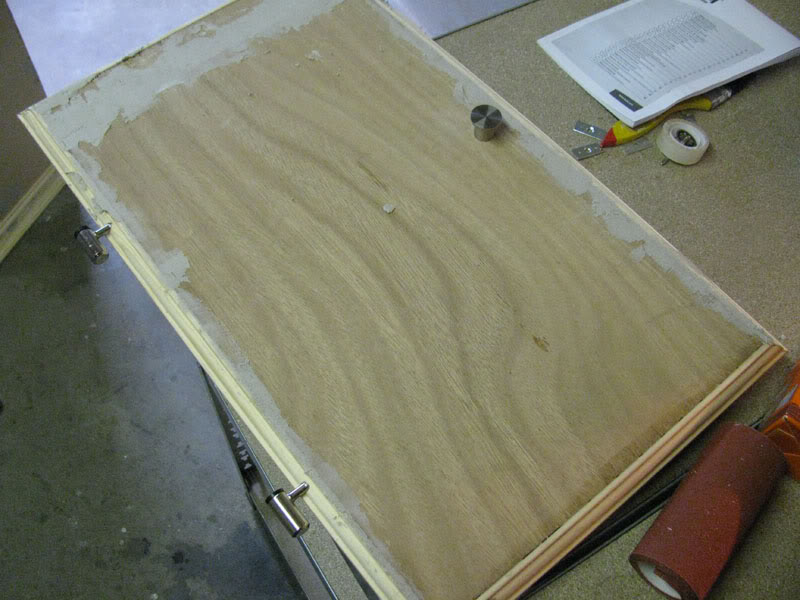
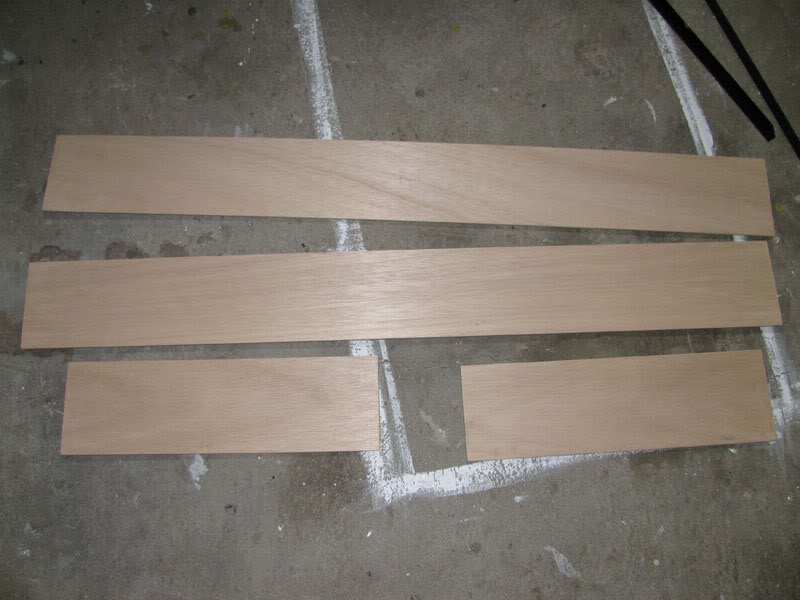
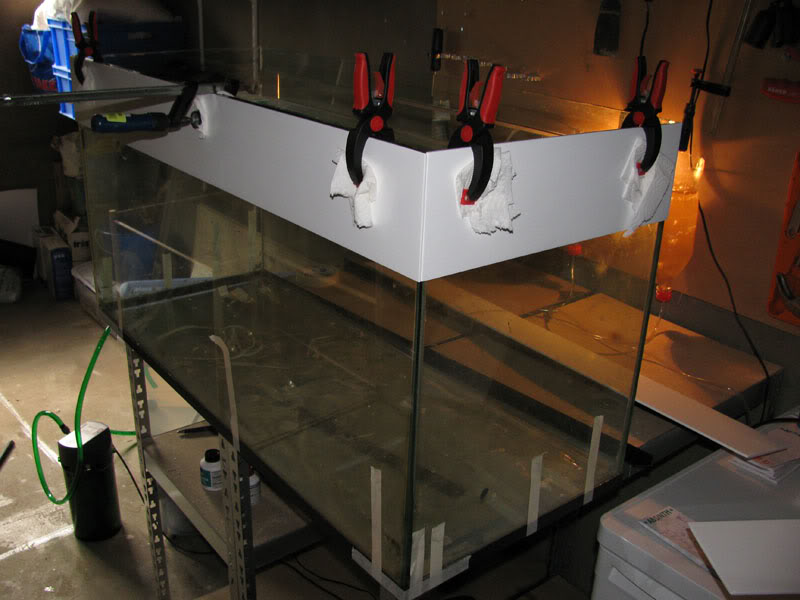
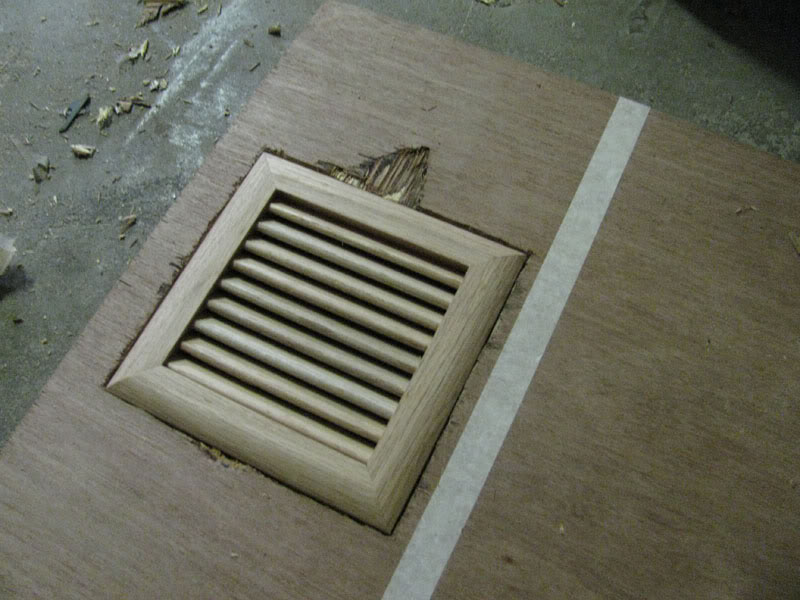
Pre assembly
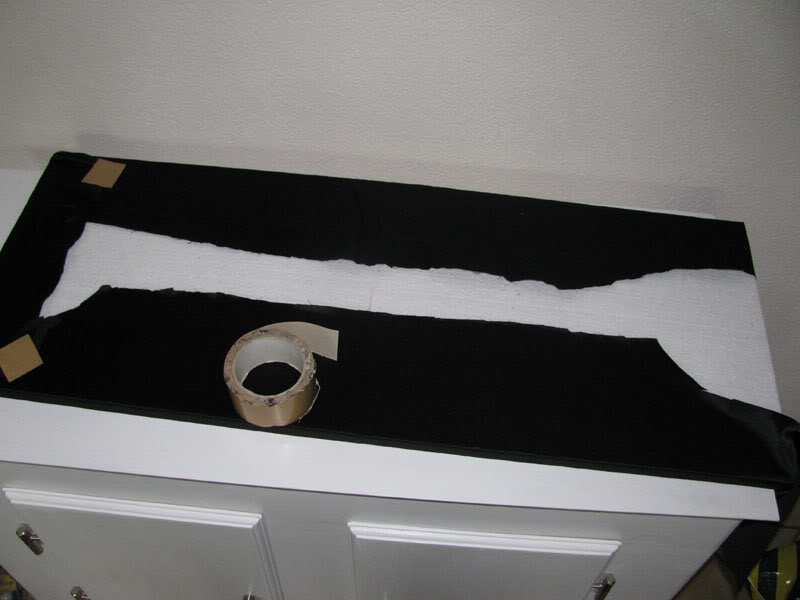
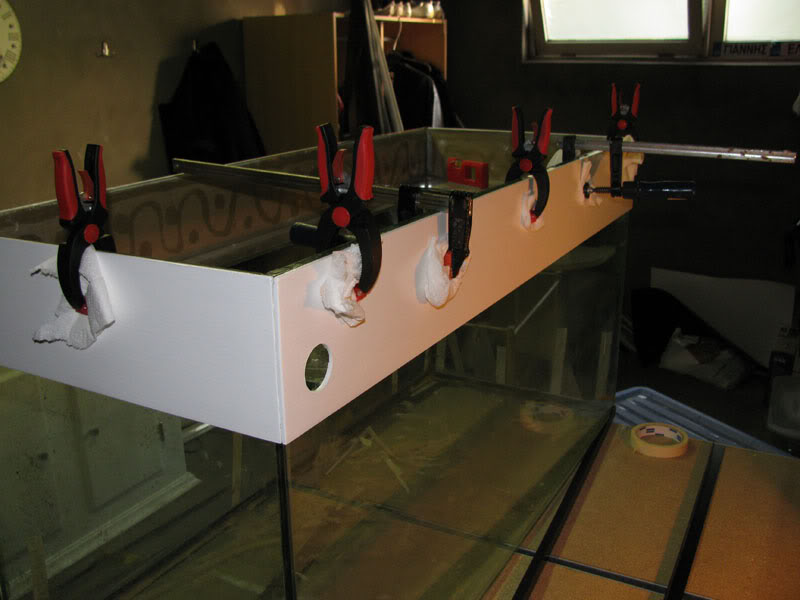
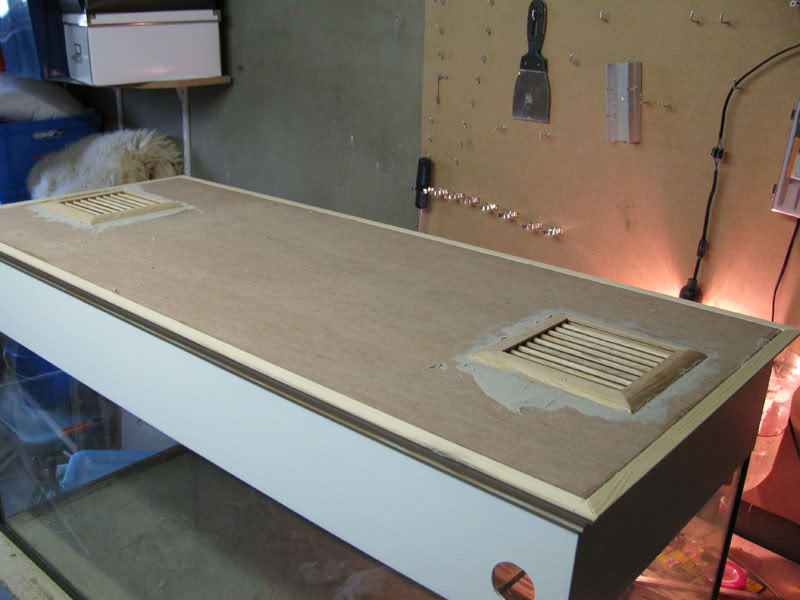
Filling the gaps
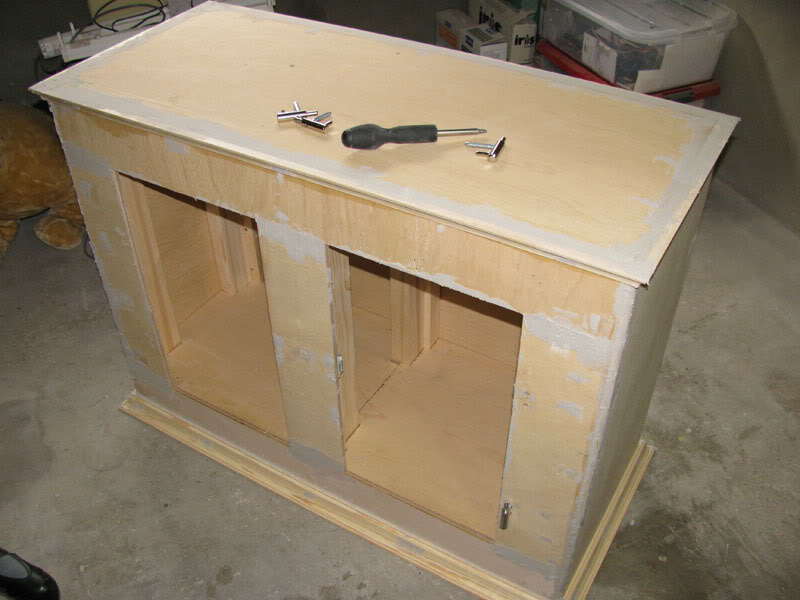
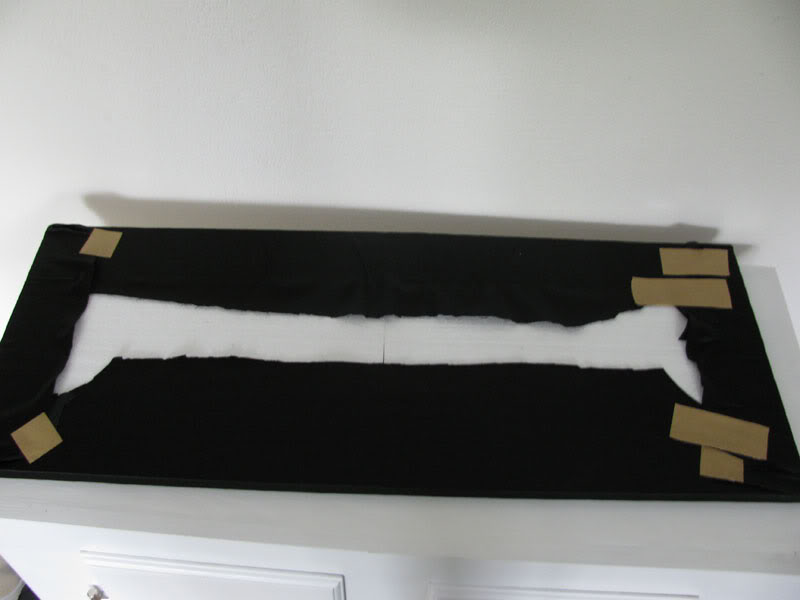
What a mess!
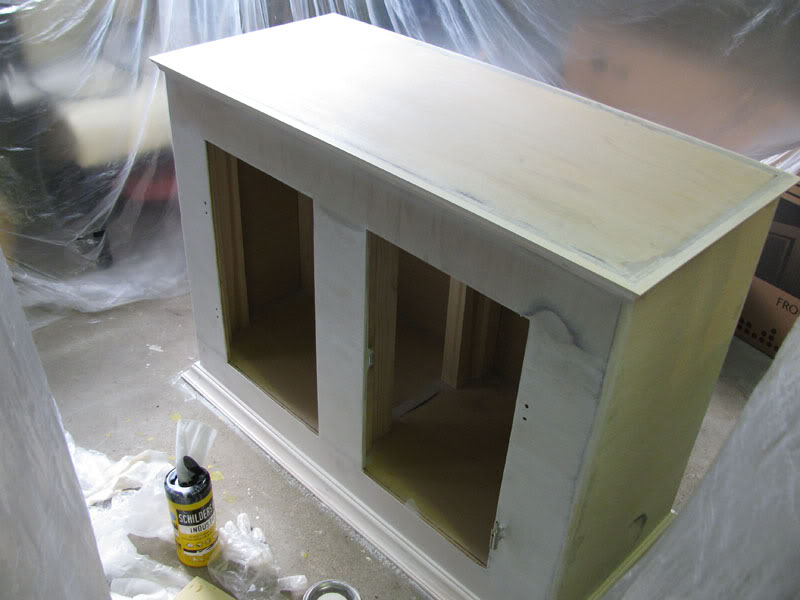
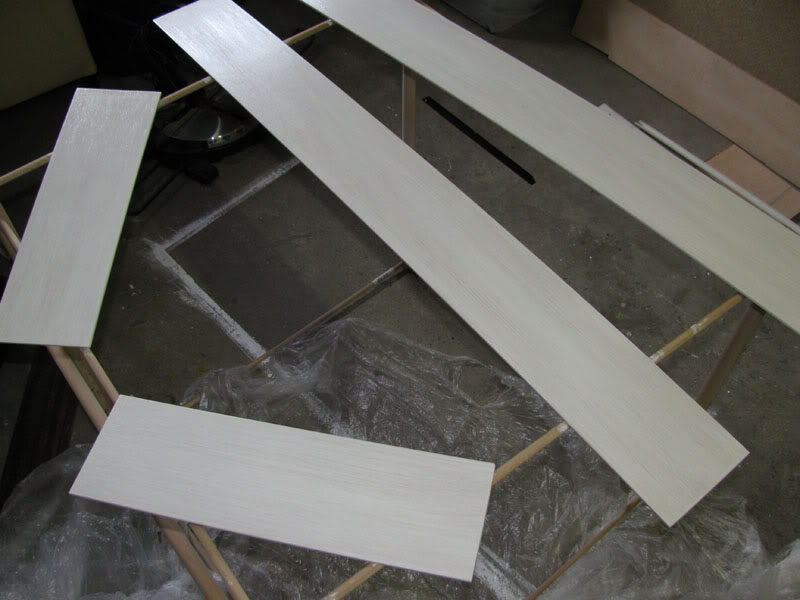
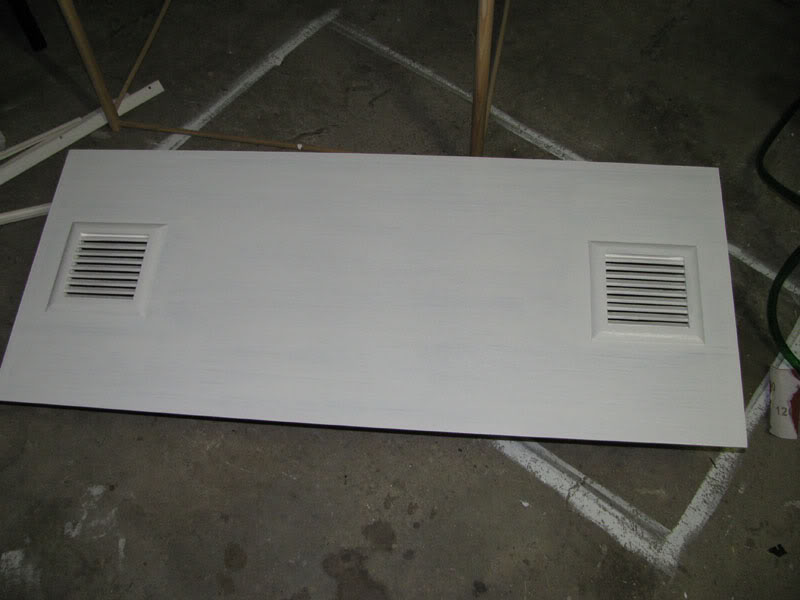
First layer of paint
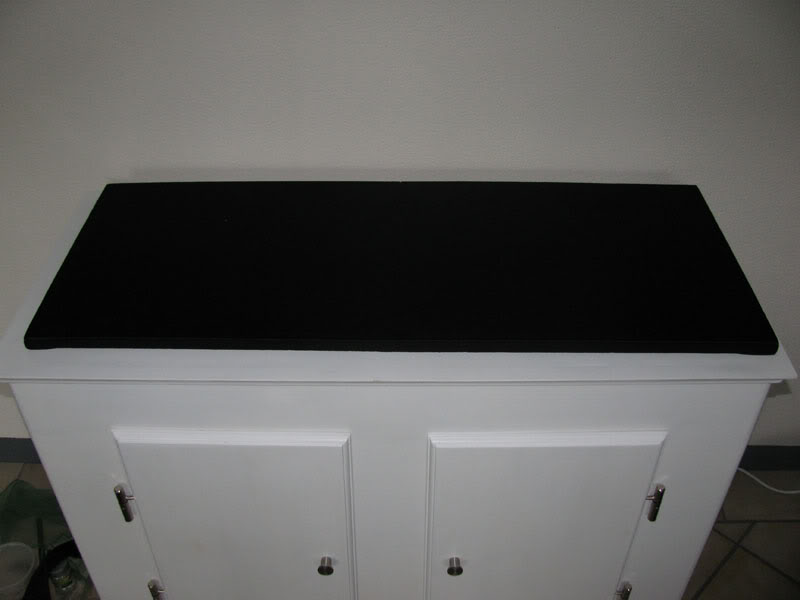
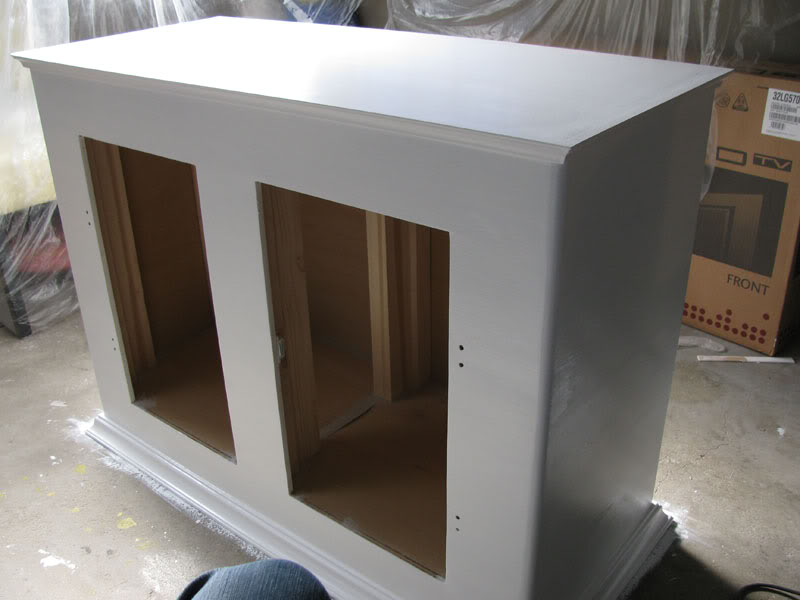
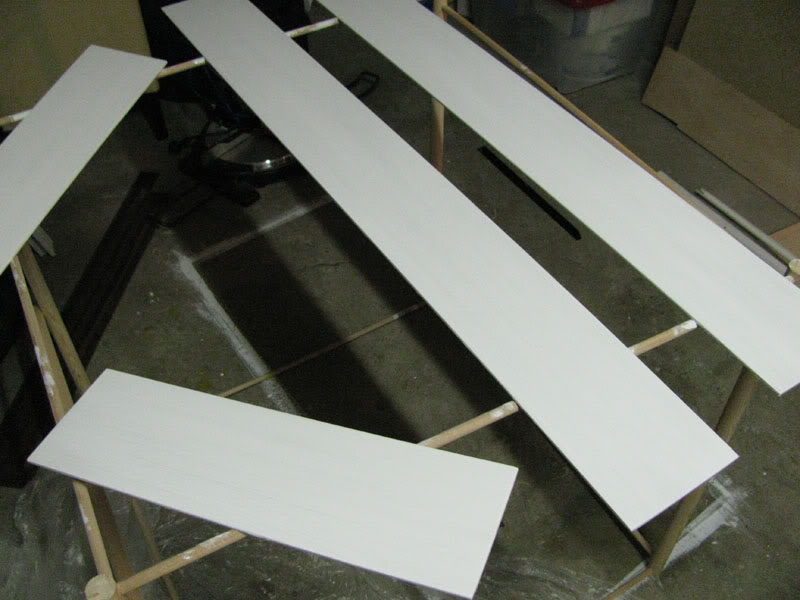
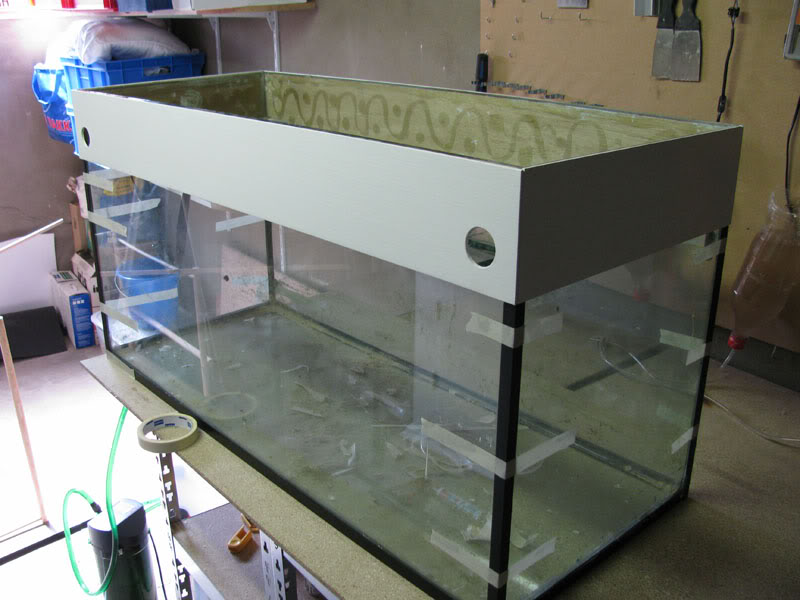
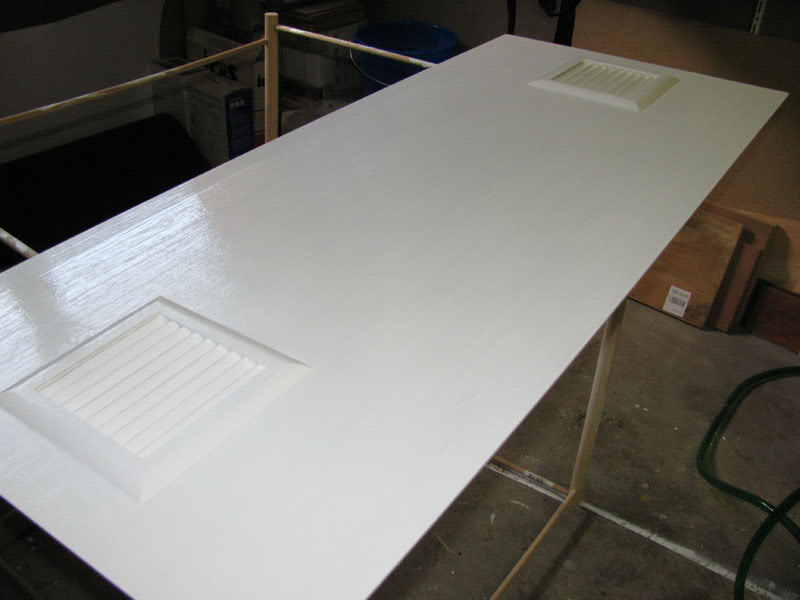
Final layer
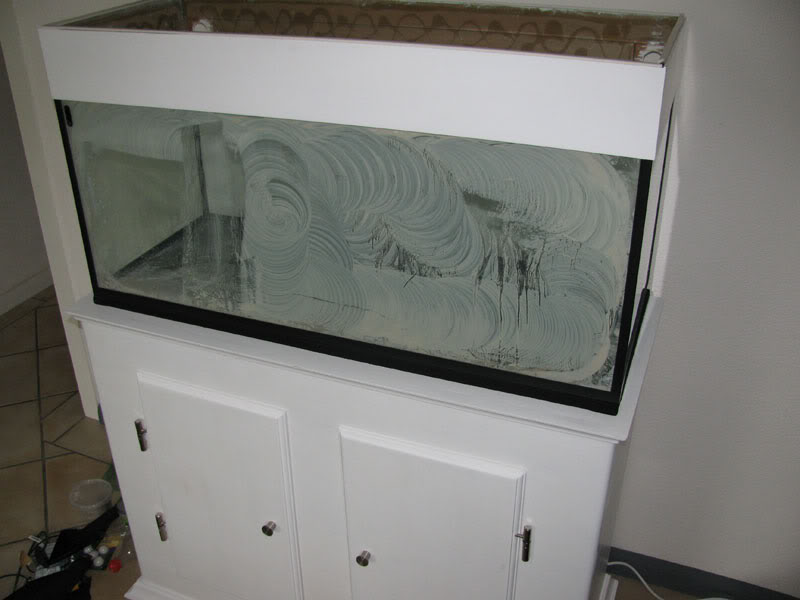
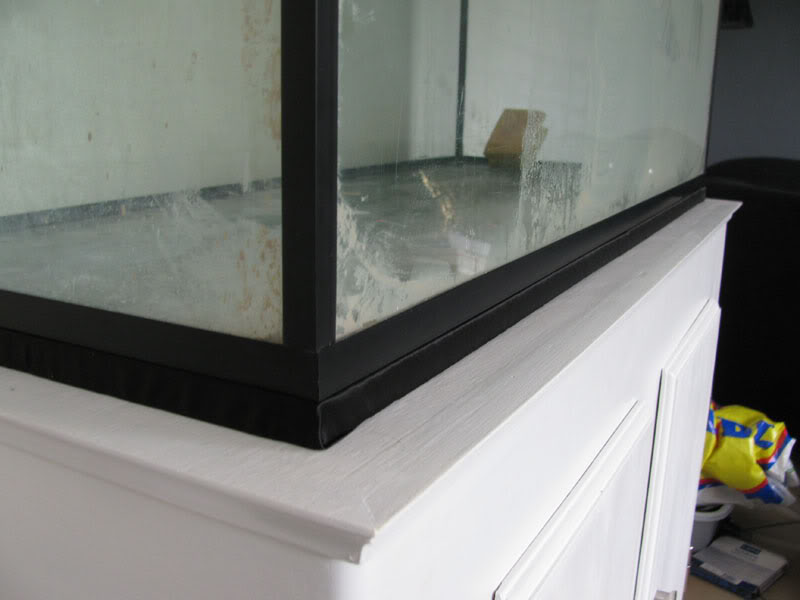
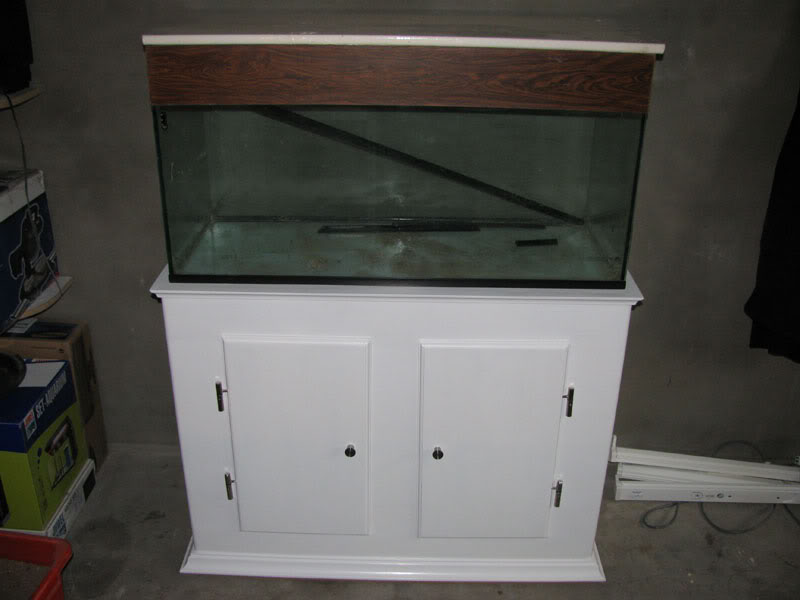
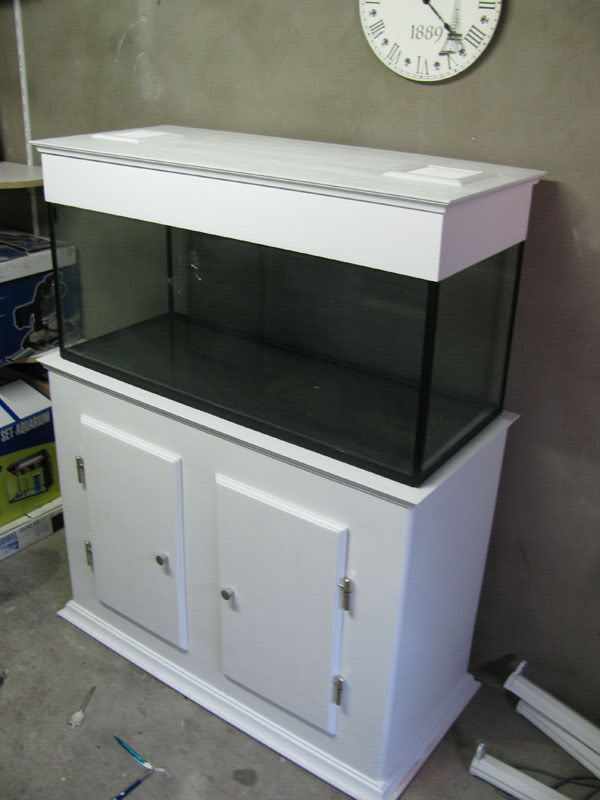
Finished product with the "ugly" aquarium
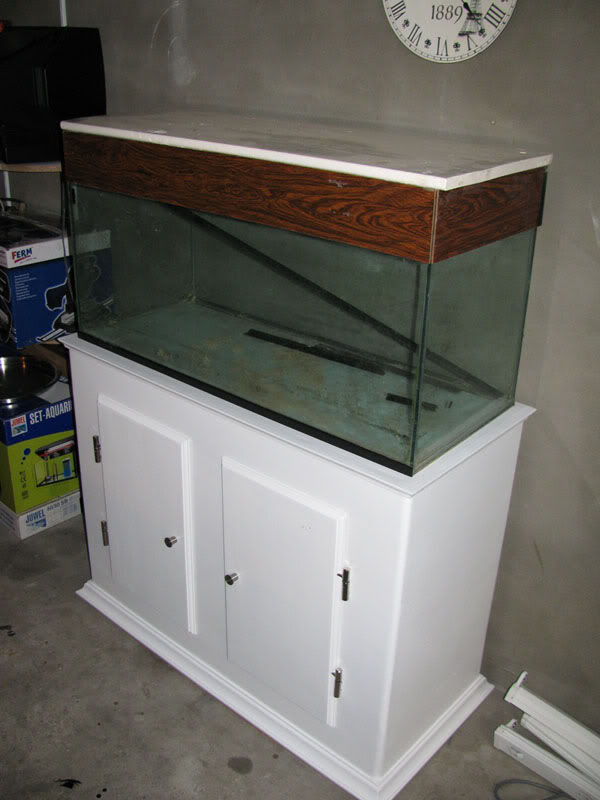
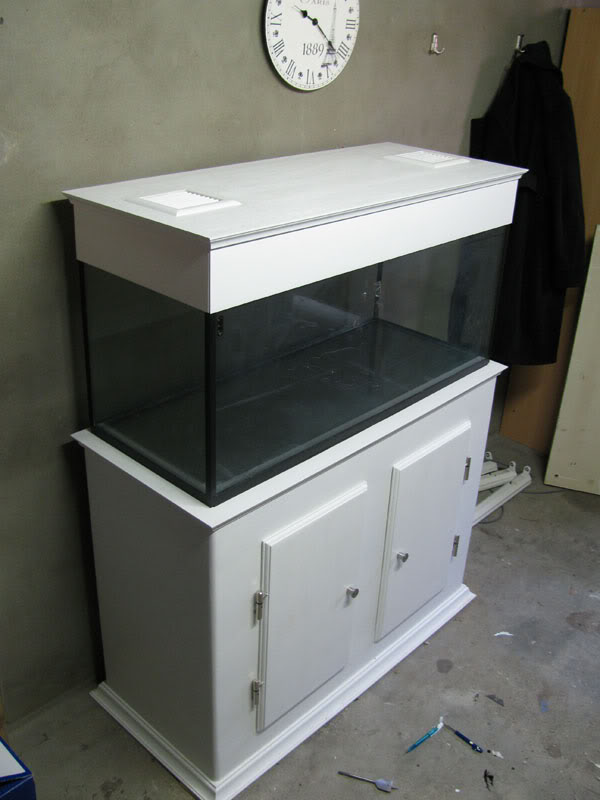
Another angle
This was the first time that i worked so intensively with wood and here is my experience:
-PLAN AHEAD EVERYTHING!!! I started with a rough idea and sketch and went along.
-Plan even more if planning to stain. Buy a wood that will look nice when stained and buy a good quality oil based paint (water based worked very bad for me)
-Please do make a shopping list. Thank god the DIY store is about 5minutes from here but i went there about 100 times;D
-Screw everything from inside if you can (the outer panels etc). The less holes you have to make the less filler, the less work and the nicer it will look! I tried staining the wood and the filler made it look horrible.
-Take your time. I was patient at first but when i got around the end i got to unpatient and messed up with painting
-Lay off sanding machines. I used a round sanding machine and although its fast it can easily lead to uneven surfaces if you dont do it properly (my case...thank you wood filler again LOL). I eventually went with simple hand sanding along the grain which proved nicer and more effective..
The good news: A while ago i managed to get a 50G Tank for free.
The bad news: It was in awful condition
So i decided to completely restore it, a project which cost me a lot of money already (could have bought a new one), BUT in the end i will have a nice looking tank exactly how i want to look like.
Before the restoration would begin, i decided to make a DIY stand - my first one - as i had nothing to put the aquarium on.
Enough talking, here are the pictures!
DIY Stand
Pre assembly
Filling the gaps
What a mess!
First layer of paint
Final layer
Finished product with the "ugly" aquarium
Another angle
This was the first time that i worked so intensively with wood and here is my experience:
-PLAN AHEAD EVERYTHING!!! I started with a rough idea and sketch and went along.
-Plan even more if planning to stain. Buy a wood that will look nice when stained and buy a good quality oil based paint (water based worked very bad for me)
-Please do make a shopping list. Thank god the DIY store is about 5minutes from here but i went there about 100 times;D
-Screw everything from inside if you can (the outer panels etc). The less holes you have to make the less filler, the less work and the nicer it will look! I tried staining the wood and the filler made it look horrible.
-Take your time. I was patient at first but when i got around the end i got to unpatient and messed up with painting
-Lay off sanding machines. I used a round sanding machine and although its fast it can easily lead to uneven surfaces if you dont do it properly (my case...thank you wood filler again LOL). I eventually went with simple hand sanding along the grain which proved nicer and more effective..


 )
)