noteworthy
Aquarium Advice Freak
Hello.
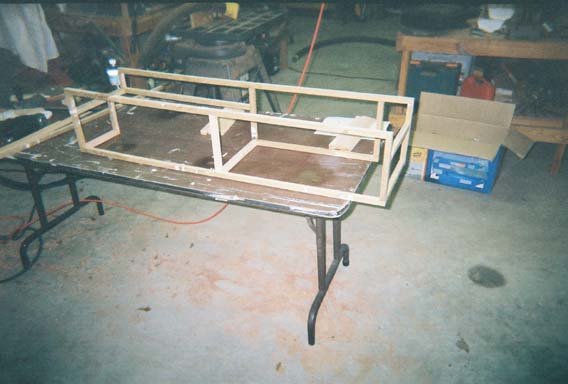
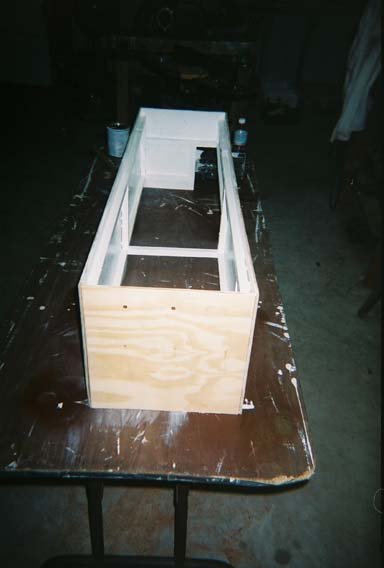
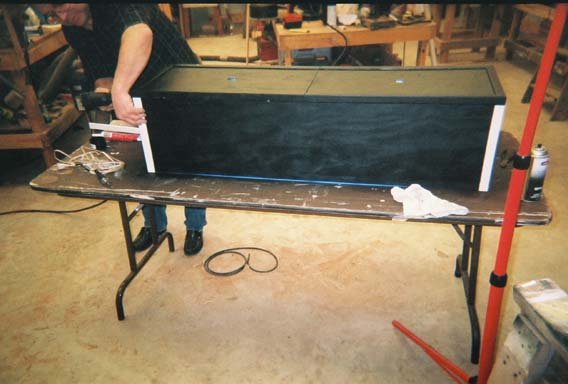
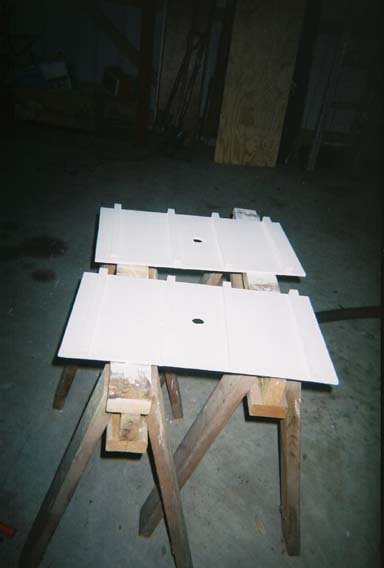
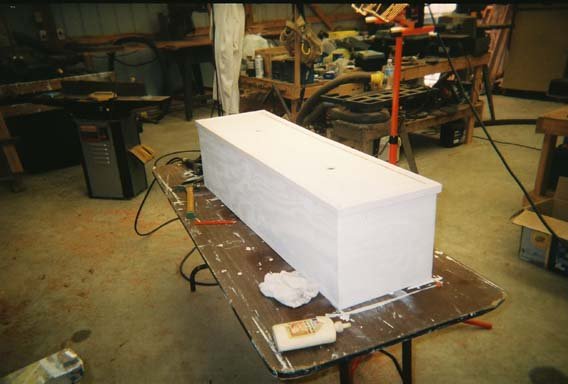
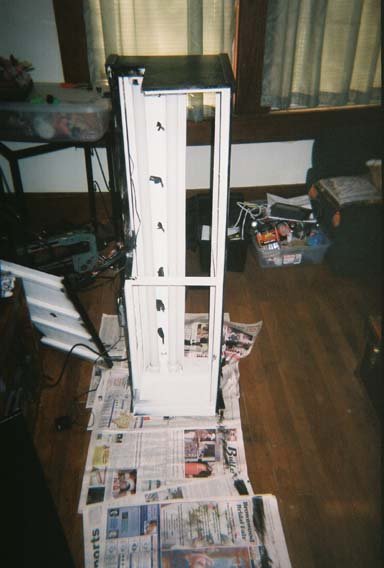
I wanted to show you a picture of my canopy plans and explain my lighting ideas. I can't do MH because of budget but I think my plan should be successful.
http://putfile.com/pic.php?pic=11/33016112422.jpg&s=x12
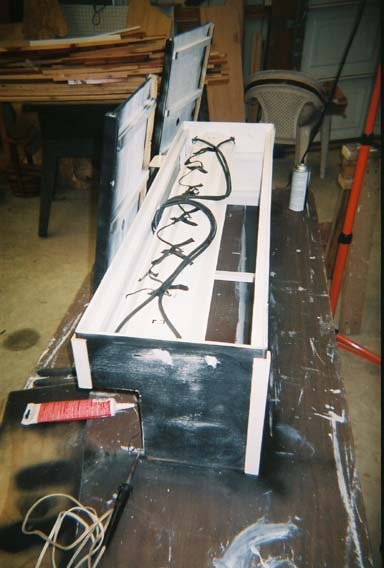
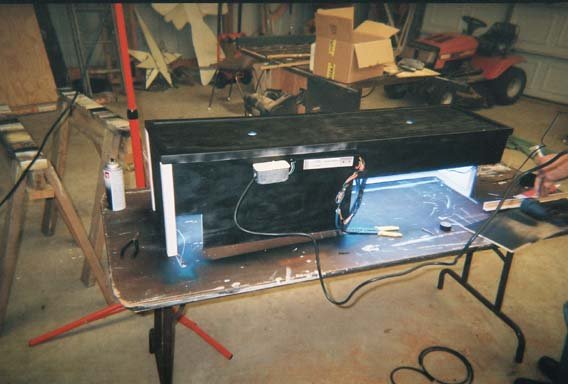
I plan to get a 220w VHO ballast and run two 110 lamps with reflector, moisture resistant caps, and DIY moonlights from the forums.
I will not be able to set the actinic and 10,000 bulbs on seperately.. they will all come on at the same time. Is this a problem? Moonlights will be on a timer to come on just before the lights cut off.
My tank is a 55 gallon FOWLR atm but I plan to get some corals as soon as I deal with my livestock situation.
Cost of the VHO setup is 145 for everything. DIY Moonlights are 14 and canopy will not cost me anything because my dad has tons of wood laying around.
Comments or questions are welcome.
I wanted to show you a picture of my canopy plans and explain my lighting ideas. I can't do MH because of budget but I think my plan should be successful.
http://putfile.com/pic.php?pic=11/33016112422.jpg&s=x12
I plan to get a 220w VHO ballast and run two 110 lamps with reflector, moisture resistant caps, and DIY moonlights from the forums.
I will not be able to set the actinic and 10,000 bulbs on seperately.. they will all come on at the same time. Is this a problem? Moonlights will be on a timer to come on just before the lights cut off.
My tank is a 55 gallon FOWLR atm but I plan to get some corals as soon as I deal with my livestock situation.
Cost of the VHO setup is 145 for everything. DIY Moonlights are 14 and canopy will not cost me anything because my dad has tons of wood laying around.
Comments or questions are welcome.
 (just messing with ya)