Freak1456
Aquarium Advice Apprentice
- Joined
- Jan 4, 2013
- Messages
- 33
All responses and comments are appreciated and welcome. So feel free to ask questions and comment.
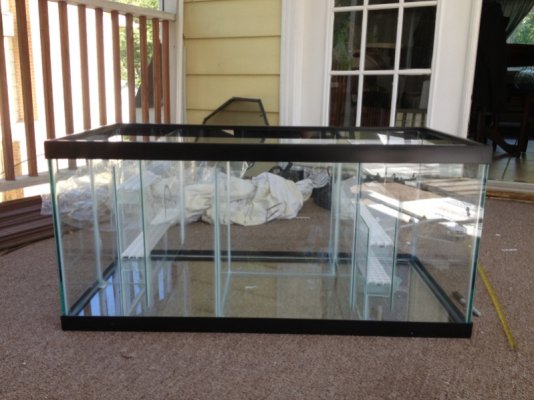
This project has been in the planning, $aving, and gathering stage for about 2 years now. And to my astonishment (right after my first child was born) my wife tells me "you have been planning for long enough. Stop procrastinating and do it. I want my laundry room back". That is where the tank (my first purchase) has been sitting for the passed 2 years.
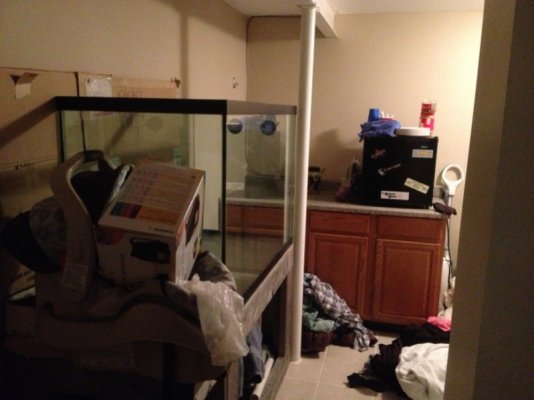
It caught me off guard. I figured this tank would be on hold for a few more years due to the baby. But I guess I have to do what my wife tells me and this time I won't be complain about it.
(Skip ahead if your only interested in the tank build)
This is my first thread so I will give everyone a little history of my aquatic hobby life. For as long as I can remember my parents have had freshwater tanks. Mostly Tetras and Swordtails. Nothing to exciting but there were always fish in the house. When I moved out I decided to get my first tank. One that I had full control over what went into it and how it looked. It was a 90 gallon long. I never really liked Tetras, there not exciting enough. So I got what any 20 year old who needed a little excitement in his fish tank would get. A pair of Oscars. . . I loved those fish. In about a year and a good 500+ goldfish later ( that was the exciting part) they were huge 6 and a half almost 7inch long. Then to much regret I got an assignment from work that sent me to Kansas City for a year. So I found a home from my Oscars and packed everything up in storage and left. While I was in Kansas City my wife (girlfriend at the time) called me and told me that when she was at Petco getting food for her cat the fish guy informed her of how simple (if you know everything about reef keeping) it is to keep a saltwater fish tank. So she picked up the 29 gallon starter kit. She had a cinnamon clown fish and a domino damsel and this horrible looking plastic tank decor. But I fell in love. As soon as I came back from Kansas. I jumped head first into reef keeping. Got my self a 20 gallon standard tank. I was staying at my parents house and they wouldn't let me set up the 90. I soon realized it is nothing like keeping a freshwater tank. The animals a extremely sensitive to water quality changes. Many many corals were lost because I no idea what I was doing. Needless to say but if you don't watch a nano closely things can get out of control very quickly, and are hard to get back under wraps. But that was close to 6 years ago and I have gotten my addiction to the hobby under control. No more spur of the moment buys. No more adding things to the water without making sure that they are needed. JUST OBSERVATION, AND SLOW CHANGES TO WATER CHEMISTRY AND RESEARCH!!!!!!
(STOP!!!!)
(STOP!!!!)
(STOP!!!!)
(I am getting to the build)
Now that u know a little about my journey through the hobby I will get to the build. As I said before I picked up the 150 gallon (48X24X31) from some guy off of cregslist. Awesome deal!!! $300 and he gave me the tank a few water pumps his 2 250 metal halides ballast with reflectors and 2 crates full of stuff. (Air pumps,fish nets etc.)
I got right to planning. The first optical i encountered was that the tank was already drilled with 2, 2 inch bulkheads on the side not the back.
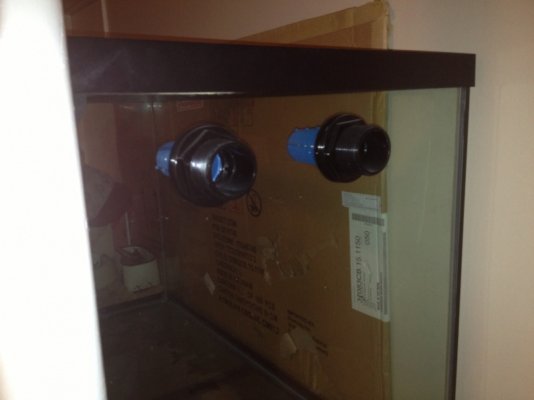
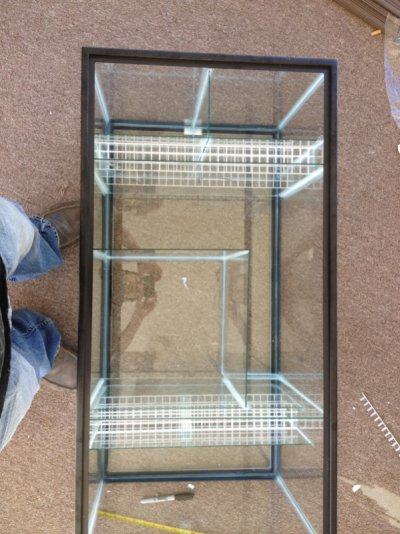
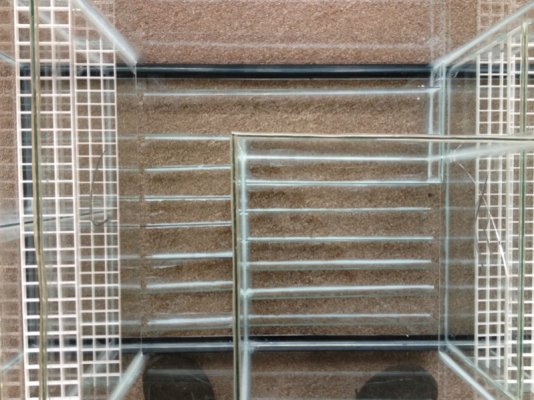
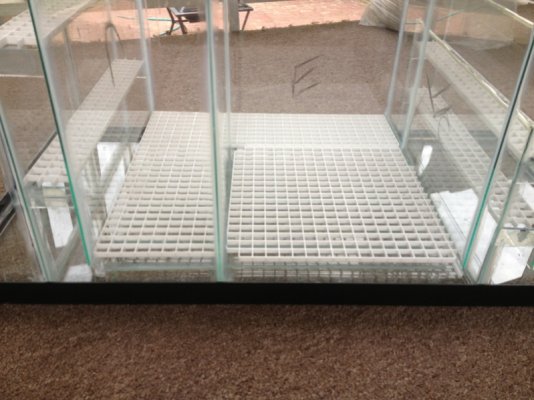
So I came up with a plan to accommodate the already installed bulkheads. I don't want to risk cracking the glass by drilling new holes so this is the concept I have come up with
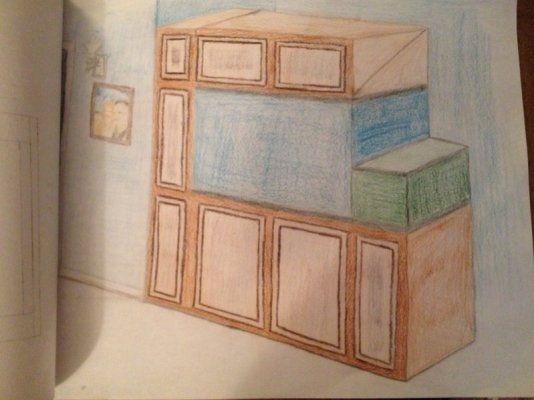
It's a crude sketch but you'll get the point.
Step one designing the stand.
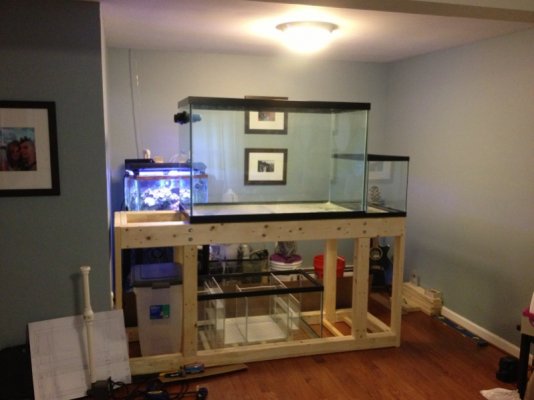
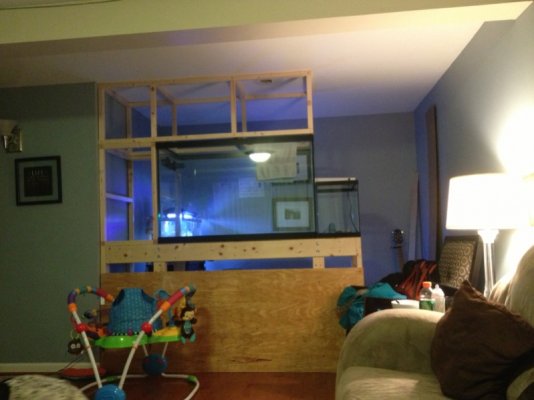
I want to place it in my living room to be viewable from both sides sense it has both large sides are free from plumbing. I also want to be able to access the sump area and top of the tank from both sides for easy access for feeding and cleaning. So the frame of the stand would need to be strong enough to support the weight of a full 150 gallon tank with sand and rock with no cabinet faces secured to it giving it stability. It also needed to be long enough to have an 18 inch wide cabinet on the left to hide the plumbing and hold a 20 gallon tall on the right for an exposed refugium. (I just like seeing all the life that goes into the echo system) this is what I ended up with.
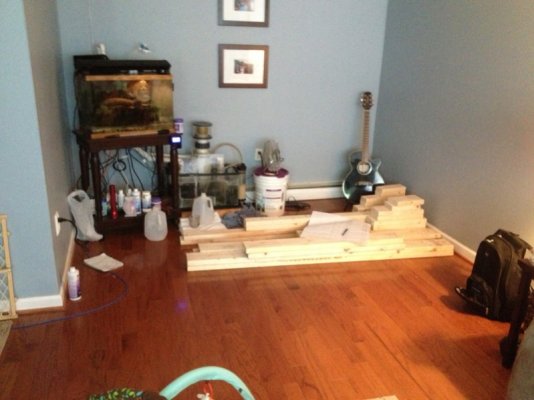
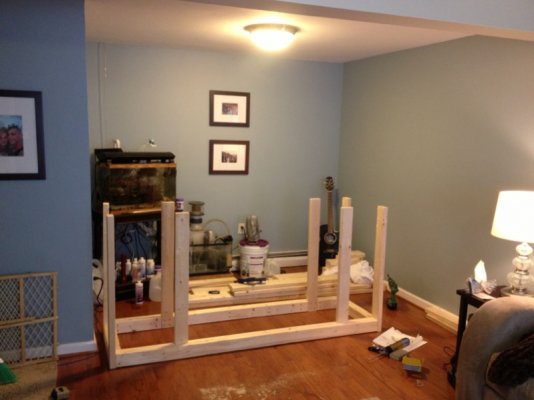
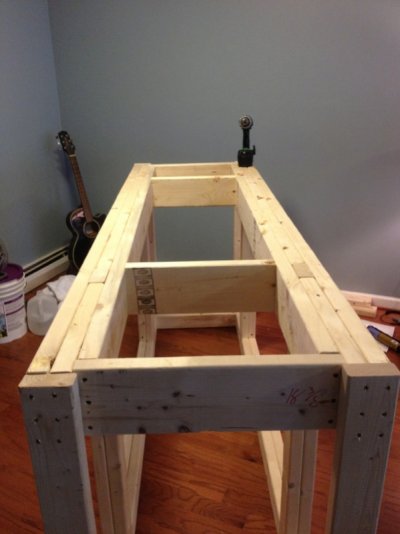
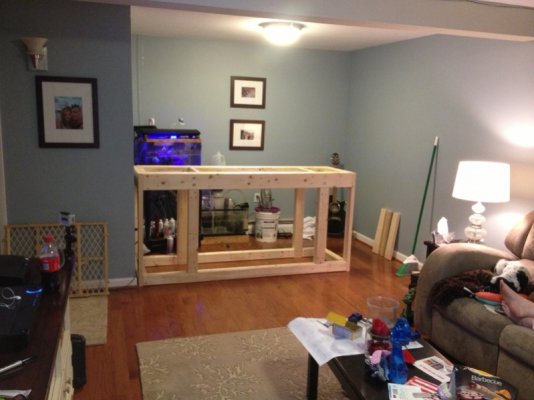
This weekend I plan on moving the tank into place. My wife will be because she gets it out of the laundry room. And building my sump out of a 40 gallon breeder.
It's late here on the east coast so I will call it quits for tonight. I will post again tomorrow.
This project has been in the planning, $aving, and gathering stage for about 2 years now. And to my astonishment (right after my first child was born) my wife tells me "you have been planning for long enough. Stop procrastinating and do it. I want my laundry room back". That is where the tank (my first purchase) has been sitting for the passed 2 years.

It caught me off guard. I figured this tank would be on hold for a few more years due to the baby. But I guess I have to do what my wife tells me
(Skip ahead if your only interested in the tank build)
This is my first thread so I will give everyone a little history of my aquatic hobby life. For as long as I can remember my parents have had freshwater tanks. Mostly Tetras and Swordtails. Nothing to exciting but there were always fish in the house. When I moved out I decided to get my first tank. One that I had full control over what went into it and how it looked. It was a 90 gallon long. I never really liked Tetras, there not exciting enough. So I got what any 20 year old who needed a little excitement in his fish tank would get. A pair of Oscars. . . I loved those fish. In about a year and a good 500+ goldfish later ( that was the exciting part) they were huge 6 and a half almost 7inch long. Then to much regret I got an assignment from work that sent me to Kansas City for a year. So I found a home from my Oscars and packed everything up in storage and left. While I was in Kansas City my wife (girlfriend at the time) called me and told me that when she was at Petco getting food for her cat the fish guy informed her of how simple (if you know everything about reef keeping) it is to keep a saltwater fish tank. So she picked up the 29 gallon starter kit. She had a cinnamon clown fish and a domino damsel and this horrible looking plastic tank decor. But I fell in love. As soon as I came back from Kansas. I jumped head first into reef keeping. Got my self a 20 gallon standard tank. I was staying at my parents house and they wouldn't let me set up the 90. I soon realized it is nothing like keeping a freshwater tank. The animals a extremely sensitive to water quality changes. Many many corals were lost because I no idea what I was doing. Needless to say but if you don't watch a nano closely things can get out of control very quickly, and are hard to get back under wraps. But that was close to 6 years ago and I have gotten my addiction to the hobby under control. No more spur of the moment buys. No more adding things to the water without making sure that they are needed. JUST OBSERVATION, AND SLOW CHANGES TO WATER CHEMISTRY AND RESEARCH!!!!!!
(STOP!!!!)
(STOP!!!!)
(STOP!!!!)
(I am getting to the build)
Now that u know a little about my journey through the hobby I will get to the build. As I said before I picked up the 150 gallon (48X24X31) from some guy off of cregslist. Awesome deal!!! $300 and he gave me the tank a few water pumps his 2 250 metal halides ballast with reflectors and 2 crates full of stuff. (Air pumps,fish nets etc.)
I got right to planning. The first optical i encountered was that the tank was already drilled with 2, 2 inch bulkheads on the side not the back.

So I came up with a plan to accommodate the already installed bulkheads. I don't want to risk cracking the glass by drilling new holes so this is the concept I have come up with

It's a crude sketch but you'll get the point.
Step one designing the stand.
I want to place it in my living room to be viewable from both sides sense it has both large sides are free from plumbing. I also want to be able to access the sump area and top of the tank from both sides for easy access for feeding and cleaning. So the frame of the stand would need to be strong enough to support the weight of a full 150 gallon tank with sand and rock with no cabinet faces secured to it giving it stability. It also needed to be long enough to have an 18 inch wide cabinet on the left to hide the plumbing and hold a 20 gallon tall on the right for an exposed refugium. (I just like seeing all the life that goes into the echo system) this is what I ended up with.


This weekend I plan on moving the tank into place. My wife will be because she gets it out of the laundry room. And building my sump out of a 40 gallon breeder.
It's late here on the east coast so I will call it quits for tonight. I will post again tomorrow.

