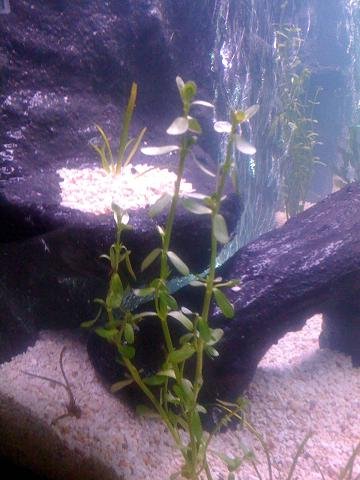
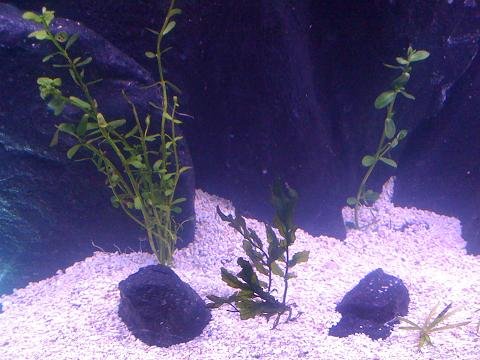
Thanks Wy! I bought 4 bulbs when I bought the live plants and they are growing like crazy. I think I'll try some more bulbs. I'm looking forward to having some lush growth in there.
Andjak, I bought everything except the marine resin at Lowe's. I bought the marine resin directly from West Marine because I have a store by me but surely there are web sources. Definitely use the exact ones in the instructions, and I strongly recommend you buy the pumps. Here are a few comments about my experience:
1. The foam board is way harder to cut/carve than I expected. There is probably a better tool out there. I bought a heat tool for carving styrofoam from Michael's craft store that lasted about 5 minutes. (it bent and then actually broke and sparked). I tried using a soldering iron that shorted out after 10 minutes. I took a creme brulee torch to it but that was pretty ineffectual

. In the end I would guess I did 80% of my carving using kitchen knives, 10% using a dremel tool, and 10% miscellaneous things. If you search on my posts you can see pics. Also, the foam stinks a lot when you carve it with heat. My BF says it's not harmful fumes but it still made me nervous.
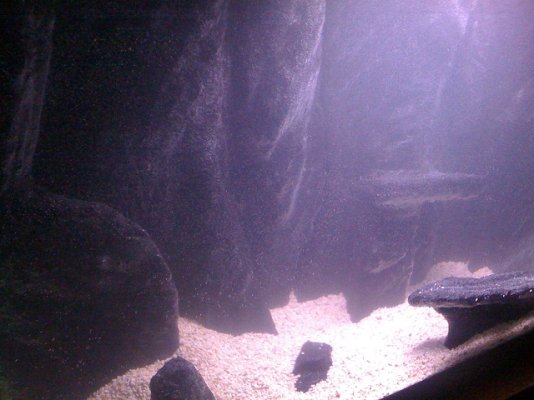
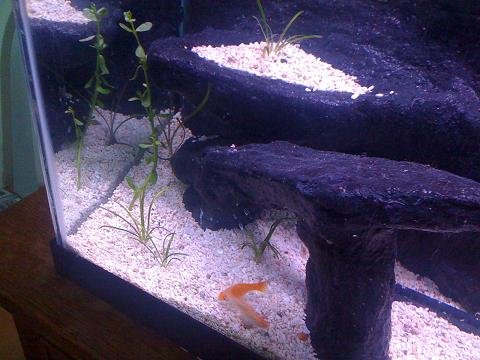
2. Don't be afraid to experiment. You'll probably have way more board than you need in the end. I siliconed the pieces together where I wanted ledges and caves and such, and I made more foreground pieces than I ended up using. I wanted my mechanicals totally hidden. The heater and the canister's output are behind the wall to the left of center, and there's a space in the background so they are suction cupped to the glass. The canister's uptake is behind the protrusion on the far right. I made that by applying two more pieces the height of the main piece, then carving out from behind until there was only about 1/2" wall left. There are long vertical slits hidden on the edges of that protrusion to accommodate the water flow, and so far that seems to be working nicely. If you mean to do something like that be sure to keep a popsicle stick or something handy when you cement and resin so you keep the openings open.
3. Remember to do the thing in pieces that will go in and out of the tank without too much trouble. Do a LOT of dry fitting. I had to carve one of the pieces pretty substantially - all the way down to the foam - after it was cemented because it didn't fit anymore. Remember that as you add the cement layers the pieces get bigger. It's really easy to lose sight of that when you're working.
4. Always wear gloves when you're working with the cement. I used disposable hospital gloves and they worked fine. The cement is incredibly absorbent and irritating, even when you do the first soupy layer. I liked the gloves especially for the thick layers so I could form the cement with my hands.
5. I had some trouble with the color. I may have done something wrong. I had to add way more than I expected to get the dark color I wanted, even though the bottle said it would color multiple 80 lb bags. Then when I tried using the 'buff' it turned a deep terra cotta color. Perhaps if I had used less of that I would have gotten the tan color I was expecting. In the end I covered that over and settled for a uniform dark.
6. Spray the cemented pieces down with water before you apply additional cement. The dry cement is like a sponge and will just suck all the moisture out of the layer you are applying, leaving you with a lot of grit that will brush right off.
7. Because of the above I was afraid I'd end up needing to buy more resin, which was distressing because it's so expensive. But it doesn't suck into the cement, it just coats nicely. My BF gave me a detailed explanation of why that is. Something something bonding something. :> Anyway, I coated all my stuff and still have roughly 25% left over in both cans. The resin will significantly darken your pieces. I would guess twice as dark. Shine a flashlight all over your pieces to make sure you get every spot. It's easy to miss places, especially if you do caves, etc, like I did. Also, my biggest irritation with the resin process is that between the cheap brushes I used and my cats there is a lot of hair and brush fibers stuck in the resin. It's not super noticeable but it annoys me all the same. If I was doing it again I'd try to find brushes or some applicator that wouldn't shed, and try to do it in a cat-hair free space.
8. I siliconed my pieces into the tank (the second time using the RIGHT silicone
) and let that cure for a couple of days. Then I put water in (no substrate) and let that sit for 2 days. Then I took that water out, put in the substrate, and refilled. At that point I started up my mechanicals and began the cycling process.
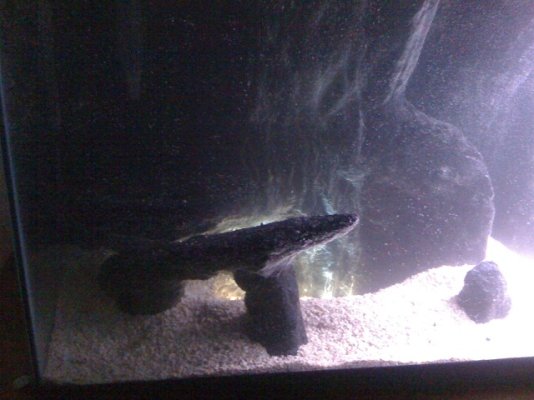
So far so good! I put 6 mollies in there 3 days ago and they all look fine. This morning there were babies. Oh, mollies.
Hope that's helpful!