RLG2182
Aquarium Advice FINatic
Well... so here it is. I figure since this is my second sump, I would document how I went about making it. I noticed that many newcomers to the hobby are curious to see just HOW to make one of these... so here goes. 
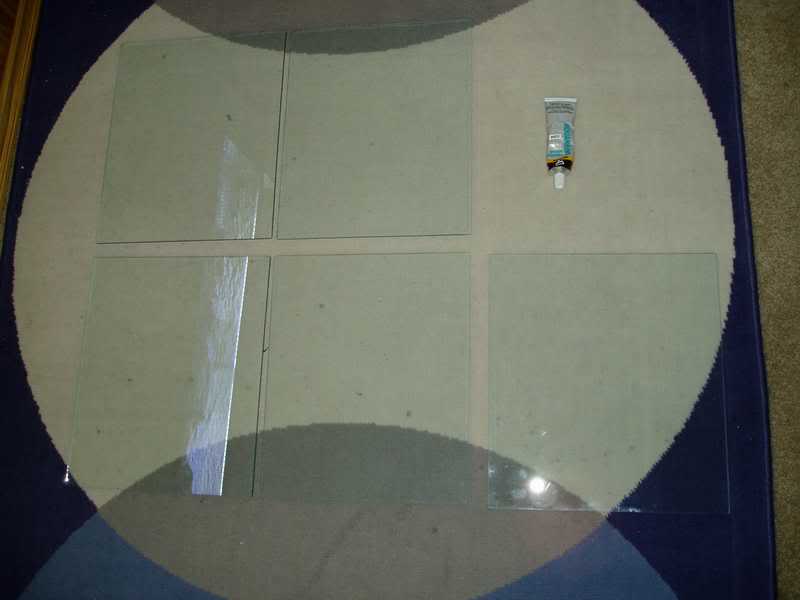
First... I decided on all glass. 40 gal tank (glass) and 3/16" glass cut from a LGS (local glass shop). I just had to measure EXACTLY how wide the baffles should be to fit inside, and decided on a height. Mine came out to 14.5 x 12". Total cost: $30.
I layed out with a dry erase marker on the outside of the tank where I wanted my baffles to be, making sure that the other side was identical (so I could make sure the baffles were square).
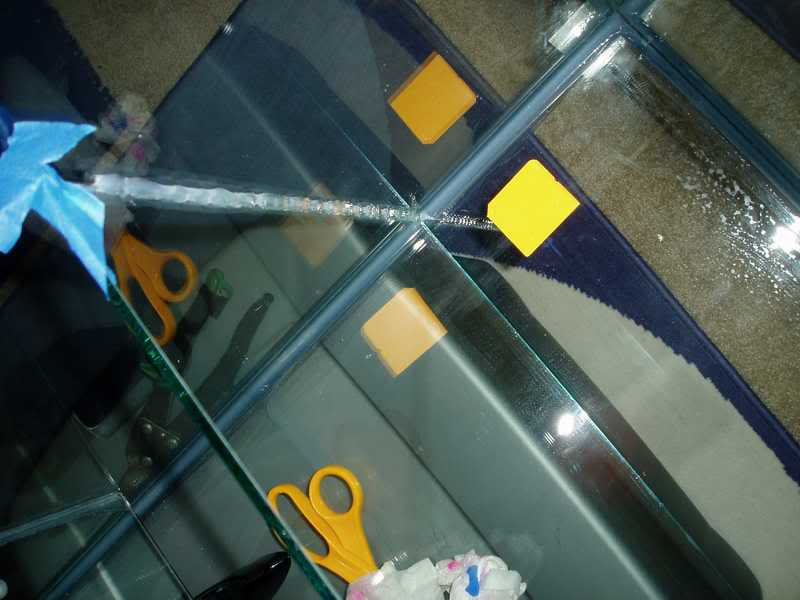
Next, I took my trusty Aquarium safe silicone made by DAP and went to town. Make sure that you tape the top of the baffle to the tank so that they don't wobble back and forth. 8O Here's with a bead of silicone applied... with the tape as described:
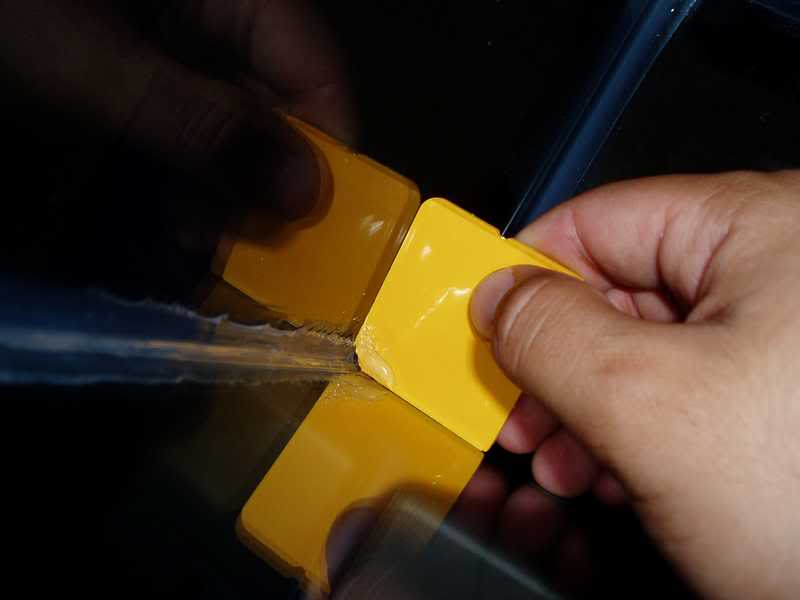
(close up of the piece of plastic I used to smooth the edges)
Next... make sure you take the kittens out of the room, because they are bugging the heck out of you.
(kittens just got neutered... and shaved. (not a part of the diy sump project... just needed to provide a break for all you's taking notes).
When you get to the baffle portion of the sump, make sure you do the top baffle (the one in the middle) FIRST... or else you won't be able to properly silicone the sides of it. This is important because the only thing holding this one up is the silicone itself... all the others are just merely sitting on the bottom. Prop it up at your desired height with whatever you find. I used pieces of plastic that were used to hold up a monitor. Just make sure that you pick something that can be pulled out from underneath when it is dry.
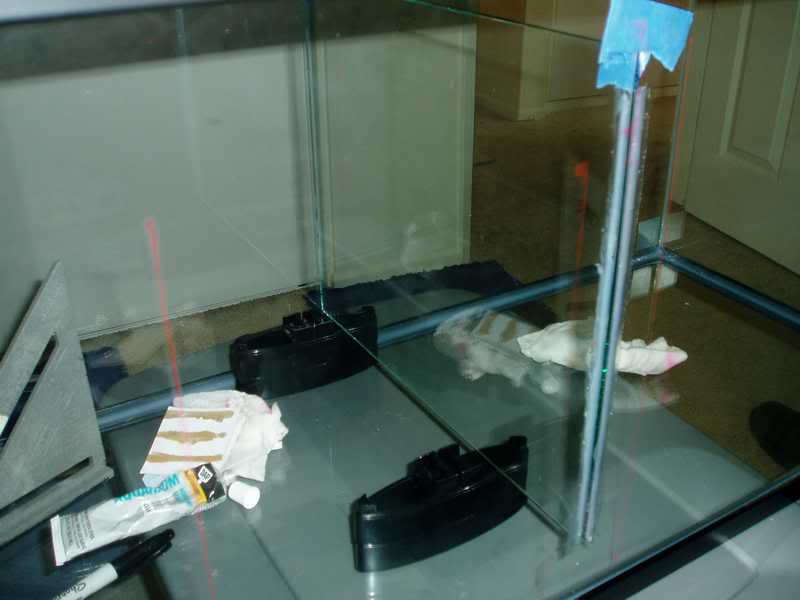
Let the top baffle dry an hour, and then go to town on the side ones. When you're all done applying silicone, it should look something like this:
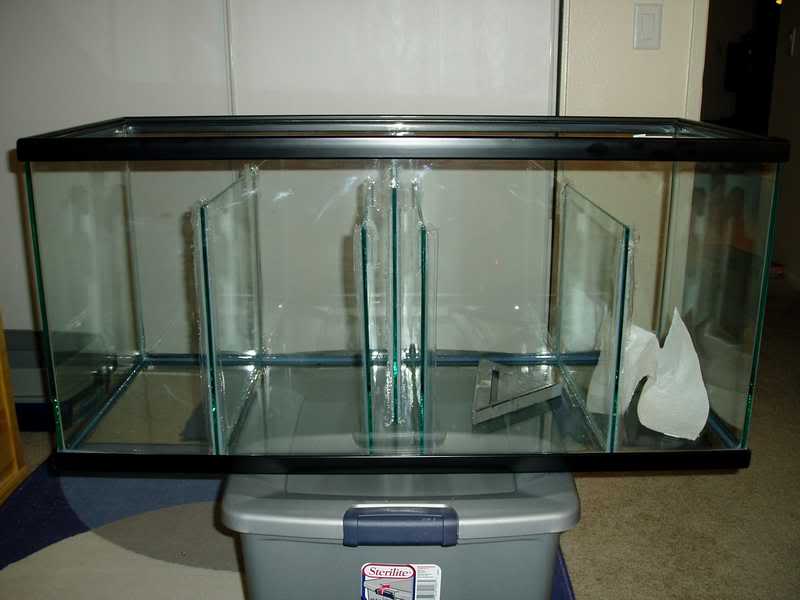
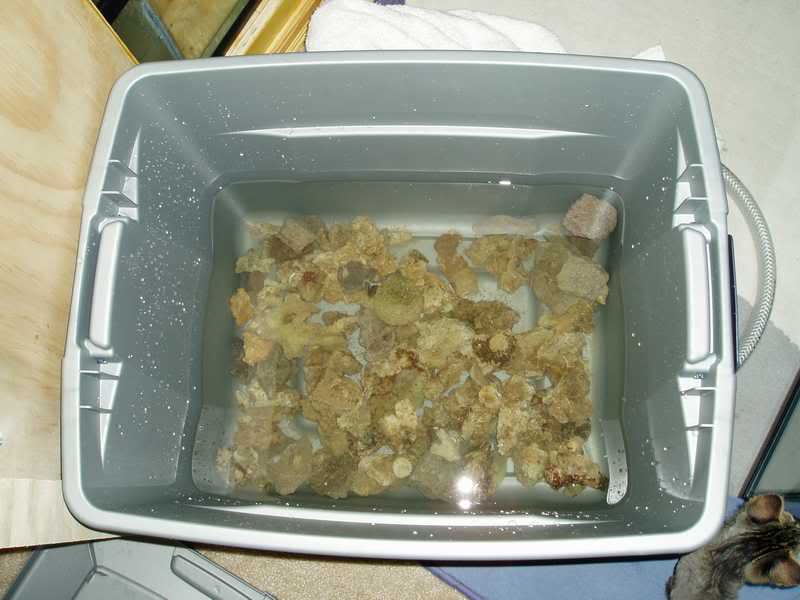
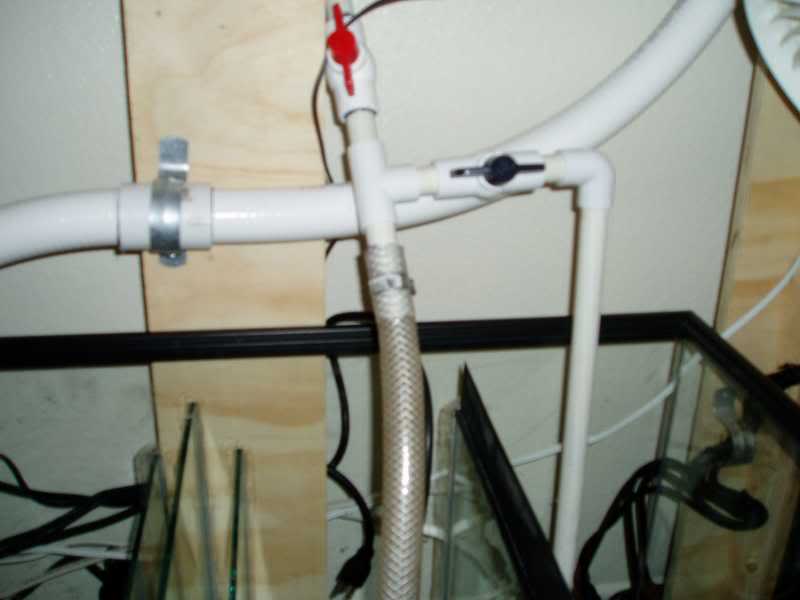
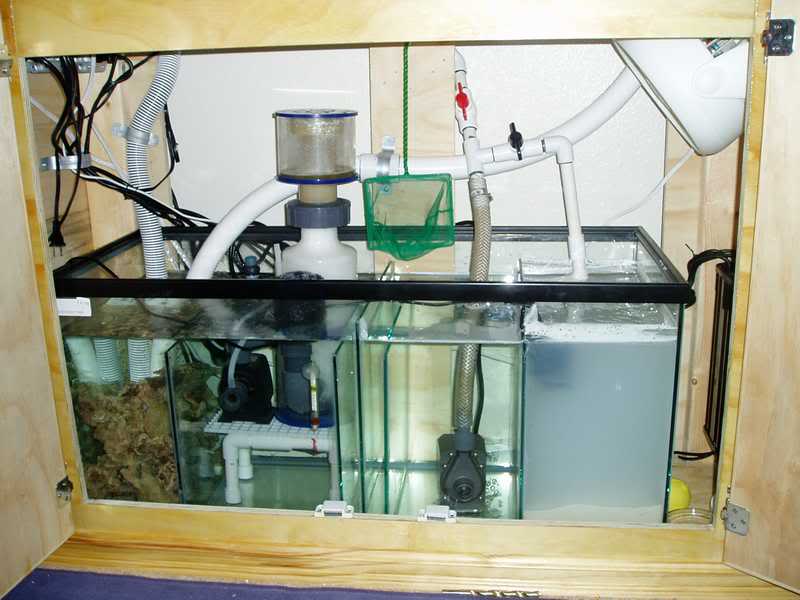
Now, I decided to have a compartment for a fuge. That's the one all the way to the left. My sump is configured to be: (flowing from right to left) LR Rubble compartment, then the skimmer, then the bubble traps, then the pump compartment. I'm going to put a "T" valve on my mag 9.5 to feed the fuge, which I had cut 13" instead of 12" so that there was no way water could get in there that was flowing too fast. I'm also going to add in a strainer so that the surface gets skimmed, and all the good stuff is left in the fuge.
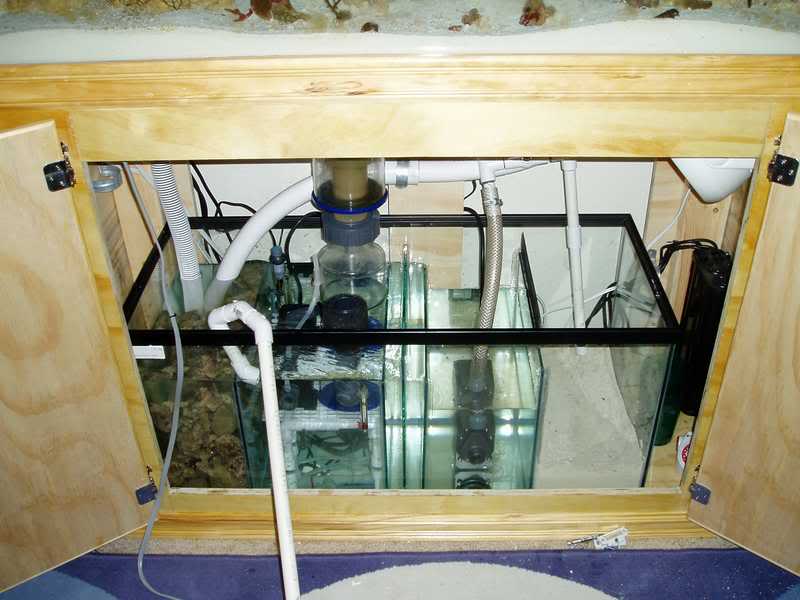
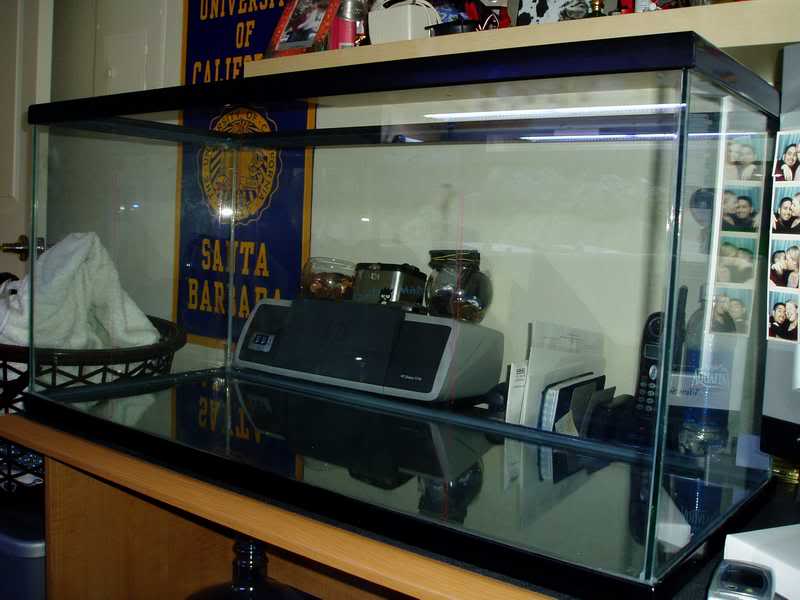
Here is a pic comparing my new 40 to my old 20L:
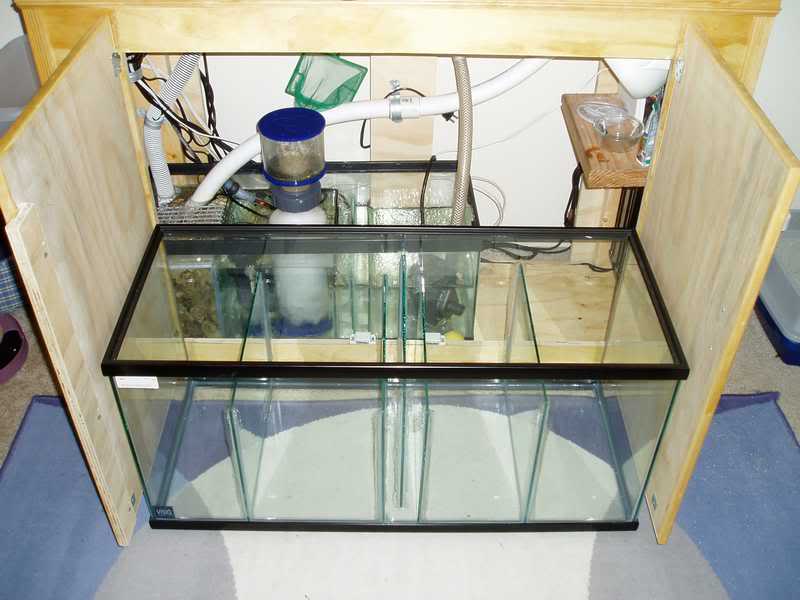
8O 8O HUGE improvement!
When I get back in from work, I will xfer the LR Rubble, and fix the plumbing for my new fuge. Also, since my skimmer compartment grew in height by 5 inches, I need to compensate by raising my skimmer by 5" as well... I will need to find material to raise it properly. More updates to come!
First... I decided on all glass. 40 gal tank (glass) and 3/16" glass cut from a LGS (local glass shop). I just had to measure EXACTLY how wide the baffles should be to fit inside, and decided on a height. Mine came out to 14.5 x 12". Total cost: $30.
I layed out with a dry erase marker on the outside of the tank where I wanted my baffles to be, making sure that the other side was identical (so I could make sure the baffles were square).
Next, I took my trusty Aquarium safe silicone made by DAP and went to town. Make sure that you tape the top of the baffle to the tank so that they don't wobble back and forth. 8O Here's with a bead of silicone applied... with the tape as described:
(close up of the piece of plastic I used to smooth the edges)
Next... make sure you take the kittens out of the room, because they are bugging the heck out of you.
(kittens just got neutered... and shaved.
When you get to the baffle portion of the sump, make sure you do the top baffle (the one in the middle) FIRST... or else you won't be able to properly silicone the sides of it. This is important because the only thing holding this one up is the silicone itself... all the others are just merely sitting on the bottom. Prop it up at your desired height with whatever you find. I used pieces of plastic that were used to hold up a monitor. Just make sure that you pick something that can be pulled out from underneath when it is dry.
Let the top baffle dry an hour, and then go to town on the side ones. When you're all done applying silicone, it should look something like this:
Now, I decided to have a compartment for a fuge. That's the one all the way to the left. My sump is configured to be: (flowing from right to left) LR Rubble compartment, then the skimmer, then the bubble traps, then the pump compartment. I'm going to put a "T" valve on my mag 9.5 to feed the fuge, which I had cut 13" instead of 12" so that there was no way water could get in there that was flowing too fast. I'm also going to add in a strainer so that the surface gets skimmed, and all the good stuff is left in the fuge.
Here is a pic comparing my new 40 to my old 20L:
8O 8O HUGE improvement!
When I get back in from work, I will xfer the LR Rubble, and fix the plumbing for my new fuge. Also, since my skimmer compartment grew in height by 5 inches, I need to compensate by raising my skimmer by 5" as well... I will need to find material to raise it properly. More updates to come!