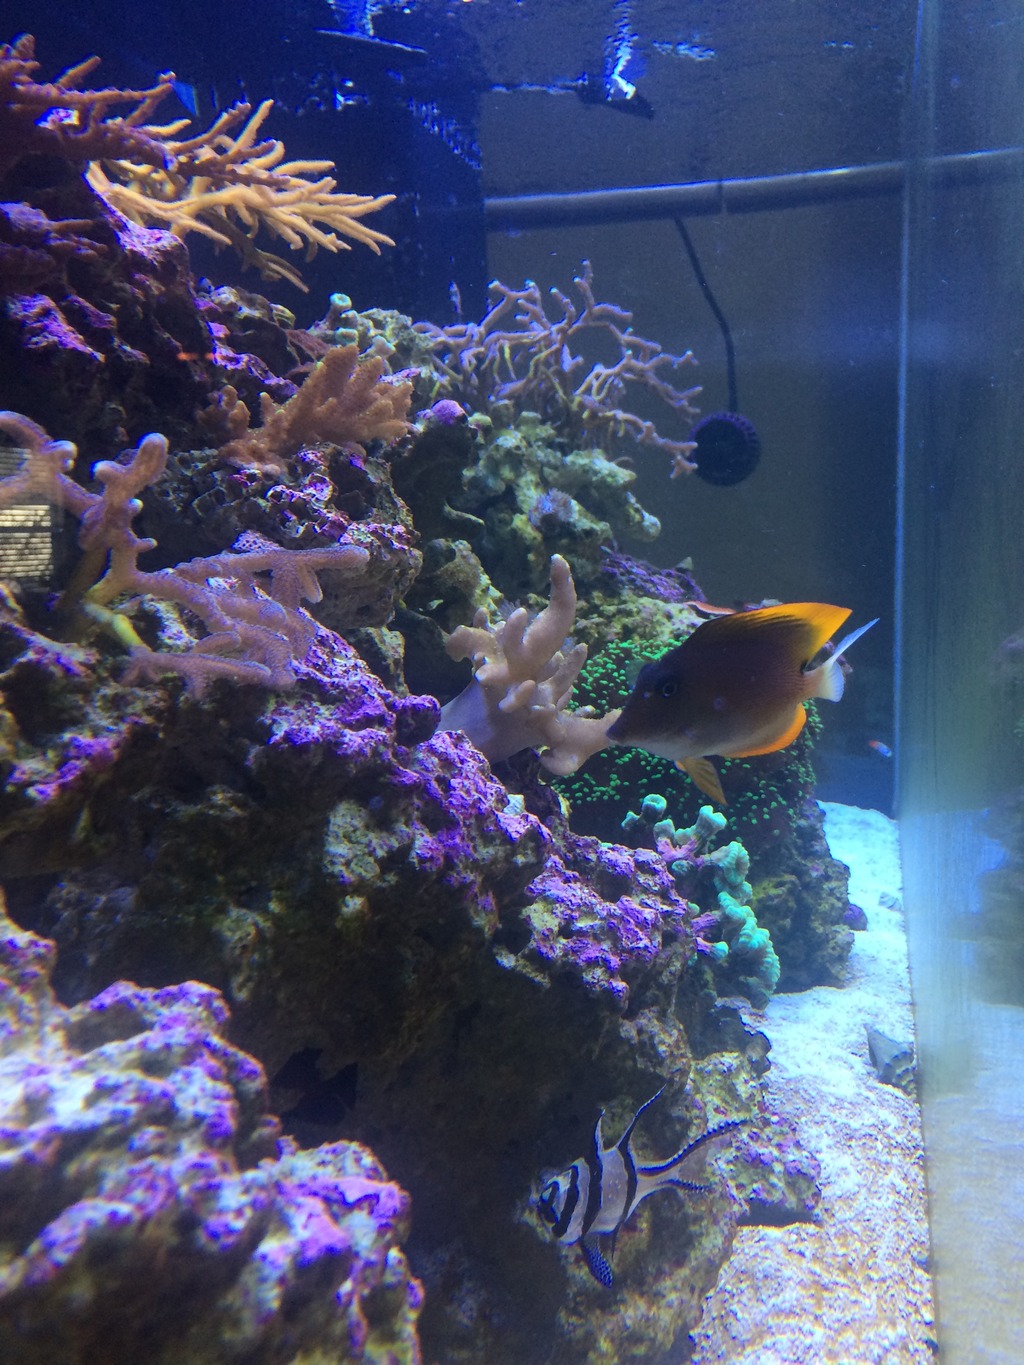
Eric's 240 build

The friendliest place on the web for anyone with an interest in aquariums or fish keeping!
If you have answers, please help by responding to the unanswered posts.
I wanted to add a pic of the plumbing and sump but it says I have exceeded my photo quota... I have to find the thread on what to do about fixing that.


Just open a photobucket account and you can copy and paste unlimited photo links...
 
I've made some progress on the transfer. The hood is modified and I've moved over some coral and rocks. I'm still working on setting up the photobucket account so I can add more pics. Also I had to re do the sump because of a leak- it is now a 31 g Rubbermaid tote. This will probably not be a permanent solution but it works great! Pics to come (hopefully.)
 
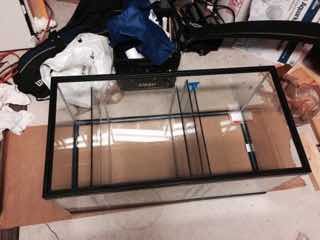
Happy Halloween! Well it's been 4 months since my last post, we had a lot going on- we had a baby the end of August and work was in overdrive , so the tank didn't get a whole lot of attention. The sump is still a tote, but I bought a 40b and added baffles and will be doing the sump transfer today. I had to get a mag 18 for the skimmer as the t off idea never really produced any skimmate. I didn't even get around to doing the first water change until about 6 weeks ago. Since then I've done 3 and will be doing another today, 20 gallons each. My large birdsnest colony, and an acro frag have been hit with rtn which sucks. I finally tested water and kh was a little low. Dosed it back up but I'm not sure it will save the coral that is already going down. My cleaner shrimp has disappeared and I presume dead. Anyway I'm happy to be able to devote more time to getting things back in order. I got the photobucket account setup and will try to get some pics up soon.
 
Congrats on the baby. Looking pretty good. Hope the sump install goes smoothly.


Sent from my iPad using Aquarium Advice
 
looking good eric , wow congratulations your a dad that's awesome I remember those days way back when ,
 
Thanks guys! Well, as I should have expected, I cannot fit this 40 into the stand. I spent most of yesterday trying to get it in there but no luck. The only option would be to cut a hole in the side panel of the stand. With close to 2500 pounds it is supporting, I don't think I am willing to take that risk. I did cutout a false back in my attempts to fit the tank in so I now have more room to fit the tote sideways, and I am going to get a 20L from petco today and I am going to have a sump (tote) and remote refugium (new tank) using good old gravity to feed the fuge. I have an extra 1" bulkhead that I can put into the tote, just want to double check if it can handle the flow through.
 
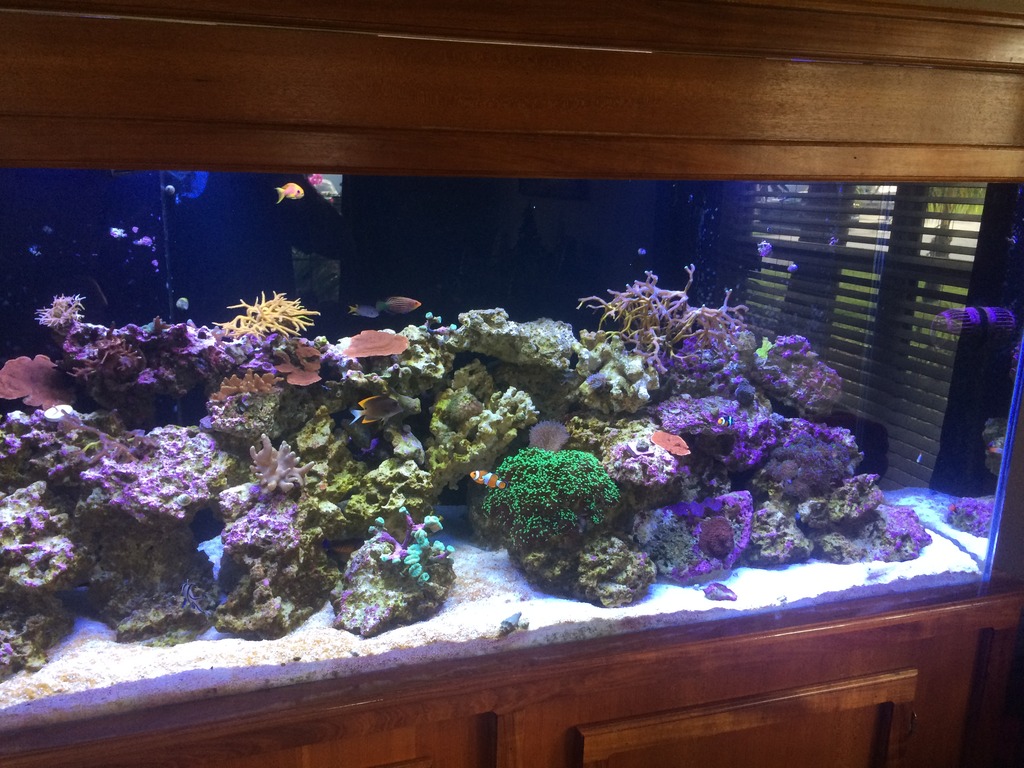
Tank is going well, and I finally setup a photo bucket account so hopefully I can add better quality photos of the progress.

img_3340078_0_f1a76dd8eb93be5ddd3817a3b9f3d78a.jpg


img_3340078_1_1b763e70735d3c44016da1dc202325e0.jpg
 
Last edited by a moderator:
Wow you come along quite a bit , tanks looking good and filling out well keep up the good work (y)
 
Thanks! I am definitely pleased with the progress so far. I still do not have a refugium setup, (well I should clarify, I have a 20 gallon long that has LR, chaeto, a mangrove, and a million pods, which is not currently hooked up to the system because of a little flood incident) but I have a project planned for this weekend to hopefully complete the sump/fuge idea I came up with. For now I am running everything through a 30 gallon eshoppes r200. This sump is nowhere near the capacity I should have for this setup and I am constantly battling micro bubbles, but I feel good about the setup I have come up with. I am just waiting on a couple more bulkheads then I will be able to do the project.


Sent from my iPhone using Aquarium Advice
 
Sounds like a good plan. Good luck getting the sump in place. Hope it all goes as planned.

Sent from my SAMSUNG-SM-N910A using Aquarium Advice mobile app
 
Sump / Refugium upgrade

Sump upgrade is complete! It took all day Saturday, but I can finally say that a project went exactly as planned, which is rare for me!

First thing, after unhooking existing setup and removing everything from stand, I cut the new holes and install bulkheads to the two 30 gallon acrylic sump tanks.

http://i1381.photobucket.com/albums/ah213/ericmonaghan/fish tank/image_zpskwex5daz.jpg

image_zpsdibz4eno.jpg Photo by ericmonaghan | Photobucket

Then I had to fit it all back into the stand (which I of course checked before cutting the holes to be sure.) Here's the living room/ workspace, that 20 long provided the 'essence of the sea' or more like tide pool fragrance during the experience.

image_zpsz4mpsnjs.jpg Photo by ericmonaghan | Photobucket

Because one tank is wider, I had to switch their roles, which worked out better because there was already a 2" bulkhead installed so I could plumb the pump return line straight into it, for a flooded suction, which is ideal for external pumps. I prefer hard plumbing so unions are a must, and here is a perfect example why! This tank will be the new refugium.

image_zps7fdezpfu.jpg Photo by ericmonaghan | Photobucket

Then I put the sump in the other side and connected the two using some 1.5" ID braided vinyl tubing.

http://i1381.photobucket.com/albums/ah213/ericmonaghan/fish tank/image_zpsyr8gb1cm.jpg

As you can see, I have the drains split with one drain going to the refugium, and one going over to the sump/skimmer tank. Then the skimmer tank is connected to the refugium tank using the 1.5 inch vinyl tube, then the return line coming out of the refugium tank. I had to take a 3 hour break to make 25 more gallons of water. Then I fired it up and it was perfect! No leaks or unexpected surprises!

http://i1381.photobucket.com/albums/ah213/ericmonaghan/Mobile Uploads/image_zpsxsavsju3.jpg

http://i1381.photobucket.com/albums/ah213/ericmonaghan/Mobile Uploads/image_zpsfrns7xah.jpg


This was a big success, as I now have the refugium section to grow algae and pods, some added volume which is always good, and best of all, no micro bubbles whatsoever! Those bubbles would make me so mad that my wife would laugh and say that the tank was creating stress rather than relieving it! One more pleasant surprise is the tank is now completely silent, when before you could hear water splashing down into the sump. :dance:
 
I have a Quick question after reading the whole thread. You started this thread saying you want to do this whole project without costing too much money and you started by spending $800 for the tank and stand. So now how it costed you with everything you did in this project?

Thanks
Sky
 
Back
Top Bottom