Serge's Tank

The friendliest place on the web for anyone with an interest in aquariums or fish keeping!
If you have answers, please help by responding to the unanswered posts.

Serge

Aquarium Advice Addict
Joined
Nov 9, 2004
Messages
1,439
Location
Rockland, Ontario
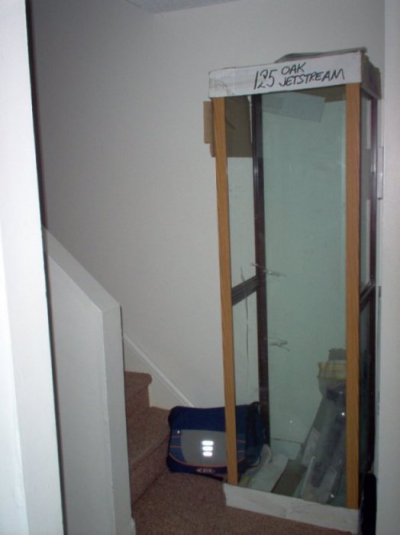
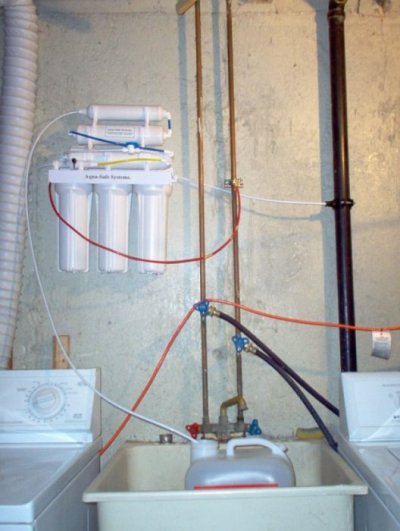
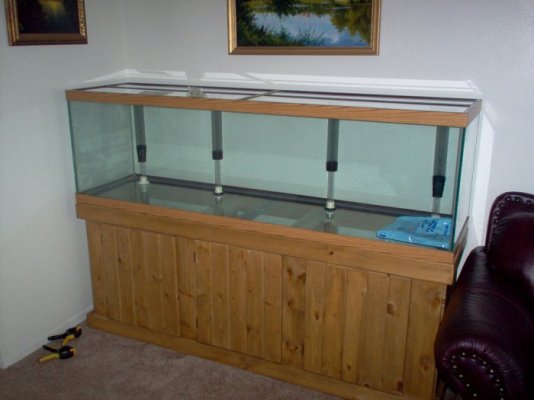
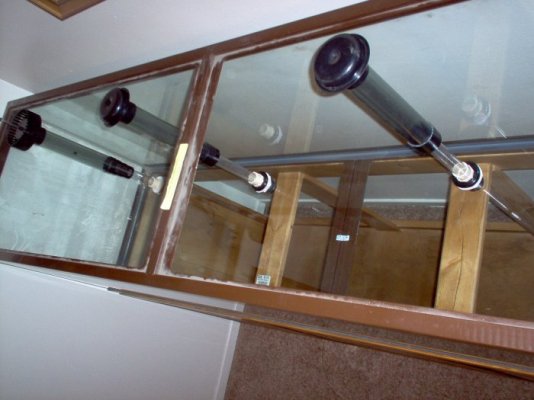
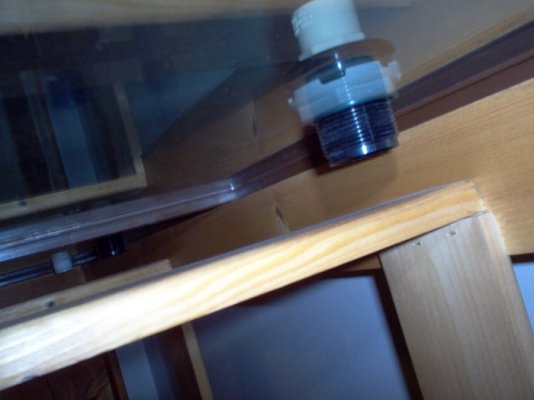
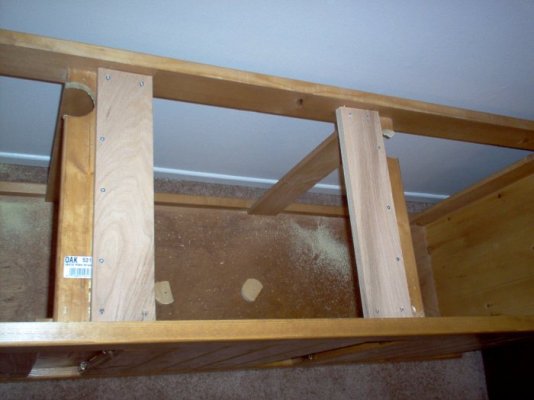
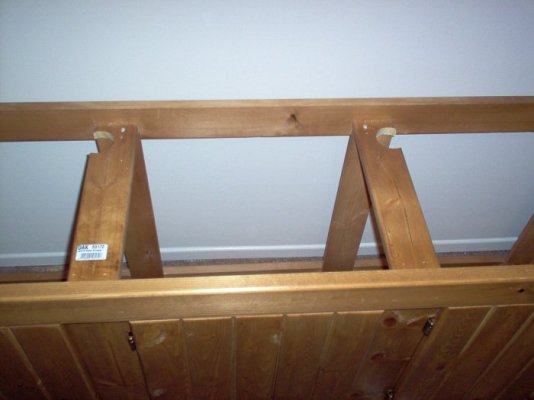
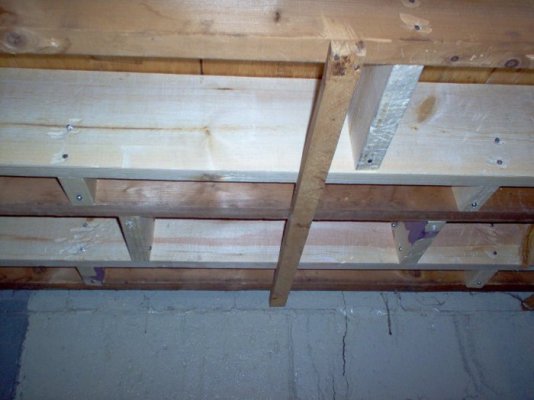
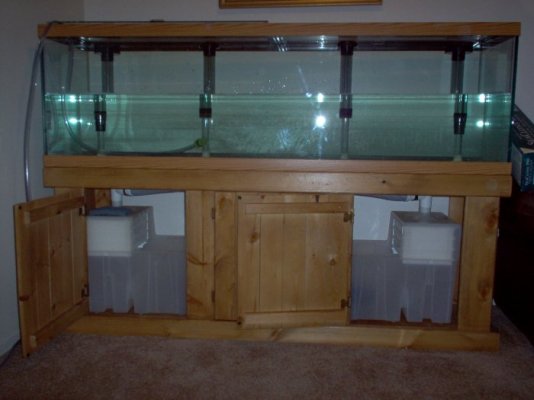
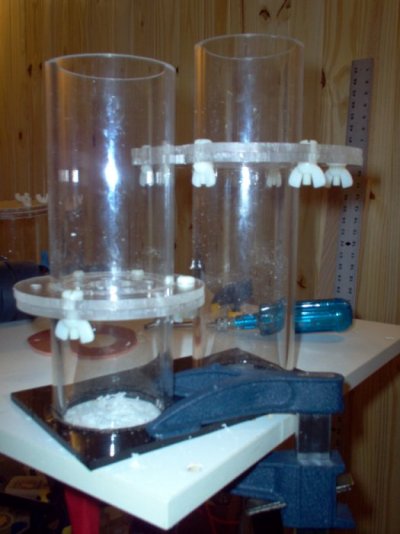
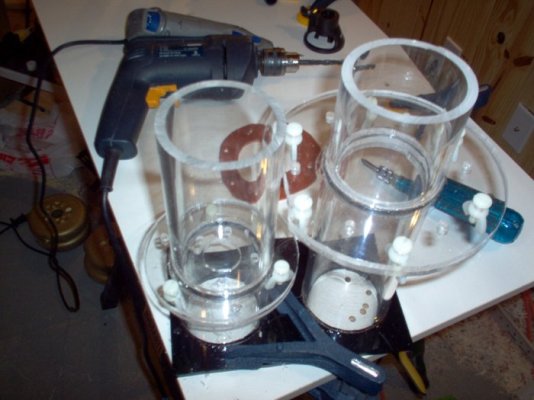
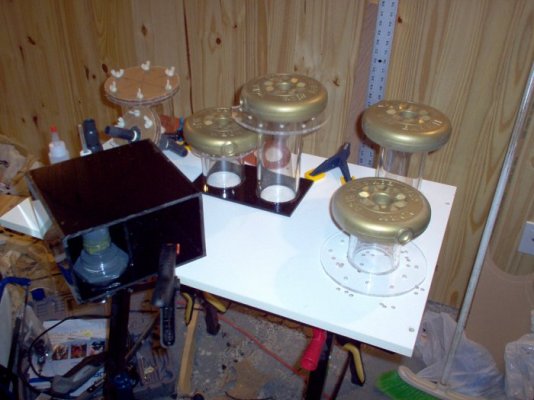
Hi folks, I thought I would start a sort of progress log of my tank setup/installation. As things progress, I will do the occasional write-up and post picture updates. Of course, comments/suggestions will be welcomed. :) Hope I will not bore (?) anyone. :)

8)
 
Yeah! Yeah! Yeah! :p But I can only squeeze so many hours in a day. :whip: :whip: :whip:

I got some pics transfered to the PC, I just need to format them before posting. Umm... "Da Boss" is calling.... ;) Sunny and warm Saturday..... Day trip to Montreal I have just been informed. Gotta scoot now... :mrgreen:

8)
 
OK, I am looking for suggestions. I have a bunch of pictures to upload, and my dilemma is should I just include them in post, or should I upload them to my "gallery"? Thanks,

8)
 
Ok... Let see if I can do this correctly this time. :lol

The sand (This stuff is white, white, white), the RO/DI unit in the basement, and the tank when it came in last December.
 

Attachments

  • pic00001.jpg
    pic00001.jpg
    34.6 KB · Views: 256
  • pic00002.jpg
    pic00002.jpg
    62.8 KB · Views: 225
  • pic00003.jpg
    pic00003.jpg
    49 KB · Views: 171
First attempt to install the tank. Discovered an unpleasant surprise. Houston, we have a problem. The two middle stand pipes were located just above the stand braces. 8O

8)
 

Attachments

  • pic00004.jpg
    pic00004.jpg
    51.5 KB · Views: 257
  • pic00005.jpg
    pic00005.jpg
    60.1 KB · Views: 234
  • pic00006.jpg
    pic00006.jpg
    52.2 KB · Views: 225
More details of this problem situation.
 

Attachments

  • pic00007.jpg
    pic00007.jpg
    47.8 KB · Views: 137
  • pic00008.jpg
    pic00008.jpg
    42.6 KB · Views: 136
  • pic00009.jpg
    pic00009.jpg
    47.2 KB · Views: 149
Another look at how the stand pipe aligns over the support brace.
 

Attachments

  • pic00010.jpg
    pic00010.jpg
    45 KB · Views: 153
The solution. First, drill wholes with the hole saw, then add supplemental piece of wood which is then glued and screwed in place. Piece of cake! :D

8)
 

Attachments

  • pic00012.jpg
    pic00012.jpg
    53 KB · Views: 169
  • pic00011.jpg
    pic00011.jpg
    43.5 KB · Views: 164
Some of the plumbing used. More was added later on. I used a mix of scheduled 40 and sched 80 to do the job.

How I increased floor support under where the tank will be located.
 

Attachments

  • pic00015.jpg
    pic00015.jpg
    57.9 KB · Views: 165
  • pic00014.jpg
    pic00014.jpg
    58.3 KB · Views: 169
  • pic00013.jpg
    pic00013.jpg
    64 KB · Views: 178
Plumbing details under the tank. Center - Left Side - Right Side
 

Attachments

  • pic00018.jpg
    pic00018.jpg
    55.4 KB · Views: 236
  • pic00017.jpg
    pic00017.jpg
    45.3 KB · Views: 158
  • pic00016.jpg
    pic00016.jpg
    62.6 KB · Views: 207
Everything is in place. Filling with fresh water do to leak tests. I actually had to do the plumbing twice because some joints were leaking.

I found that the white teflon tape is not really suited for this kind of job, so I had to use the much thicker yellow tape. Blue or pink teflon tape could also have been used.

8)
 

Attachments

  • pic00019.jpg
    pic00019.jpg
    48.8 KB · Views: 259
Here are some pics of an ongoing project. Building a beckett skimmer. It's not pretty, but it is a fun project. MMMMmmmmm.... All the nice fumes from those glues/solvents.... 8O :crazyeyes: :shocked!: :eyes:

:mrgreen:
 

Attachments

  • pic00022.jpg
    pic00022.jpg
    54.2 KB · Views: 163
  • pic00021.jpg
    pic00021.jpg
    62.9 KB · Views: 163
  • pic00020.jpg
    pic00020.jpg
    66.7 KB · Views: 196
And a few more..... 8)
 

Attachments

  • pic00025.jpg
    pic00025.jpg
    58.4 KB · Views: 134
  • pic00024.jpg
    pic00024.jpg
    47.3 KB · Views: 142
  • pic00023.jpg
    pic00023.jpg
    52.7 KB · Views: 155
A couple more. That's it for now. More to come as things progresses. Comments and questions are welcomed. :mrgreen:

8)
 

Attachments

  • pic00027.jpg
    pic00027.jpg
    52.4 KB · Views: 122
  • pic00026.jpg
    pic00026.jpg
    58.3 KB · Views: 113
what are those pics of those white things on those 2 acrylic tubes???

also are you doing a DIY protien skimmer???? if so tell us details on how you decieded to do this!
 
thats awesome!!!! i wsa looking at this yesterday and my dad asked me what i was looking at and i told him your problem and he said you should have gotten a reef ready type of tank now IMO i dont know if yours is reef ready cause if it is, thats a really wierd type

LOL

although congrats on the nice tank, now i will take any other that you dont need :mrgreen:
 
For information purposes, it is a Marineland/Perfecto Jetstream aquarium, pre-drilled at the factory, with dual overflows and dual returns (125 gal). It also has two Tidepool-2 wet/dry filtering system with Mag-18 return pump. It is not as weird as you seem to think. :wink: The difference is that instead of having home-made stand-pipe systems, it is commercially made. Makes sense to you? :D

As I write this, the the RO/DI unit has been working since 17:00 h. yesterday to fill it up. I'm hoping to start it with SW this week-end. Yippeee! :mrgreen:

8)
 
no it doesnt make sense but it sounds good so you must like it so its good enoguh for me :mrgreen:
 
Back
Top Bottom