phin
Aquarium Advice FINatic
I made this comment in another thread:
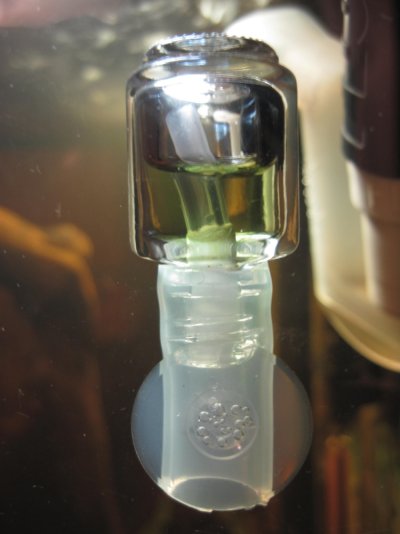
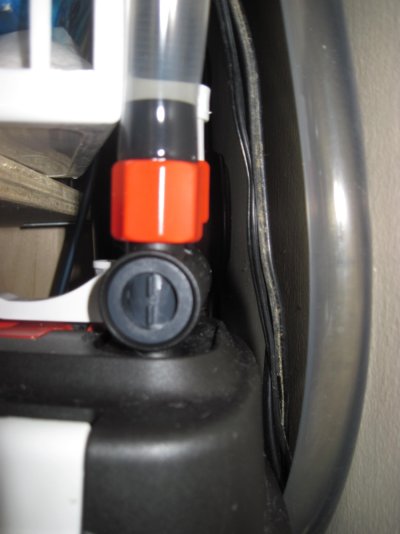
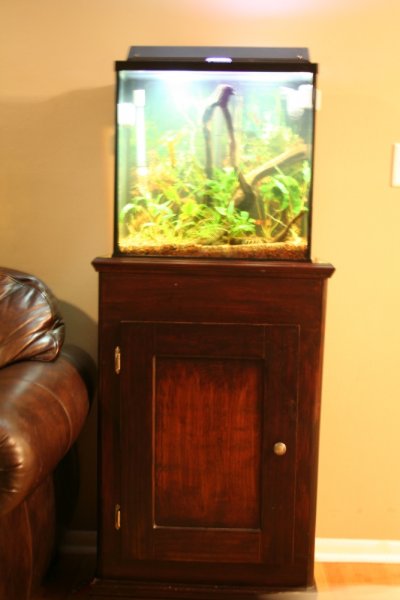
A picture was requested, so here's a pic of the drop checker:
I made some 4 dkh last night. I started with 500ml distilled water. Added .5g of baking soda. Tested the KH and it was somewhere between 25 & 30 degrees. (I got tired of going drop by drop at 20 and added 10 at once.) I diluted 10ml of that solution with 75ml of distilled water. That gave me a solution with 6-7 dkh. I diluted again with 50ml of distilled. That gave me a solution that turned yellow on the 4th drop of KH test regent. pH tested in at 7.6 on both the low-range pH test and high range (slightly past 7.4 on the high range kit).
After testing the solution and filling my drop checker I have a tad over 100ml of 4dkh left.
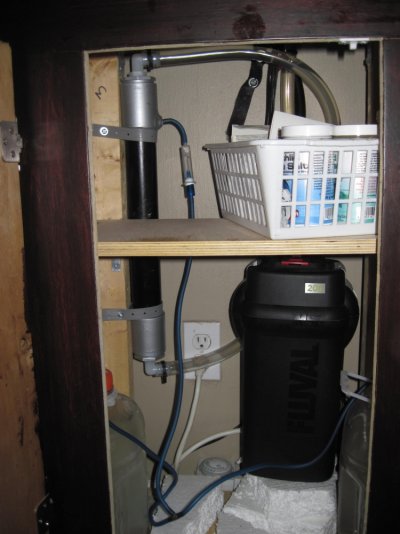
I made a drop checker from a small vial of children's nail polish, standard airline tubing, teflon tape, 3/8" ID vinyl tubing and a small suction cup. I cleaned the nail polish jar with alcohol, sulfamic acid, & a good hot water rinse - then a soak in prime for a min.
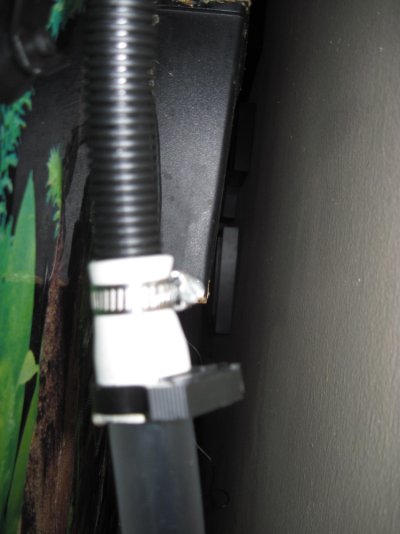
I wrapped the airline tubing that would be touching the inside neck of the vial in teflon tape to make a snug seal and pushed the tubing into the jar, leaving about 1/8" poking out. I took the larger length of vinyl tubing, cut it to about 1.5" long. I cut a small hole with a razor blade about 1/3 of the way from one end (bottom) and pushed the nipple of the suction cup in. I then pushed the top end of the tubing over the outside of the vial, around the glass threads where the nail polish cap would fit.
I filled the chamber of the vial about half way up with 4dkh solution from a 5ml test tube that had 6 drops of pH indicator solution. when filled with solution and turned upside down, so the bottom of the vial is up, the blue dkh solution sits nicely around the airline tubing in the chamber with a air pocket above the blue solution and an open airway down the airline tubing out the neck of the vial. I then fixed the drop checker to the inside glass of the tank.
I was afraid I did something wrong, as for an hour I didn't get much change in the color. The lights were on the 8th hour for the day, so the photoperiod was ending, CO2 was on, and in that hour the color went from dark blue to "regular" blue. However, today when I woke up the color had changed to some shade of green. It was hard to tell as the lights were out in the tank, but I'll see this evening when I get home.
A picture was requested, so here's a pic of the drop checker: