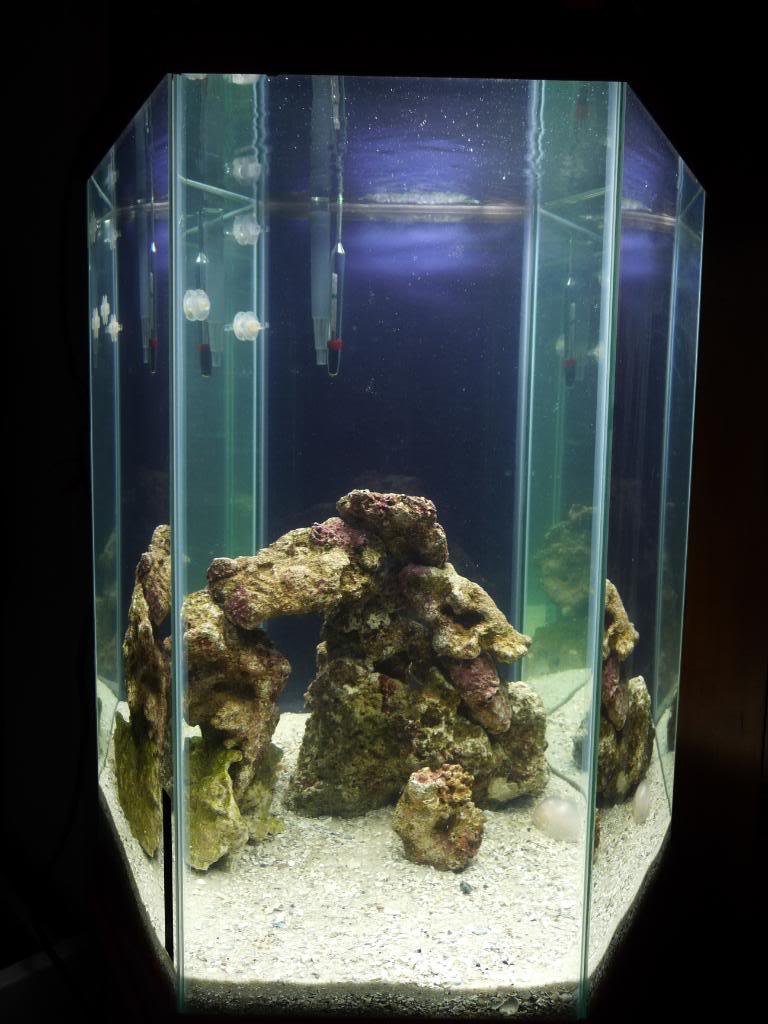
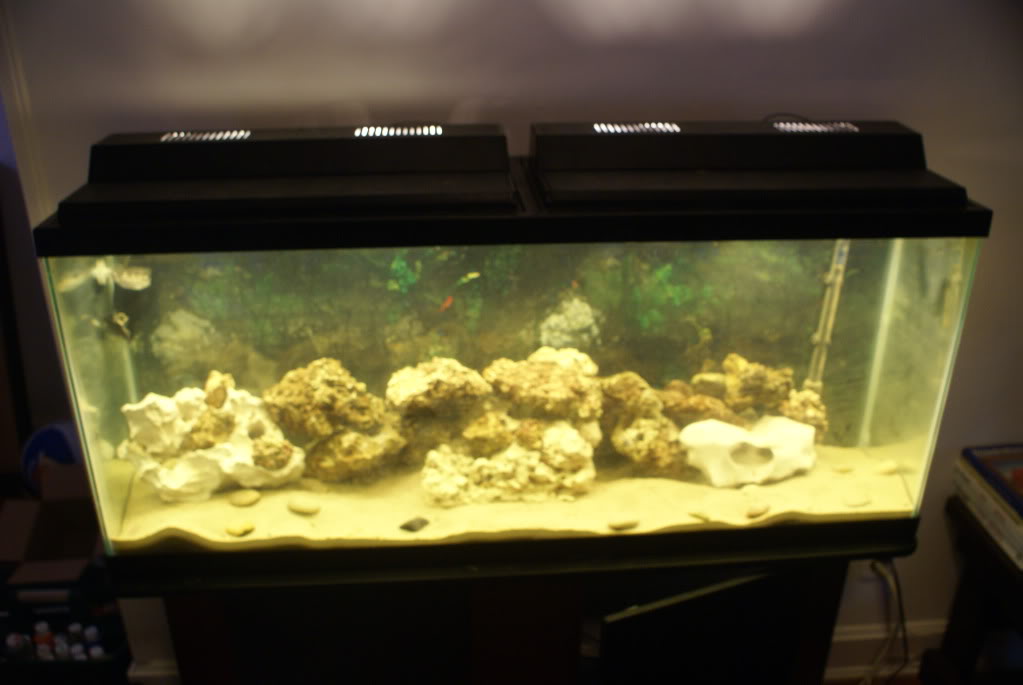
I recently retrofitted my new 55g marine tank with CFL lamps to replace the 34w stock lights it had in it. It took about an hour and about $30. I put 8 14w CLF lamps in it, but i am not happy with the color as it is very yellow. I did, however, find CLF lamps at HD that are 5000k. I will be trying those out in the next day or two. Here is how it worked:
I was using the stock hood that came with the walmart 55g tank - it is actually 2 separate hoods. I took out the lights, ballasts, and plastic that was holding it in there and acting as a reflector. All that was left was the on/off switch.
I purchased 8 outlet to socket adapters. These are the things that allow you to screw in a bulb and plug it straight into a wall: HD Link For The Adapters
8 CFL lamps - I bought the 14 watt ones, but after putting them in I see that I should be able to fit larger, more powerful ones. I'm going to try that in the next few days. Hopefully the 30w ones will fit for a total of 320 watts. Here are the ones I got: HD Link For The Bulbs
I also used a little bit of 16ga electrical wire, probably $2 worth.
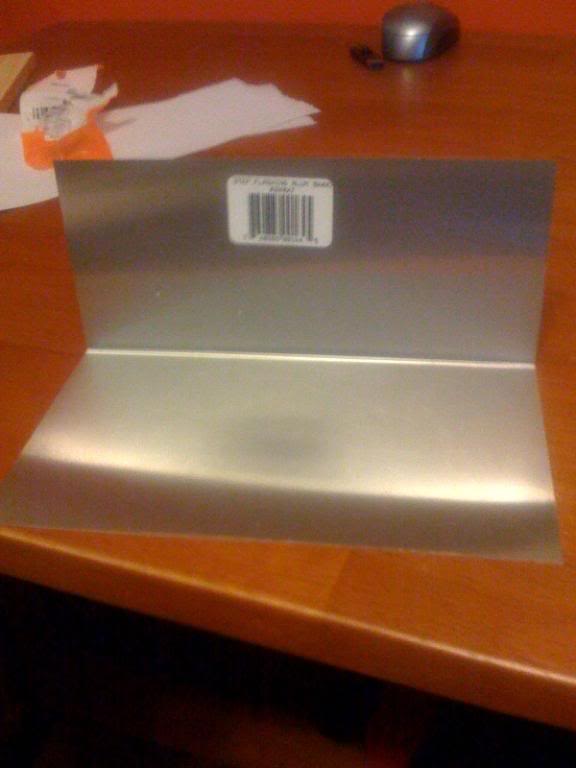
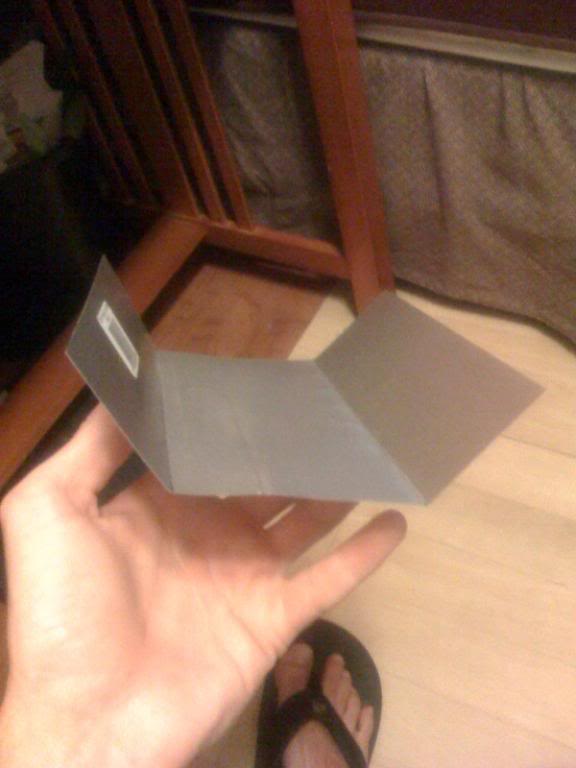
After everything from inside the hoods were removed, I drilled 4 1 1/8" holes on the back sides of each of the hoods. This size hole allowed me to put the lamp in the inside of the hood, and the outlet to socket adapters on the outside. When you screw the lamp into the adapter, it holds itself in place via the pressure between the bulb and the adapter. This works because the hole is just big enough to fit the base of the lamp through (the threaded part), but the adapter will not fit through. The plastic from the hood is sandwiched between the bulb and the adapter - no glue or fasteners needed.
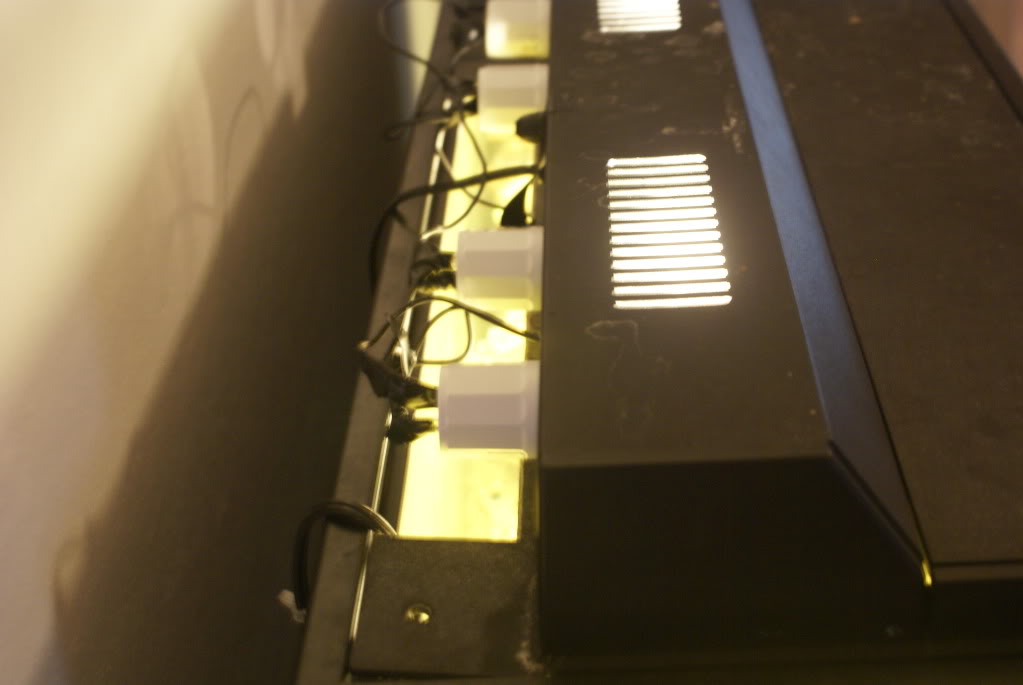
Once all the holes were drilled and the lamps screwed into the adapters in place, all I had to do was connect all of the plugs of the adapters in paralled with each other with my 16ga wire and some electrical tape. The outlet prongs on the backs of the adapters had holes so it was easy to secure the wire. Once all wired together, the switch was wired to the first bulb.
I forgot to pick up some reflective tape while I was at HD, so I havent put that in yet. At the moment the inside of the hood is just black and sucking up a lot of light. I am anxious to see how much brighter it will be with the reflective tape.
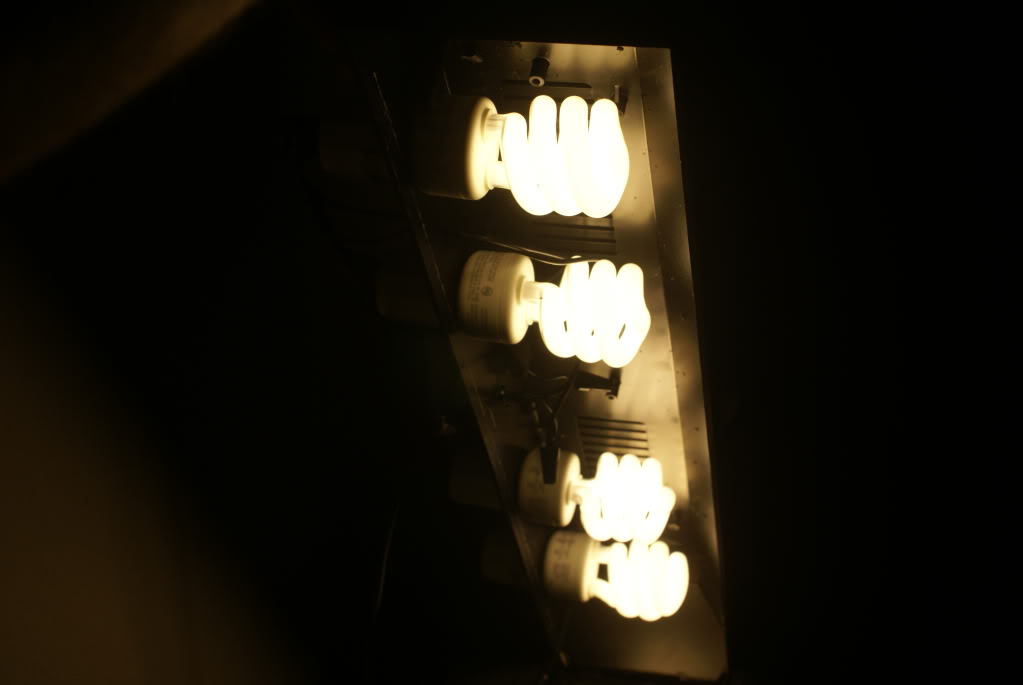
Here are some post-construction pics. Like I said, i dont like the color of the light, and there is no reflector but that will be fixed soon hopefully. I'm also going to figure out something to cover up all the electrical stuff in the back.
I was using the stock hood that came with the walmart 55g tank - it is actually 2 separate hoods. I took out the lights, ballasts, and plastic that was holding it in there and acting as a reflector. All that was left was the on/off switch.
I purchased 8 outlet to socket adapters. These are the things that allow you to screw in a bulb and plug it straight into a wall: HD Link For The Adapters
8 CFL lamps - I bought the 14 watt ones, but after putting them in I see that I should be able to fit larger, more powerful ones. I'm going to try that in the next few days. Hopefully the 30w ones will fit for a total of 320 watts. Here are the ones I got: HD Link For The Bulbs
I also used a little bit of 16ga electrical wire, probably $2 worth.
After everything from inside the hoods were removed, I drilled 4 1 1/8" holes on the back sides of each of the hoods. This size hole allowed me to put the lamp in the inside of the hood, and the outlet to socket adapters on the outside. When you screw the lamp into the adapter, it holds itself in place via the pressure between the bulb and the adapter. This works because the hole is just big enough to fit the base of the lamp through (the threaded part), but the adapter will not fit through. The plastic from the hood is sandwiched between the bulb and the adapter - no glue or fasteners needed.
Once all the holes were drilled and the lamps screwed into the adapters in place, all I had to do was connect all of the plugs of the adapters in paralled with each other with my 16ga wire and some electrical tape. The outlet prongs on the backs of the adapters had holes so it was easy to secure the wire. Once all wired together, the switch was wired to the first bulb.
I forgot to pick up some reflective tape while I was at HD, so I havent put that in yet. At the moment the inside of the hood is just black and sucking up a lot of light. I am anxious to see how much brighter it will be with the reflective tape.
Here are some post-construction pics. Like I said, i dont like the color of the light, and there is no reflector but that will be fixed soon hopefully. I'm also going to figure out something to cover up all the electrical stuff in the back.