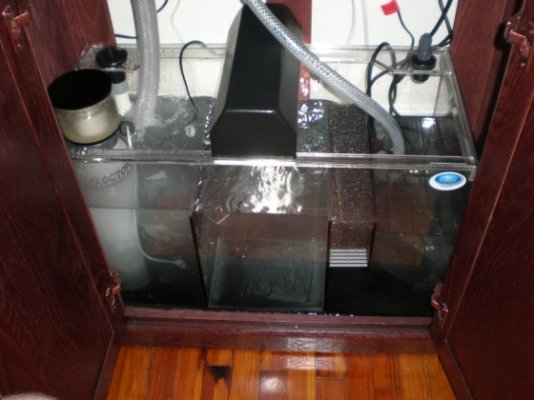
My 65gal SW build in progress

The friendliest place on the web for anyone with an interest in aquariums or fish keeping!
If you have answers, please help by responding to the unanswered posts.

Patroklos

Aquarium Advice Freak
Joined
Jun 21, 2008
Messages
313
Location
Charleston, SC
Hello all,

If any of you remember me from the hordes of other newbies in the Getting Started board I did not abandon the effort. Quite the opposite, it is still sucking cash from my wallet at an ever quickening pace :D

So I figured I would enthrall all of you who helped me with pics from my work in progress. Hopefully this thread will document my humble beginnings as a newbie to being a salty regular.

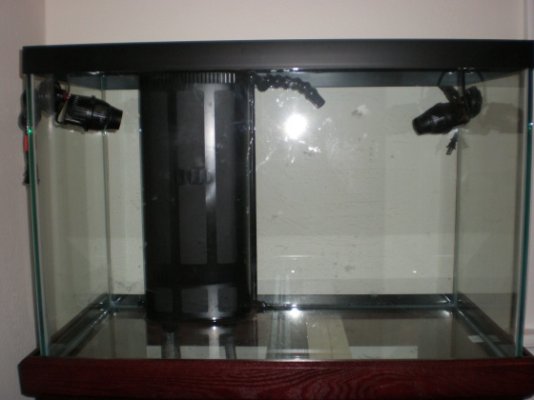
To start out, my dry build so far.

My refugium and various gear.
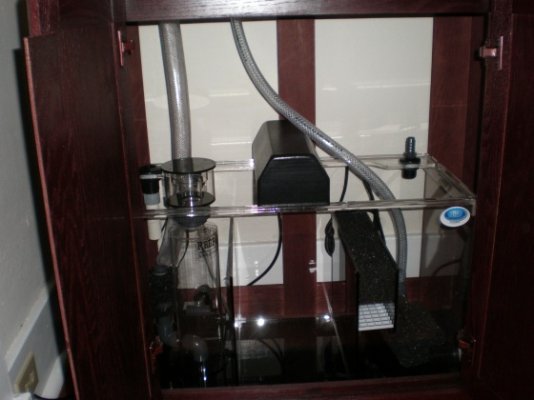
210.jpg

My tank (65gal).
211.jpg

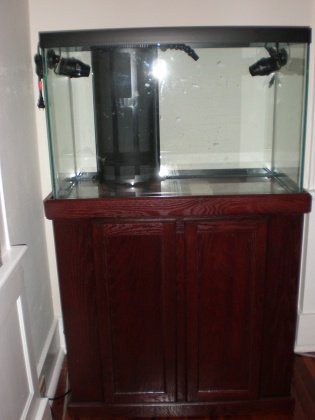
The stand.
214.jpg

One of many mishaps to befall me thus far. For those of you who use the Aqueon overflow system you will note one of the prongs on my return nozel broke off when I was manipulating it. I am trying to find a way to order just that part but so far no luck, I am pretty sure it will interfere with water flow :(
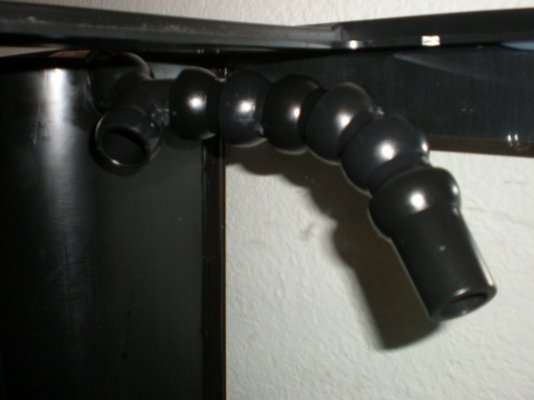
212.jpg
 
Is that not just standard locline? Sure looks it. If so, it'll just go back on there - although it's very hard to do (intentionally). I don't know about aqueon, but it sure looks like 1/2" locline.
 
Thanks for the link!

Looking at that, it seems that is not the exact system uses for the overflow nozels. That would have been too easy!

Or maybe it is, I can't really tell :(
 
Looks like standard locline to me too. You should be able to snap it back in place.
 
Cool, well if that is the case I will just have to figure out a way to get the brocken piece out of the intact socket. It will be one link shorter but no big deal.

Maybe I can melt it out with a sodering iron...
 
I would see if you can twist the broken piece in the socket enough that you will be able to get a pair of needle nose pliers around it and just yank it out. Or i'm not sure if it will work but try CAREFULLY super gluing something to the broken piece so that you can use it to pull it out.

Looks like your off to a good start though. Have you decided on your lights or stocking or corals or any of that. This is when it starts to get good!
 
I went home this oast weekend and while at the shop of one of my buddies (he is an industrial engineer) I saw he had some loculine for another project and I got to play with it for a bit. Hopefully I can apply what I learned ;)

The lighting arrived already, they are a Nova Extreme Pro fixture.

I took today off to go ahead a fill the tank. I was waiting for my base rock to get here but I don't get too many days off so I am going to put the sand, water and LR in now and just aquascape later when the BR comes in. At least this way I can start the LR curing and cycle. Pics later today!
 
UPDATE!

Well, I took off this last Monday to spend the time filling my tank. Unfortunetly it took me forever to get the RO/DI to work so I actually spend the last five days making water after work/before bed. Just finished last night.

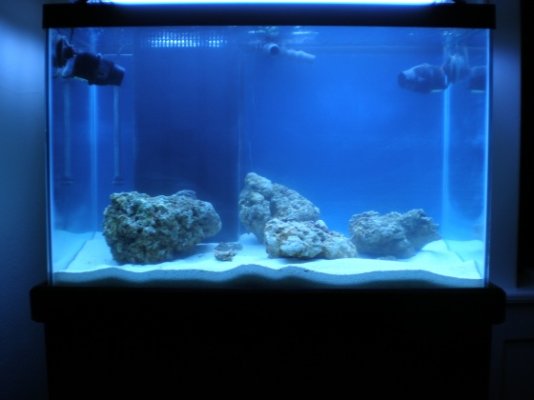
My LR came today in the mail but my BR is still not here. I put the LR into the tank to go ahead and start the cycle. Here are some pics!

Full tank shot.
001.jpg

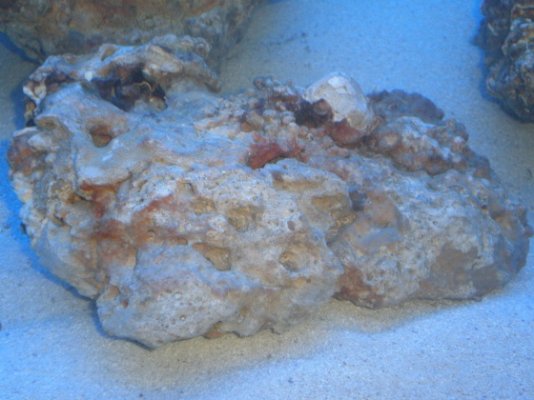
LR closeup. I am happy with the LR, seems to have plenty of organic matter including some large sponges at first glance. I washed it off with SW and did a light scrub with a toothbrush before putting it in the tank, but looking at it in the display there is till plenty of organic and rick debris that has come off into my sand bed.
002.jpg

Refugium shot. I am putting Miricle Mud in tomorrow. Last night a leak sprang in the overflow tube going to the sump. Unfortunetly it was a spray leak that wet straight at my electrical work circumventing the drip loops. I found this in the morning and moved all the electirical work out of the water but alas after that while unpluging everything I wasn't fast enough, and a small electical fir in one of the extension cords ensued. No damage, just a lost cord, but I bought some clamps to elevate my pluts to a level behind the tank and away from the open back of the stand in case a leak happens again.
003.jpg
 
Thats looks like a ready made sump? if so, what type is it? I'm starting to think about a sump for my own first set-up

thanks
 
Back
Top Bottom