Styrene Background Heaters

The friendliest place on the web for anyone with an interest in aquariums or fish keeping!
If you have answers, please help by responding to the unanswered posts.

Blindmelon119

Aquarium Advice Regular
Joined
May 7, 2011
Messages
50
Location
Central Arkansas
I've been watching videos and reading up on building a Styrene - Drylok background for a 120g. I've not found any advice n dealing with Heaters. In-line heaters are not an option. So I need advice or opinions. I will be using a canister with two water return lines. What if I place the heaters (2) next to the return tubing. Cut the tubing to where it is about 3" below the waterline. The actual openings through the background would be near the bottom of my tank. The water coming back into my tank would be pushed down along the length of the heater (14") to the bottom (about 20"). Would this work??? Is there an easier way?
 
What about creating a voide in the decor to hide heaters and overflows and such. Instead of having it flat in the back make the corners rounded with openings in the top the bottom with an air stone back there to circulate the water past the hidden heaters.
 
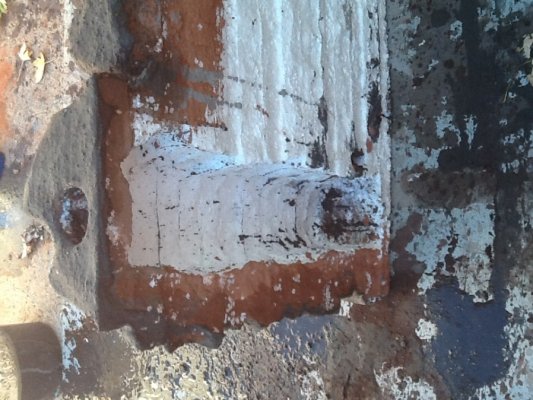
Im building a background for my tank right now. I just cut out a spot for my heater in the back. I also created a intake hole at the bottom of the heater cut out and im attaching a powerhead to the top to circulate the water.
 

Attachments

  • image.jpg
    image.jpg
    257.9 KB · Views: 155
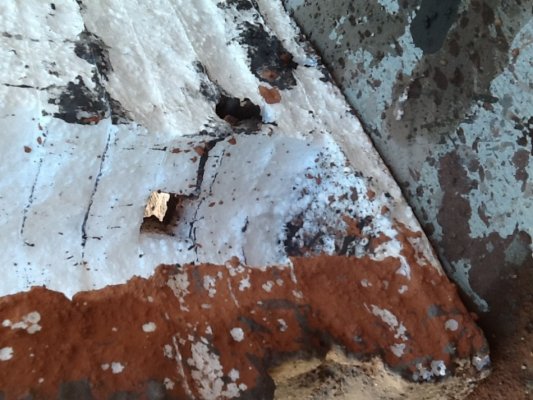
Heres a picture of the intake, i still have to install a screen so nothing gets sucked up, but yeah thats what i went for.
 

Attachments

  • image.jpg
    image.jpg
    250.1 KB · Views: 127
Its turning out alot better then i thought, now i just have to figure out how to get it to sink haha. Probably gonna have to silicone it to the tank itself
 

Attachments

  • image.jpg
    image.jpg
    253.9 KB · Views: 156
These pics make me want to try a project like this. Whats been the hardest part so far?

Do you think we should make some sort of wire frame to hold the heater away from the edges. In my tank every once in a while the geater looses suction from the glass and floats up. If that happens could the heat couse any kind of damage from the styrene or release any kind of chemicals from it?
 
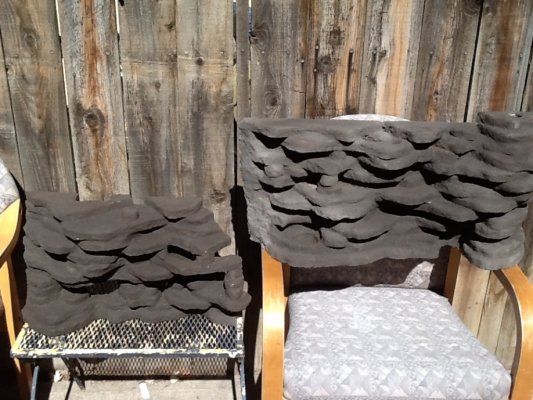
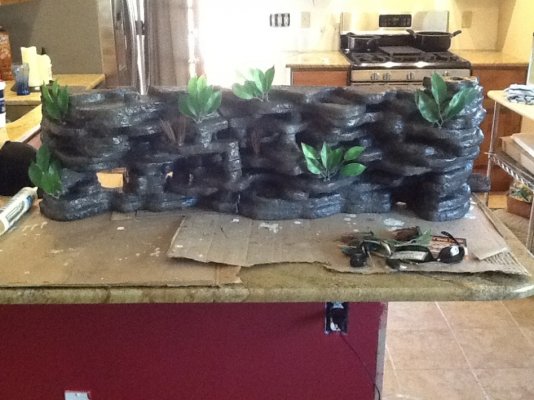
So far the hardest part is cutting it out and gluing it together the way you want it. Im pretty sure its going to be a pain to also get it to stay attached to the tank so it doesnt float. Then just the time its going to take for the water to stay stable enough so it doesnt effect the fish. As far as my heater im just going to use the suction cups and silicone the styrofoam on the inside for a little extra protection. Also if your wanting to try this theres alot of great ideas i found on youtube. Main thing is make sure you make it in multiple pieces so it will fit in your tank haha Heres a picture of both pieces
 

Attachments

  • image.jpg
    image.jpg
    253.5 KB · Views: 140
There ya go all finished. Time to water cure!!!!!
 

Attachments

  • image.jpg
    image.jpg
    251.7 KB · Views: 186
Update: I have started cutting mine. I'm using an old cheap jigsaw that works like a charm. The cutting is fast as butter with a hot knife. I borrowed a dremel to do more detailing before I paint. I need to buy a propane torch. I hope to get it finished in the next two weeks.
We are in the process of home remodeling so I don't have much free time. So far, when I have time to work it is going fast. It is 70 3/4 inches long. I have 11 3/4 inches tall done so far, so I am nearly half done with my cutting out.
 
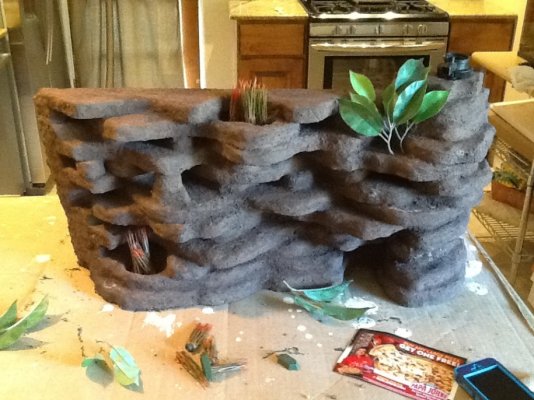
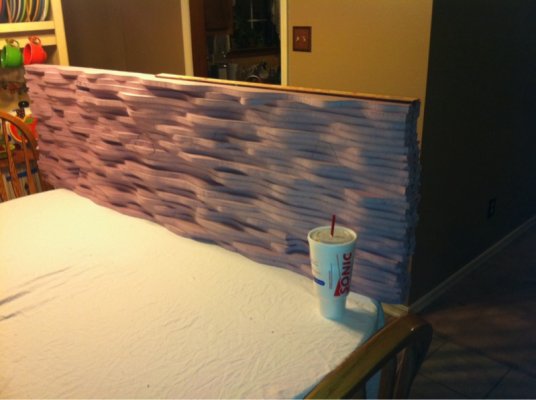
Slowly pecking away when I'm not doing honey-dos. For a bit of reference, the drink in the foreground is a Route44. (44 oz). It is about 71" x 21" tall. There are a few more caves now than shown in this picture. I am about ready to Drylok / paint. I've ended up making several compromises that have sucked. The best laid plans of mice... I suppose. The heaters will be on the ends in front of the background. I've notched the ends. (Not shown in the photo.). Once I actually bought my FX6, the water intake is huge and can't be totally recessed into the background. The hose back into the tank wasn't exactly like I imagined from reading about the filter. I didn't want to have to cut it into pieces for installation as shown in the videos. I didn't think about the tank's cross supports on top. So, now I have to cut it into 3 or 4 pieces and then paint.
 

Attachments

  • image-958987026.jpg
    image-958987026.jpg
    118.8 KB · Views: 90
ok love my fish your hired . i need one like that for a 75 . lol jk im starting mine. ill post pics soon
 
Looking good blindmelon! My fish love mine but haven't gotten to see them swim through the caves that took me so long to build haha
 
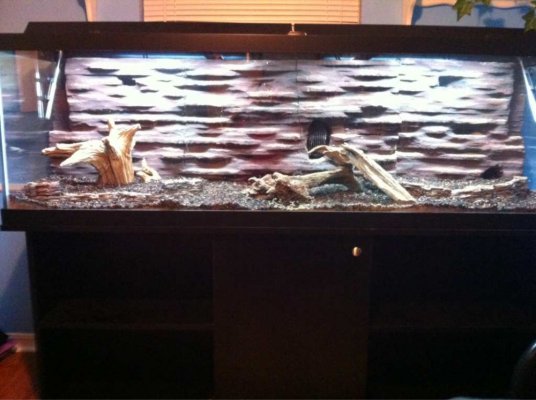
Finished, with a ton of flaws. The worst is the seam on the right didn't match up well during installation. Picture is without water. It now has water in it and hasn't floated out yet.ImageUploadedByAquarium Advice1388003949.860859.jpg
 
Looks good! Wait until the algae builds up on it a little.

Sent from my EVO using Aquarium Advice mobile app
 
Back
Top Bottom