320g build/journey/experiment :-)

The friendliest place on the web for anyone with an interest in aquariums or fish keeping!
If you have answers, please help by responding to the unanswered posts.
Sounds good. I watched your video and made some the exact same way. We will see if they come out ok.

as I said afterwords I should have used 1.5 parts portland cement just to give it more strength... we will see how strong they are after a month in the cold ocean... pulling them out on the 11th

GM, I made DIY rock like you did and my tank is 2.5yrs and going good. No problems. You just got to watch the innial PH that's the only thing that can mess you up.

Sounds good and I'm glad to hear it's going good. I don't expect PH problems as they have been in soak but I'm still going to test.

im in 4 sure!!!!

Welcome aboard glad to have to tagging along :D
 
Looking good so far. Can't wait to see it up and running!
I wish I had a place for a tank that big. I actually bought a custom 8 foot long 250g tank about a year and a half ago but never got to set it up. It's now sitting in my backyard collecting dust and have to get rid of it because I'm moving in less then 2 months. :cry:

I'm sure there are lots of people who would like to get a 250g at a discount... why can't you move it with you?
 
I ordered my LED's and my Aluminum slab today.. expect to get the LED's by mid August and have my heat-sink ready by then.
 
ummm, I'm going to try to do a lot of DIY on my build (skimmer excluded) but when I try to read up on how you guys are building your LED's and programing them...I fall asleep mid-thread :( Literally!

So DIY LED's are out for me.
 
ummm, I'm going to try to do a lot of DIY on my build (skimmer excluded) but when I try to read up on how you guys are building your LED's and programing them...I fall asleep mid-thread :( Literally!

So DIY LED's are out for me.

I'm not programing my LED's I'm just wiring it into 9 circuits and will have each one on it's own timer...
 
How do you dry the crushed oyster after the rinse? it is taking forever. Do you think I could put the rock in a creek around here to cure, leach out the pH?
 
How do you dry the crushed oyster after the rinse? it is taking forever. Do you think I could put the rock in a creek around here to cure, leach out the pH?
I didn't dry the oyster shell out... I just drained most of the water out, that's why I didn't label water volumes... you are going to add water to it to make the cement anyways. You could put it in the creek I would have done that if I didn't have an ocean near by. If you have a SW tank already set-up you might want to put the SW from the water changes into a container to soak the rock for an extra week in SW just to make sure it's good. Not all rock will cure at the same rate so always test before the rock is introduced to fish.
 
It is my rinsed stuff for the molding that is taking forever. I have it all in a baby pool and there is prob an inch of water in the bottom. I guess today I will see if I can drain some out. Im just worried about the water in it getting to my oyster/cement mixture./ect when I put it in the mold.
 
It is my rinsed stuff for the molding that is taking forever. I have it all in a baby pool and there is prob an inch of water in the bottom. I guess today I will see if I can drain some out. Im just worried about the water in it getting to my oyster/cement mixture./ect when I put it in the mold.
That is a bit much water for your molds take out what you can... after 48 hours of curing it won't be finished curing because of the extra moisture in the pool. You will need to take the pieces out very carefully and put them somewhere to dry for another 24 hours.
 
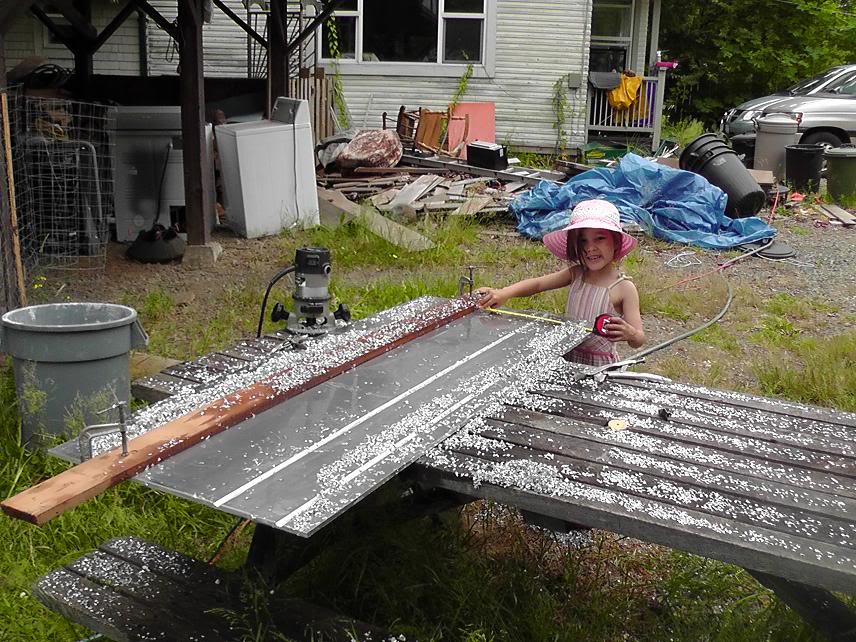
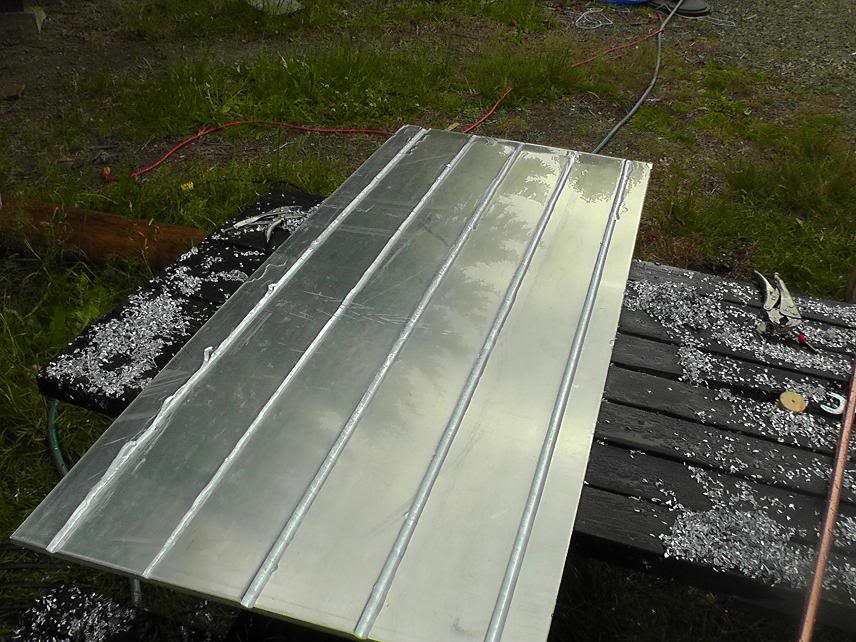
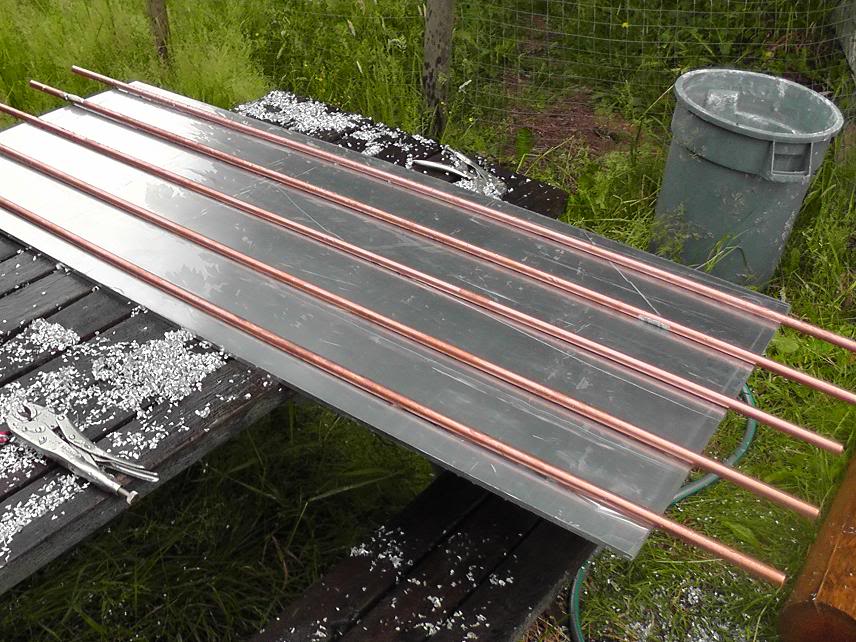
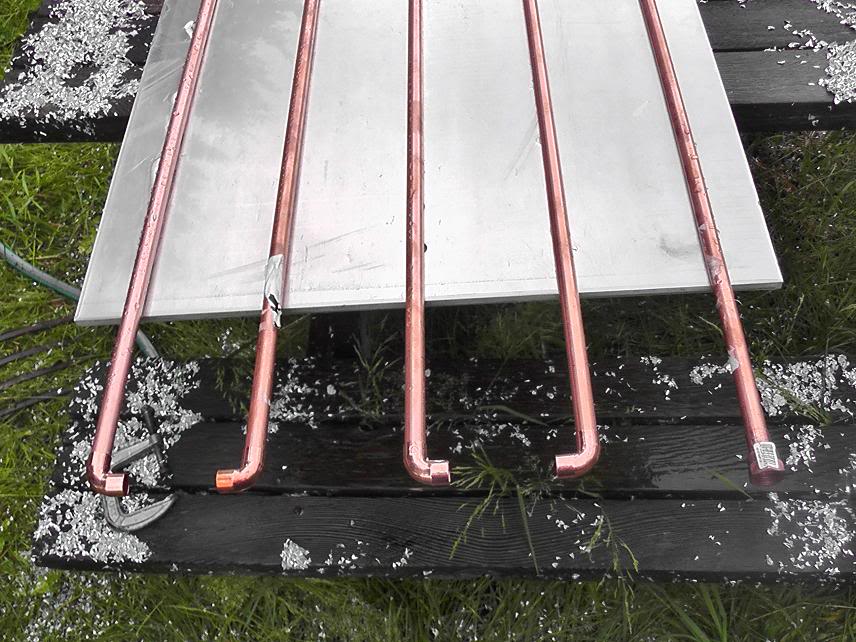
So this is the start of the heatsink... I still need to buy the thermal paste so I can attach the copper but this is what it looks like ATM.

Aluminum slab is 5'x2'x3/8"
Groves cut with a router 5/8" rounded bit... (went through 3 of them) cut about 3/16" deep
1/2" copper pipe
img_1131841_0_b282f5e4a880d0f8f29d82edd38007b1.jpg

img_1131841_1_8d4e6ed339b7d546ea00d0098cae7f6b.jpg

img_1131841_2_219456caad6a6ae5958ac112ceb24c6a.jpg

img_1131841_3_2fefe473457e50d56b98949a4c691e05.jpg
 
I heard they debunked the Al- Alzheimer's connection. But who knows.

ROFL ya you pay someone enough and they can prove anything... I believe they said that the disorder causes aluminum to accumulate in the brain...
 
ok, what is a heatsink???


Open up your computer (when it's off of course, and after maybe 10minutes of letting the capacitors discharge) and you will see this array of copper or aluminum fins generally followed by a fan. That's a heatsink. It dissipates heat from high heat zones. Electronics tend to generate heat, in this case Light emitting Diodes (LED), and in the case of your computer your CPU, and that heat can permanently damage the electronics so heat dissipation is required.
 
ok, what is a heatsink???
a heat sink is something that "heat" can "sink" into and away from what is creating the heat... in this case my LED's. The "heat" "sinks" into the aluminum, is transferred to the copper pipe, then to the water inside, the water is pumped away where the heat can disperse into the ground (or air from a remote radiator).
 
Back
Top Bottom