Sniperhank
Giant Clam Addict
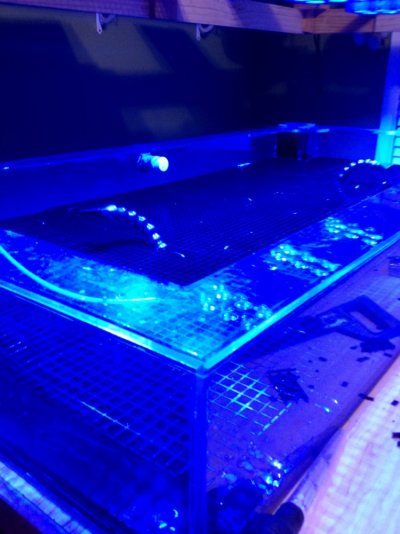
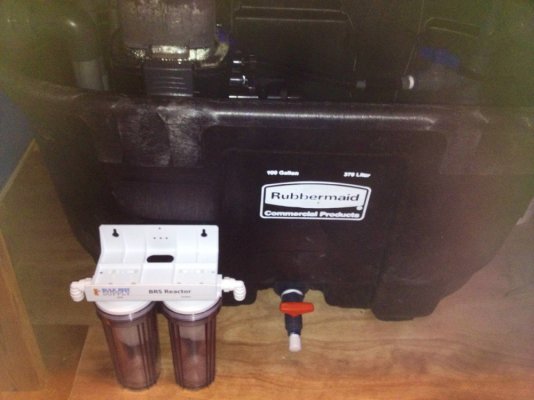
Why co2 in a frag tank? I thought it was only applicable to fw planted tanks.
Why co2 in a frag tank? I thought it was only applicable to fw planted tanks.
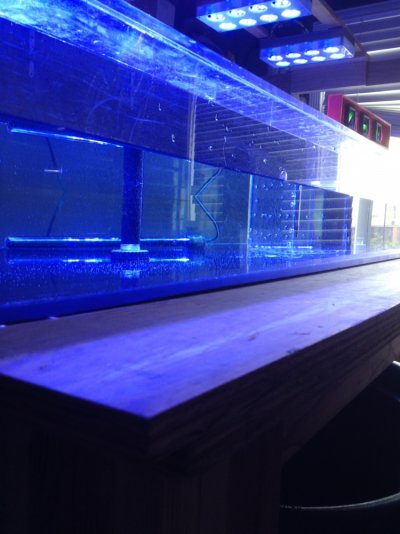
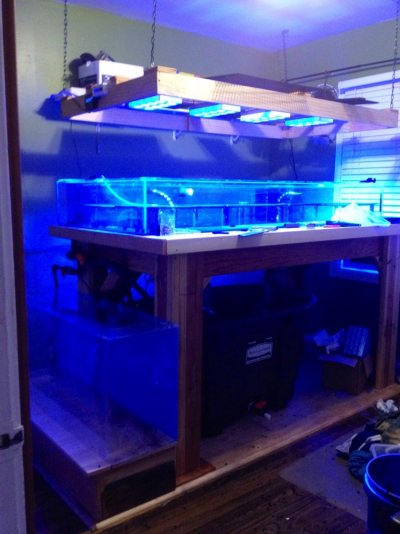
That looks sweet! Epic progress!
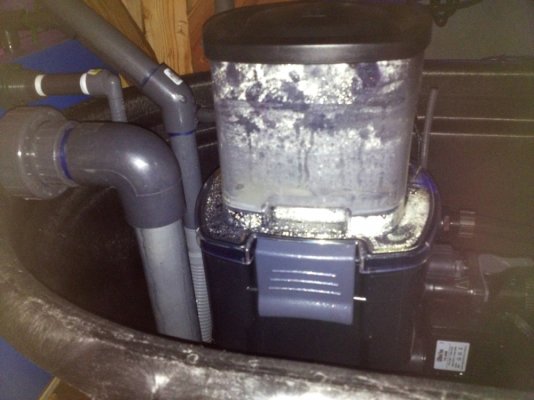
") Well worth it IMHO as the PVC ones are much sturdier.
Well worth it IMHO as the PVC ones are much sturdier. Moving right along! What did you use to enlarge the holes?
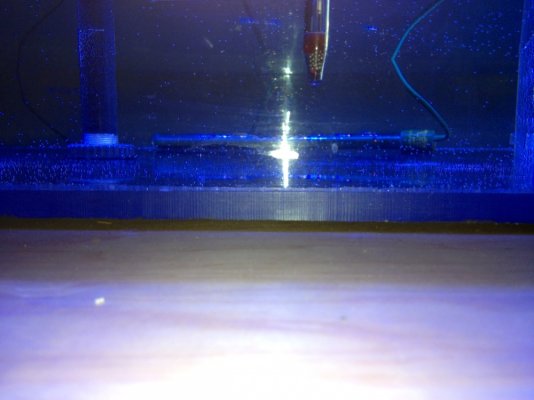
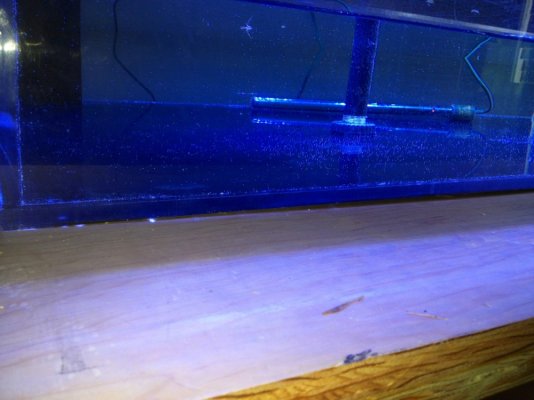
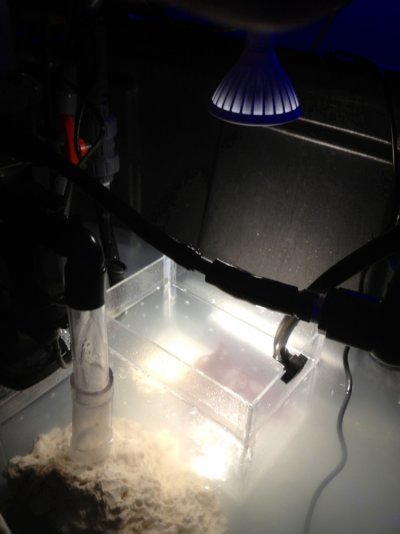
Try a heat lamp to get it back into shape. The weight of the water might help, but even 80 degrees wouldn't be enough IMO. One of those heat guns they use in shops would work too. Can't think of the name, only what my dad called it when I was a kid.
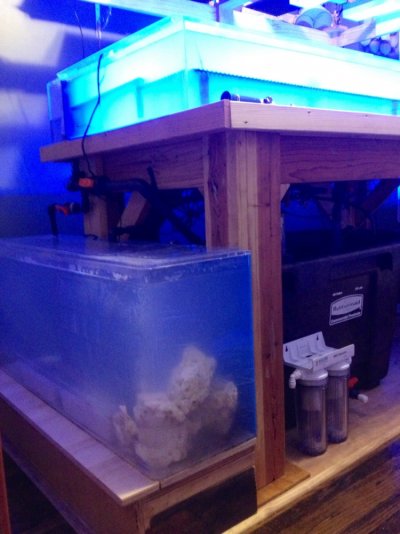


Looks great so far Keith. If you think that wiring is bad, you should see mine.